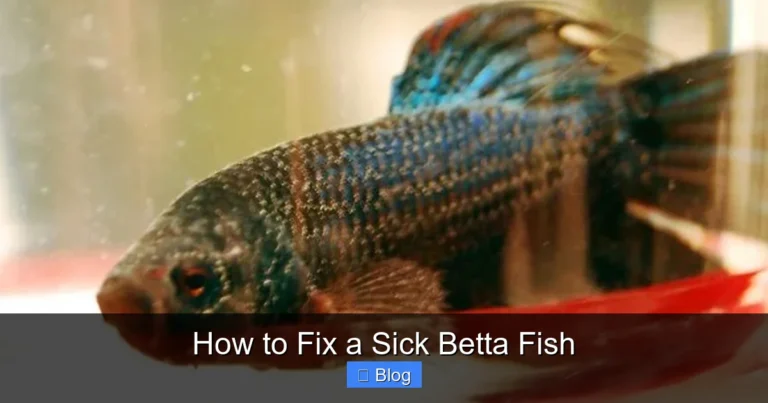
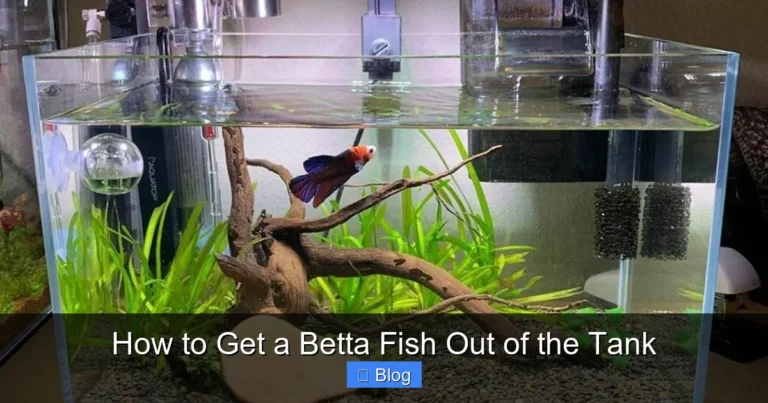
How to Change a Fish Bowl for Betta
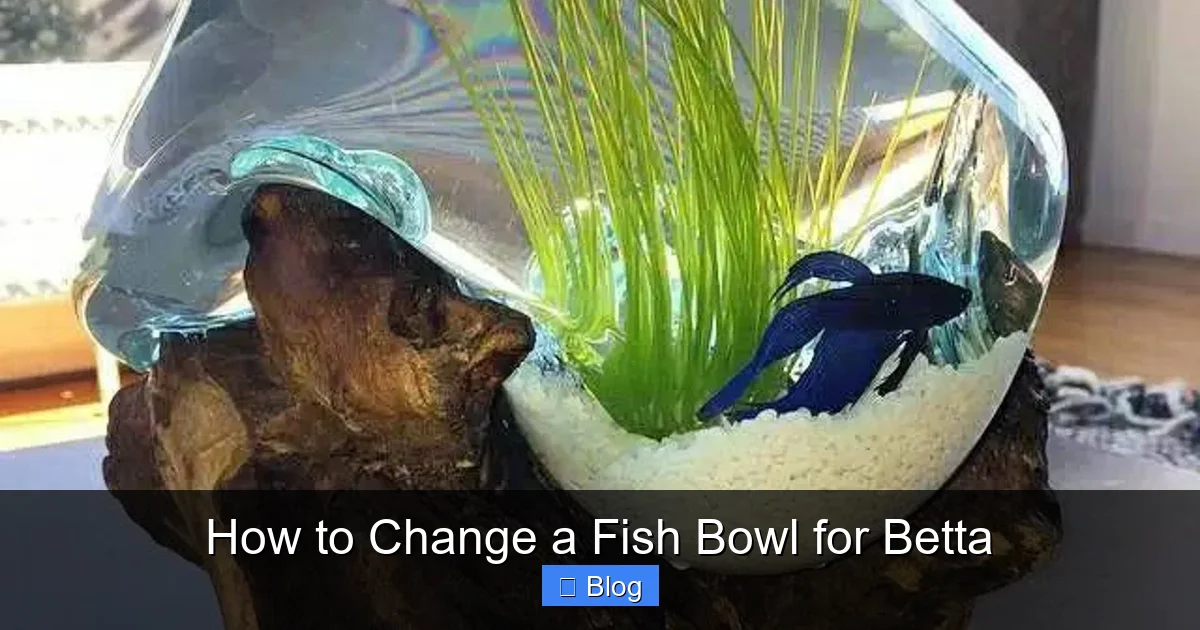
Changing your betta’s water is a critical, non-negotiable part of their care. It’s not just about swapping out old water; it’s about maintaining a stable, toxin-free environment. You must use properly conditioned water at the correct temperature, clean the gravel without over-sterilizing, and never perform a full, disruptive change. Most importantly, a tiny fish bowl is a death sentence—a filtered, heated tank of at least 5 gallons is the only acceptable home for a betta to thrive.
Let’s be honest for a moment. That beautiful betta fish, with its flowing fins and curious personality, probably didn’t come with an owner’s manual. You might have been told a small vase or a one-gallon bowl is “fine” for a betta. Maybe you saw one in a tiny cup at the pet store and thought that was normal. Here’s the truth, and it’s the most important thing you’ll read today: that is not fine. It’s actually a slow, stressful death sentence for your fish. Learning how to change a fish bowl for betta is a critical skill, but the first and most vital step is to understand that the “bowl” part of that phrase is the problem. We’re going to fix that misconception first, then dive into the exact, gentle, and effective method for maintaining the pristine water your betta needs to not just survive, but to truly thrive.
Bettas are anabantoids, meaning they have a labyrinth organ that allows them to breathe atmospheric air. This unique adaptation has unfortunately led to the myth that they don’t need clean water or filtration because they can gulp air from the surface. Nothing could be further from the truth. They still live in, and are poisoned by, their water. Their natural habitat is the shallow, warm, slow-moving rice paddies and streams of Southeast Asia—waters that are vast, plant-rich, and naturally filtered. In a tiny bowl, their waste (ammonia) builds up in hours, burning their gills and fins. The temperature swings wildly with room changes. There is no beneficial bacteria to process toxins. Your mission, should you choose to accept it, is to replicate the stability of nature in a manageable, artificial environment. And that all starts with proper, consistent water changes.
Key Takeaways
- Bettas Need Tanks, Not Bowls: A small, unfiltered bowl rapidly accumulates toxic ammonia and lacks stable temperature, leading to stress, disease, and a shortened lifespan. A minimum 5-gallon filtered and heated tank is essential.
- Conditioner is Mandatory: Never use plain tap water. It contains chlorine and chloramines that are lethal to fish. Always treat new water with a complete water conditioner that neutralizes both.
- Match Temperature Precisely: The new water must be within 1-2°F (0.5-1°C) of the old water to prevent thermal shock, a major cause of betta illness and death.
- Clean the Gravel, Don’t Overhaul: Use a gravel vacuum to remove waste from the substrate during partial changes. Avoid scrubbing everything clean, as you need to preserve beneficial bacteria that process toxins.
- Partial Changes are Best: Change 25-30% of the water 1-2 times per week. A 100% water change is extremely stressful and should only be done in a true emergency, with extreme caution.
- Test Your Water: Use a liquid water test kit (not strips) to monitor ammonia, nitrite, and nitrate levels. This is the only way to truly know if your tank cycle is stable and your maintenance is effective.
- Stability Over Perfection: The goal is a consistent, clean environment. Sudden changes in water parameters, temperature, or routine are more harmful than minor, regular fluctuations.
📑 Table of Contents
- Why Water Changes Are Non-Negotiable for Betta Health
- The Perfect Setup: Why You Must Upgrade From a Bowl
- The Step-by-Step Guide to a Safe and Effective Betta Water Change
- Water Preparation Deep Dive: Getting It Right Every Time
- Common Mistakes That Harm (or Kill) Bettas During Water Changes
- Long-Term Maintenance & Troubleshooting: A Healthy Tank for Years
- Conclusion: It’s About Respect, Not Just Maintenance
Why Water Changes Are Non-Negotiable for Betta Health
Before we get to the “how,” we must internalize the “why.” A water change is not a chore; it’s a life-support system. Think of your betta’s tank as a tiny, closed ecosystem. Your fish eats, poops, breathes, and sheds skin cells. All of that organic waste decomposes into ammonia (NH3/NH4+). Ammonia is a deadly toxin that burns gills and fins, suppresses the immune system, and causes immense pain. In a properly cycled tank, beneficial bacteria (Nitrosomonas) convert ammonia into nitrite (NO2-), which is also toxic. Then another bacteria (Nitrospira) converts nitrite into nitrate (NO3-), which is far less harmful but still needs to be removed.
The Invisible Killers: Ammonia and Nitrite
These two compounds are the primary reason water changes are critical. Even in a cycled tank, the bacterial process can be overwhelmed by a messy eater or an overstocked tank. A spike in ammonia or nitrite can kill a betta in hours. You cannot see, smell, or taste these toxins. The only way to know they are present is to test the water. Regular water changes dilute these toxins, keeping them at a safe, zero reading (for ammonia and nitrite) in a well-maintained tank.
Nitrate: The Slow Burn
Nitrate accumulates more slowly. While much less toxic, high nitrate levels (above 20 ppm for bettas) contribute to chronic stress, fin rot, and other health issues over time. The only way to remove nitrate is through water changes. Plants can absorb some, but in a betta tank, they are not a reliable sole solution. Dilution is the solution to pollution.
The Myth of the “Self-Cleaning” Bowl
Let’s put this to bed forever. There is no such thing as a self-cleaning aquarium for a betta. Without a filter to provide surface agitation for oxygen exchange and to house beneficial bacteria, and without regular water changes to remove solid waste and dilute nitrates, the water will degrade. A “bowl” is a stagnant, toxic puddle. Changing the water in a bowl is like bailing water from a sinking ship—you’re temporarily fixing a fundamentally flawed system. The goal is to move away from the bowl entirely.
The Perfect Setup: Why You Must Upgrade From a Bowl
If you have a betta in a bowl, your immediate priority is to get it into a proper tank. This isn’t about luxury; it’s about basic animal welfare. Let’s break down the non-negotiable components of a healthy betta home.
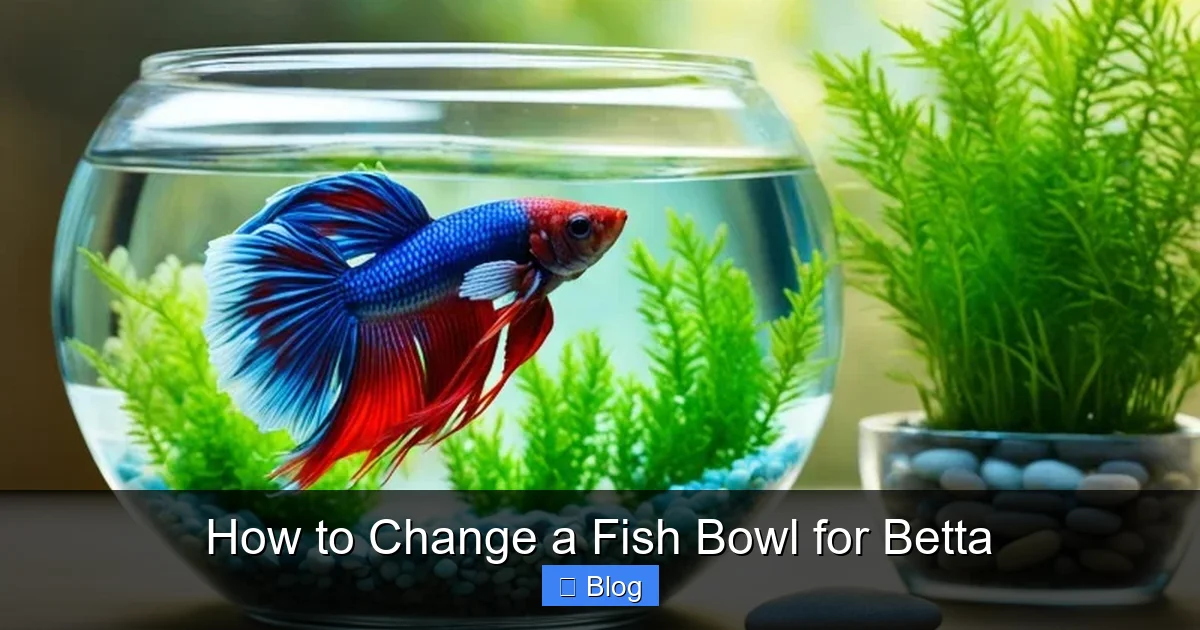
Visual guide about How to Change a Fish Bowl for Betta
Image source: qwikbetta.com
Tank Size: The 5-Gallon Minimum Rule
This is the golden rule. A 5-gallon (19-liter) tank is the absolute smallest acceptable size for a single betta. Why? Volume. In a larger body of water, toxins dilute more slowly, temperature is more stable, and there is space for a filter and heater without creating violent currents. It gives your betta room to swim, explore, and display natural behaviors. A 10-gallon is even better and still a manageable size. The “one-gallon per inch of fish” rule is outdated and dangerous; apply it to a betta, and you’re still in inadequate territory.
Filtration: The Engine of the Cycle
You need a filter. Not because bettas like currents—they don’t—but because a filter is where the beneficial bacteria live. These bacteria are your best friends. They convert deadly ammonia to less harmful nitrate. Choose a gentle filter with an adjustable flow. Sponge filters are excellent for bettas as they provide superb biological filtration with a very gentle current. Hang-on-back (HOB) or internal power filters can work if you can dial the flow down to a slow ripple. The filter media (sponges, ceramic rings) should never be changed with tap water; you only rinse it in old tank water during a water change to preserve the bacteria.
Heating: Tropical Means Warm
Bettas are tropical fish. Their ideal temperature is 78-80°F (25.5-26.5°C). A consistent temperature is crucial for their metabolism and immune system. A small, reliable aquarium heater (with a thermostat) is mandatory for any tank under 5 gallons in a typical room. Use a separate thermometer to verify the heater’s accuracy. Temperature fluctuations are a major stressor.
Substrate and Décor
Use soft, fine-grained sand or smooth gravel. Sharp edges can damage their delicate fins. Provide plenty of hiding places: live or silk plants (avoid plastic, which can tear fins), caves, and driftwood. Betta fins are like long, flowing dresses—they need soft, non-abrasive surfaces.
The Step-by-Step Guide to a Safe and Effective Betta Water Change
Now, with your betta in a proper 5+ gallon filtered and heated tank, we can talk about the actual process of a water change. The goal is to mimic a gentle, natural rain—a refresh, not a tsunami. We will do a partial water change of 25-30%. This is the sweet spot: it removes enough waste and nitrates without destabilizing the tank’s chemistry or stressing your fish.
Visual guide about How to Change a Fish Bowl for Betta
Image source: shutterstock.com
Gather Your Tools: The Water Change Kit
You need a dedicated set of supplies. Never use kitchen or bathroom items that have held soap or chemicals.
- Gravel Vacuum/Siphon: This is your most important tool. A simple plastic bulb siphon (like the Python or Aqueon brands) is perfect. It removes water and simultaneously sucks debris from the gravel.
- Two Clean Buckets: Designate one as the “dirty” bucket for old tank water and one as the “clean” bucket for new, conditioned water. They must be fish-only, never used for cleaning.
- Water Conditioner: A high-quality dechlorinator that neutralizes chlorine, chloramines, and heavy metals. Seachem Prime is a popular, effective choice.
- Thermometer: To verify water temperatures match.
- Old Towel: For spills.
Step 1: Prep the New Water
This is the step that separates the pros from the beginners. Do not start the siphon until the new water is ready.
- Fill your clean bucket with tap water. The amount should equal the volume you plan to remove (e.g., for a 5-gallon tank, removing 1.5 gallons means filling 1.5 gallons in the clean bucket).
- Add water conditioner immediately. Follow the dosage instructions on the bottle. If you have a well or unusually high chlorine levels, you may need to dose double. Prime, for example, detoxifies ammonia for 48 hours as well, which is a nice bonus.
- Adjust the temperature. Place the thermometer in the bucket. Use warm tap water or a little cold to get the new water within 1-2°F of your tank’s current temperature. This is critical. You can also let the bucket sit for an hour to reach room temperature, but matching is faster and more precise.
- Pro Tip: Do this prep the night before or while the tank is heating up in the morning. Having everything ready makes the actual change fast and painless for your fish.
Step 2: The Gentle Siphon – Cleaning the Gravel
Now, with your tank heater and filter still running (this is important for bacterial health), insert the gravel vacuum into the substrate. Squeeze the bulb or start the siphon by sucking on the tube (carefully!). Push the vacuum deep into the gravel. As you lift it slightly, you’ll see debris and fish poop being sucked up into the tube. Move the vacuum in a grid pattern across the entire bottom of the tank, spending a few seconds in each spot. Don’t dig too deep; you’re cleaning the surface layer where waste collects. The goal is to remove detritus without disturbing the tank’s overall stability.
- How much to remove: For a 5-gallon tank, remove about 1.25-1.5 gallons. For a 10-gallon, remove 2.5-3 gallons. Use the vacuum to get this water into your “dirty” bucket. The debris will settle in the bucket; you can pour off the clearer top water later if needed, but don’t stress about it.
- Watch your betta: Your fish will likely be curious and investigate the vacuum. This is fine. Avoid chasing it with the siphon. Be gentle and methodical.
Step 3: The Execution & Refill
Once you’ve removed the target volume of dirty water and cleaned the gravel, it’s time to refill.
- Turn off the filter (optional but helpful): To prevent a geyser of old, dirty water from the filter output when you add new water, you can turn the filter off for a minute. Turn it back on immediately after you finish pouring.
- Pour slowly. Take your prepared, temperature-matched, conditioned water from the clean bucket. Place a cup or bowl on the tank rim and gently pour the new water into it. This diffuses the flow and prevents it from blasting your betta or stirring up the gravel. Pour along the side of the tank, not directly onto your fish or plants.
- Check the water level. Fill to about 1/2 inch below the tank rim to allow for evaporation and prevent splashes.
- Wipe down the outside. Use a clean, dry cloth to wipe any water spots or fingerprints from the glass. This is for your viewing pleasure!
- Restart the filter. If you turned it off, prime it (if needed) and turn it back on.
Step 4: The Calm After the Storm
That’s it! The water change is complete. Your betta might be a bit curious or active for a few minutes, exploring the refreshed water. This is normal. Do not feed for at least an hour after the change to avoid adding extra waste to the clean water. Simply relax and enjoy your crystal-clear tank. The entire process, once practiced, should take no more than 15-20 minutes.
Water Preparation Deep Dive: Getting It Right Every Time
We touched on this, but it deserves its own section because mistakes here are catastrophic. Let’s dive into the science and logistics of making tap water safe for your betta.
Visual guide about How to Change a Fish Bowl for Betta
Image source: i.ytimg.com
Understanding Tap Water Treatment
Municipal tap water is treated with chlorine and/or chloramines to kill pathogens for human consumption. Both are lethal to fish. Chlorine evaporates relatively quickly if you let water sit out (24+ hours), but chloramines do not. Chloramines are a more stable compound. Therefore, you must use a water conditioner that explicitly states it neutralizes BOTH chlorine and chloramines. A simple “dechlorinator” might not be enough. Read the label. Products like Seachem Prime, API Stress Coat+, or Tetra AquaSafe are formulated for both.
The Temperature Imperative
Thermal shock is a silent killer. A betta’s body temperature is the same as the water. If you dump 60°F tap water into an 80°F tank, you cause a rapid, whole-body temperature drop. This slows metabolism, suppresses the immune system, and can lead to organ failure. Always, always match the temperature. Use a thermometer. It’s non-negotiable. If your new water is too cold, add a little warm tap water. If it’s too warm, add a little cold. A few degrees off is okay, but aim for that 1-2°F window.
Can I Use Bottled Water or RO/DI Water?
This is a common question. The answer is: not without significant modification. Distilled, reverse osmosis (RO), or deionized (DI) water is pure H2O—it has no minerals. When you put a fish in it, water rushes into their cells via osmosis (a process called “ion loss”), causing them to swell and die. It’s extremely dangerous. If you must use RO/DI water (e.g., for very poor tap water), you must re-mineralize it with a commercial product (like Seachem Replenish) or a precise mix of mineral salts. This is advanced and not recommended for beginners. Bottled spring water varies wildly in mineral content and pH and is expensive. Your conditioned tap water, properly temperature-matched, is the best, most consistent, and most economical choice.
Common Mistakes That Harm (or Kill) Bettas During Water Changes
Even with the best intentions, it’s easy to make a mistake. Here are the most common—and deadly—errors to avoid.
Mistake 1: The 100% Water Change
This is the #1 mistake. Draining the tank completely and refilling it is like dropping your betta into a new universe. It destroys the beneficial bacteria colony (which lives on surfaces, not in the water column), causes massive swings in pH and temperature, and is profoundly stressful. Your betta will lose all sense of home. The only time a 100% change is acceptable is for a severe, life-threatening issue like a chemical spill or extreme medication overdose, and even then, you must be meticulously careful with temperature and acclimation (floating the bag in the new water for an hour). Stick to 25-30%.
Mistake 2: Over-cleaning the Filter & Gravel
Your filter media (sponges, ceramics) is a bacterial apartment complex. If you take it out and scrub it under the tap with soap or even just vigorous rinsing, you sterilize it. You wipe out the very bacteria that keep your tank safe. Only ever rinse filter media in the bucket of old tank water you just siphoned out. That water contains the bacteria, and you’re just removing the solid gunk. Same with the gravel: vacuuming removes waste, but scrubbing every grain with a brush destroys the biofilm where bacteria live. Be a cleaner, not a sanitizer.
Mistake 3: Ignoring Water Parameters
“The water looks clear, so it must be clean.” This is the most dangerous assumption. Clear water can be full of invisible ammonia. You are flying blind without a test kit. Invest in a liquid test kit (like the API Freshwater Master Test Kit). Test weekly, before or after a water change. Your goal is Ammonia = 0 ppm, Nitrite = 0 ppm, Nitrate < 20 ppm. If you see ammonia or nitrite, your tank is not cycled or has been overloaded. You must perform more frequent water changes (daily 25% until it’s gone) and investigate the cause (overfeeding? dead fish? filter off?).
Mistake 4: Using Hot Water from the Tap
Never use straight hot tap water. Hot water heaters leach metals (like copper and lead) from your pipes into the water at a much higher rate than cold water. These metals are toxic to fish. Always mix cold tap water to get the right temperature. If your only option is very cold tap water, you can use a separate, dedicated heater (like an aquarium heater in a clean bucket) to warm the new water slowly and safely. But mixing cold and warm from the tap is standard and safe.
Mistake 5: Forgetting to Dechlorinate
It seems obvious, but it happens. You get the water to the right temp, start pouring, and… realize you forgot the conditioner. Stop immediately. Add the conditioner to the tank (follow dosage for the full tank volume if you’re mid-pour, or for the new water volume if you catch it quickly). It’s better to be safe. Setting a reminder or keeping the conditioner bottle next to your sink can prevent this.
Long-Term Maintenance & Troubleshooting: A Healthy Tank for Years
Water changes are part of a larger maintenance routine. Consistency is what creates a stable, healthy environment.
Establishing a Weekly Routine
Mark your calendar. Every week, without fail:
- Test water parameters. Record them in a notebook or app. This is your report card.
- Perform a 25-30% water change using the method described above.
- Clean the glass with an algae pad or magnet cleaner. Use only water or a vinegar solution for hard water spots (rinse thoroughly). Never use household glass cleaner.
- Prune and tidy plants if you have them.
- Check equipment: Is the heater functioning? Is the filter flowing at its normal rate? Is there any debris clogging the intake?
- Observe your betta. Spend 2 minutes just watching. Is it active? Are its fins full and flowing? Is it eating eagerly? Any changes in behavior (lethargy, clamping fins, scratching on objects) are your first warning sign of a problem, often related to water quality.
Troubleshooting Cloudy Water and Algae
Cloudy White Water: This is usually a bacterial bloom, often occurring in new tanks during the cycling process or after a major water change that disturbed the substrate. It’s not usually harmful and will clear on its own in a few days as the bacterial population stabilizes. Ensure you’re not overfeeding. Increase aeration.
Green Water (Algae): This is caused by excess light and nutrients (nitrates, phosphates). Fix it by: 1) Reducing light (turn tank light off for 8-10 hours max, no direct sunlight), 2) Ensuring you are not overfeeding (any uneaten food is removed in 5 minutes), 3) Performing consistent water changes to lower nitrates, 4) Adding live plants to outcompete algae for nutrients. Never use algae-killing chemicals in a betta tank.
Recognizing Stress from Poor Water Quality
Your betta will show signs if the water is bad. Look for:
- Lethargy: Hiding at the bottom, not moving much.
- Loss of appetite: Ignoring food.
- Clamped fins: Fins held tightly against the body.
- Faded or torn fins: A sign of fin rot, often triggered by poor water.
- Rapid gill movement: Gasping for air at the surface (could also be low oxygen from a dirty filter).
- Scratching: Rubbing against rocks or decor (irritated by poor water).
If you see these, test your water immediately. A 25% water change is often the first and most effective treatment. Identify and fix the root cause (overfeeding? filter issue? too many fish?).
Conclusion: It’s About Respect, Not Just Maintenance
Learning how to change a fish bowl for betta has led us to a fundamental truth: the “bowl” must become a “tank,” and the “change” must become a “consistent, informed, and gentle maintenance ritual.” Your betta is not a low-maintenance pet. It is a living creature entirely dependent on you for every aspect of its environment. The clarity of the water, the stability of its temperature, the absence of invisible poisons—these are not luxuries. They are the foundation of its health, its color, its personality, and its lifespan.
By upgrading to a proper tank, establishing a cycle with a filter, and performing weekly, partial water changes with perfectly conditioned and temperature-matched water, you are not just cleaning a container. You are curating an ecosystem. You are providing the stable, clean, warm waters that your betta’s ancestors swam in. The reward is a vibrant, interactive companion that will greet you at the glass, flare at its reflection, and live a full, 3-5 year life (or even longer with exceptional care). Start with the tank upgrade. Master the water change. Test your water. Observe your fish. This is the path to being not just a betta owner, but a true betta guardian.
Frequently Asked Questions
How often should I change my betta’s water?
In a properly filtered 5+ gallon tank, you should perform a 25-30% water change once or twice a week. A single weekly change is sufficient for a single betta in a well-maintained tank. Smaller, unfiltered bowls require daily 50% changes, which is why they are unsustainable and stressful.
Can I use regular tap water for my betta?
You can use tap water, but you must treat it first with a water conditioner that neutralizes both chlorine and chloramines. Never add untreated tap water to your betta’s tank. The conditioner makes the water safe instantly.
Why is matching the water temperature so important?
Matching the new water temperature to the tank water (within 1-2°F) prevents thermal shock. A sudden temperature drop or rise stresses your betta’s body, suppresses its immune system, and can lead to rapid illness or death. Always use a thermometer to check.
Is it okay to do a 100% water change for my betta?
No. A full 100% water change is extremely stressful and destroys the beneficial bacteria colony that keeps your tank safe. It should only be done in a dire emergency. Stick to partial changes of 25-30% to maintain a stable environment.
My tap water is very hard/soft. Can I still use it?
Yes. Bettas are quite adaptable to a range of water hardness (GH) and pH levels, as long as they are stable. The key is consistency. Do not try to chemically alter your tap water’s pH or hardness. Use a conditioner and maintain your regular water change schedule. Stability is far more important than hitting an “ideal” number.
How do I know if my betta is sick from bad water?
Common signs include lethargy (hiding at the bottom), clamped fins (held tightly), faded or torn fins (fin rot), loss of appetite, and rapid gill movement. If you see these, immediately test your water for ammonia and nitrite. A 25% water change is often the first and most crucial step in treatment.