How to Change Betta Fish Bowl Water
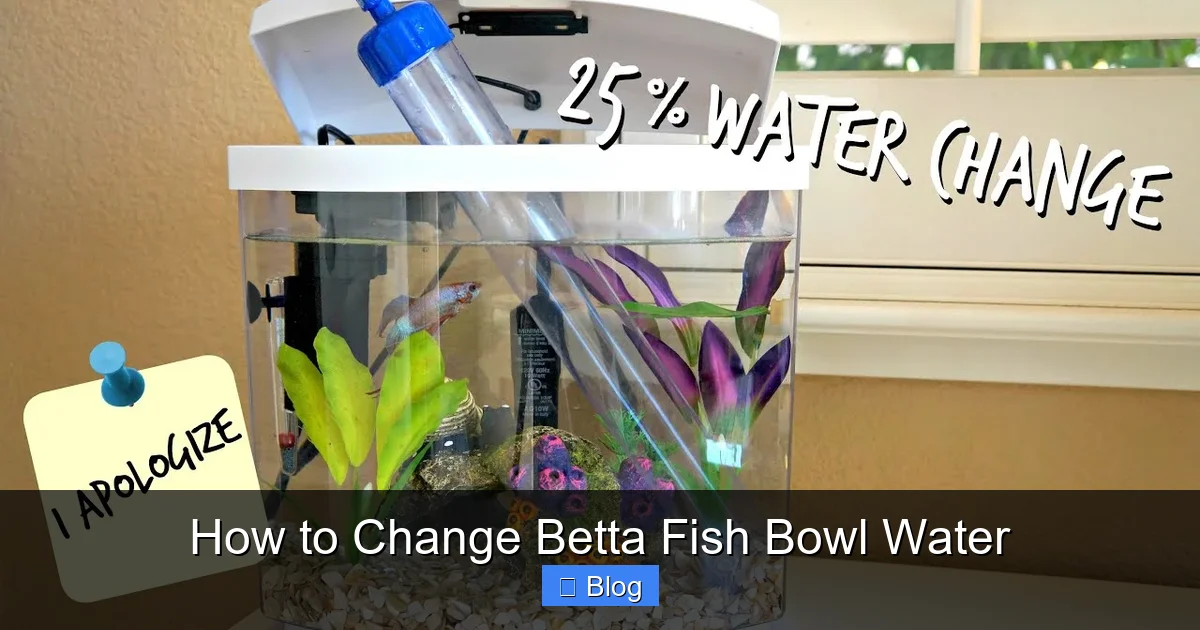
Changing your betta’s bowl water correctly is non-negotiable for its health and longevity. Unlike a filtered tank, a bowl’s small volume of water fouls quickly with toxic ammonia from waste. A proper water change involves treating tap water with a dechlorinator, matching the temperature precisely, and cleaning the bowl and decorations without using soap. Doing this 2-3 times per week with a 50-100% water swap is the single most important maintenance task you can perform for your betta fish.
Key Takeaways
- Frequency is Critical: Change 50-100% of your betta’s bowl water 2-3 times per week. A small bowl cannot cycle waste safely.
- Always Condition Tap Water: Never use straight tap water. It contains chlorine/chloramine that will burn your betta’s gills and kill beneficial bacteria. Use a liquid water conditioner.
- Match Temperature Exactly: The new water must be within 1-2°F (0.5-1°C) of the old water to prevent dangerous thermal shock.
- Clean Without Soap: Use only water and a designated algae pad or sponge to scrub the bowl and decorations. Soap residues are fatal.
- Acclimate Gently: After a 100% change, float the bowl or cup with your betta in the new water for 15-20 minutes to adjust to the new chemistry slowly.
- Preserve Beneficial Bacteria: During partial changes (50%), avoid rinsing filter media (if used) or gravel in tap water, as this kills the good bacteria that process toxins.
- Observe Your Betta: A healthy betta is active, has vibrant colors, and flares playfully. Lethargy, faded colors, or clamped fins often signal poor water quality first.
📑 Table of Contents
- Introduction: The Unseen Danger in Your Betta’s Home
- Why Water Changes Are Your Betta’s Lifeline
- Gathering Your Supplies: The Right Tools for the Job
- Step-by-Step: The 50% Partial Water Change (Your Weekly Routine)
- The Deep Clean: The 100% Water Change (Monthly or as Needed)
- Common Mistakes That Harm Your Betta
- Conclusion: A Simple Ritual for a Thriving Companion
Introduction: The Unseen Danger in Your Betta’s Home
You admire your betta fish—that magnificent, flowing finnage, that bold, curious personality. You’ve picked out the perfect small bowl, maybe with a beautiful plant or a cool rock. But lurking in that clear water is an invisible killer: ammonia. Betta fish, with their voracious appetites and protein-rich diets, produce a significant amount of waste. In a tiny, unfiltered bowl, this waste quickly breaks down into toxic ammonia, which burns their gills, damages their immune system, and leads to a slow, painful death from what is essentially fishbowl pollution. The only way to combat this in a bowl environment is through diligent, correct water changes. This isn’t just a chore; it’s your primary duty as a betta keeper. This guide will walk you through exactly how to change betta fish bowl water, transforming a scary task into a simple, 15-minute ritual that directly translates to a longer, healthier, and happier life for your aquatic companion.
Why Water Changes Are Your Betta’s Lifeline
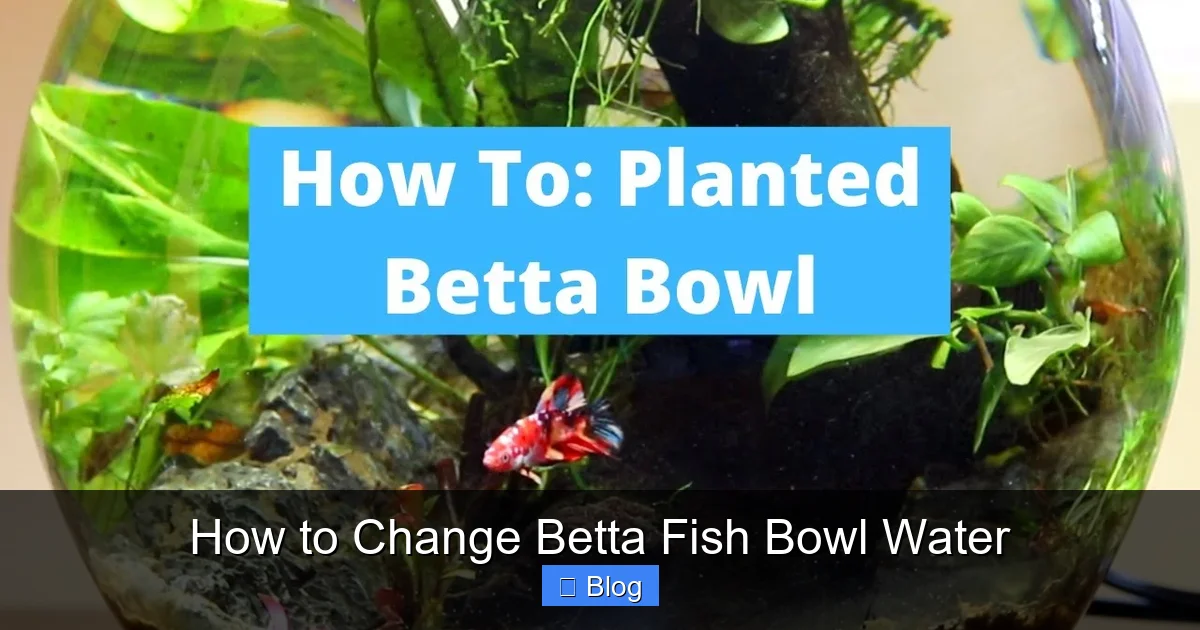
Before we dive into the “how,” understanding the “why” is crucial. It will motivate you to stay consistent and help you troubleshoot problems. Think of your betta’s bowl not as a static home, but as a tiny, closed ecosystem under constant siege.
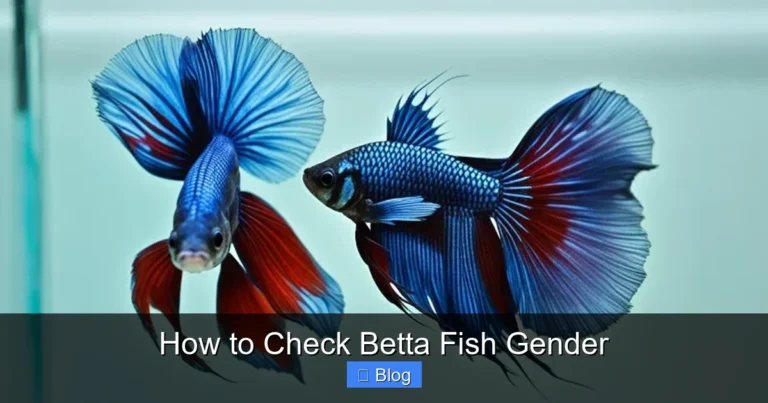
Visual guide about How to Change Betta Fish Bowl Water
Image source: i.ytimg.com
The Cycle of Toxicity in a Small Bowl
In a large, filtered aquarium, a process called the “nitrogen cycle” occurs. Beneficial bacteria colonize the filter media and surfaces, converting toxic ammonia into nitrite (also toxic) and finally into nitrate (much less toxic). This cycle is the foundation of a stable aquarium. However, in a small bowl (typically under 5 gallons), this cycle is impossible to establish and maintain effectively. The surface area for bacteria is minimal, and any water change disrupts the fragile colony completely. There is no “cycle” to protect your betta. Therefore, the only mechanism to remove ammonia and nitrates is physically removing the dirty water and replacing it with clean, treated water. Without regular changes, ammonia builds up rapidly, causing:
- Ammonia Burns: Irritation and damage to gills, skin, and fins. You might see red streaks or fraying fin edges.
- Immune Suppression: Constant stress from poor water makes your betta susceptible to diseases like fin rot or velvet.
- Respiratory Distress: Damaged gills cannot absorb oxygen efficiently, leading to gasping at the surface.
- Organ Damage: Long-term exposure poisons internal organs.
Beyond Ammonia: Nitrates, pH, and Stress
Ammonia isn’t the only concern. As waste breaks down, it also creates nitrates. While less toxic than ammonia, high nitrate levels (above 20 ppm) cause chronic stress and health issues over time. Furthermore, the decomposition of organic matter (uneaten food, waste) lowers pH and creates acidic conditions that are stressful for bettas, who prefer slightly alkaline water (pH 7.0-7.5). Regular water changes dilute all these parameters—ammonia, nitrite, nitrate, and acidic compounds—back to safe, stable levels. They also replenish essential minerals and oxygen, creating a truly fresh environment for your fish.
Gathering Your Supplies: The Right Tools for the Job
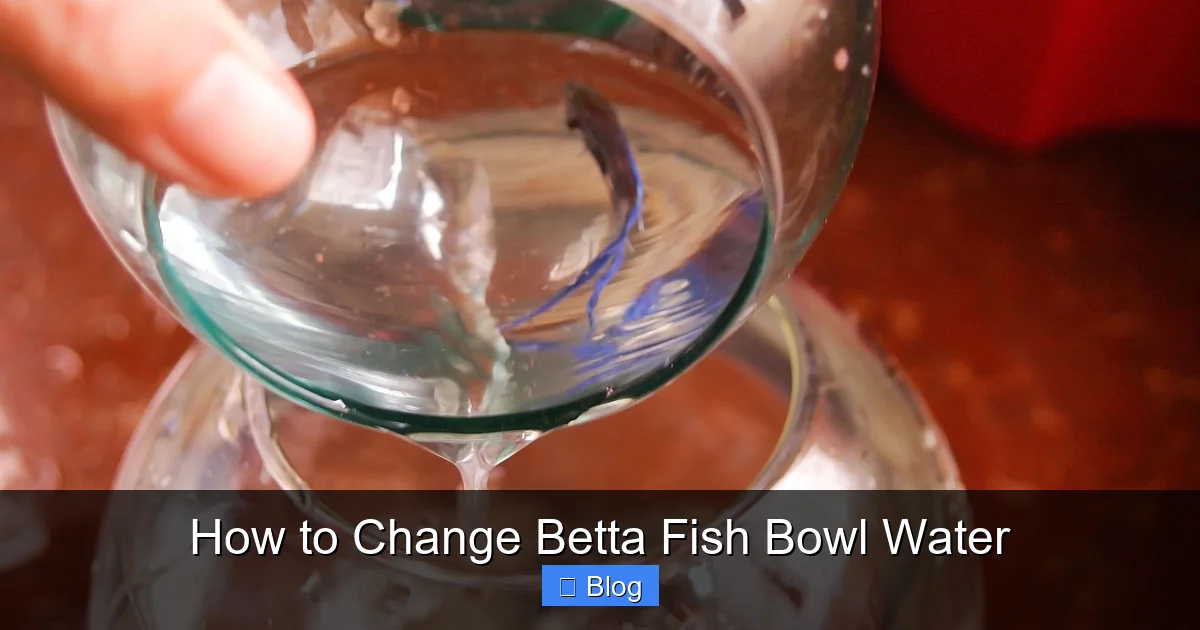
Doing a water change the right way starts with having the right equipment on hand. Scrambling for items mid-change is stressful for you and your betta. Assemble this kit and keep it near the fishbowl.
Visual guide about How to Change Betta Fish Bowl Water
Image source: wikihow.com
The Essential Toolkit
- A Dedicated Bucket or Container: This is for the new, treated water. It must be a clean, food-grade plastic bucket used ONLY for your aquarium. Never use a bucket that has held cleaning chemicals, even if you think you rinsed it. A 1-2 gallon size is perfect for most bowl setups.
- A Siphon or Gravel Vacuum: This is your most important tool. A simple plastic siphon (like the Python or Aqueon brands) with a wide, rigid tube end allows you to easily remove debris from the substrate and old water without disturbing your betta too much. You can also use a small cup in a pinch, but a siphon is far more efficient and thorough.
- Water Conditioner (Dechlorinator): This is non-negotiable. A high-quality liquid conditioner like Seachem Prime, API Stress Coat, or Tetra AquaSafe Plus instantly neutralizes chlorine, chloramine, and heavy metals in tap water. It also may include stress-reducing slime coat protectants. Never skip this step.
- Towel or Paper Towels: For inevitable spills. Keep the area around the bowl dry to prevent slipping and to keep the bowl’s base clean.
- Algae Scrubber or Clean Sponge: A non-abrasive pad (like those for acrylic tanks) or a dedicated kitchen sponge (new, never used with soap) for cleaning the inside glass and decorations.
- Thermometer: A stick-on or floating thermometer is crucial for verifying the temperature of both the old and new water matches perfectly.
Optional but Helpful Extras
- A Small Fish Net: Useful for gently moving your betta if you need to remove it for a full scrub-down.
- A Second Small Container: To temporarily hold your betta during a full water change and deep clean. A clean glass or plastic cup works.
- A Small Turkey Baster or Pipette: Great for sucking up stubborn debris from corners or the bottom after siphoning.
Step-by-Step: The 50% Partial Water Change (Your Weekly Routine)
This is the workhorse method, performed 2-3 times per week. It’s quick, causes minimal stress, and effectively manages toxin levels. Let’s walk through the process for changing betta fish bowl water properly.

Visual guide about How to Change Betta Fish Bowl Water
Image source: i.ytimg.com
Step 1: Prepare the New Water
Before touching a thing, prepare your replacement water. Fill your clean bucket with fresh tap water. The amount should be roughly 50% of your bowl’s total volume. For a standard 2-gallon bowl, this means 1 gallon of new water. Immediately add the correct dose of water conditioner to this bucket. Follow the label instructions—usually 1 drop per gallon or 1 ml per 5-10 gallons. Stir gently. Let this bucket sit for 15-30 minutes. This allows the conditioner to fully neutralize chlorine/chloramine and, importantly, brings the water to room temperature, which should be very close to your bowl’s temperature.
Step 2: The Siphon: Removing the Dirty Water
Now, gently insert the rigid tube end of your siphon into the bowl. If you have gravel, press the tube lightly into it. Start the siphon by sucking on the flexible tubing (be careful not to ingest water!) or using a pump-style starter. Your goal is to remove old water while vacuuming up any visible debris—uneaten food pellets, feces, dead plant matter—from the bottom. Move the siphon slowly across the substrate. You’ll see a cloud of detritus being sucked up. Continue until you have removed approximately 50% of the water volume. Try to avoid sucking up your betta, but if you do, gently guide it back with the siphon tube. The current from the siphon is usually not strong enough to harm a small betta.
Step 3: Quick Clean & Temperature Check
With the water level down, use your algae scrubber or damp sponge to wipe down the inside walls of the bowl. Focus on any algae or biofilm buildup. You can also wipe down decorations at this time. Do not use soap or any cleaning agents. Next, use your thermometer to check the temperature of the remaining water in the bowl. Then, check the temperature of the new, conditioned water in your bucket. They must match. If the new water is a degree or two cooler, you can let it sit longer or gently mix it with a little of the old water from the bowl (which you saved in the bucket before siphoning) to equalize. Temperature mismatch is a leading cause of shock and illness after water changes.
Step 4: Replenish with New Water
Slowly and gently pour the new, conditioned, temperature-matched water from your bucket back into the bowl. Try to pour it against the glass or over a decoration to minimize current and splashing, which can stress your betta. Fill the bowl to its original level. Once filled, take a final temperature reading to confirm everything is stable.
The Deep Clean: The 100% Water Change (Monthly or as Needed)
Once a month, or if you notice persistent algae or very dirty conditions, a full water change is warranted. This process is more involved and requires extra care to prevent stress.
Preparing for the Full Swap
Start by preparing two buckets of new, conditioned water at the exact same temperature as the bowl. You’ll need enough to fill the bowl completely (e.g., 2 gallons for a 2-gallon bowl). Have your second container (the “betta hotel”) ready with about 1-2 cups of the old bowl water in it.
Step 1: Gently Remove Your Betta
Using your net or a clean cup, carefully coax your betta into the temporary container with some of its old water. This container should be placed somewhere safe, stable, and at the same temperature as the main setup. Cover it with a lid or cloth to prevent jumping.
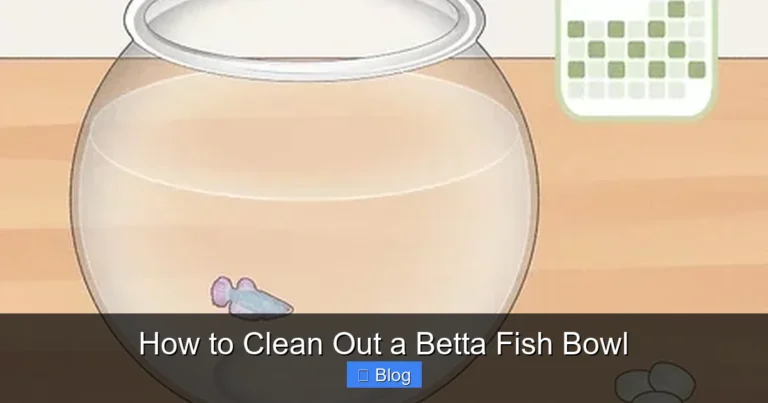
Step 2: Empty and Scrub the Bowl
Completely dump all remaining water from the bowl. Remove all decorations and plants. Using your dedicated sponge and only water, scrub every surface—the glass, the gravel (if you have it), the decorations. Rinse everything thoroughly in a sink with dechlorinated water (you can use some from your prepared bucket) or in a separate clean container. Never use soap, vinegar, or any chemical cleaner. Even a trace residue is lethal. Rinse until the water runs clear and you can’t feel any slime or film.
Step 3: Reassemble and Acclimate
Place the clean gravel and decorations back in the dry bowl. Now, pour in one of your buckets of new, treated water. Then, add your betta and its small cup of old water to the bowl. Let the betta float in its cup inside the new water for 15-20 minutes. This allows it to acclimate to the new temperature and water chemistry gradually. After this time, gently tilt the cup and let your betta swim out. Top off the bowl with the remaining bucket of new water if needed.
Common Mistakes That Harm Your Betta
Even with the best intentions, it’s easy to make errors during a water change. Here are the most critical pitfalls to avoid when you change betta fish bowl water.
Using Untreated Tap Water
This is the #1 mistake. Chlorine and chloramine in municipal water are designed to kill microorganisms. They will destroy your betta’s delicate gill tissue and kill any beneficial bacteria you might have. Always, always use a conditioner. If your water source is a well, you still need to condition it to remove heavy metals and neutralize any chlorine used in the system.
Severe Temperature Shock
Pouring cold tap water into a warm bowl, or vice versa, is a shock to your betta’s system. It can cause immediate stress, loss of appetite, and suppress the immune system, leading to disease. Always match the temperature within 1-2°F. Use a thermometer—don’t guess by hand.
Over-cleaning and Disrupting the Cycle
If you use a filter (even a small sponge filter), you should never rinse the filter media in straight tap water during a water change. This washes away the beneficial bacteria colony. Instead, gently squeeze the sponge in a bucket of the old water you just removed (or dechlorinated water) to remove debris. For a bowl with no filter, this isn’t an issue, but avoid scrubbing every single surface during every partial change. A little biofilm on the glass is actually beneficial as a surface for good bacteria.
Using Soap or Chemicals
It seems obvious, but it bears repeating. The residue from dish soap, glass cleaner, or even hand soap is a silent killer. It coats the fish’s gills, preventing oxygen absorption. Designate specific scrubbers for your aquarium and store them separately from your kitchen sponges.
Conclusion: A Simple Ritual for a Thriving Companion
Changing your betta fish bowl water is not a optional luxury; it is the fundamental pillar of responsible betta ownership. By committing to a regular schedule of 50% water changes 2-3 times per week, using properly conditioned and temperature-matched water, and performing a mindful deep clean monthly, you directly control the water quality in your betta’s entire world. You are removing the invisible toxins that cause suffering and replacing them with a fresh, clean environment where your betta can display its true colors, build bubble nests, and live a vibrant life for 3-5 years or more. The 15 minutes you spend each week on this task are an investment in the health and happiness of your finned friend. A clean bowl is a happy bowl, and a happy bowl means a thriving, beautiful betta that will continue to captivate you with its personality and brilliance. Start your new routine today—your betta will thank you in its own quiet, graceful way.
Frequently Asked Questions
How often should I change my betta fish bowl water?
For a small, unfiltered bowl (under 2 gallons), you should perform a 50% water change 2-3 times per week. For a larger, filtered bowl or container (3-5 gallons), a 50% change once per week may suffice, but monitor water clarity and your betta’s behavior closely.
Can I use bottled spring water instead of tap water?
Yes, bottled spring water is a safe, chlorine-free alternative. However, it lacks essential minerals and can have an inconsistent pH. You must still use a water conditioner to neutralize any residual contaminants and stabilize pH. Test the pH of your spring water brand to ensure it’s in the betta’s preferred range (7.0-7.5).
Do I need to remove my betta during a partial (50%) water change?
No, you do not need to remove your betta for a standard 50% partial water change. The process is quick and the change in water parameters is minimal, causing little stress. Only remove your betta for a full 100% water change or if you need to thoroughly scrub the entire bowl.
What if I don’t have a siphon? Can I just pour the water out?
You can use a clean cup or small bucket to manually remove old water, but this is less efficient at removing debris from the substrate. A siphon is highly recommended as it cleans as it removes water. If you must cup it out, be extra thorough in scooping out any visible waste from the bottom before adding new water.
My tap water is very cold/hot. How do I adjust the temperature?
Never add hot or cold water directly to the bowl. Always prepare your new water in a separate bucket. If your tap is too cold, you can mix a small amount of warm (not hot) tap water into the bucket to raise the temperature, then add conditioner. Alternatively, let the bucket of cold tap water sit for several hours to reach room temperature before conditioning. Always verify the final temperature with a thermometer before adding it to the bowl.
My betta seems stressed after a water change. What did I do wrong?
Stress after a change is usually due to temperature shock or a dramatic shift in water chemistry (pH, hardness). Ensure your new water temperature matches exactly. Also, if you did a 100% change, make sure you acclimated your betta by floating it in the new water for 15-20 minutes. Finally, double-check that you used the correct dose of water conditioner for the volume of new water you added.