How to Change a Betta Fish Tank Water
Changing your betta’s water correctly is non-negotiable for its health. Unlike many fish, bettas are sensitive to poor water quality, which can lead to fatal diseases like fin rot. The process isn’t just about dumping water; it’s about matching temperature, dechlorinating, and cleaning the substrate without disrupting the tank’s beneficial bacteria. A proper partial water change, done weekly with the right supplies, removes toxins, stabilizes parameters, and mimics the clean, flowing waters of your betta’s natural habitat, ensuring your vibrant companion thrives for years.
So, you’ve set up the perfect betta palace. You’ve got the beautiful silk plants, the smooth cave, the maybe-too-bright-but-they-love-it LED light, and of course, your stunning, flowing-finned companion. You feed them premium pellets, maybe a treat of frozen brine shrimp. You watch them flare at their reflection or lazily drift among the leaves. But there’s one critical, non-negotiable part of betta ownership that sometimes feels like a chore: changing the water. And not just splashing some fresh water in—how to change a betta fish tank water properly is an art and a science that directly determines your fish’s health, vibrancy, and lifespan.
Let’s be honest: the first time you see your betta in a cloudy, slightly smelly tank, it’s a wake-up call. Those aren’t just unsightly aesthetics; they are the visible signs of toxic ammonia, rising nitrites, and nitrates—the silent killers in your aquarium. Unlike some hardy fish, bettas (Betta splendens) are labyrinth fish, meaning they breathe atmospheric air, but they are not tolerant of poor water quality. Their long, flowing fins are prone to bacterial and fungal infections in dirty water. Their immune system collapses. What starts as cloudy water can quickly turn into clamped fins, lethargy, and the dreaded fin rot. Mastering the water change is the single most important skill you can learn to be a successful, responsible betta keeper. It’s not a punishment; it’s your direct line of communication with your fish’s health. This guide will walk you through every single step, from the “why” to the “how,” turning a daunting task into a simple, meditative, and life-saving routine.
Key Takeaways
- Always dechlorinate tap water: Chlorine and chloramines in untreated tap water are lethal to bettas and will destroy your tank’s essential biofilter. Use a reliable water conditioner.
- Match the new water temperature exactly: A sudden temperature shock is a primary cause of stress and illness. Use an in-tank thermometer to ensure the new water is within 1°F of the tank’s current temperature.
- Perform partial changes (25-50%), not full cleans: Replacing 100% of the water washes away the beneficial bacteria that process waste, crashing your nitrogen cycle and risking “new tank syndrome.”
- Clean the substrate during every change: Use a gravel vacuum to siphon out debris and waste trapped in the gravel, but do not deeply disturb the substrate where beneficial bacteria live.
- Never use soap or detergents: Even a trace of cleaning agent on decorations, filters, or your hands is toxic to fish. Rinse everything with only dechlorinated water.
- Consistency is key: A weekly partial water change routine is far better than irregular, large changes. It maintains stable water parameters, which bettas prefer.
- Test your water: Use an aquarium test kit (liquid tests are more accurate than strips) to monitor ammonia, nitrite, nitrate, and pH. This tells you if your change routine is effective.
📑 Table of Contents
Why Water Changes Are Your Betta’s Lifeline
Before we dive into the “how,” we must firmly establish the “why.” Understanding the chemistry happening in that glass box transforms the chore into a meaningful act of care. Your betta tank is a miniature, sealed ecosystem. Every day, your fish eats, poops, and breathes. Leftover food decays, fish waste breaks down, and plant matter decomposes. This organic matter is converted by bacteria in a process called the nitrogen cycle.
The Invisible Cycle: Ammonia to Nitrate
The cycle starts with ammonia (NH3/NH4+), which is produced directly from fish waste and decaying matter. Ammonia is extremely toxic, even at low levels (0.25 ppm can harm fish). In a cycled tank, a special bacteria called Nitrosomonas converts ammonia into nitrite (NO2-). Nitrite is also highly toxic, as it prevents blood from carrying oxygen, essentially suffocating your fish. A second bacteria, Nitrobacter, then converts nitrite into nitrate (NO3-). Nitrate is much less toxic and is the final byproduct we manage through water changes. Plants can also use some nitrate. In a well-cycled tank, ammonia and nitrite should always read 0 ppm. Nitrate is what we aim to keep low, typically below 20 ppm for bettas.
What Happens Without Changes?
Without removing old water and adding new, nitrate accumulates. As it rises, it stresses your betta, suppresses its immune system, and can reach toxic levels. Furthermore, other pollutants build up: dissolved organic compounds from waste, traces of medications, and byproducts from your betta’s own slime coat. The pH can also become unstable. Regular water changes dilute and remove these accumulated toxins, replenish essential minerals and trace elements that are absorbed or depleted, and maintain stable water chemistry. For a betta, whose natural habitat is the shallow, slow-moving, and remarkably clean waters of Thai rice paddies and streams, stable, pristine water is not a luxury—it’s a requirement.
Gathering Your Arsenal: The Essential Supplies
You wouldn’t go into battle without your gear, and a water change is no different. Having everything ready and within reach makes the process smooth, quick (under 30 minutes), and stress-free for both you and your fish. Scrambling for a bucket or conditioner mid-change is a recipe for disaster. Here’s your checklist.
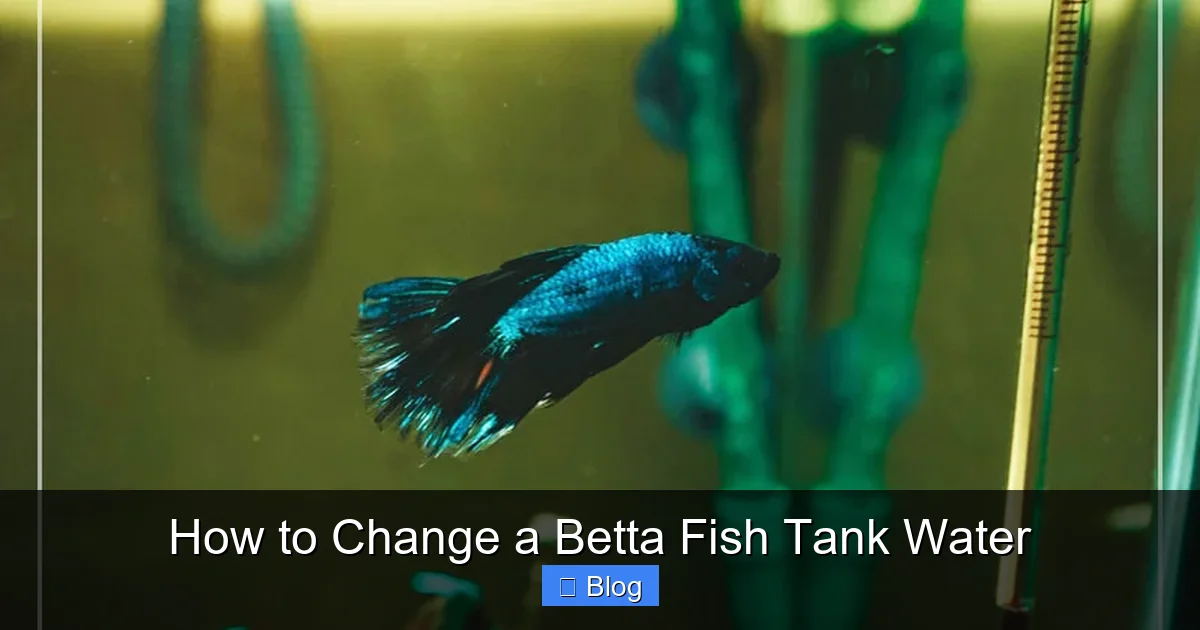
Visual guide about How to Change a Betta Fish Tank Water
Image source: smartaquariumguide.com
The Non-Negotiables
- Water Conditioner/Dechlorinator: This is the most important item. Brand names like Seachem Prime, API Stress Coat+, or Tetra AquaSafe are trusted standards. It instantly neutralizes chlorine, chloramines, and heavy metals in tap water. Never add your betta back into untreated tap water.
- Aquarium-Safe Bucket: This is critical. Use a dedicated bucket that has never held soap, chemicals, or been used for household cleaning. Even a microscopic residue can be fatal. A 5-gallon (19-liter) bucket is ideal for a 5-10 gallon tank. Label it “FISH ONLY” to avoid cross-contamination.
- Gravel Vacuum/Siphon: This is your best friend. A simple Python or Aqueon gravel vacuum (the kind with a squeeze ball) is perfect. It allows you to remove debris from the substrate while simultaneously siphoning out old tank water. The wide mouth prevents accidentally sucking up a curious betta.
- In-Tank Thermometer: Do not guess the temperature. A simple stick-on or floating thermometer is inexpensive and crucial for matching water temperatures perfectly.
- Paper Towels or Microfiber Cloth: For wiping down the outside of the glass, which always gets splashed.
The Highly Recommended Extras
- Water Test Kit: The API Freshwater Master Test Kit (liquid tests) is the industry gold standard. Test strips are less accurate. Testing before and after a change shows you your baseline and confirms your routine is working.
- A Small Net: Useful if you need to gently corral your betta during the process, though often not necessary with a partial change.
- A Separate, Clean Container for Your Betta: A small, clean food-grade container (like a leftover sour cream tub) can be used to temporarily hold your betta if you need to do a deep substrate clean or move decorations. Fill it with tank water.
The Step-by-Step: A Calm, Partial Water Change
Now, the main event. We will perform a 25-30% partial water change. This is the sweet spot for most weekly maintenance. It removes enough pollutants without shocking the system. A 50% change is occasionally fine, but 100% is a major emergency procedure only. Let’s get started.
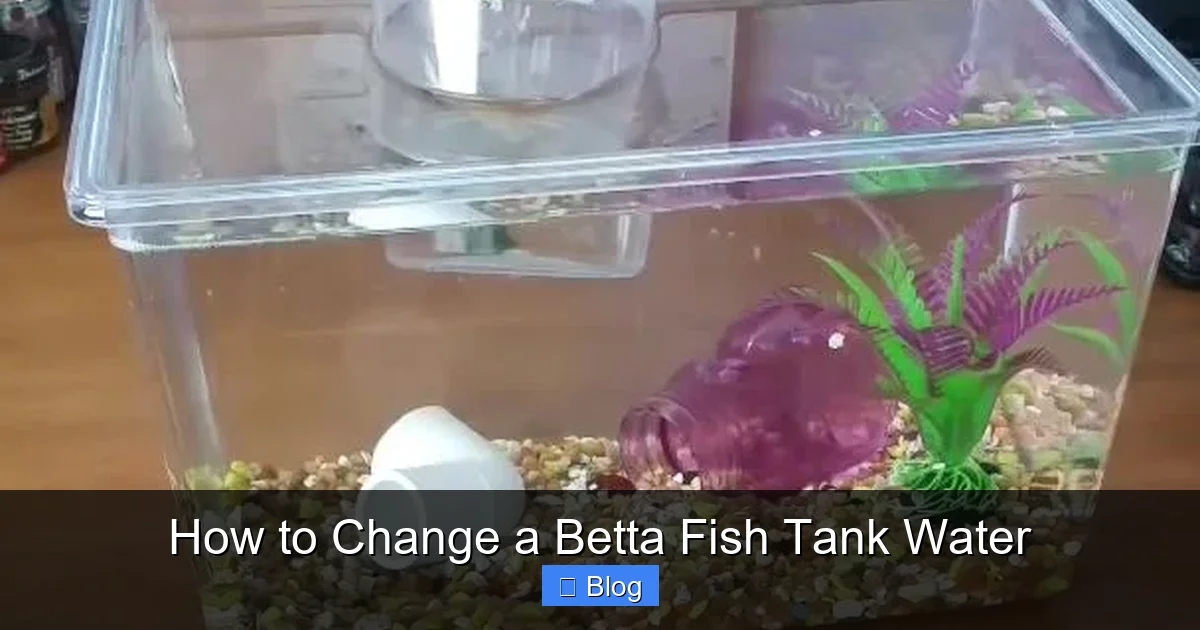
Visual guide about How to Change a Betta Fish Tank Water
Image source: animalslog.com
Step 1: Preparation & Dechlorination
First, rinse your dedicated bucket with water (no soap!). Fill it with the amount of tap water you plan to replace—say, 3 gallons for a 10-gallon tank. Immediately add the correct dose of water conditioner (check the bottle—usually 1 ml per 5-10 gallons). Stir it gently. Let this bucket of treated water sit while you work on the tank. This accomplishes two things: it lets the conditioner work fully, and it allows the new water to come to room temperature, making temperature matching easier.
Step 2: The Siphon & Substrate Cleaning
This is the core of the process. Submerge the entire gravel vacuum tube into the tank. Squeeze the bulb a few times to start the siphon. Once water is flowing steadily into your old bucket or a sink (you can use a hose adapter), gently push the vacuum tube into the gravel. As you do, you’ll see debris and fish waste get sucked up into the tube and out. Do not plunge the vacuum deeply into the gravel bed. Just disturb the top 1-2 inches in a slow, methodical pattern across the entire tank floor. You are cleaning the visible gunk off the top of the gravel, not excavating the entire bed. The beneficial bacteria live deep in the substrate, so shallow cleaning is safe and effective. Continue until you have removed the desired amount of old, dirty water (e.g., 3 gallons). Place the end of the siphon in your old water bucket until it’s full, then move it to a sink to drain.
Step 3: Decor & Glass (Optional but Nice)
With the water level down, it’s a great time to wipe the inside glass with an algae pad (the kind for acrylic tanks if you have acrylic) or a clean, dedicated cloth. You can also gently rinse any decorations (fake plants, rocks, caves) in the old bucket of siphoned-out water to remove slime and algae. Do not use soap. The old tank water is perfect for this—it contains the beneficial bacteria from the surfaces.
Step 4: The Crucial Temperature Check
Check your tank’s temperature with your in-tank thermometer. Now, check the temperature of the new, conditioned water in your bucket. They must match. If the new water is cooler, you can add a little warm (not hot!) tap water to the bucket and stir. If it’s warmer, let it sit a few more minutes. The goal is to have them identical. This step prevents thermal shock, which is as dangerous as chemical shock.
Step 5: The Gentle Refill
This is where many people go wrong. Do not dump the new water in. The force can stress your betta and disturb the substrate, kicking up debris. Instead, place a clean plastic bag (like a produce bag) over the end of your bucket’s spout, or use a clean cup. Slowly pour the new water onto a rock, a plant, or the glass wall, letting it trickle down gently. This minimizes current and disturbance. Continue until the water level is back to the top of the tank frame (do not overfill; leave a small air gap).
Step 6: Final Touches & Observation
Wipe any spills from the outside of the tank. Turn your filter and heater back on if you turned them off (most people don’t need to turn off the heater unless the water level drops too low). Now, just watch. Your betta might be curious about the new water flow. This is normal. Over the next hour, observe for any signs of distress (gasping, frantic swimming, lethargy). In a properly done change, they should be unaffected. Test your water parameters 24 hours later to confirm ammonia and nitrite are still 0 and nitrate has decreased.
Common Mistakes & How to Avoid Them
Even with the best intentions, it’s easy to slip up. Here are the most frequent pitfalls that turn a helpful water change into a harmful event.

Visual guide about How to Change a Betta Fish Tank Water
Image source: petshun.com
Mistake 1: Over-Cleaning the Filter
Your filter is home to a massive colony of the beneficial bacteria that run your nitrogen cycle. If you rinse your filter media under the harsh, chlorinated tap water every week, you will sterilize it and crash your cycle. Solution: Only rinse mechanical filter media (sponges, floss) in a bucket of old tank water you just removed during the change. Do this only when it’s visibly clogged, typically once a month. Never replace all filter media at once. Replace only 25-50% at a time, and always rinse the new media in tank water first to remove dust.
Mistake 2: Ignoring the Temperature
We said it before, but it bears repeating. A 5-degree temperature difference is a severe shock. Bettas are tropical fish, used to stable, warm waters (78-80°F / 25.5-26.5°C is ideal). Solution: Always, always use a thermometer. Never rely on the feel of the water. In winter, you may need to add a little warm tap water to your bucket of conditioned water. In summer, you might need to let it sit longer.
Mistake 3: Changing Too Much, Too Often
There’s a myth that a 100% water change is the “deep clean.” It’s actually the “ecosystem reset.” Doing this regularly will leave your tank in a constant state of re-cycling, with spiking ammonia and nitrite, which is incredibly stressful. Solution: Stick to 25-30% weekly. Only do a 50% change if nitrate is dangerously high (e.g., >40 ppm) between scheduled changes. A full 100% change is only for severe medication overdoses or extreme contamination, and even then, you must save and reuse a portion of the old filter media to seed the bacteria.
Mistake 4: Forgetting to Dechlorinate
It seems obvious, but in a hurry, it’s forgotten. Chlorine and chloramines are fast-acting killers that burn gills and destroy biofilms. Solution: Make adding conditioner the first step when you fill your bucket. Keep the bottle next to your aquarium supplies as a visual reminder. If you forget and add fish to untreated water, immediately add a heavy dose of conditioner and aerate the water heavily.
Advanced Tips & Troubleshooting
Once you have the basics down, you can refine your routine for an even healthier tank. This section is for the enthusiast who wants to optimize.
Matching pH and Hardness (GH/KH)
For most tap water sources, matching temperature and dechlorinating is sufficient. However, if your tap water has an extremely high pH (8.5+) or is very soft (low GH), and your tank’s parameters are stable at a lower level, a large change with a drastically different source water can cause a pH shock. Solution: Test your tap water parameters. If they differ significantly from your tank’s stable parameters, you may need to do smaller, more frequent changes (e.g., 15% twice a week) to slowly acclimate the water chemistry. In rare cases, using a blend of reverse osmosis (RO) water and tap water is necessary to achieve stable, betta-ideal parameters (softer water, pH 7.0-7.5).
Dealing with Algae Blooms After Changes
Sometimes, after a water change, you might notice a sudden green water (algae bloom) or a spike in diatom (brown) algae. This is often due to the change disturbing silicates or phosphates in the substrate or introducing trace nutrients in the new water that algae thrives on. Solution: Ensure you are not overfeeding (a common cause). Use the gravel vacuum thoroughly to remove detritus. Reduce light duration if algae is persistent. Consider adding live plants to out-compete algae for nutrients. A UV sterilizer can also clear up free-floating algae blooms.
The “Old Water” Method for Sensitive Fish
For a particularly stressed, sick, or newly acquired betta, even a standard 25% change can be a shock. Solution: Use the “old water” method. Take the 25% of new, conditioned, temperature-matched water you would normally add. Instead of adding it directly, mix it 50/50 with the 25% of old tank water you just siphoned out (which is already perfectly conditioned for your fish). This creates a 50% water change that is chemically and temperature-wise 75% familiar to the fish, drastically reducing stress. This is also an excellent method for quarantine tanks.
Conclusion: The Ritual of Care
Changing your betta’s water is more than a maintenance checklist item. It’s a ritual. It’s the 20 minutes each week where you are directly, physically interacting with the world your betta lives in. You’re not just pouring water; you’re removing the invisible toxins that threaten them. You’re gently vacuuming the gravel where they sleep and explore. You’re ensuring the liquid environment that flows over their delicate fins is clean, stable, and life-giving. This routine connects you to the fundamental reality of aquarium keeping: you are the keeper of a closed ecosystem. You are responsible for its balance.
When you master this skill, you move from being a worried beginner to a confident caretaker. You’ll notice your betta’s colors become more vibrant. Their fins will be full and undamaged. Their activity will increase—they’ll explore, flare, and build bubble nests with gusto. The clarity of the water will reflect the clarity of your understanding. There is a profound satisfaction in looking at a crystal-clear tank and knowing, with certainty, that the water within is perfect. That satisfaction comes from doing the work, week after week. So embrace the siphon, respect the thermometer, and never skip the conditioner. Your betta, that resilient, beautiful survivor, will thank you with its health, its energy, and its long, beautiful life swimming peacefully in the clean water you provide.
Frequently Asked Questions
How often should I change my betta fish tank water?
For a properly cycled tank of 5 gallons or more, a 25-30% partial water change once a week is the gold standard. Smaller tanks (under 5 gallons) may require 25% changes twice a week due to faster toxin buildup. Always use a water test kit; if nitrate is consistently below 20 ppm, your schedule is working.
Can I use bottled spring water for my betta tank?
You can, but it’s usually unnecessary and expensive. Bottled waters vary wildly in mineral content (GH/KH) and pH, which can cause instability. They also lack essential trace elements. Dechlorinated tap water is almost always a better, more stable, and cheaper option if your tap source is safe. If you must use bottled water, choose a consistent brand and test its parameters first.
Do I need to take my betta out during a water change?
For a standard 25-30% partial change, no. There is no need to net your betta. The gentle process of siphoning and refilling will not harm them if done correctly. Removing them causes unnecessary stress and risk of injury. Only remove your betta if you are doing a deep clean of the entire substrate or need to move large decorations.
How do I clean my filter without killing the good bacteria?
Only rinse mechanical filter media (sponges, floss) in the bucket of old tank water you just siphoned out during your water change. Gently squeeze and wring it out in that water to remove solid debris. Do not use tap water, as chlorine will kill the beneficial bacteria. Rinse only when the media is visibly clogged, typically once a month. Never replace all filter media at once.
My water is cloudy after a change. Is that bad?
Not necessarily. A temporary cloudiness (lasting a few hours) is often just fine particles being stirred up from the substrate or gravel during the siphon and refill. It should settle quickly. If the cloudiness persists for more than a day, it could be a bacterial bloom, often caused by over-cleaning (crashing the cycle) or overfeeding. Test your water parameters for ammonia and nitrite to diagnose.
Can I add water conditioner directly to the tank?
While some conditioners are labeled for direct addition, the safest and most effective method is to always treat the new water in the bucket before it enters the tank. This ensures the conditioner has fully neutralized chlorine/chloramines before the water touches your fish or filter media. Adding it directly to the tank can allow a brief moment where untreated water passes over your fish’s gills.