How to Clean a Betta Fish Tank Without a Filter
Contrary to popular belief, betta fish can thrive in a filterless tank with proper, consistent care. The core of this maintenance is performing regular partial water changes (25-50% weekly) to remove toxic waste and replenish minerals. You must use a water dechlorinator, never soap on tank items, and gently clean the substrate and decorations. By following a structured cleaning routine and monitoring water parameters, you can provide a pristine, stress-free environment for your betta without the noise or flow of a filter.
Key Takeaways
- Partial water changes are non-negotiable: Replace 25-50% of the tank water weekly to dilute ammonia and nitrites from your betta’s waste.
- Always treat new water: Use a reliable water conditioner/dechlorinator to neutralize chlorine, chloramines, and heavy metals in tap water before it touches your betta.
- Never use soap or household cleaners: Even a trace of soap residue is lethal to fish. Use only hot water or a dedicated, fish-safe algae pad for scrubbing.
- Clean the substrate gently: Use a siphon or gravel vac to remove debris from the bottom without disturbing beneficial bacteria colonies too aggressively.
- Match water temperature and parameters: New water must be within 1-2°F of the tank’s temperature to prevent thermal shock. Match pH and hardness as closely as possible.
- Clean decorations separately: Remove algae from ornaments and the glass using an algae pad or a dedicated toothbrush in a bucket of old tank water (not tap water).
- Consistency is more important than perfection: A reliable weekly routine is far better than sporadic, thorough cleanings that destabilize the tank’s mini-ecosystem.
📑 Table of Contents
- Introduction: The Myth of the Mandatory Filter
- Why Choose a Filterless Setup for Your Betta?
- Essential Supplies: Your Filterless Toolkit
- The Step-by-Step Cleaning Process: A Weekly Ritual
- Maintaining Water Quality Between Cleanings
- Troubleshooting: Common Problems and Solutions
- Conclusion: Patience and Consistency Are Your Best Tools
Introduction: The Myth of the Mandatory Filter
Walk into any major pet store, and you’ll see rows of aquariums with filters humming in the background. The common advice is clear: a filter is essential for any fish tank. But if you’re reading this, you likely have a betta fish in a smaller, filterless setup—a “bowl” or a modest 5-gallon tank—and you’re wondering how to keep it clean and healthy without that mechanical help. You’ve also probably heard conflicting warnings about the dangers of both having a filter (too much current for a betta’s delicate fins) and not having one (rapid water fouling). The truth lies in understanding the betta’s unique biology and committing to a hands-on maintenance routine.
Betta splendens, with their famous labyrinth organ, are built to survive in oxygen-poor, stagnant water conditions like the rice paddies of Thailand. This adaptation means they are more tolerant of lower oxygen levels than many fish, but it does not make them immune to the poison of their own waste. Ammonia, produced from decomposing food and feces, is a silent killer. In a filtered tank, beneficial bacteria break this down. In a filterless tank, you become the filter. Cleaning a betta tank without a filter isn’t about occasional deep-cleaning; it’s about the disciplined practice of water replacement and surface maintenance. This guide will walk you through every step, from gathering supplies to executing a flawless water change, ensuring your betta’s home is pristine and its water chemistry stable.
Why Choose a Filterless Setup for Your Betta?
Respecting the Betta’s Natural Habitat and Physiology
Before we dive into the “how,” let’s confirm the “why.” A filter creates water movement. While a gentle sponge filter is often recommended for bettas, many standard hang-on-back (HOB) or internal power filters produce currents that are simply too strong. Betta fins are like silk dresses—prone to tearing and fatigue. A constant current stresses a betta, forcing it to swim constantly just to stay in place, which can lead to exhaustion, clamped fins, and a suppressed immune system. A filterless tank, when maintained correctly, provides the calm, still water bettas naturally prefer, allowing them to lounge elegantly on plants or the bottom.
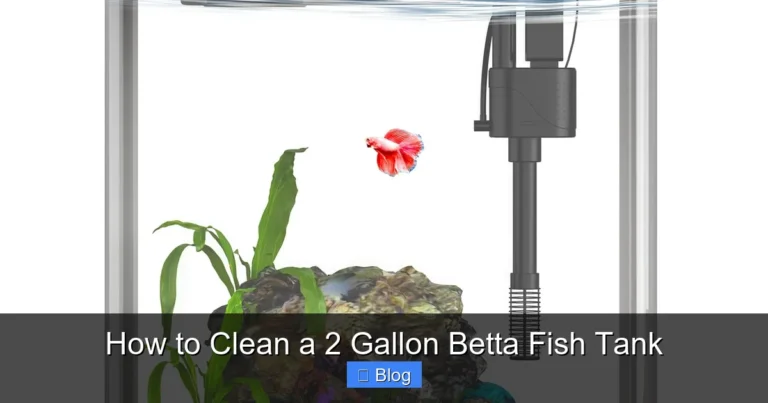
Visual guide about How to Clean a Betta Fish Tank Without a Filter
Image source: fishsubsidy.org
The Simplicity and Control Argument
For a small tank (5 gallons is the absolute minimum recommended), a filter can sometimes be overkill in terms of bioload. A single betta produces a manageable amount of waste. This makes a filterless system a viable, low-tech option. It also gives you supreme control over the water parameters. You are directly responsible for every molecule that goes in and out. There’s no mystery about what a filter is doing; you see the results of your work immediately in the clarity of the water and the activity of your fish. Many betta keepers find this direct connection rewarding and believe it leads to a deeper understanding of aquatic care.
Important Caveats and Tank Size
This philosophy absolutely does not apply to tiny “betta bowls.” A vase or a one-gallon jar is a life sentence of misery for a betta, filter or no filter. The minimum viable tank size for a filterless approach is a stable, heated 5-gallon tank. This volume provides a crucial buffer against rapid parameter swings. In a 1-gallon bowl, ammonia can spike to lethal levels within hours of your betta passing waste. In a 5-gallon tank, you have a small but workable window to perform maintenance. If you have a tank under 5 gallons, a very gentle sponge filter is not a suggestion—it is a requirement for the betta’s long-term health.
Essential Supplies: Your Filterless Toolkit
You cannot clean a tank effectively without the right tools. Using improper items can harm your betta or contaminate the water. Here is your definitive checklist, all of which should be dedicated solely to your aquarium.
Visual guide about How to Clean a Betta Fish Tank Without a Filter
Image source: m.media-amazon.com
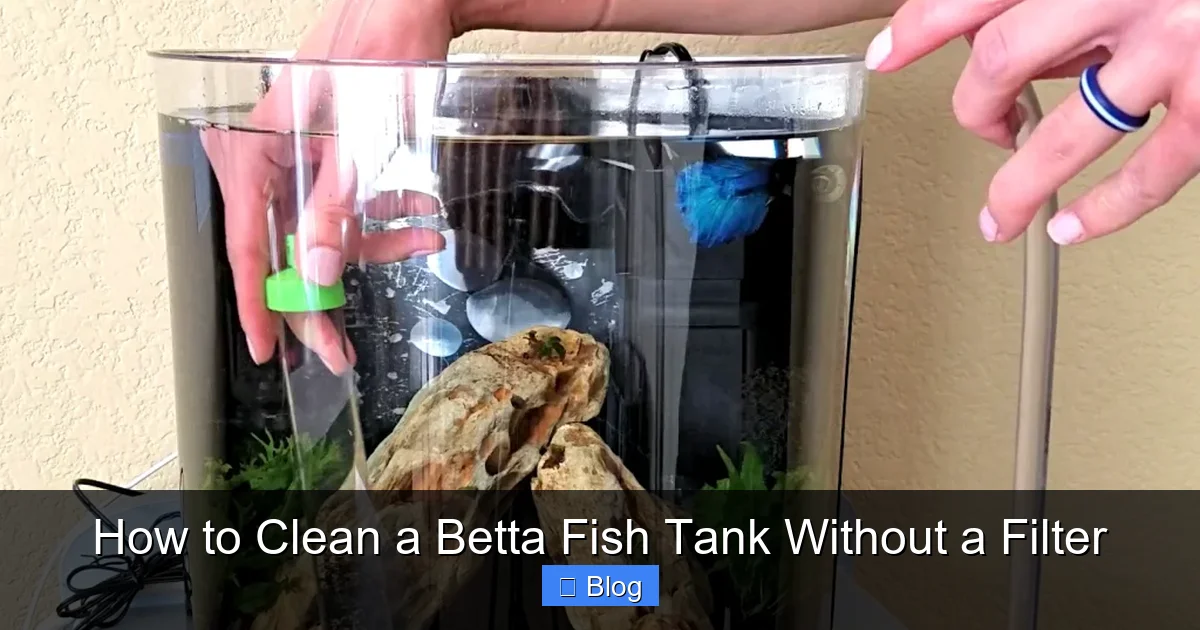
The Gravel Vacuum/Siphon: Your Most Important Tool
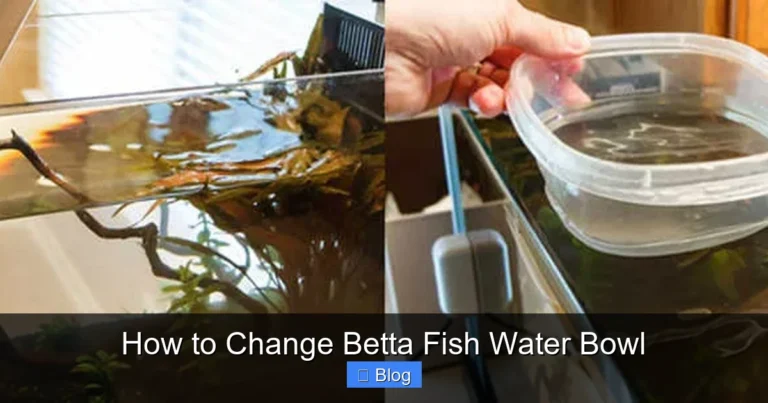
This is not optional. A simple gravel vacuum is a plastic tube with a wide mouth and a flexible hose. You use it to suck old water and debris from the substrate. You can find basic models for under $10. Look for one with a squeezable bulb to start the siphon, as using your mouth is a serious health risk (introducing bacteria from your mouth into the tank).Pro Tip: For very fine sand substrates, you can use the siphon held just above the surface to avoid sucking up too much sand, or use a larger diameter tube to reduce suction power.
Two Dedicated Buckets or Containers
You need one bucket for the dirty water you remove and one for the clean, treated water you will add. They must be clean, never used for any chemicals, detergents, or household cleaning. Label them “AQUARIUM ONLY” to avoid tragic mistakes. A 5-gallon bucket is ideal for a 5-10 gallon tank change.
Water Conditioner/Dechlorinator
This is liquid gold. Tap water contains chlorine, chloramines, and heavy metals that are fatal to fish. You must treat every drop of new water. Seachem Prime is the industry standard for its efficiency and ability to detoxify ammonia for 24 hours in emergencies, but any reputable brand (API Stress Coat, API Tap Water Conditioner) will work. Follow dosage instructions precisely based on the volume of new water you are adding.
Algae Scrubbing Tools
You need a way to clean the glass. Use a dedicated algae pad (the kind with a handle) for the inside glass. For stubborn algae on the glass outside, you can use a regular razor blade scraper, but be extremely careful not to scratch the tank or cut yourself. For decorations and the tank rim, keep a new, dedicated toothbrush (soft bristles) that is never used for anything else.
Thermometer and Optional Heater Check
An accurate, stick-on or digital thermometer is a must. You need to verify the temperature of your new water matches the tank water perfectly (within 1-2°F / 0.5-1°C). This is also a good time to ensure your heater is functioning and not covered in algae or debris.
Clean Cloth or Paper Towels
For wiping down the outside of the tank, the rim, and any spills. Keep this separate from your kitchen towels.
What You Will NOT Use:
- Soap, detergent, or bleach: Even a microscopic residue is deadly.
- Vinegar (for the main tank): While a diluted vinegar solution is excellent for removing hard water stains on the outside of the glass, it must be rinsed incredibly thoroughly and never used inside the tank where it can alter pH.
- Any tools used for other purposes: Cross-contamination is a leading cause of fish sickness.
The Step-by-Step Cleaning Process: A Weekly Ritual
Now, let’s get our hands wet. This process should be performed once a week, without fail. Mark it on your calendar. The entire process should take 20-30 minutes. The goal is to be efficient and minimize stress for your betta.
Step 1: Preparation – The Golden Rule of Temperature
First, fill your clean “new water” bucket with tap water. Do not add conditioner yet. Place your heater (if you have a portable one) in this bucket or set it aside to adjust the temperature. The goal is to get this new water to the exact same temperature as your aquarium water. The easiest way is to let it sit for 30-60 minutes to reach room temperature, then use your heater to nudge it up if needed, or add a little warm water from the tap. This temperature matching is the single most important step to prevent shock. Once the temperature is correct, add the correct dose of water conditioner to the bucket and stir well.
Step 2: The Gentle Siphon – Removing the Old Water
Now, go to your tank. Do not startle your betta. You can gently herd it to one side using a cup or your hand (never grab it). Insert the wide end of your gravel vacuum into the substrate at the opposite side. Squeeze the bulb or start the siphon by sucking briefly on the hose (be careful not to ingest water). Once water is flowing, place the hose end into your “dirty water” bucket. Move the vacuum slowly over the gravel, allowing it to suck up any visible waste (uneaten food, feces) and a small amount of fine debris. You are not trying to sterilize every grain of gravel—that would harm beneficial bacteria. You are simply removing the bulk of the solid waste. Continue until you have removed 25-50% of the tank’s total water volume. For a 5-gallon tank, that’s 1.25 to 2.5 gallons.
Step 3: Surface and Decoration Cleaning
With the water level lower, your job is easier. Take your dedicated algae pad and gently scrub the inside glass in circular motions. The algae should come off easily. For any stuck-on gunk on the rim or plastic decorations, use your dedicated toothbrush. Scrub it in the remaining tank water or in a cup of the old water you just removed. Never introduce tap water to the tank interior during cleaning. If you have live or silk plants, you can gently swish them in the bucket of old water to remove debris. Avoid harsh scrubbing of live plants.
Step 4: The Final Rinse and Refill
Double-check that your new, conditioned water is still at the correct temperature. Slowly, gently, pour the new water back into the tank. Do not dump it in a torrent that would stir up the substrate or blast your betta. You can pour it over a plate or your hand to diffuse the flow, or use a small cup to add it gradually. Fill the tank to the original water line. As you pour, watch your betta. It may be curious and investigate the incoming water—this is a good sign.
Step 5: The Aftercare
Wipe down the outside of the tank and the rim with your clean, dry cloth. Put all your supplies away. Turn your lights and heater back on if you turned them off. Observe your betta for the next 30 minutes. It might be a bit curious or active due to the fresh water. This is normal. If it is gasping at the surface frantically, you may have a temperature or oxygen issue (though this is rare with this method).
Maintaining Water Quality Between Cleanings
Feeding with Purpose
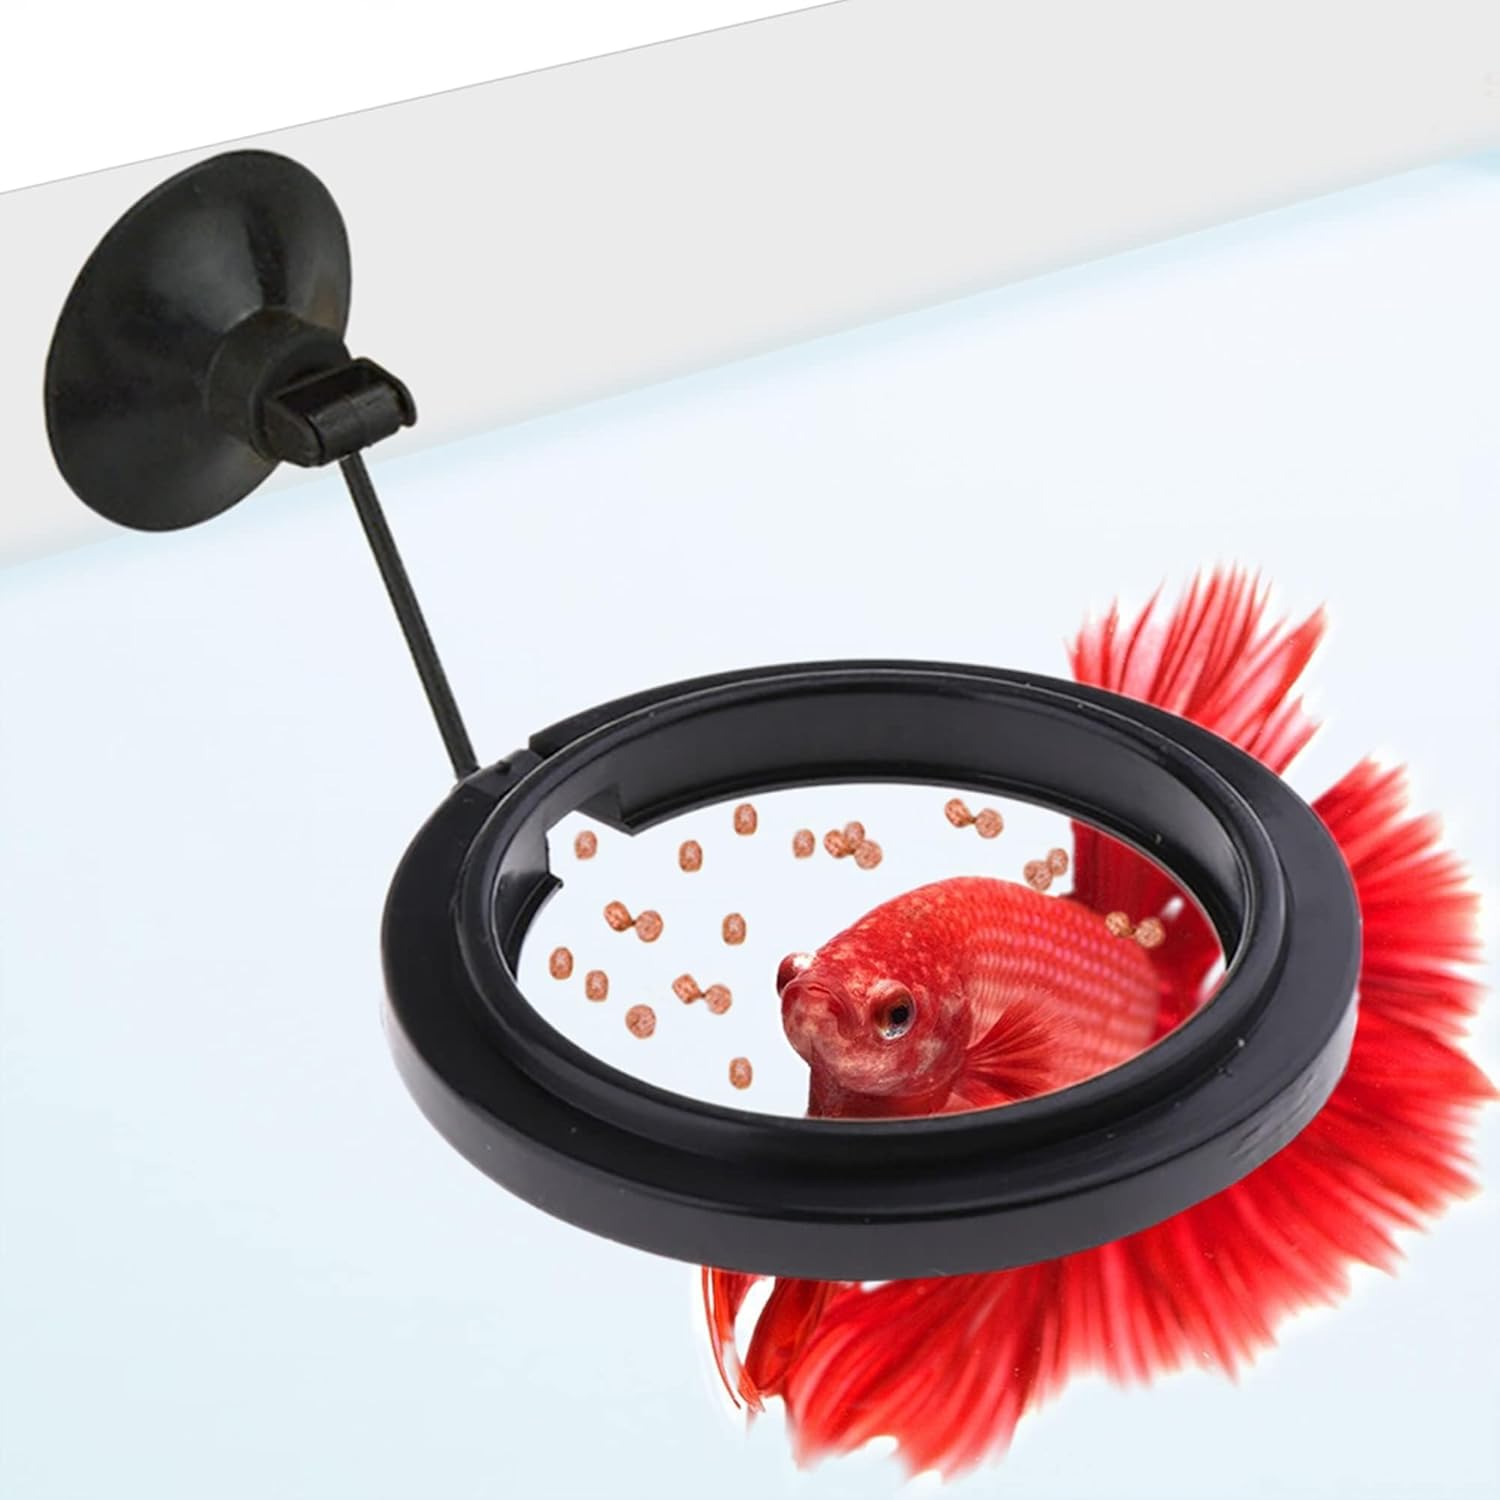
The easiest way to reduce cleaning workload is to reduce waste input. Feed your betta no more than 2-3 pellets (or an equivalent amount of frozen/brine shrimp) once or twice a day. A betta’s stomach is the size of its eye. Overfeeding is the #1 cause of fouled water. Any food not eaten within 2-3 minutes must be scooped out with a net or turkey baster immediately. This is non-negotiable.
Plant Power: Live or Silk?
Live plants (like Java fern, Anubias, or Marimo moss balls) are fantastic for a filterless tank. They absorb ammonia and nitrates as nutrients, effectively helping to biofilter the water. They also provide enrichment. However, they require their own care (lighting, occasional fertilizer). High-quality silk plants are a great, zero-maintenance alternative that still provide hiding places and break up sight lines, reducing stress.
Understanding the Nitrogen Cycle in a Filterless Tank
You might wonder where the beneficial bacteria live without a filter. They colonize every surface: the gravel, the glass, the decorations, and especially inside the filter media if you ever add one. In your filterless tank, the substrate is your primary bio-media. This is why you don’t want to rip out and thoroughly wash all your gravel every week—you’d be decimating the bacterial colony that processes your betta’s waste. Your weekly 25-50% water change removes the waste products (ammonia, nitrite) but leaves the bacteria largely intact on the surfaces. This is a delicate but functional balance.
Optional: The “Towel Test” for Clarity
Between cleanings, you can gauge water quality by looking through it. If you can easily read text through the tank wall, your water is likely clear of suspended particles. If it has a slight haze or “cloud,” it often indicates a bacterial bloom, which can be triggered by overfeeding or an incomplete cycle. The solution is not a full clean, but a strict feeding regimen and ensuring your weekly water changes are done properly.
Troubleshooting: Common Problems and Solutions
Persistent Algae on the Glass
If algae returns within days of cleaning, you have an imbalance. Common causes are: 1) Too much light (move the tank away from direct sunlight, reduce light to 8 hours max per day). 2) Excess nutrients from overfeeding. 3) Tap water high in phosphates. Use a razor blade scraper carefully on the inside glass for a fresh start, then aggressively reduce light and feeding. Adding live plants can outcompete algae for nutrients.
Cloudy Water
As mentioned, a bacterial bloom (milky white cloud) is usually temporary and resolves with consistent water changes. A green cloud is an algae bloom, addressed by reducing light. A grayish cloud is often from silt or over-disturbing the substrate during cleaning. Be gentler with the gravel vac next time.
Your Betta is Lethargic After Cleaning
First, check your parameters. Did the new water match temperature? Did you forget conditioner? Is the pH drastically different? Lethargy post-water change is a red flag for shock. In the future, be more meticulous with temperature matching. You can also add the new water more slowly, or even use a drip method (hang the bucket above the tank and use airline tubing with a knot to control drip rate) for the most gentle change possible.
“My Tank Still Smells Bad!”
A healthy aquarium has little to no odor. A foul, rotten egg smell indicates severe anaerobic conditions, likely from compacted, dirty substrate that hasn’t been vacuumed properly. You must do a more thorough gravel vac, disturbing the substrate more than usual to remove deep waste pockets. Do this over two days (vacuum half the tank one day, half the next) to avoid a massive bacterial shock to the system. Ensure you are not overfeeding.
Conclusion: Patience and Consistency Are Your Best Tools
Cleaning a betta fish tank without a filter transforms from a chore into a meditative ritual. It connects you directly to the health of your aquatic pet. By committing to a weekly schedule of partial water changes, mindful feeding, and gentle surface cleaning, you create a stable, clean environment that compensates for the lack of mechanical filtration. Remember, you are mimicking nature’s own process of water renewal. The calm, still water your betta thrives in is a reflection of your consistent care. It requires more hands-on involvement than a filter, but for many betta enthusiasts, that connection is the entire point. You are not just maintaining a tank; you are curating a tiny, beautiful world. Now, gather your siphon, match that water temperature, and enjoy the clarity and vitality of your filterless betta kingdom.
Frequently Asked Questions
Can I use bottled spring water instead of tap water for my betta tank?
While you can use bottled spring water, it’s not ideal. It lacks essential minerals bettas need and can have inconsistent pH. It’s also expensive and creates plastic waste. Properly conditioned tap water is almost always the best, most cost-effective choice, as conditioners are designed to neutralize tap water’s specific contaminants.
What if I disturb the gravel too much and make the water cloudy?
A slightly cloudy tank after a water change is normal from stirred-up particles and should clear within a few hours as the filter (if you have one) or the settling debris does its work. If you have no filter, use the gravel vac more gently next time, hovering it just above the substrate to suck up loose debris without churning the gravel itself. The cloud will settle overnight.
How do I know if my water changes are big enough?
The best tool is a liquid water test kit (like the API Freshwater Master Test Kit). Test your water before a change. If ammonia or nitrite reads above 0.25 ppm, or nitrate is above 20 ppm, your changes are too small or too infrequent. Aim to keep ammonia and nitrite at 0 ppm and nitrate below 20 ppm. If you don’t test, the rule is: if the water looks even slightly less than crystal clear a few days after a change, increase the change volume to 40-50%.
Can I clean the tank with my betta still in it?
It is strongly advised to not do a full clean with the fish in the tank. The stress of being netted, moved, and exposed to fluctuating conditions is high. For a simple 25% water change and algae wipe, you can leave the betta in if you are very gentle. For any more extensive work, especially if you need to remove decorations, it is safer and less stressful to temporarily house your betta in a clean, conditioned, temperature-matched holding container (like a small food-safe tub) with a lid.
My betta’s tank has a lot of slimy, brown gunk on the decorations. What is it?
That is likely a combination of algae and bio-film (a layer of beneficial bacteria and microorganisms). It is not harmful in itself, but excessive buildup is unsightly and indicates too many nutrients. Remove the decorations and scrub them vigorously in a bucket of the old tank water you just removed during the water change. This will remove the gunk without killing the beneficial bacteria on its surface with chlorine. Rinse well before returning to the tank.
Is a water change ever an emergency if I forget a week?
Missing one week in a properly cycled 5-gallon tank is usually not a crisis, but it should not become a habit. The risk is a spike in ammonia from accumulated waste. If you miss a week, perform a 50% water change immediately at the next opportunity and be extra vigilant for signs of stress in your betta (gasping, lethargy, loss of appetite). Going forward, set a weekly alarm. Consistency is the cornerstone of filterless success.