How to Clean a Betta Fish Tank with a Filter
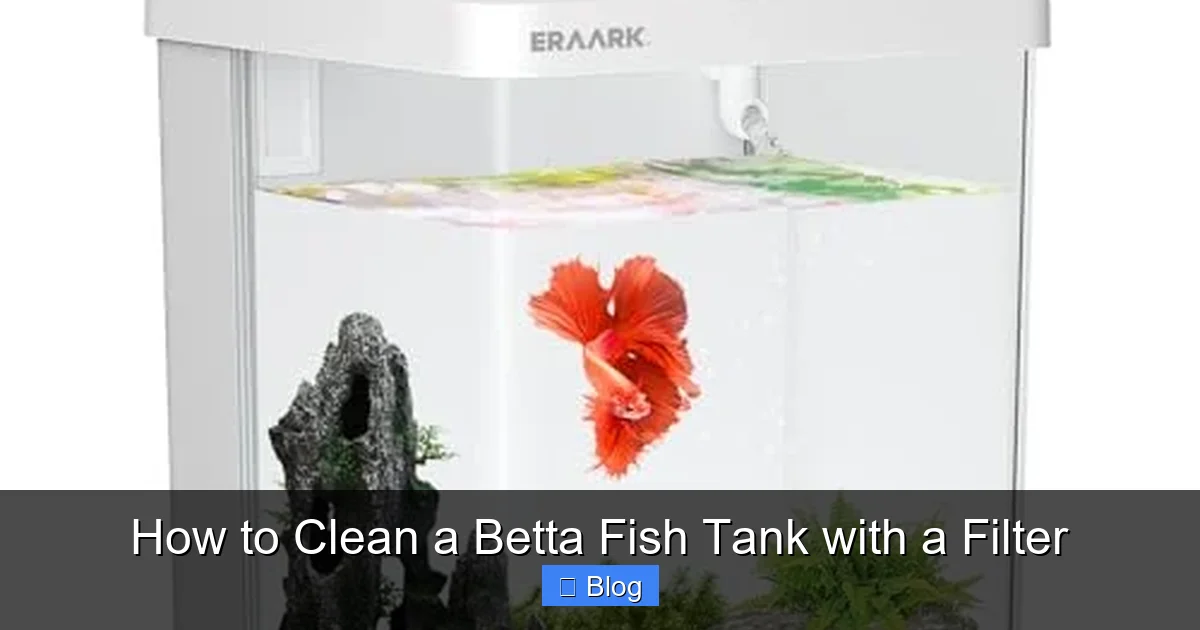
Cleaning a betta tank with a filter is a simple, vital routine that ensures your fish’s health. It involves partial water changes, gentle filter media rinsing, and gravel vacuuming—never a full tank scrub. The key is preserving beneficial bacteria while removing waste, creating a stable, clean environment your betta will thrive in.
So, you’ve set up a beautiful betta fish tank with a filter. You’ve got your vibrant betta, some silk plants, maybe a cozy hideaway. Everything looks perfect. But then, you notice a slight haze in the water, or a few leaves drifting on the surface. The inevitable question arises: how do you clean a betta fish tank with a filter without harming your delicate fish or crashing the tank’s ecosystem? It’s a common worry for betta owners. The good news is that cleaning a filtered betta tank is a straightforward, gentle process that, when done correctly, becomes a simple ritual that directly contributes to your fish’s long, healthy life. This guide will walk you through every step, explaining the why behind each action so you can clean with confidence.
First, let’s bust a major myth: cleaning a betta tank does not mean scrubbing everything spotless and starting over. In fact, that’s one of the worst things you can do. Your betta lives in a miniature, balanced ecosystem. That cloudy water you see? It’s often a sign of beneficial bacteria doing their job. A filter isn’t just a mechanical trash can; it’s a thriving biochemical processing unit. When we clean, our goal is to remove excess waste (uneaten food, fish poop) while carefully preserving the good bacteria that process toxic fish waste. Think of it less like cleaning a kitchen counter and more like tending a garden—you prune the weeds but nurture the soil.
This guide is designed for the average betta keeper with a standard hang-on-back (HOB) or internal sponge filter. We’ll cover the essential tools, the precise step-by-step process for a weekly partial water change and filter maintenance, and the crucial mistakes to avoid. By the end, you’ll understand that maintaining a clean, healthy betta tank with a filter is less about heavy labor and more about smart, consistent habits.
Key Takeaways
- Never remove all filter media at once: Your filter houses essential beneficial bacteria. Rinse only half the media in old tank water to preserve the bacterial colony.
- Always use dechlorinator: Tap water contains chlorine and heavy metals lethal to fish. Treat all new water before it enters the tank.
- Match water parameters: New water must be within 1-2°F of tank temperature and have matching pH and hardness to prevent shock.
- Clean the gravel during every water change: Use a gravel vacuum to remove trapped waste from the substrate without disturbing the tank decor.
- Clean the filter less frequently than you change water: A monthly filter rinse is typically sufficient for a betta tank with a gentle filter.
- Never use soap or chemicals: Even a trace of detergent is fatal. Use only water (old tank water is best) for all cleaning tasks.
- Test your water regularly: Use a liquid test kit to monitor ammonia, nitrite, nitrate, and pH. This is the only true measure of tank cleanliness.
📑 Table of Contents
Understanding Your Filter: The Kidney of Your Tank
Before we pick up a single tool, we need to understand what the filter actually does. This knowledge is the foundation of proper cleaning. A filter performs three critical functions: mechanical, chemical, and biological filtration.
Mechanical Filtration: The Physical Strainer
This is the most obvious part. Filter pads, sponges, or floss physically trap solid particles—fish poop, uneaten food, plant debris—as water flows through. This is what keeps the water clear. Over time, this media becomes clogged, reducing water flow and efficiency. This is the part you rinse during cleaning.
Chemical Filtration: The Purifier
Often in the form of activated carbon or specialized resins, chemical filtration absorbs dissolved organic compounds, tannins (which can tint water brown), medications, and odors. Carbon is not a magic bullet and loses its absorbing capacity after 2-4 weeks. In a well-maintained betta tank with regular water changes, dedicated chemical media is often unnecessary unless you’re removing a specific contaminant.
Biological Filtration: The Heart of the Cycle
This is the most important and misunderstood part. Beneficial bacteria (Nitrosomonas and Nitrobacter) colonize every surface in your tank—the filter media, the gravel, the glass, the decor. They form a living biofilm that converts toxic fish waste (ammonia) into nitrite, and then into far less toxic nitrate. This process is called the nitrogen cycle. Your filter media, with its high surface area and constant flow of oxygenated water, is a prime real estate for these bacteria. This is why you never wash filter media in tap water—the chlorine kills them instantly. This is also why you never change all your filter media at once—you’d crash your cycle by removing the bacterial home.
For a betta tank, a simple sponge filter or a gentle HOB filter with a coarse sponge pre-filter is often ideal. It provides excellent biological surface area without creating a current too strong for your betta’s long fins. Understanding that your filter’s primary job is to host bacteria, not just catch debris, will change how you approach cleaning forever.
Gathering Your Tools: The Cleaning Kit
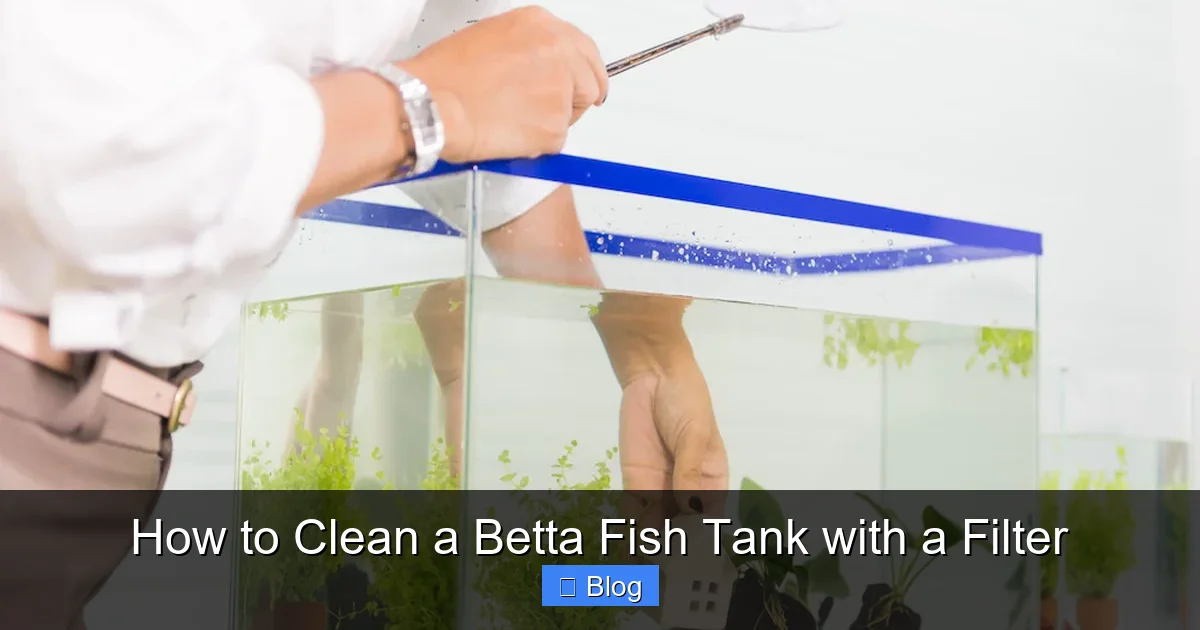
Having everything ready before you start makes the process smooth and quick, minimizing stress for you and your betta. Here’s your essential kit:
Visual guide about How to Clean a Betta Fish Tank with a Filter
Image source: marinelifetank.com
- A Dedicated Bucket (5-gallon/19L is ideal): This bucket is only for aquarium use. Never use a bucket that has held soap, chemicals, or cleaning supplies. Label it “FISH TANK ONLY.”
- A Gravel Vacuum/Siphon: This is your #1 tool. A simple Python or Aqueon siphon with a hand pump is perfect. It allows you to remove dirty water while simultaneously vacuuming debris from the gravel. For a 5-gallon betta tank, a narrow 1-inch diameter siphon tube works best.
- Water Conditioner/Dechlorinator: Seachem Prime is the gold standard for its ability to detoxify ammonia for 48 hours, but any reputable brand (API Stress Coat+, Tetra AquaSafe) will remove chlorine and chloramines. You cannot skip this step.
- A Thermometer: To ensure the new water temperature matches the tank within 1-2 degrees Fahrenheit.
- Old, Clean Rag or Paper Towels: For wiping the outside of the glass and any spills. Do not use these inside the tank.
- Scissors (if needed): To trim any dead leaves from live plants.
- A Small Container: For temporarily holding your betta if you need to remove it (rarely necessary for routine cleaning).
Optional but helpful: A magnetic algae scraper for the inside glass, a toothbrush designated for aquarium use to clean decor, and a small turkey baster for spot-cleaning debris.
The Step-by-Step Cleaning Process: A Weekly Ritual
For a single betta in a 5+ gallon filtered tank, a weekly partial water change of 25-30% is the standard recommendation. This dilutes nitrates (the end product of the cycle) and removes other dissolved organics. The filter media rinse can be done less frequently, about every 2-4 weeks, depending on your tank’s bioload and filter type. Let’s combine these into one efficient routine.
Visual guide about How to Clean a Betta Fish Tank with a Filter
Image source: petshun.com
Step 1: Preparation is Everything
Start by filling your clean bucket with the amount of water you plan to replace (e.g., 1.5 gallons for a 5-gallon tank). Always treat this new water with the full dose of water conditioner according to the product label. Place the bucket near your aquarium stand. Let the water sit for 15-30 minutes to reach room temperature, or use a separate heater to bring it precisely to tank temperature. Matching temperature is critical to prevent thermal shock.
Step 2: Dechlorinate & Prep the Tank
Double-check that your new water is dechlorinated. Now, take a moment to observe your tank. Where is the debris accumulating? Is the filter flow visibly reduced? This mental note helps you target your cleaning. If you have live plants, trim any dead or decaying leaves now.
Step 3: The Gentle Siphon & Gravel Vacuum
This is the core of your water change. Insert the narrow end of your gravel vacuum into the substrate. You want to push it down about 1-2 inches into the gravel. The goal is to stir up and remove the waste that has settled between the gravel pieces—the fish poop and uneaten food that decays into ammonia.
Place your thumb over the wide end of the siphon tube to start the siphon. Begin slowly moving the vacuum through the gravel in a grid pattern. You’ll see a cloud of debris get sucked up. As the debris clears, you’ll see clean(er) water. Keep the vacuum in one spot until the water runs clear, then move to an adjacent spot. Do not dig too deep or violently stir the entire bed; focus on the surface layer. Do not vacuum the entire gravel bed in one session. Rotate sections each week. This process removes solid waste and replaces it with clean, dechlorinated water.
Step 4: Filter Maintenance – The “Rinse, Don’t Wash” Rule
With the water change underway, it’s time to address the filter. Never, under any circumstances, run your filter media under a tap water stream. Chlorine will annihilate your beneficial bacteria. Here’s the correct method:
- Unplug the filter and remove it from the tank. If it’s a HOB filter, take the media cartridge(s) out. If it’s a sponge filter, lift the airline tube and remove the sponge.
- Take a cupful of the old tank water you just siphoned out (the dirty water is perfect for this) and place it in a separate, clean container. This water contains no chlorine and is the same temperature.
- Gently squeeze and agitate the filter media (sponges, pads) in this old tank water. You’ll see the dirty particles rinse off. The water will turn murky. This is normal. Continue until the water runs relatively clear. For a coarse sponge, a few good squeezes are enough. For floss or fine pads, be very gentle.
- Key Rule: Only clean about 50% of the total media at a time. For example, if you have two sponge inserts, rinse only one. If you have a single cartridge with layers, only rinse the outer mechanical layer (the floss/sponge), leaving the inner bio-media (ceramic rings, bio-balls) untouched. This ensures you always have an established bacterial colony.
- Reassemble the filter with the rinsed media and place it back on/in the tank. Plug it back in.
For canister filters, the process is similar but involves opening the canister. Always use tank water for rinsing. Replace chemical media (carbon) according to the manufacturer’s schedule, typically every 4-6 weeks.
Step 5: The Final Top-Off
Once you’ve siphoned the desired amount of water (25-30% of the tank volume), carefully pour the new, dechlorinated, temperature-matched water from your bucket into the tank. Do not pour directly onto your betta or decor. Pour it slowly against the glass or onto a flat rock to diffuse the flow and prevent disturbing the substrate too much. If you have a heater, ensure it’s fully submerged after the water level rises.
Step 6: Wipe Down & Inspect
Use your dedicated rag to wipe the outside of the glass, removing any fingerprints or water spots. Check the inside glass for algae. If there’s a thin film on the front, you can use a clean algae pad (magnetic or handheld) only if necessary. A little algae is actually beneficial as a food source for some tank inhabitants and a sign of a balanced cycle. Your primary job is waste removal, not achieving a sterile, algae-free tank.
Critical Mistakes to Avoid: What NOT To Do
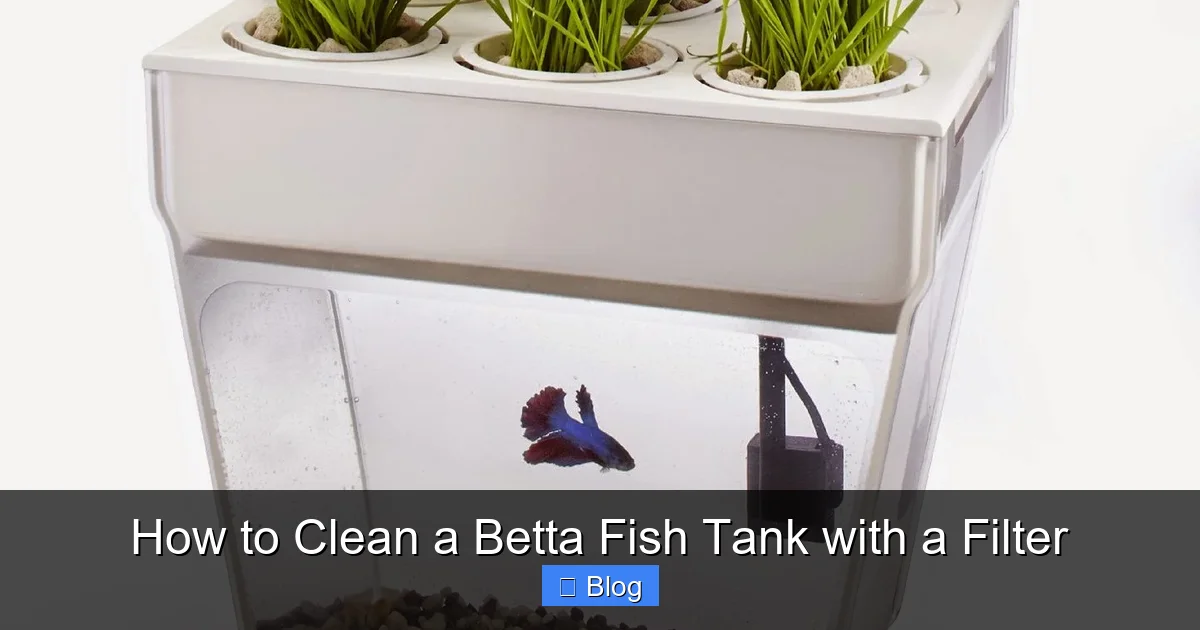
Even with the best intentions, it’s easy to make errors that can destabilize your betta’s environment. Here are the most common pitfalls:
Visual guide about How to Clean a Betta Fish Tank with a Filter
Image source: 2.bp.blogspot.com
The Full Tank Teardown
This is the cardinal sin. Do not remove all your fish, all your water, all your decor, and scrub everything with soap (or even just water). This destroys the entire bacterial colony, forcing you to restart the nitrogen cycle from scratch. During this “new tank syndrome,” toxic ammonia and nitrite will spike, likely killing your betta. Never perform a 100% water change unless you are treating a specific disease and have followed precise protocols. Stick to partial changes.
Using Tap Water on Filter Media
As emphasized, this is a one-way ticket to a crashed cycle. The chlorine in tap water is a sterilant. It will kill the beneficial bacteria living in your filter sponge, leading to immediate ammonia spikes. Always, always use old tank water.
Over-Cleaning the Gravel
While vacuuming is essential, you don’t need to deep-clean every inch of gravel every week. The top layer holds a lot of beneficial bacteria. Vigorous, deep vacuuming of the entire bed weekly can remove too much of this bacteria. Stick to surface-level vacuuming in a different quadrant each week.
Neglecting Water Parameter Testing
You cannot see ammonia, nitrite, or nitrate. You might have perfectly clear water but dangerously high toxin levels. A reliable liquid test kit (like the API Freshwater Master Test Kit) is non-negotiable equipment. Test your water before a cleaning to establish a baseline, and again 24 hours after to ensure your cycle remained stable. This is your report card on tank health.
Ignoring Flow Rate & Betta Stress
After cleaning, especially if you rinsed the filter, the flow might temporarily increase or become more turbulent. Observe your betta. Is it struggling to swim or being pushed around? If so, you may need to adjust your filter’s flow setting (if it has one), add a pre-filter sponge to the intake, or baffle the outflow with a spray bar or decoration. A stressed betta will clamp its fins, hide excessively, or gasp at the surface.
Troubleshooting: After the Clean
Sometimes, even with perfect technique, things don’t look right after a cleaning. Here’s how to diagnose common issues.
“My water is cloudy after the water change!”
This is usually a temporary suspension of fine particles from the gravel you disturbed. It should clear within 2-6 hours as the filter catches them. Do not perform another water change. If it persists for days, you may have over-vacuumed, stirring up deep debris, or your filter media may be too clogged to handle the load. Check your filter flow; if it’s weak, rinse the media as described.
“My betta is acting stressed (clamped fins, hiding).”
First, check your water parameters immediately with a test kit. A spike in ammonia or nitrite is the prime suspect. If parameters are good, consider a temperature shock (verify thermometer accuracy) or a sudden change in water flow/pH from the new water. Ensure your new water was properly dechlorinated and temperature-matched. Provide plenty of hiding spots and dim lighting to help it recover.
“My filter flow is really weak now.”
This is likely because you didn’t rinse the media thoroughly enough, or you have a very efficient bio-load. Check that the impeller (the small propeller inside the filter) isn’t jammed with debris—unplug the filter and gently clean it with a Q-tip. If the flow doesn’t improve after a few hours, you may need to rinse the mechanical media again in old tank water. A weak flow means poor mechanical and biological filtration.
“There’s a weird smell.”
A mild, earthy smell is normal. A strong, rotten egg (sulfur) smell indicates anaerobic bacteria in the gravel or filter producing hydrogen sulfide, often from deep, undisturbed debris pockets. This is a sign to be more thorough with your gravel vacuuming in that specific area next week. A “fishy” or ammonia smell means your cycle is failing—test water immediately.
Long-Term Maintenance: Building a Routine
The secret to a happy betta and a pristine tank is consistency. Your cleaning routine should be a predictable event for both you and your fish.
Weekly (15-20 minutes): Perform the 25-30% water change with gravel vacuuming. Wipe the outside glass. Observe your fish closely for any signs of illness (spots, torn fins, lethargy). Check filter flow rate.
Bi-Weekly to Monthly: Rinse half of your filter media in old tank water, as described. Clean the filter intake sponge if it’s clogged. Trim live plants. Scrape any algae from the glass only if it’s obstructing your view (a little is fine).
Monthly: Test your water parameters (ammonia, nitrite, nitrate, pH). This is the most important check. Keep a logbook. If nitrates are consistently above 20 ppm before a water change, you may need to increase the change percentage or frequency. Inspect all equipment (heater, filter, air pump if used) for proper function.
Remember, a betta tank with a filter is a living system. It’s not about achieving a sterile laboratory. It’s about managing the inputs (food, waste) and outputs (filtration, water changes) to create a stable, low-stress home. Your betta will reward you with vibrant colors, active exploration, and beautiful bubble nests when the water quality is pristine.
In conclusion, cleaning a betta fish tank with a filter is an act of stewardship. It’s a gentle, respectful process of removing what’s harmful while nurturing what’s beneficial. By using dechlorinated water, preserving filter bacteria, vacuuming the gravel, and testing regularly, you move from being a nervous cleaner to a confident caretaker. You’re not just changing water; you’re maintaining the delicate balance that allows your incredible betta—a fish known for its personality and beauty—to flourish in your care for years to come.
Frequently Asked Questions
How often should I clean my betta fish tank with a filter?
You should perform a 25-30% partial water change with gravel vacuuming once a week. The filter media itself only needs to be rinsed in old tank water every 2-4 weeks, depending on how quickly it gets clogged. Never clean the filter and change 100% of the water at the same time.
Can I use tap water directly to clean my betta tank?
No. Tap water contains chlorine and chloramines, which are lethal to fish and will kill the beneficial bacteria in your filter. All new water added to the tank must be treated with a complete water conditioner/dechlorinator. You should also only rinse filter media in old tank water, never tap water.
What if my filter is too strong for my betta?
A strong current stresses bettas and can damage their fins. You can reduce flow by adding a pre-filter sponge over the intake, using a spray bar or diffuser on the output, or placing decorations like plants or rocks to break up the current. Some filters have adjustable flow settings. The goal is a gentle flow where your betta can rest easily without being pushed around.
How do I know if my tank is truly clean?
The only accurate way is to test your water parameters with a liquid test kit. A clean, cycled tank should have 0 ppm ammonia, 0 ppm nitrite, and nitrates below 20 ppm. Clear water is not a reliable indicator of water quality, as toxins are invisible. Test weekly to ensure your cleaning routine is effective.
Can I clean my betta tank without a siphon/gravel vacuum?
While a siphon is the most efficient tool, you can use a small cup or pitcher to remove old water and manually stir the gravel to release debris, then quickly remove the cloudy water with the cup. However, this is far less effective at removing deep-seated waste and is much more disruptive to the tank. Investing in a simple siphon is highly recommended for proper maintenance.
My tank has algae. Should I scrub it all off during cleaning?
A thin layer of algae on the glass is normal and even a sign of a balanced cycle. Focus your cleaning on waste removal (water changes, gravel vacuuming). Only scrape algae if it’s visibly thick or obstructive. Use an algae pad (magnetic or handheld) and never use soap or household cleaners. Some algae-eating snails or shrimp can help, but they are not a substitute for proper maintenance.