How to Change Fish Water Betta
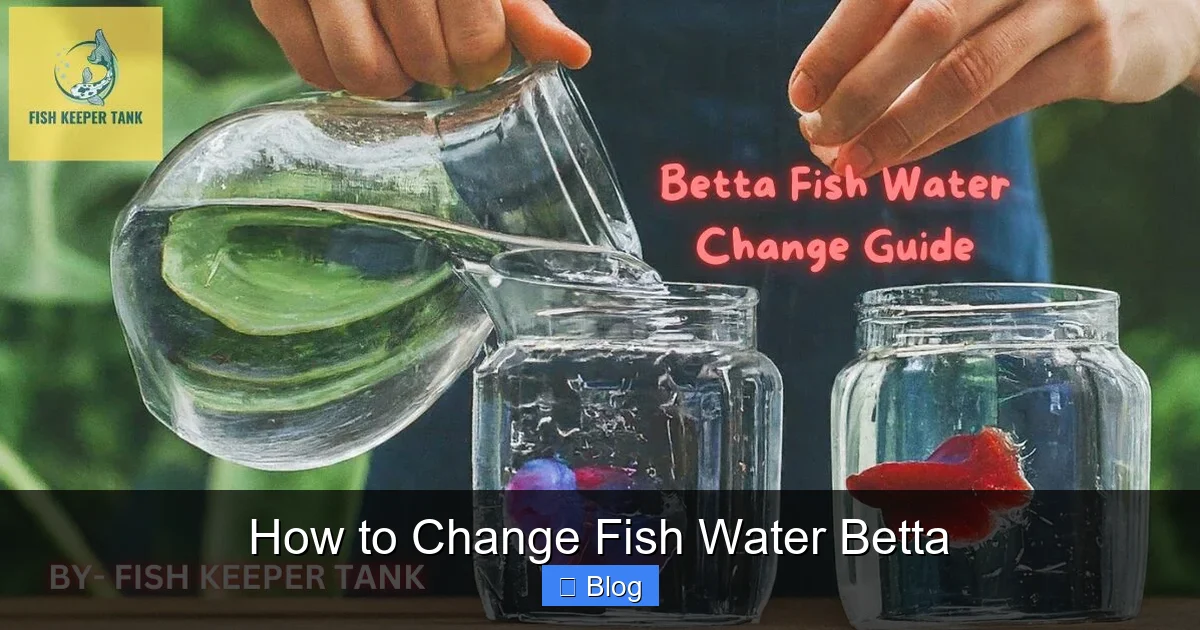
Regular water changes are non-negotiable for a thriving betta. Use dechlorinated water at the same temperature, never clean decorations with soap, and perform partial changes weekly. Understanding your betta’s sensitive nature is the first step to preventing disease and ensuring a long, vibrant life. This guide simplifies the entire process from setup to completion.
Key Takeaways
- Consistency is critical: Establish a weekly routine for partial water changes to maintain stable water parameters and prevent toxic ammonia and nitrite buildup.
- Water conditioning is mandatory: Always use a reliable water conditioner to neutralize harmful chlorine, chloramines, and heavy metals from tap water before it touches your betta.
- Temperature matching prevents shock: The new water must be within 1-2°F (0.5-1°C) of the tank’s current temperature to avoid dangerous thermal stress.
- Clean, don’t sanitize: Never use soap, detergents, or harsh chemicals on any tank items. Rinse decorations and filter media thoroughly in the old tank water you’re removing.
- Partial changes are best: Replace 25-50% of the water weekly rather than doing full 100% changes, which disrupts beneficial bacteria and stresses your fish.
- Observe your betta: Watch for signs of stress like clamped fins or lethargy during and after a change, which indicate a problem with the process or water quality.
- Test your water: Use an aquarium test kit regularly to understand your water’s chemistry and confirm your maintenance schedule is effective.
📑 Table of Contents
- Why Proper Water Changes Are The #1 Betta Health Secret
- How Often Should You Change Your Betta’s Water? The Golden Rule
- Gathering Your Arsenal: Essential Tools for a Smooth Change
- The Step-by-Step Guide: Performing a Partial Water Change (The Standard Method)
- When and How to Perform a Full Water Change (The Emergency Reset)
- Advanced Tips & Troubleshooting: From Good to Great
- Conclusion: Making it a Habit, Not a Chore
Why Proper Water Changes Are The #1 Betta Health Secret
Let’s be honest: “how to change fish water betta” isn’t the most glamorous topic. But if you own a Siamese fighting fish, it’s the single most important skill you can learn. Think of your betta’s tiny bowl or tank not as a static ornament, but as a living, breathing ecosystem—one that quickly becomes a toxic soup without your help. Betta fish are famous for living in small spaces, a myth that leads to suffering. In reality, they originate from shallow, flowing rice paddies in Thailand. That water is warm, slightly acidic, and constantly refreshed by rain and streams. Your glass box has none of that natural renewal.
Every time your betta eats, excretes, or even breathes, it releases waste products. The primary villain is ammonia, which is lethally toxic even at tiny concentrations. Beneficial bacteria in your filter and on surfaces convert ammonia to nitrite (also toxic) and then to nitrate (less toxic but still problematic in high amounts). Without water changes, these toxins accumulate, burning your betta’s gills, damaging its immune system, and leading to diseases like fin rot or dropsy. A proper water change is like giving your betta a fresh, clean lungful of air. It dilutes these toxins, removes uneaten food and debris, and stabilizes the water chemistry, which is crucial because bettas are extremely sensitive to pH swings and water hardness. Mastering this routine is the foundation of preventing almost all common betta ailments.
The Myth of the “No-Change” Bowl
You’ve seen them: a beautiful betta in a small, decorative vase with a plant on top. Marketing suggests this is a self-sustaining ecosystem. It’s not. That closed system will poison your fish in a matter of weeks. The plant roots might absorb some nitrate, but they do nothing for ammonia or nitrite. The water volume is so low that a single meal’s waste can spike toxins to lethal levels. If you have your betta in a container under 3 gallons, you must perform more frequent changes (sometimes 30% every other day) just to keep parameters safe. A filtered, heated tank of 5+ gallons is the true minimum for a healthy life, and even then, water changes are essential.
How Often Should You Change Your Betta’s Water? The Golden Rule
The most common question after “how” is “how often?” There’s no single answer, as it depends entirely on your tank setup. The golden rule is: the smaller the tank, the more frequent the changes. Let’s break it down by scenario.
Visual guide about How to Change Fish Water Betta
Image source: i.ytimg.com
- Unfiltered Bowl/Jar (Under 2 Gallons): This is the highest-maintenance scenario. You must perform a 50-100% water change every single day. There is no biological filtration to process waste. Toxins build up with terrifying speed. This is not ideal and is very stressful for the fish, but if this is your situation, daily changes are non-negotiable for survival.
- Small Filtered Tank (2.5 – 5 Gallons): This is a common starter size. With a gentle filter, you should aim for a 25-30% water change twice per week. The filter provides some bacterial processing, but the water volume is still limited. Consistency here prevents nitrate creep.
- Ideal Filtered Tank (5+ Gallons): This is the sweet spot for a happy, low-stress betta. A properly cycled filter on a 5-10 gallon tank can handle waste more efficiently. Here, a 25-50% water change once per week is typically sufficient. You might stretch to every 10 days if you test your water and see nitrate levels are below 20 ppm, but weekly is the safest, most consistent habit.
Signs You Need an *Immediate* Change (Not Just on Schedule)
Your schedule is a guide, but your water is the boss. These signs mean you need to stop and do a change now, regardless of the calendar:
- Cloudy or Murky Water: This is often a bacterial bloom from excess waste. It’s a clear visual cue.
- Visible Debris: Uneaten pellets, dead plant matter, or fish waste on the substrate.
- Algae Growth: While some algae is normal, a sudden bloom on the glass or decorations signals excess nutrients (nitrates/phosphates).
- Your Betta Looks Lethargic or Gasping: This could indicate poor water quality, especially if it’s at the surface. Test the water immediately.
Gathering Your Arsenal: Essential Tools for a Smooth Change
Doing this right is 90% preparation. Hunting for tools mid-change leads to stressed fish and spilled water. Assemble your kit before you even touch the tank. Here’s your checklist:

Visual guide about How to Change Fish Water Betta
Image source: i.ytimg.com
- Water Conditioner (Dechlorinator): This is your most important chemical. Seachem Prime is the gold standard for its ability to also detoxify ammonia and nitrite for 24-48 hours, providing a safety net. Any reputable brand (API Stress Coat+, Aqueon Water Conditioner) works. Never skip this step.
- A Dedicated Clean Bucket: You need at least one, but two is better. One for removing old tank water, one for holding fresh, conditioned water. This bucket is for aquarium use ONLY. Never use a bucket that has held cleaning chemicals, even if you think you rinsed it.
- Aquarium Vacuum/Siphon: This is your best friend. A simple gravel vacuum (like the Python or Fluval Edge brands) allows you to remove debris from the substrate while siphoning out water. For a betta tank, a small, manual gravel vac is perfect.
- Thermometer: Do not guess the temperature. A cheap stick-on or floating thermometer is essential to ensure your new water matches the tank’s temperature within 1-2°F.
- Clean Cloth or Paper Towels: For wiping down the outside of the glass and any spills.
- Water Test Kit (Optional but Highly Recommended): A liquid test kit (like API Freshwater Master Test Kit) is far more accurate than test strips. Testing before and after a change helps you understand your tank’s cycle and if your maintenance is working.
What NOT to Use: Common Tool Traps
Avoid these like the plague:
- Soap or Detergent: Even a trace amount is fatal. It destroys the slime coat on your fish and is toxic.
- Sponges or Scrubbers from Your Kitchen: They can harbor residues of dish soap or food.
- Hot Water: Do not rinse filter media or decorations in hot tap water. It will boil your beneficial bacteria. Use the old tank water you’re removing.
- Unconditioned Tap Water: Chlorine and chloramines in tap water are instant killers. Always condition.
The Step-by-Step Guide: Performing a Partial Water Change (The Standard Method)
This is your weekly workhorse. A partial change cleans the tank without crashing the biological cycle. We’ll assume a 5-gallon filtered tank. Adjust percentages for your size.
Visual guide about How to Change Fish Water Betta
Image source: wikihow.com
Step 1: Preparation (5 Minutes)
First, unplug your heater and filter (if the filter is above the water line, you can leave it on, but it’s safer to unplug to prevent overheating if the water level drops too low). This is a critical safety step to prevent equipment damage or electrical hazards. Next, take your clean bucket and your water conditioner. Fill the bucket with fresh tap water—enough to replace 25-50% of your tank volume (e.g., 1.25 to 2.5 gallons for a 5-gallon tank). Add the conditioner according to the bottle directions (usually 1 ml per 5-10 gallons). Stir it in. Now, let this water sit. Why? It needs to come to room temperature. If your tank is heated to 78°F, cold tap water will shock your betta. You can speed this up by using a dedicated heater for the bucket, but often just letting it sit for 30-60 minutes is enough. Check the temperature with your thermometer before proceeding.
Step 2: The Siphon & Clean (10-15 Minutes)
Now, the main event. Place the end of your gravel vacuum into the tank and the other end into your empty “dirty water” bucket. Start the siphon by sucking on the tube (be careful not to swallow water!) or using a pump-start model. Once flowing, gently push the vacuum end into the gravel. You’ll see debris and fish waste get sucked up. Work methodically around the tank, stirring the gravel lightly in different spots. Don’t dig too deep if you have live plants. The goal is to remove the gunk that’s settled. If you have sand substrate, be even gentler. Continue until you have removed the desired amount of water (watch the bucket’s fill line). If you have a lot of debris on the surface, you can use a cup or the vacuum to gently remove it before siphoning.
Step 3: Clean Decor & Filter (Optional, 2 Minutes)
While the siphon is running or after, you can gently rinse any decorations (plastic plants, castles) in the bucket of old tank water you just removed. Use your hands to rub off any slime or algae. Do not use any soap. For your filter, this is a delicate balance. You do not want to sterilize it. Once a month, you might rinse the filter media (sponges, bio-balls) in that same bucket of old tank water. Squeeze out sponges gently. If you rinse them in chlorinated tap water, you will kill the beneficial bacteria, causing a “cycle crash” and a spike in ammonia. Never replace all filter media at once.
Step 4: The Refill (5 Minutes)
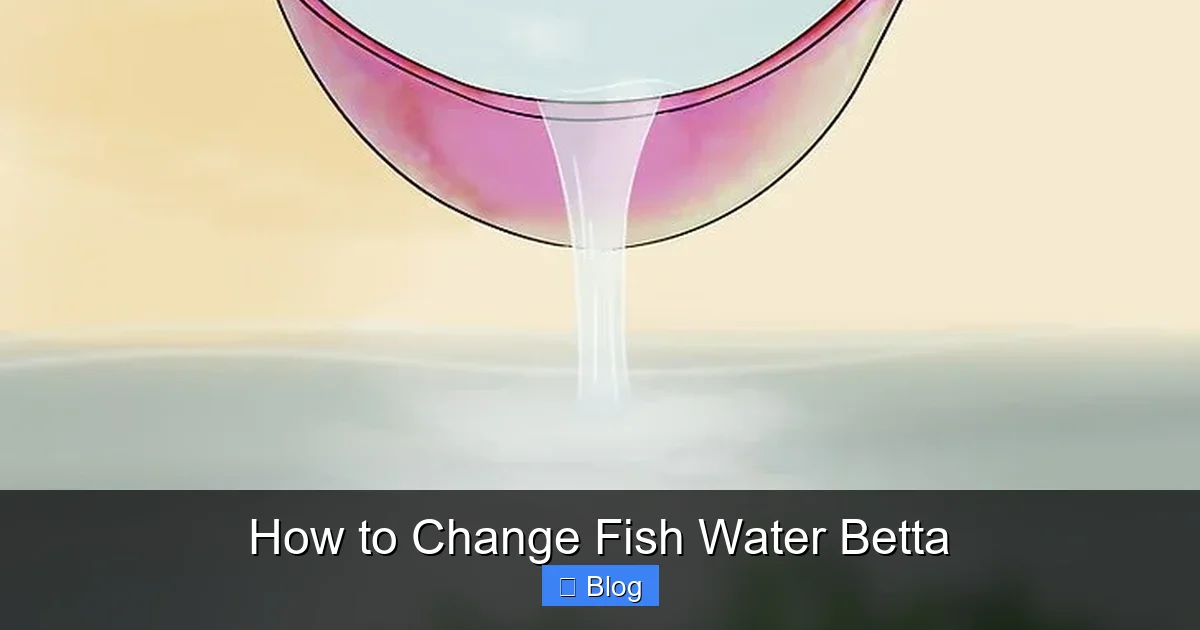
Now, carefully remove the siphon from the tank. Take your bucket of conditioned, temperature-matched fresh water. Slowly pour it back into the tank. Pouring it against the glass or onto a decoration minimizes splashing and disturbance. Try not to blast your betta with a torrent of water. If your betta is curious and swimming near the top, you can even use a cup to gently trickle the water in. Fill the tank to the original water line. Once full, wipe the outside glass with your clean cloth.
Step 5: Restart & Observe (2 Minutes)
Plug your filter and heater back in. Check that the filter is flowing properly and the heater is submerged. Now, give your betta a minute to settle. Observe its behavior. It should swim normally. If it’s darting erratically or gasping, double-check your water temperature and signs of contamination. A partial change should cause minimal stress. You can now tidy up your tools—rinse the siphon and buckets with fresh water (no soap) and let them air dry.
When and How to Perform a Full Water Change (The Emergency Reset)
A full 100% water change is not part of a regular maintenance schedule for a cycled tank. It’s a disruptive event that resets your biological filter. You should only do this in specific emergencies: a severe disease outbreak requiring medication that’s incompatible with your filter media, a catastrophic chemical spill in the tank, or if your tank is brand new and you’re doing a “fishless cycle” (which you should complete before adding a betta).
The Full Change Protocol (Minimizing Stress)
If you must do a full change, the steps are similar but with extra care:
- Prepare TWO full buckets of conditioned, temperature-matched water. You will need one to hold your fish temporarily and one to refill the tank.
- Catch your betta gently. Use a soft net or a clean cup. Do not chase it around the tank. Place it in the first bucket of clean, conditioned water. This bucket should be in a quiet, stable place. Cover it with a lid or cloth to prevent jumping.
- Completely empty and clean the tank. With the fish safe, remove all decorations, filter media, and substrate if necessary. Scrape algae off the glass. Rinse everything (except filter media if you’re keeping it) in old tank water or the second bucket of fresh water. Never use soap.
- Reassemble and refill. Put everything back, add the fresh conditioned water, then re-acclimate your betta. Because the entire environment is new, you should perform a drip acclimation. Float your betta’s cup in the new tank for 15-30 minutes, then slowly add a cup of new tank water to the cup every 5-10 minutes for an hour before netting the fish into the tank. This eases it into the new water chemistry.
After a full change, your tank’s beneficial bacteria are gone. You are starting from zero. You must monitor ammonia and nitrite daily with a test kit and be prepared to do 50% changes daily if they spike, until the cycle re-establishes (usually 2-6 weeks). This is why full changes are a last resort.
Advanced Tips & Troubleshooting: From Good to Great
Once you have the basic routine down, these tips will elevate your betta’s environment and your confidence.
Managing the Filter: The Heart of the Cycle
Your filter isn’t just for removing particles; it’s a home for nitrifying bacteria. This bacteria lives on the filter media (sponges, ceramic rings, bio-balls). When you clean your filter during a water change, you must be gentle. Rinse the media in the bucket of old tank water you just siphoned out. That old water contains the bacteria, so you’re not stripping it all away. Squeeze sponges until the water runs clear, but don’t overdo it. A little “dirt” is good—it’s the bacteria. Only replace 25% of your filter media at a time, and never all at once. If your filter flow is too strong for your betta (they prefer calm surfaces), you can baffle it with a sponge pre-filter or adjust the output.
The Substrate Debate: Gravel vs. Sand
Gravel is traditional and easy to vacuum. Debris falls between the stones. Sand looks more natural and is easier on delicate fins, but it requires a different vacuuming technique. You must hold the vacuum just above the sand and stir it lightly with your finger to release trapped debris, which will then get sucked up. Do not push the vacuum deep into sand, as you’ll remove too much sand itself. For bettas, smooth sand is an excellent choice if you’re willing to learn the vacuuming method.
Temperature: The Silent Killer
We’ve said it, but it bears repeating: temperature matching is 90% of the stress prevention. A difference of more than 2°F can cause thermal shock, weakening the immune system and making your betta susceptible to disease. Use a separate thermometer for your replacement water bucket. In winter, you may need to add a small heater to the bucket. In summer, you might need to let the water sit longer or use a chilled water bottle. Never add boiling water to cold tank water to warm it—this creates scalding hot spots. Always condition the water first, then adjust temperature if needed with a bucket heater.
Adding Live Plants: A Natural Boost
Easy, low-light plants like Anubias, Java Fern, or Marimo moss balls are fantastic for a betta tank. They absorb nitrates as fertilizer, provide hiding spots and resting shelves, and improve water quality. When adding plants, rinse them thoroughly in a bucket of dechlorinated water to remove any hitchhiking pests or snail eggs. Anchor them to rocks or driftwood; do not bury rhizome plants (Anubias, Java Fern) in the substrate, as they will rot.
Conclusion: Making it a Habit, Not a Chore
Changing your betta’s water is not a one-time task; it’s a weekly commitment that directly translates to your fish’s health, color, and personality. A clean tank means a curious, active betta that flares at its reflection and gracefully glides through crystal-clear water. A neglected tank means a dull, listless fish hiding at the bottom, prone to illness. The process we’ve outlined—conditioning water, matching temperature, siphoning debris, and cleaning tools—takes less than 30 minutes once you’re set up. Set a recurring calendar alert on your phone. Pair your water change day with another weekly routine, like doing laundry. The small, consistent effort you put in will reward you with years of companionship from one of the most charismatic and intelligent small pets you can keep. Your betta isn’t just surviving in your care; with proper water changes, it can truly thrive.
Frequently Asked Questions
Can I use bottled spring water for my betta tank instead of tap water?
It’s not recommended. Bottled water lacks essential minerals bettas need and can have an unstable pH. It’s also expensive and creates plastic waste. Properly conditioned tap water is almost always the best, most stable, and most cost-effective choice.
What happens if I accidentally skip a weekly water change?
Missing one change usually won’t cause immediate disaster, but it starts a toxic buildup. Nitrates will rise, and if your tank is small or overstocked, ammonia or nitrite could spike. The next change might be more critical. Get back on schedule immediately and consider testing your water to see where parameters stand.
Do I need to take my betta out of the tank during a partial water change?
No, you should never remove your betta for a standard partial change. The process is quick and the water parameters change minimally. Removing them causes unnecessary stress and risk of injury. Only remove your betta for a full tank overhaul or if you need to deep-clean the entire tank for some reason.
My tap water is very hard. Should I use a water softener or reverse osmosis (RO) water?
Most bettas are quite adaptable to a range of water hardness, as long as it’s stable. Sudden changes are the problem. Use your conditioned tap water. Only consider blending RO water if your hardness is extremely high (over 20 dGH) and your local water source is consistently that way. If you use RO, you must remineralize it to the correct parameters for fish.
My betta seems stressed and hides during the water change. Is this normal?
Some mild stress is normal due to the disturbance. However, extreme hiding, clamped fins, or rapid breathing indicate a problem. Re-check that your new water temperature matches exactly, that you used conditioner, and that you didn’t pour water directly on the fish. Ensure your tank has plenty of hiding spots (plants, caves) so your betta can feel secure during maintenance.
Can I change all the filter media at once during a water change?
Never. Your filter media houses the beneficial bacteria that process toxins. Replacing it all at once is like tossing out the entire sewage treatment plant. It will cause a “cycle crash,” leading to a deadly spike in ammonia. Only rinse media in old tank water and replace a portion (e.g., one sponge out of three) at a time over several months.