How to Clean a Betta Fish Tank with Live Plants
Cleaning a betta tank with live plants requires a delicate balance to protect your sensitive fish and delicate flora. Unlike bare tanks, you must avoid harsh chemicals and disturb the beneficial bacteria and root systems as little as possible. The key is regular, partial water changes using dechlorinated water, gentle gravel vacuuming around plants, and careful pruning. Following a structured, plant-friendly routine ensures a healthy, stable ecosystem where both your betta and your live plants can flourish long-term.
Key Takeaways
- Never use soap or chemicals: Even a trace of detergent is lethal to bettas and will kill live plants and beneficial bacteria.
- Preserve beneficial bacteria: Your filter media and gravel host crucial bacteria. Never rinse these in tap water; use old tank water only.
- Protect plant roots: When vacuuming, hover above the substrate near plant bases to avoid uprooting or damaging delicate root systems.
- Match water parameters perfectly: New water for top-offs and changes must match the tank’s temperature, pH, and hardness to prevent shock.
- Clean decor and glass separately: Use tank water (not tap) and a dedicated algae pad or soft brush for glass and decorations.
- Prune plants with sterilized tools: Use scissors or clippers dipped in hydrogen peroxide or alcohol, then rinsed, to prevent introducing pathogens.
- Frequency is key: Small, frequent water changes (25% weekly) are far better than rare, large ones for maintaining a stable environment.
[FEATURED_IMAGE_PLACEHOLDER]
📑 Table of Contents
- Why Cleaning a Betta Tank with Live Plants Is Different
- Essential Tools for the Job: Your Plant-Friendly Cleaning Kit
- The Step-by-Step Cleaning Process: A Gentle Touch
- Special Considerations for Live Plants
- Troubleshooting: What to Do When Things Go Wrong
- Establishing a Sustainable Cleaning Schedule
Why Cleaning a Betta Tank with Live Plants Is Different
So, you’ve upgraded your betta’s home from a simple vase to a lush, planted paradise. Fantastic choice! Live plants do wonders—they oxygenate the water, absorb harmful nitrates, provide natural hiding spots, and reduce stress for your colorful friend. But this beautiful, balanced ecosystem comes with a new responsibility: cleaning. You can’t just dump the water and scrub everything down like a empty bowl. A planted betta tank is a mini-ecosystem, a web of life where everything is connected. Your cleaning method must respect that connection.
Think of it this way: your betta’s tank isn’t just water and a fish. It’s a bustling city. The gravel is the soil, the filter is the sanitation department, the live plants are the parks and forests, and the beneficial bacteria are the invisible workers keeping everything clean. A traditional, harsh cleaning method is like sending in a wrecking ball—it destroys the city to “clean” it. Our goal is to be the gentle maintenance crew, tidying up while letting the city continue to function. We need to remove waste products (like a vacuum cleaner) without firing the sanitation workers (the bacteria) or bulldozing the parks (the plants).
This guide will walk you through exactly how to do that. We’ll cover the specific tools you need, the step-by-step process that prioritizes your betta’s sensitive fins and your plants’ root systems, and the common pitfalls to avoid. By the end, you’ll know how to maintain crystal-clear, healthy water in your planted betta tank with confidence and ease.
The Core Philosophy: Stability Over Sterility
The single most important concept to grasp is that in a cycled, planted aquarium, “clean” does not mean “sterile.” A sterile tank is a dead tank. The goal of cleaning is to remove accumulated waste (uneaten food, fish poop, decaying plant matter) and refresh mineral content while preserving the stable biological environment. Live plants help with this naturally, but they need your help to thrive alongside your betta. Harsh scrubbing and complete water changes crash the nitrogen cycle, leading to dangerous ammonia and nitrite spikes that can sicken or kill your betta. Your mantra will be: small, frequent, gentle.
Essential Tools for the Job: Your Plant-Friendly Cleaning Kit
Before you even touch the tank, having the right tools assembled makes the process smooth and prevents mistakes. Using the wrong tool is the fastest way to harm your plants or disrupt the ecosystem. Here’s what you need, and crucially, what you don’t need.
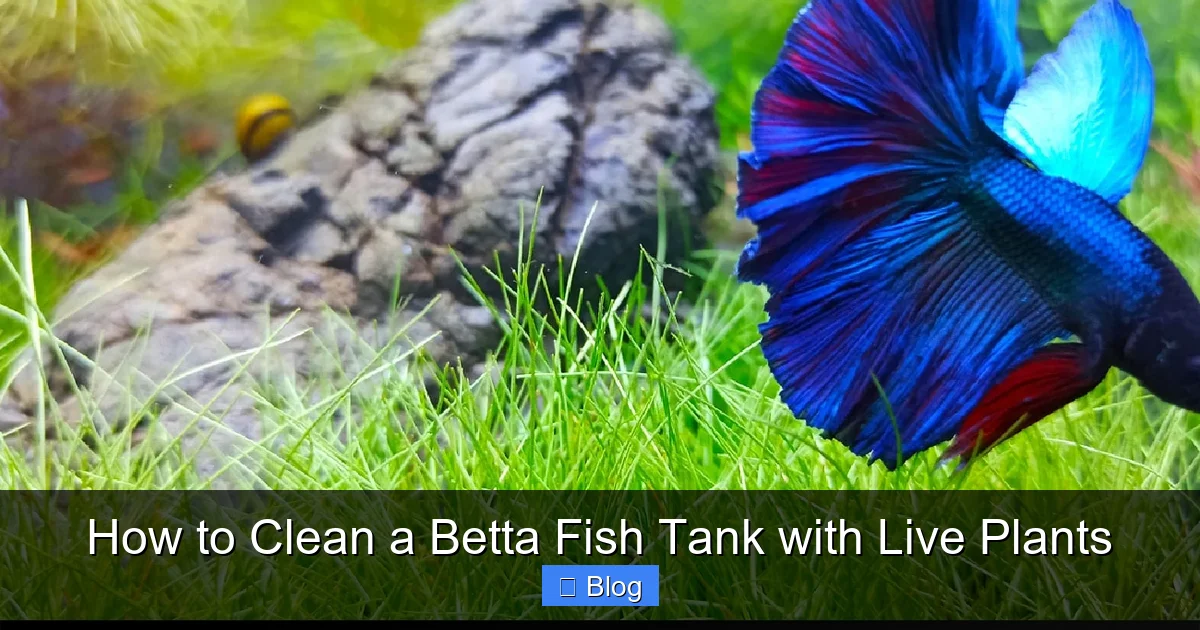
Visual guide about How to Clean a Betta Fish Tank with Live Plants
Image source: buildyouraquarium.com
Must-Have Tools
- Gravel Vacuum/Siphon: This is your #1 tool. Choose one with a wide, flexible tube head (a“python” or “aquaclear” style is great). The wide head allows you to hover over plant bases without sucking up roots or substrate. A gravel vacuum with a control valve is ideal for regulating suction power.
- Two Dedicated Buckets: One for old tank water (to rinse filter media and plants) and one for fresh, prepared water. Never, ever use buckets that have held soap or chemicals. Label them “AQUARIUM ONLY.”
- Water Conditioner/Dechlorinator: Non-negotiable. Tap water contains chlorine and chloramines that are fatal to fish and bacteria. You must treat all new water. Seachem Prime is a popular, effective choice that also detoxifies ammonia for 24 hours.
- Algae Scraper/Pad: Get a non-scratch pad for acrylic tanks or a sturdy glass scraper. A magnetic cleaner can be great for reaching deep without getting your arm wet. Have a separate one for the tank—do not use a household scrubber.
- Sharp, Sterilizable Scissors/Pruners: For trimming plants. Aquascaping scissors are perfect. You’ll need to sterilize these between tanks (dip in 3% hydrogen peroxide or 70% isopropyl alcohol, then rinse thoroughly in tank water).
- Old, Clean Sponge or Cloth: Dedicated solely to the aquarium. Use it to wipe the inside glass (after scraping algae) and to gently wipe down decorations. Never use soap.
- Towel: A designated, clean towel for drying your arms and wiping up spills.
Tools to Avoid Like the Plague
- Any Soap, Detergent, or Household Cleaner: Residue is toxic. Period.
- Paper Towels on the Inside: They disintegrate and release fibers into the water.
- Unsterilized Tools from Another Tank: This is how diseases and pests (like bladder snails or hydra) spread.
- Sharp Objects Not Meant for Aquariums: Kitchen scissors might not be sterile and can corrode.
The Step-by-Step Cleaning Process: A Gentle Touch
Now, let’s get our hands wet. This process assumes a weekly or bi-weekly maintenance schedule for a 5+ gallon tank. For smaller tanks (under 5 gallons), water changes may need to be more frequent due to faster parameter shifts, but the steps are the same. Always have your fresh water prepared and temperature-matched before you start.
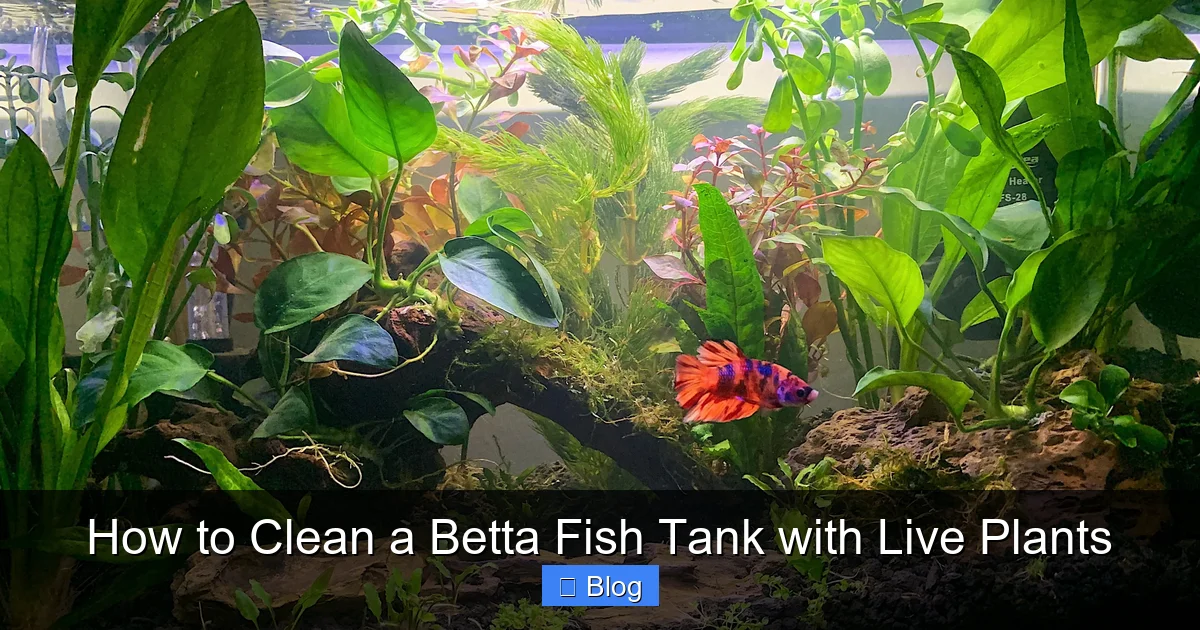
Visual guide about How to Clean a Betta Fish Tank with Live Plants
Image source: i.pinimg.com
Step 1: Preparation is Everything
This is the most critical step to prevent stress. First, turn off any equipment that could be hazardous—the heater (to prevent cracking if exposed to air), the filter (to prevent it from running dry and burning out the motor), and any air stones. Next, gather all your tools within arm’s reach of the tank. Finally, prepare your new water. Fill your clean “fresh water” bucket with tap water. Add the correct dosage of water conditioner according to the product instructions. If your tap water is very hard or soft, you may need to adjust it to match your tank’s parameters, but for most, conditioner is the first step. Let this bucket sit while you work so it reaches room temperature, or use a heater to bring it exactly to your tank’s temperature (usually 78-80°F for bettas). Temperature matching is vital to prevent thermal shock.
Step 2: The Gentle Water Change & Gravel Vacuuming
This is the heart of the cleaning. The goal is to remove detritus from the substrate without disturbing plant roots.
- Start the Siphon: Submerge the entire gravel vacuum tube in the tank and squeeze the bulb (or start the siphon) until water flows. Once flowing, place the tube head into the substrate.
- Hover, Don’t Dig: This is the key technique for planted tanks. Do not plunge the vacuum deep into the gravel. Instead, hover the tube head just above the substrate surface or very lightly skim the top layer. Move it slowly in a grid pattern over open areas of the tank. The suction will pull up loose waste (fish poop, uneaten food, dead leaves) from the surface without uprooting plants or sucking up gravel. You’ll see the debris get pulled into the tube—that’s what you want.
- Be a Plant Protector: When you approach a plant, especially one with a delicate root system like dwarf hairgrass or a newly planted foreground carpet, lift the vacuum tube completely away. You can gently use your fingers to part the plant’s leaves and vacuum the exposed substrate around its base, but be incredibly cautious. For plants with rhizomes (like Anubias or Java Fern) that are attached to driftwood or rock, you don’t need to vacuum under them at all—just do the open areas.
- Remove 25-30% of the Water: Continue until you’ve removed the desired amount. Siphon this dirty water directly into your “dirty water” bucket. This bucket’s water will be used later for rinsing filter media.
Step 3: Plant Care During the Clean
While the water level is lower, it’s a great time to inspect and tend to your plants.
- Prune Yellow or Dead Leaves: Use your sterilized scissors to snip off any leaves that are turning brown, black, or mushy at the base. Remove these completely from the tank. This prevents them from decaying and fouling the water.
- Thin Out Overgrowth: If a plant is growing too dense and blocking light to lower leaves, trim it back. For stem plants, cut a few inches from the top and re-plant the cuttings (they’ll often root and become new plants).
- Gently Rinse Floating Plants: If you have floating plants like frogbit or water lettuce, you can gently rinse them in the old tank water (from your dirty bucket) to remove any detritus stuck on their roots. This is also a good time to remove any dead or damaged leaves from them.
- Check for Algae: Inspect leaves. A little algae is normal, but if you see heavy growth, you can gently wipe it off with your fingers (in tank water) or a soft toothbrush reserved for the aquarium. Address the cause (excess light, nutrients) later.
Step 4: Decor and Glass Cleaning
Now, tackle the surfaces.
- Inside Glass: Use your algae scraper or pad. Start at the top (where algae often begins) and work down. Use firm, steady strokes. For stubborn algae on the silicone seams, use a dedicated toothbrush (not your bathroom one!) and gently scrub.
- Decorations: Take out any ornaments, rocks, or driftwood. Gently scrub them with your dedicated sponge or soft brush in the old tank water from your dirty bucket. You’ll see the gunk come off. Do not use tap water on them, as it kills beneficial bacteria coating them. Rinse them in the old tank water and place them on a clean towel.
- Filter Media Care (CRUCIAL): This is where most people mess up. Never replace all your filter media at once. You would crash your cycle. Instead, rinse the mechanical media (sponges, floss) in the old tank water from your dirty bucket. Gently squeeze and swirl it until the water runs clearer. Do not wring it out violently. For biological media (ceramic rings, bio-balls), simply give them a gentle swirl in the old tank water to remove large chunks of debris. Do not use tap water on any filter media. Place the rinsed media back into the filter.
Step 5: The Finale: Refilling and Restarting
- Return Decor: Place your cleaned decorations back in the tank.
- Refill Slowly: This is critical to avoid disturbing the substrate and plant roots. Use a clean cup, pitcher, or the end of your gravel vacuum tube to pour the new, conditioned, temperature-matched water slowly and gently onto a rock, decoration, or the glass wall. Let it cascade down, not blast into the substrate. You can also use a drip method with airline tubing and a knot to control flow.
- Restart Equipment: Once the tank is full, wipe down the outside glass with your towel. Turn your filter back on first. Wait a minute, then turn your heater back on. Check that everything is running properly.
- Dispose of Old Water: The water in your “dirty” bucket can be used to water your outdoor plants (it’s fertilizer-rich!) or poured down the drain. Do not reuse it in the aquarium.
Special Considerations for Live Plants
Cleaning around plants isn’t just about being gentle; it’s about understanding their needs.
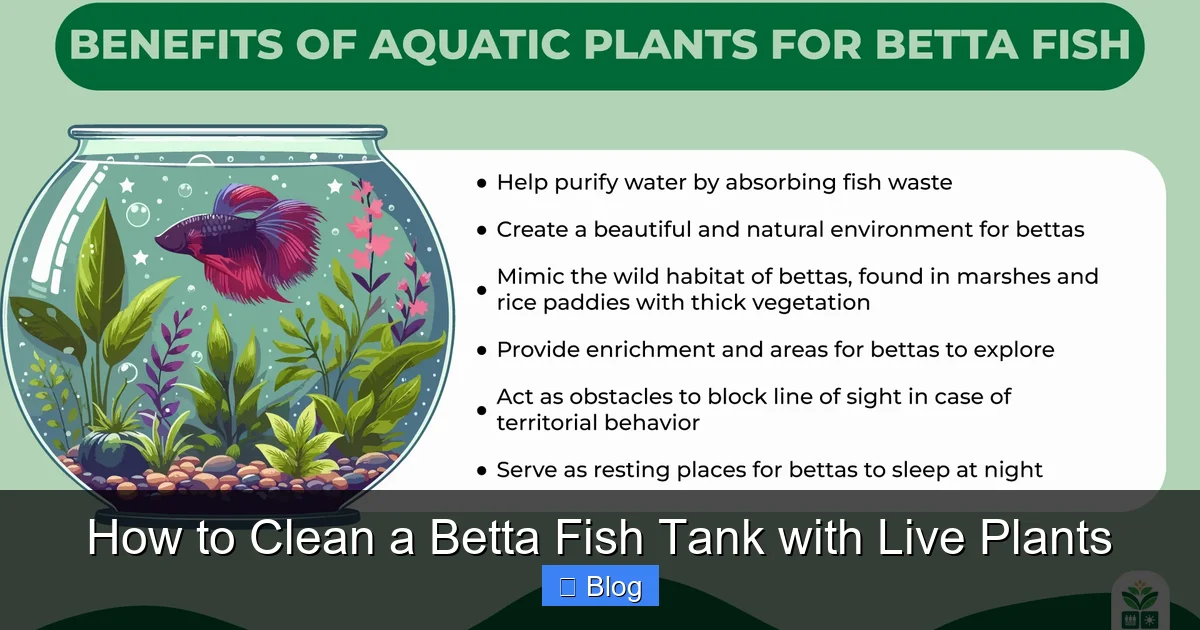
Visual guide about How to Clean a Betta Fish Tank with Live Plants
Image source: agribotix.com
Rooted Plants vs. Rhizome Plants
How you treat a plant depends on how it grows. Rooted plants (like Amazon swords, Cryptocorynes, dwarf hairgrass) absorb nutrients through their roots in the substrate. When vacuuming, you must be extra careful not to expose or disturb their root balls. A damaged root system can cause a plant to melt back. Rhizome plants (Anubias, Java Fern, Bucephalandra) have a thick, horizontal stem (rhizome) from which roots and leaves grow. They should never be buried in substrate; the rhizome must stay exposed. These are easier to vacuum around since they’re often attached to hardscape. Just clean the open substrate around them.
Nutrient Cycling and Water Changes
Live plants consume nutrients like nitrates and phosphates from the water. This is great! But it means your water change strategy supports them. By removing 25-30% of the old water and replacing it with fresh, you are: 1) Diluting any accumulated nitrates that the plants haven’t consumed, 2) Replenishing trace minerals the plants use up, and 3) Removing any dissolved organic compounds. The old tank water you use to rinse filter media contains some of these beneficial minerals and bacteria, so using it is a smart way to recycle nutrients.
Managing Algae in a Planted Betta Tank
Algae is a sign of an imbalance, usually too much light or too many nutrients (from overfeeding or decaying matter). Cleaning is part of the solution, but prevention is better.
- During Your Clean: Manually remove as much algae as possible from leaves and glass.
- Light Control: Ensure your tank is not in direct sunlight. Use a timer for your aquarium light to provide 6-8 hours of light per day. More is not better.
- Nutrient Control: Do not overfeed your betta. A betta’s stomach is the size of its eyeball. Feed 2-3 pellets once or twice a day, and remove any uneaten food after 5 minutes. Regular water changes and a healthy root system in your plants (using root tabs if needed for heavy root feeders) will help plants outcompete algae.
- Add Fast-Growing Plants: Plants like hornwort, anacharis, or pothos (out of water, roots in) are nutrient sponges and can help consume excess nitrates quickly, starving algae.
Troubleshooting: What to Do When Things Go Wrong
Even with the best routine, you might encounter issues. Here’s how to handle them without panicking.
My Water Gets Cloudy After Cleaning!
This is usually a bacterial bloom. You likely stirred up too much detritus from the gravel or over-cleaned your filter, killing bacteria and causing a population explosion of the surviving ones. Solution: Do not do another water change. The bacteria will consume the cloudiness and die off on their own within 24-48 hours. Ensure your filter is running well to clear it. In the future, vac more gently and rinse filter media less aggressively.
My Plants Are Melting/Losing Leaves After a Water Change.
This points to a parameter shock. The new water’s temperature, pH, or hardness was too different from the tank water. Solution: Always match parameters precisely. For sensitive plants, you can perform water changes even more slowly (over an hour) or mix the new water with old tank water in your bucket before adding it. If melting continues, check your other parameters (ammonia, nitrite, nitrate) with a test kit—the issue may be unrelated to the water change itself.
My Betta Is Stressed or Hiding After Cleaning.
Cleaning is inherently disruptive. The movement, water flow changes, and temporary loss of cover can stress a betta. Solution: Ensure you have ample live plants and decorations for hiding. Perform cleanings slowly and calmly. You can temporarily move your betta to a small, prepared hospital tank with matching water parameters during the clean if he is particularly skittish, but this is usually not necessary. He should settle within a few hours.
I Keep Getting Algae on My Plant Leaves.
As mentioned, this is an imbalance. First, manually remove it during your clean. Then, reassess your light duration and intensity. Are you leaving the tank light on for 12 hours? Cut it back. Are you overfeeding? Reduce portions. Consider adding a few nerite snails or amano shrimp—they are excellent algae grazers that won’t be eaten by your betta (usually!) and can help manage growth between your manual cleanings.
Establishing a Sustainable Cleaning Schedule
Consistency is the secret to a low-maintenance, beautiful tank. Here is a sample weekly routine for a 10-gallon planted betta tank:
Weekly Tasks (15-20 minutes)
- Visual Inspection: Check filter flow, heater function, plant health, and betta behavior daily in passing.
- Test Water Parameters: Use a liquid test kit (like API Freshwater Master Test Kit) once a week before your water change. Check ammonia, nitrite, nitrate, and pH. In a cycled tank, ammonia and nitrite should be 0, and nitrate should be below 20 ppm.
- 25% Water Change: Follow the step-by-step process above. Vacuum gravel gently, prune plants, wipe glass.
- Filter Rinse: Rinse mechanical media in old tank water if it looks clogged (once a month is often enough for media, but check weekly).
- Feed Sparingly: Stick to a strict feeding schedule.
Monthly/As-Needed Tasks
- Deep Filter Maintenance: Rinse all mechanical media more thoroughly. Consider replacing 25% of biological media (like ceramic rings) per year, staggered, to avoid a crash.
- Plant Trimming & Propagation: Give your plants a more substantial shape and trim off any old growth. Replant cuttings to fill in the tank.
- Deep Clean Decor: Remove all decor and scrub it in old tank water.
- Check Equipment: Inspect heater cords, filter impellers, and airline tubing for wear.
By following this gentle, informed approach, you’re not just cleaning a tank—you’re tending to a living piece of art. Your betta will display more vibrant colors and active behavior in a clean, planted environment, and you’ll get the immense satisfaction of nurturing a thriving underwater garden. Remember, in this ecosystem, you are the caretaker, not the destroyer. Work with nature, not against it, and you’ll both be rewarded.
Frequently Asked Questions
Can I use tap water directly to clean my betta tank items?
No. Tap water contains chlorine and chloramines that will kill the beneficial bacteria essential for your tank’s cycle and harm your betta and plants. Always use water from the tank itself (old water) to rinse filter media, decorations, and plants during cleaning. New water added to the tank must be treated with a dechlorinator.
How often should I really do a water change in a planted betta tank?
Aim for a 25-30% water change once a week. This frequency is ideal for diluting nitrates, replenishing minerals, and removing waste without causing significant parameter swings. Larger, less frequent changes (like 50% every two weeks) are more stressful to the ecosystem and your betta than smaller, regular ones.
What if I accidentally uproot a plant during vacuuming?
Don’t panic. Gently re-plant it in the substrate. For delicate plants, you can use a plant weight or a small, clean rock to hold the roots down temporarily until they re-establish. The plant may experience some “melting” (losing leaves) as it adjusts, but it often recovers. The key is to be more proactive next time, hovering the vacuum over plant bases.
Is it okay to use a magnetic algae cleaner on the glass with plants?
Yes, but with extreme caution. The inner pad can easily scrape plant leaves if you’re not careful, especially delicate ones. Always ensure the magnetic cleaner’s inner pad is clean and free of debris before using it near plants. It’s often safer to use a handheld scraper for the areas directly in front of plants.
My betta tank has a lot of black beard algae. Will cleaning get rid of it?
Cleaning will remove the existing algae, but it won’t solve the cause. Black beard algae thrives on excess nutrients and often inconsistent CO2. To combat it: 1) Manually remove as much as possible during your clean. 2) Reduce light duration to 6 hours. 3) Ensure you are not overfeeding. 4) Consider adding a few amano shrimp, which are known to eat this type of algae. 5) Check your tap water for high phosphates.
Can I add new plants to my betta tank during a water change?
It’s not ideal to introduce new variables during a cleaning. The stress of the water change plus the potential for pests or diseases on new plants is a double whammy. If you must, quarantine new plants in a separate tank for 2-3 weeks first. If adding, do it after the water change is complete and the tank is stable. Dip new plants in a diluted hydrogen peroxide solution (1:4 ratio with water) for 30 seconds to kill pests, then rinse thoroughly in old tank water before planting.