How to Clean a Betta Fish Tank Without a Siphon
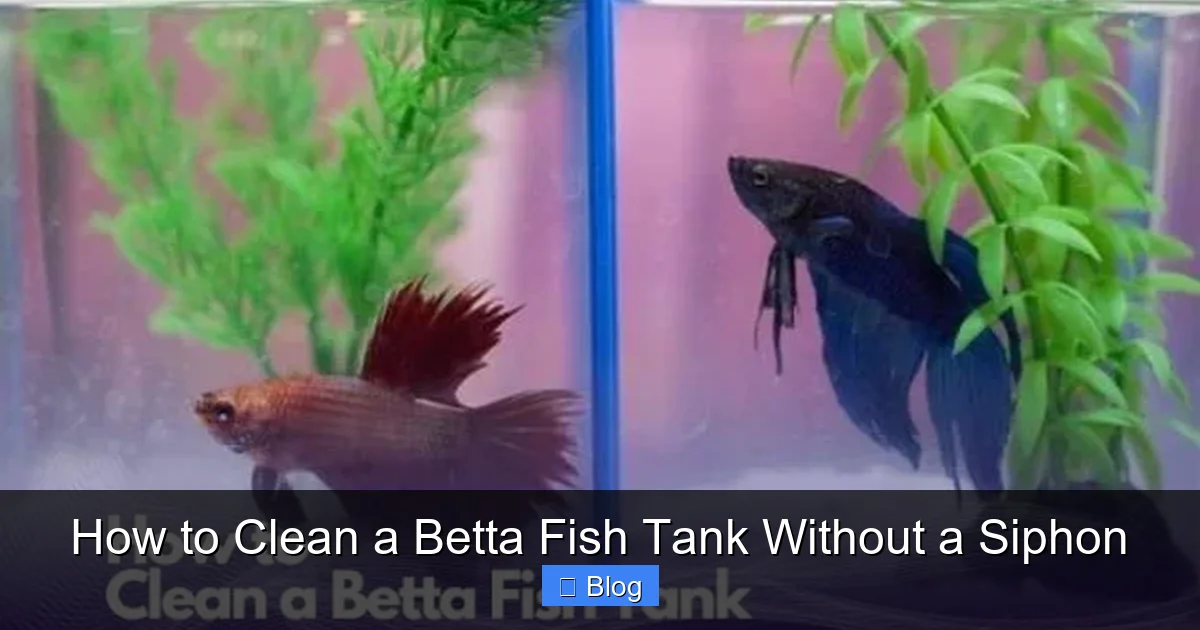
Cleaning a betta tank without a siphon is not only possible but often preferable for these sensitive fish. By using gentle, manual methods like cup water removal and careful substrate cleaning, you can maintain excellent water quality without the noise and suction stress of a traditional siphon. The key is performing regular, partial water changes (25-50%) with properly conditioned water, gently cleaning the glass and decor, and never disturbing the beneficial bacteria in your filter or substrate. This approach minimizes stress on your betta while keeping its environment pristine and healthy.
So, you’ve got a beautiful betta fish, a stunning tank setup, and you’re committed to being a great fish parent. Then comes the moment of dread: it’s time to clean the tank. You look at the siphon you bought, read the instructions, and think, “There has to be an easier, less stressful way—for both me and the fish.” You’re right. While siphons are standard in the aquarium hobby, they can be noisy, create strong suction that stresses a betta, and feel overly complicated for a small, single-fish tank. The great news? You absolutely can learn how to clean a betta fish tank without a siphon, using simple, quiet methods that are often betta-friendlier. This guide will walk you through every step, turning tank maintenance from a chore into a calm, routine part of your betta care.
Key Takeaways
- Partial water changes are the cornerstone: Replace 25-50% of the tank water weekly with dechlorinated, temperature-matched water to remove toxins and maintain stability.
- Manual removal is effective and quiet: Use a clean cup, pitcher, or turkey baster to gently siphon out old water and debris from the substrate surface.
- Never clean everything at once: Only clean the tank glass, decor, and a portion of the substrate during any single cleaning session to preserve beneficial bacteria.
- Water conditioner is non-negotiable: Always treat tap water with a reliable dechlorinator and, ideally, a water conditioner that neutralizes heavy metals and ammonia.
- Temperature matching prevents shock: The new water must be within 1-2°F (0.5-1°C) of the existing tank water to avoid dangerous thermal stress for your betta.
- Gentle handling is paramount: Betta fish are easily stressed; move slowly, avoid chasing them with tools, and consider temporarily housing them in a clean, prepared cup during the clean.
- Consistency beats intensity: A quick 15-minute partial clean weekly is far better for your betta’s health than a rare, disruptive deep clean.
📑 Table of Contents
- Why Skip the Siphon? The Betta-Specific Advantage
- Gathering Your “No-Siphon” Toolkit
- The Step-by-Step: A Calm, Partial Water Change
- Deep Dive: Substrate Cleaning Without a Vacuum
- Filter Care in the No-Siphon World
- Building Your Maintenance Schedule & Troubleshooting
- Conclusion: The Gentle Path to a Healthy Betta
Why Skip the Siphon? The Betta-Specific Advantage
Before we dive into the “how,” let’s talk about the “why.” Traditional gravel vacuums/siphons work by creating suction to pull debris from the substrate and simultaneously drain water. For a community tank with robust fish, this is usually fine. But for a betta? Not so much. Betta fish (Betta splendens) are labyrinth fish from shallow, stagnant waters in Southeast Asia. They are adapted to calm, quiet environments and are notoriously sensitive to stress, poor water quality, and sudden changes.
The Problems with Siphons for Bettas
The primary issue is suction stress. The powerful flow from a siphon can startle a betta, causing it to dart erratically around the tank, potentially injuring itself on decorations. The noise and vibration are also unsettling. Furthermore, the process often requires you to chase the fish with the tube to get it out of the way, which is incredibly stressful. For a small 5-10 gallon betta tank, the amount of substrate debris is also minimal compared to a larger, heavily stocked tank, making the deep-cleaning power of a siphon often unnecessary.
The Philosophy of the Betta Tank Clean
Cleaning a betta tank without a siphon shifts the philosophy from “deep clean everything” to “maintain stability through consistent, gentle partial changes.” Your goal is not to sterilize the tank but to remove accumulated fish waste, uneaten food, and decaying plant matter while preserving the essential colonies of beneficial bacteria that live in your filter media and on your substrate. These bacteria are your tank’s biological filtration, converting toxic ammonia into less harmful nitrates. Disrupting them completely by over-cleaning or using untreated tap water is a common cause of “new tank syndrome” and water quality crashes, even in established tanks.
Gathering Your “No-Siphon” Toolkit
You likely have everything you need already. The beauty of this method is its simplicity. No special aquarium equipment is required, just a few clean household items.
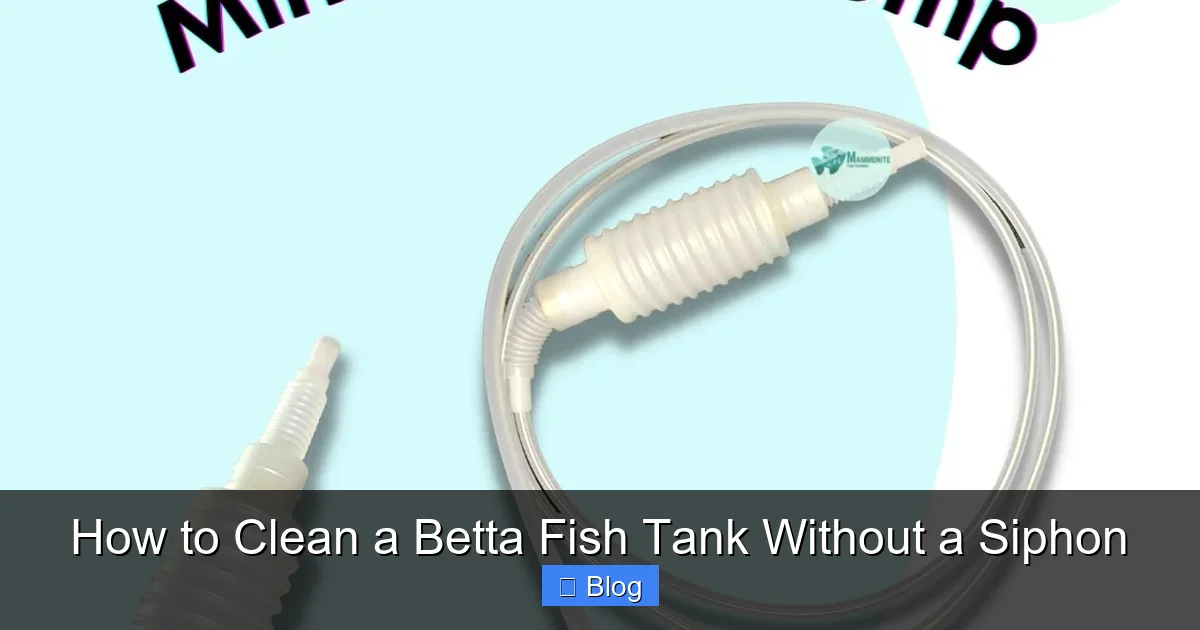
Visual guide about How to Clean a Betta Fish Tank Without a Siphon
Image source: media.karousell.com
Essential Tools
- A Clean Bucket or Large Pitcher (2-5 gallon capacity): This is your primary water removal and addition vessel. Crucially, this bucket must be dedicated solely to aquarium use. Never use a bucket that has held cleaning chemicals, even if rinsed, as residues can be lethal.
- Your Hands (or a Clean Cup): A sturdy, clean drinking glass or a small, clean plastic cup is perfect for scooping out water. Your hands, thoroughly washed with plain water (no soap!), are your best tool for gently moving decor and feeling for debris in the substrate.
- A Turkey Baster or Large Pipette (Optional but Helpful): Excellent for targeting and sucking up debris from tight corners or the substrate surface without disturbing the deeper layers where bacteria live.
- An Algae Scraper or Clean Sponge: For cleaning the glass. A new, dedicated kitchen sponge (non-abrasive side) or a dedicated magnetic algae cleaner works well. Never use soap or chemicals.
- Water Conditioner/Dechlorinator: This is the single most important chemical you will use. It neutralizes chlorine, chloramine, and heavy metals in tap water. Seachem Prime is a popular, highly effective choice. Have it ready before you start.
- A Thermometer: To ensure temperature matching. An inexpensive stick-on or floating thermometer is essential.
Nice-to-Have Extras
- A Dedicated Small Net: For briefly containing your betta if you choose to remove it.
- A Separate, Clean “Hospital” Cup: A small, clean plastic container (like a food storage tub) filled with some of the old tank water to temporarily house your betta during the clean if it’s particularly skittish.
- A Dedicated Towel: For drying hands and wiping up spills. Keep it separate from kitchen towels.
The Step-by-Step: A Calm, Partial Water Change
This is the core of your no-siphon cleaning routine. We’ll perform a 25-30% water change. For a 5-gallon tank, that’s about 1.25-1.5 gallons. For a 10-gallon, about 2.5-3 gallons. Consistency is key—aim for this once a week.
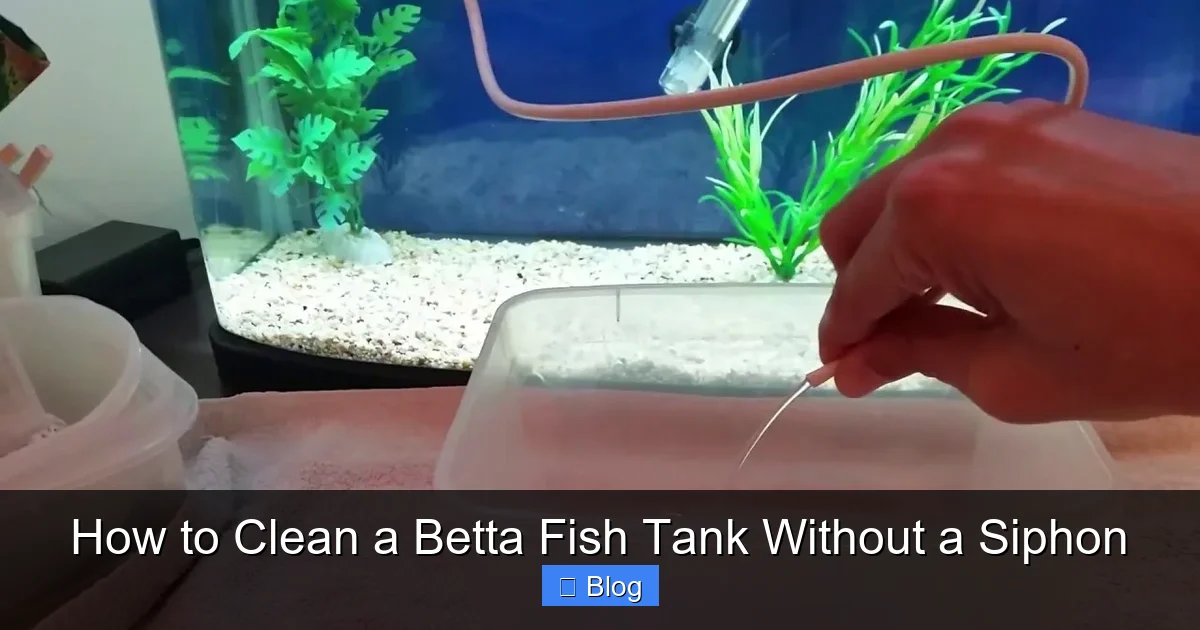
Visual guide about How to Clean a Betta Fish Tank Without a Siphon
Image source: i.ytimg.com
Step 1: Preparation & Safety First
Before touching the tank, gather all your tools within arm’s reach. Fill your clean bucket with the exact amount of new water you’ll need to add. Now, treat that water with your water conditioner according to the dosage instructions on the bottle. Stir well. Place the bucket somewhere easy to access near the tank. Check the temperature of this new water with your thermometer. It must match your tank’s temperature (typically 78-80°F/25.5-26.5°C for bettas) within 1-2 degrees. If it’s too cold, add a little warm (not hot!) tap water and re-check. If it’s too warm, let it sit for 10 minutes. This step prevents thermal shock, which is deadly.
Step 2: Acclimate the Betta (Optional but Recommended for Nervous Fish)
If your betta is easily spooked, this step reduces stress. Using your dedicated cup or net, gently encourage your betta into a small container. Add enough existing tank water to cover it comfortably. Place this container, covered with a towel to darken it, somewhere safe and stable. This keeps your fish secure and out of the way. If your betta is calm and you can work around it without chasing it, you can skip this and let it swim freely.
Step 3: Removing the Old Water (The “Manual Siphon”)
This is where we replicate the siphon’s function without the tool. Take your clean cup or pitcher. Submerge it completely in the tank, then bring it to the surface. You’ll notice a small amount of water stays in the cup due to air pressure. Tip: you can slowly lower the cup just below the waterline to fill it more completely. Pour the old water from the cup into a separate bucket or down the drain (do not pour it into a sink you’ll later use for drinking water without cleaning). Repeat this process systematically.
Focus your removal on areas with visible debris: in front of the filter output, near feeding spots, and over the substrate. As you remove water, you can gently use your hand (or the cup) to stir the very top layer of substrate (gravel or sand) in those debris-heavy spots. This will lift some of the detritus into the water column, where you can then scoop out that cloudier water with your cup. The goal is to remove the loose waste, not to deep-vacuum the entire substrate bed. For sand, a gentle sweeping motion with your hand works wonders. For gravel, a slight tilt of the cup to let water flow in and stir the top layer is effective.
Step 4: Cleaning Decor and Glass
With some water removed (this gives you more room to work), tackle the algae and gunk. Use your dedicated algae scraper or the non-abrasive side of your sponge. Gently scrape the glass in long, smooth motions. Start from the top and work down so debris falls into the water, where you can later remove it. For decorations (rocks, resin castles, etc.), remove them one by one. Rinse them thoroughly in the bucket of old tank water you just removed (or a separate bucket of dechlorinated water). Never use tap water directly on decor, as it can kill beneficial bacteria. Use your hands to rub off any visible algae or slime. For silk or live plants, gently swish them in the old tank water.
Pro-Tip: If you have live plants, this is a great time to prune any dead leaves and give the roots a gentle rinse in the old tank water.
Step 5: The Final Debris Sweep
Before adding new water, do a final pass with your cup or turkey baster. Target any remaining floating debris, bits on the substrate you stirred up, or debris behind the filter. Suck it up with the baster or scoop it with the cup. This ensures the tank looks crystal clear when you’re done.
Step 6: Adding the New Water
This must be done gently to avoid shocking your fish and stirring up settled debris. Place a clean plate or saucer on the substrate in an area away from your betta’s favorite resting spot. Slowly pour the treated, temperature-matched new water onto the plate. The water will flow off the plate and disperse gently, minimizing current and disturbance. If you removed your betta, you can now carefully net it from its temporary cup and place it back into the main tank. If you left it in, it will likely investigate the new water flow, which is normal.
Step 7: Restart & Observe
Turn your filter back on if you turned it off (some prefer to keep it running; if so, be extra careful not to suck debris into the intake during cleaning). Wipe down the outside of the tank with a damp, clean cloth (no chemicals!). Give your betta a few minutes to settle. Observe it for any signs of distress (rapid gill movement, frantic swimming, lethargy). Then, enjoy your clean, clear tank!
Deep Dive: Substrate Cleaning Without a Vacuum
This is the part people worry about most. “How do I get the poop out of the gravel without a siphon?” The answer is a combination of strategy, regularity, and accepting that you won’t get 100% of it—and that’s okay.
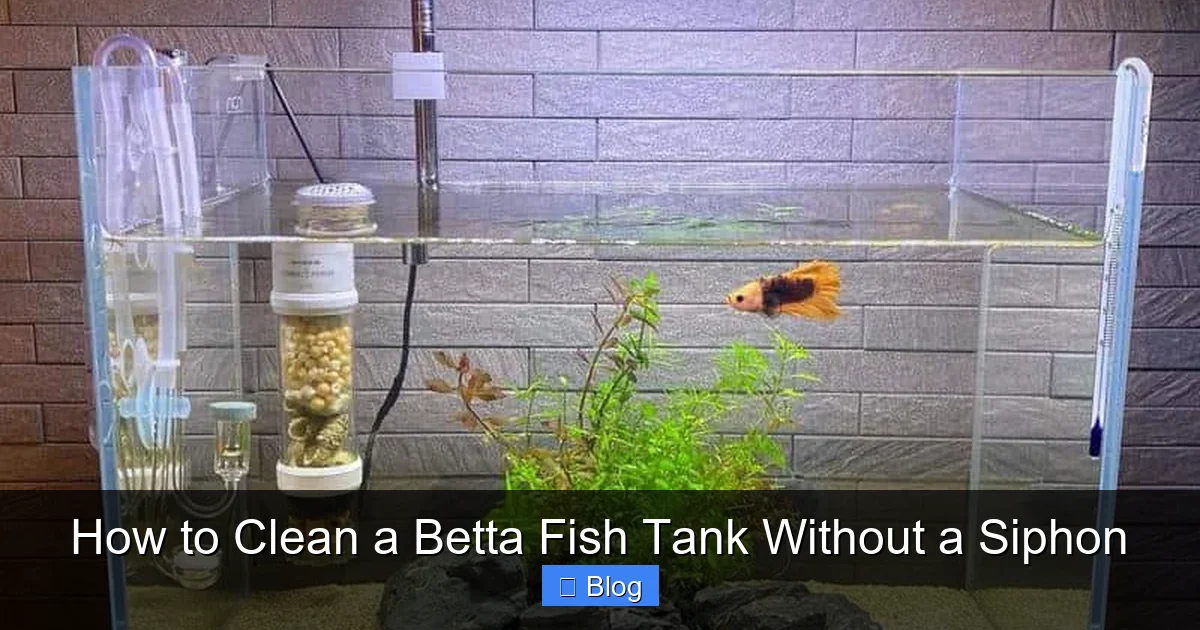
Visual guide about How to Clean a Betta Fish Tank Without a Siphon
Image source: acaquarium.com
The Surface Sweep Method
During every weekly water change, you will perform a surface sweep of the substrate. After removing about 25% of the water, use your hand (wearing an aquarium-safe rubber glove if you prefer) or your cup. Gently drag your fingers or the edge of the cup through the top 1/4 inch of gravel. You’ll feel small, gritty bits—that’s the uneaten food and waste. Use your cup to scoop out the water that becomes cloudy from this agitation. Do this in a grid pattern across 50-60% of the tank floor each week, rotating sections each week. Over a month, you’ll have addressed the entire substrate surface. For sand, use a gentle side-to-side sweeping motion with your hand or the cup’s rim.
Targeted Cleaning of Problem Areas
Betta waste is visible—small, dark, stringy pellets. You’ll quickly learn where your betta tends to relieve itself (often a corner or near a plant). Make that spot a weekly priority for your surface sweep. Also, focus on areas directly under where you feed your betta. Food that sinks and is not eaten will decay and pollute the water.
Understanding the “Brown Mulm”
You will notice a fine, brown dust-like layer on top of your gravel or sand. This is “mulm” or detritus—decomposing organic matter. Some of this is natural and will be processed by your bacteria and filter. The goal is not to eliminate it entirely but to prevent a thick, visible buildup that clouds the water. Your weekly surface sweeps and water changes will keep it at a healthy, minimal level. A completely sterile substrate is actually a bad sign, as it indicates you’ve killed off the beneficial biofilm.
Filter Care in the No-Siphon World
Your filter is the heart of your biological filtration. Cleaning it wrong is a top cause of tank crashes. The rule is: never, ever clean all your filter media at once with tap water.
The Rinse, Don’t Replace, Rule
Once a month (or as per manufacturer guidelines), you will rinse your filter media (the sponge, ceramic rings, bio-balls, etc.). To do this, take a small bucket and fill it with water you removed from the tank during your water change. Gently wring and squeeze the sponge (if you have one) in this old tank water. Swirl the ceramic media around. You are removing the large chunks of debris that are clogging flow, not sterilizing it. The brown, gunky water you rinse out is full of good bacteria—that’s why you use old tank water, not chlorinated tap water. After a quick rinse, put everything back in the filter. If your filter has a carbon cartridge, you can replace that one component monthly, as carbon is a chemical media with a finite lifespan and doesn’t house significant bacteria colonies.
When to Clean the Filter
Clean your filter when you notice a significant reduction in water flow from the output. If it’s still flowing strongly, leave it alone. For a betta tank, a gentle flow is ideal, so a slightly clogged filter might actually be perfect. Don’t clean on a strict schedule; clean based on performance.
Building Your Maintenance Schedule & Troubleshooting
Now that you know the steps, let’s put them on a calendar and address common concerns.
The Simple Betta Tank Cleaning Schedule
- Daily (1-2 minutes): Check the water temperature. Feed your betta (only what it eats in 2-3 minutes, once a day). Quick visual check for any obvious debris or a deceased tankmate (shrimp, snail).
- Weekly (15-20 minutes): Perform the partial water change and cleaning routine detailed above: 25-30% water removal, surface substrate sweep, glass/decor wipe, new water addition.
- Monthly (10 minutes): Rinse filter media in old tank water. Inspect all equipment (heater, filter) for proper function. Check for any salt creep or mineral buildup above the water line and wipe it down with a damp cloth.
- Every 6 Months: Deep clean the filter intake sponge (if you have one) more thoroughly. Check and clean the heater glass. Assess your water parameters (ammonia, nitrite, nitrate, pH) with a liquid test kit to ensure your maintenance is effective.
Troubleshooting: Cloudy Water After Cleaning
If your water is cloudy after a clean, you likely stirred up too much mulm from the substrate. The cloud should settle within a few hours as your filter catches it. To prevent this, be more gentle during your surface sweep, and ensure you’re removing the clouded water with your cup before adding new water. If cloudiness persists for days, test your water parameters—it could indicate a bacterial bloom from over-cleaning or an underlying water quality issue.
Troubleshooting: My Betta Is Hiding or Not Eating After a Clean
This is a sign of stress. Ensure your water parameters are perfect (ammonia & nitrite must be 0). Double-check your temperature matching. Next time, try leaving the lights off for an hour after the clean to reduce stimulation. Consider temporarily removing your betta during the process if it’s particularly sensitive. Offer a favorite food like a frozen bloodworm after a few hours to encourage eating.
Conclusion: The Gentle Path to a Healthy Betta
Cleaning a betta fish tank without a siphon isn’t a compromise; for many betta keepers, it’s the superior method. It prioritizes the delicate nature of your fish by eliminating noisy suction and frantic chasing. It simplifies the process, requiring only basic supplies and a commitment to a calm, weekly routine. By focusing on consistent, partial water changes with properly conditioned water, gentle surface cleaning of the substrate, and careful maintenance of your filter, you create a stable, pristine environment that mimics the quiet, clean waters your betta evolved to thrive in. Remember, the goal is not a sterile laboratory but a balanced, living ecosystem. A little mulm is okay. A calm, curious betta swimming in clear water is the ultimate sign of your success. You’ve got this. Now go enjoy your beautiful, low-stress cleaning routine and your happy, healthy fish.
Frequently Asked Questions
Can I use a siphon if I’m careful and gentle?
Yes, you can use a siphon very gently, starting the suction by mouth (never your mouth!) or with a pump, and keeping the flow very low. However, for most small betta tanks, the manual cup method is simpler, quieter, and just as effective for removing surface debris.
How often should I do a partial water change for my betta?
Aim for a 25-30% water change once a week. This is the gold standard for a single betta in a 5+ gallon filtered tank. For smaller, unfiltered bowls (which are not recommended), you may need to change 50% more frequently, but a filtered tank with weekly 25% changes is ideal for long-term health.
Is it okay to use tap water directly if I let it sit out overnight?
No. Letting tap water sit only removes chlorine, not chloramine, which is a more stable chemical used by most water treatment plants. You must use a reliable water conditioner/dechlorinator that neutralizes both chlorine and chloramine, as well as heavy metals. It works instantly, so there’s no need to wait.
What if I don’t have a dedicated bucket?
You must use a clean bucket that has never contained soap, chemicals, or food. Even tiny residues can be fatal. Purchase an inexpensive, new bucket from a hardware or dollar store and label it “FISH ONLY” to avoid any mix-ups.
How do I know if my tank is cycled and has good bacteria?
A cycled tank will have 0 ppm ammonia and 0 ppm nitrite, with detectable nitrates (usually 5-20 ppm). You’ll also see a slight, natural tint to the water and a thin, harmless biofilm on the glass and decor. If you have a filter, the media will look dirty—that’s the bacteria! Never replace all filter media at once.
Can I clean all the algae off the glass at once?
Yes, you can clean all the visible algae from the glass during a single cleaning. Algae on the glass does not house significant beneficial bacteria. However, if you have live plants, be careful not to scrape algae directly off them if you plan to keep it, as some algae types are beneficial. For most betta tanks, a full glass clean is perfectly fine and recommended.