How to Clean a 10 Gallon Betta Fish Tank
Cleaning a 10-gallon betta tank correctly is crucial for your fish’s health. Unlike larger community tanks, a betta’s environment requires a gentle, precise approach to avoid stress and disrupt the essential nitrogen cycle. The process involves careful partial water changes (25-50%), thorough gravel vacuuming, safe glass cleaning, and mindful filter maintenance—all while using dechlorinated water and never using soap or chemicals near your fish. Consistency is key; a little maintenance each week prevents major problems and ensures your beautiful betta thrives.
So, you’ve set up the perfect 10-gallon home for your betta fish. You’ve got the heater, the gentle filter, the lush silk plants, and maybe a cozy hiding cave. Your betta, with its flowing fins, glides gracefully through the crystal-clear water. But keeping that picture-perfect tank requires work. Knowing how to clean a 10 gallon betta fish tank the right way is not just about aesthetics; it’s the single most important factor in your betta’s long-term health and happiness. A dirty tank leads to poor water quality, which stresses your fish, weakens its immune system, and can cause diseases like fin rot or velvet. Conversely, over-cleaning or using the wrong methods can destroy the beneficial bacteria that keep your tank safe. This guide will walk you through every step, turning a daunting chore into a simple, confident routine.
Key Takeaways
- Frequency is Vital: Perform a full clean (with gravel vacuuming) every 2-4 weeks, supplemented by weekly water top-offs and algae wiping.
- Water is Everything: Always use dechlorinated water at the same temperature as the tank. Never replace more than 50% of the water at once.
- The Gravel Vacuum is Your Best Friend: It removes toxic waste (uneaten food, feces) from the substrate without disturbing the beneficial bacteria living on the surface.
- Filters Need Gentle Care: Rinse filter media (sponges, bio-balls) in the *old tank water* you just removed, never under tap water, to preserve good bacteria.
- Betta Safety First: Keep your betta in the tank during cleaning if possible. If you must remove him, use a clean cup with tank water and a secure lid.
- No Soap, Ever: Even a tiny residue of dish soap or household cleaner is lethal to fish. Only use dedicated aquarium tools and scrubbers.
- Test Your Water: Use a liquid test kit to monitor ammonia, nitrite, nitrate, and pH. This is the only way to know if your cleaning routine is effective.
📑 Table of Contents
- Why a 10-Gallon Tank Changes the Game (And The Cleaning Routine)
- Gathering Your Arsenal: Essential Cleaning Supplies
- The Step-by-Step Cleaning Process: A Weekly/Bi-Weekly Ritual
- Common Mistakes & How to Avoid Them
- Establishing a Long-Term Maintenance Rhythm
- Conclusion: A Clean Tank is a Happy, Healthy Home
Why a 10-Gallon Tank Changes the Game (And The Cleaning Routine)
Before we dive into the bucket and siphon, it’s essential to understand why a 10-gallon tank for a single betta is both a blessing and a responsibility. Many people keep bettas in small, unfiltered bowls, but a 10-gallon filtered tank is a vast improvement. It provides stable water parameters, dilutes waste more effectively, and allows for proper heating. However, this volume of water means there’s a larger ecosystem to maintain. The “cycle” – the process where beneficial bacteria convert toxic fish waste (ammonia) into less harmful nitrate – is established in your filter media and on surfaces. Your cleaning goal is to remove the physical waste (the *pollution*) while preserving the bacterial colonies (the *clean-up crew*).
The Delicate Balance of the Nitrogen Cycle
Think of your tank as a tiny, living planet. Your betta produces ammonia through its gills and waste. Bacteria called Nitrosomonas convert that ammonia into nitrite, which is also toxic. Then, another bacteria, Nitrobacter, converts nitrite into nitrate, which is much less harmful and is primarily removed by water changes. If you scrub every surface with soap or rinse your filter under hot tap water, you wipe out these bacterial colonies. The cycle crashes, ammonia and nitrite spike, and your betta can suffer from poisoning within hours. This is why our cleaning method is always a partial approach, focused on removal, not sterilization.
Betta-Specific Sensitivities
Bettas are anabantoids, meaning they have a labyrinth organ that allows them to breathe air. They are also native to slow-moving, shallow waters in Southeast Asia. This makes them particularly sensitive to:
- Strong Water Current: A 10-gallon tank with a standard filter can create a current that stresses a betta with large, flowing fins. Cleaning by vigorously splashing or using a powerful vacuum can create similar stress.
- Temperature Shocks: Their water must be a consistent 78-80°F (25.5-26.5°C). Introducing cold or hot water during a change is dangerous.
- Water Chemistry Swings: They are less tolerant of sudden pH or hardness changes than some hardier fish.
Our entire cleaning protocol is designed with these sensitivities in mind, prioritizing stability and gentleness above all else.
Gathering Your Arsenal: Essential Cleaning Supplies
Having everything ready before you start makes the process smooth and quick, minimizing the time your tank is in disarray. Here’s your checklist:
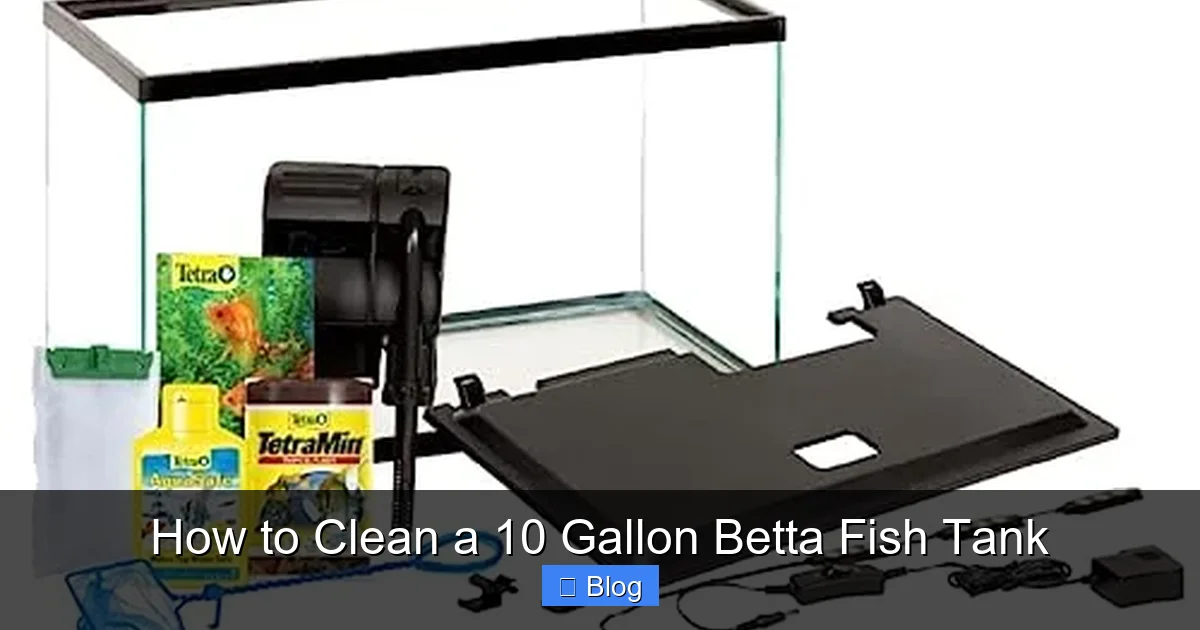
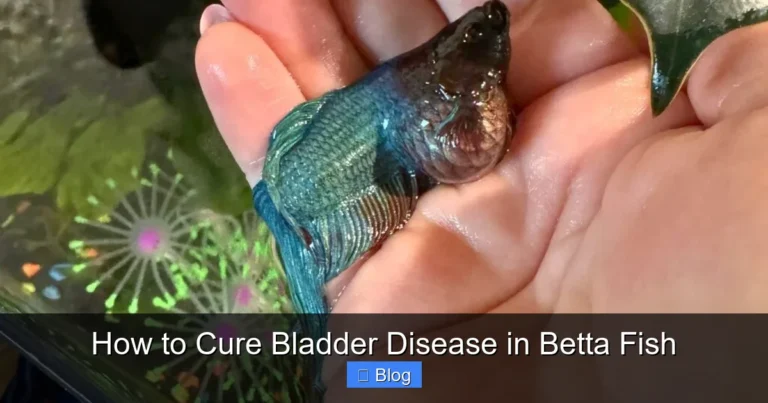
Visual guide about How to Clean a 10 Gallon Betta Fish Tank
Image source: vetranch.org
Must-Have Tools
- Gravel Vacuum/Siphon: This is non-negotiable. A simple squeeze-bulb model (like the Python or Aqueon versions) is perfect for a 10-gallon tank. It uses gravity to suck debris from the gravel while returning the water to the tank.
- Two Clean Buckets: Designate these exclusively for aquarium use. Never use buckets that have held soap, chemicals, or other contaminants. One is for “old tank water” (the water you remove), and one is for “new dechlorinated water.” Label them if needed!
- Water Conditioner/Dechlorinator: A high-quality product like Seachem Prime or API Stress Coat+ is essential. It neutralizes chlorine, chloramines, and heavy metals in tap water instantly.
- Algae Scraper/Pad: Use a non-scratch pad for acrylic tanks or a razor blade scraper (for glass only) for stubborn algae. Mag-Float cleaners are great as they magnetize to the glass, letting you clean the inside from the outside.
- Clean Sponge or Cloth: Dedicated to the tank only. Used for wiping the inside glass, decorations, and the tank rim. Never use a kitchen sponge!
- Thermometer: To verify the temperature of your new water matches the tank.
- Optional but Helpful: A dedicated toothbrush for scrubbing decorations, a turkey baster for spot-cleaning debris in tight spots, and a dedicated net for moving things.
What You Will NOT Use (Critical!)
- Dish Soap, Detergents, or Household Cleaners: Even a microscopic residue is fatal.
- Tap Water (for anything except the final fill): Chlorine will kill your beneficial bacteria and harm your fish. It must be treated.
- Abrasive Pads or Scrapers (on acrylic): They will scratch your tank.
- Hot Water (for filter media): It kills bacteria. Use only room temperature or tank-temperature old water.
The Step-by-Step Cleaning Process: A Weekly/Bi-Weekly Ritual
Now, let’s get our hands wet. This routine assumes you are doing a full clean with gravel vacuuming every 2-4 weeks, with weekly algae wipes and water top-offs. Always unplug any electrical equipment (heater, filter, lights) at the wall outlet before starting.
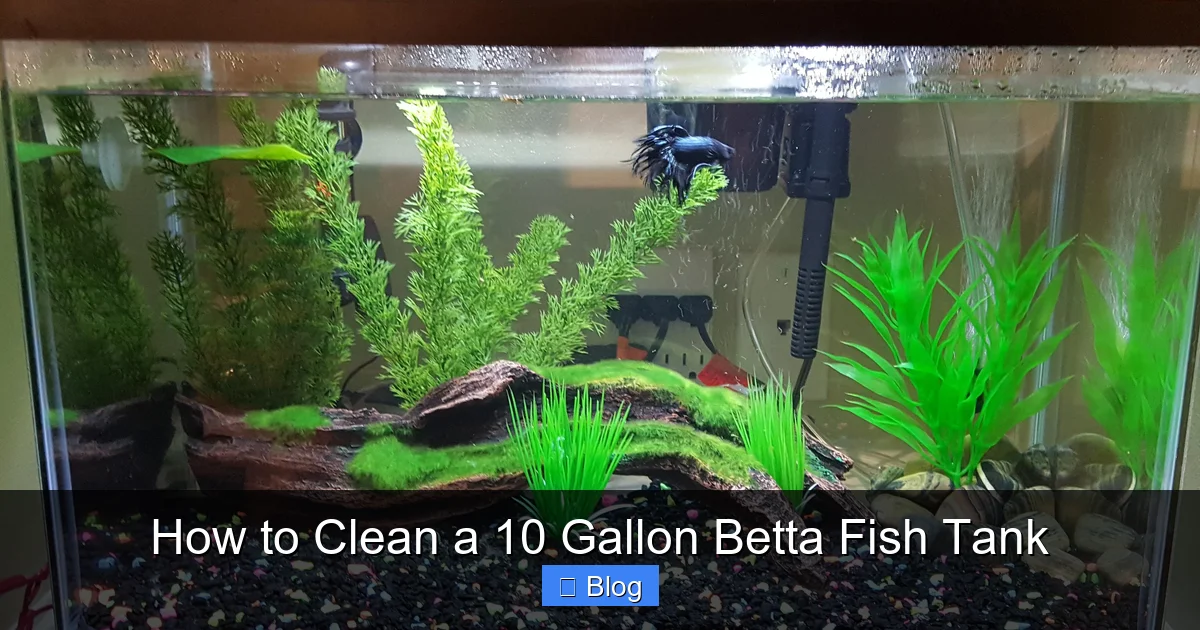
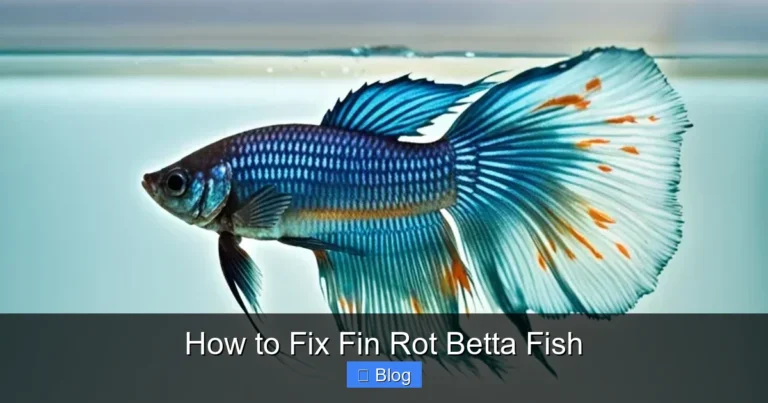
Visual guide about How to Clean a 10 Gallon Betta Fish Tank
Image source: i.redd.it
Step 1: Prepare Your New Water
This is the most important first step. Fill your “new water” bucket with tap water. Add the correct dosage of water conditioner as per the bottle instructions (e.g., 1 ml per 5 gallons for Prime). Stir well. Let this bucket sit while you work. This allows the conditioner to fully neutralize contaminants and brings the water to room temperature. Always check with your thermometer that this new water is within 1-2°F of your tank’s current temperature. A significant temperature difference is a major stressor.
Step 2: The Gentle Art of the Gravel Vacuum
This is the core of your cleaning. The goal is to suck up fish waste, uneaten food, and decaying plant matter settled in the gravel without sucking up too much sand or disturbing the tank too much.
- Submerge the vacuum: Place the wide end of the siphon into the gravel. If you have sand substrate, hover it just above the surface to avoid sucking up sand.
- Create a siphon: Squeeze the bulb or start the siphon by sucking on the tube (be careful not to ingest water!). Let the water flow into your “old water” bucket.
- Methodically clean: Gently push the vacuum tube into the gravel about 1-2 inches deep. As debris gets sucked in, the gravel will settle back down. Move to a new spot and repeat. Work in a grid pattern across the entire tank bottom. You don’t need to get every single grain of gravel; focus on visibly dirty areas, especially under the filter outflow and feeding spots.
- How much to remove: Your goal is to remove 25-50% of the tank’s water volume via the vacuum. For a 10-gallon tank, this means siphoning out 2.5 to 5 gallons of dirty, debris-filled water into your bucket. The act of vacuuming is what cleans; the water removal is a beneficial side effect.
Pro Tip: If your betta is particularly skittish, you can perform the vacuuming first with the lights off or during his less active periods. The gentle disturbance is usually less stressful than you might think.
Step 3: Algae and Glass Cleaning
With the water level slightly lowered, cleaning the glass is easier and you won’t splash dirty water as much.
- Inside glass: Use your dedicated algae pad or scraper. For soft algae, a green scrub pad works. For tougher spots (like coralline algae), use a razor blade on glass tanks only (angle it carefully to avoid scratching).
- Decorations & Plants: Gently scrub any plastic plants or decorations with your dedicated sponge. For stubborn algae on ornaments, use your dedicated toothbrush. Live plants can be gently rinsed in the bucket of old tank water you just removed.
- Outside glass & rim: Wipe these down with a damp cloth (your dedicated one) to remove fingerprints and water spots. Never use window cleaner; use plain water or a vinegar-water solution (1 part vinegar to 4 parts water), rinsed thoroughly with a damp cloth.
Step 4: Filter Maintenance – The Most Important Step
This is where most mistakes happen. Your filter is the heart of your biological filtration. The media inside (sponges, ceramic rings, bio-balls) is where the beneficial bacteria live.
- Disassemble the filter: Follow your filter’s manual. Unplug it first!
- Rinse the media: Take the mechanical media (the sponge or floss) and the biological media (ceramic rings, bio-balls) to your bucket of old tank water (the water you just siphoned out). Gently swish and squeeze the sponge to remove solid debris. Rinse the ceramic rings/bio-balls in the same water. You are not making them sterile; you are just preventing them from clogging. Never use tap water.
- Check the impeller: While you have it apart, check the impeller (the little propeller) and its housing for any tangles of hair or plant matter. Clean it gently with a toothbrush in the old water.
- Reassemble and restart: Put everything back together exactly as it was. Place the filter back on the tank and plug it in. It may take a moment to prime and start flowing.
Important: If your filter media is falling apart or is genuinely filthy after rinsing, replace only half of it at a time. Never replace all media at once, as this would crash your cycle.
Step 5: The Gentle Return & Final Top-Off
Now for the moment of truth.
- Remove your betta (optional but recommended for calm): Using a clean cup or your dedicated net, gently net your betta. Place him in a clean, food-safe container (like a small plastic tub) with enough of his tank water to cover him. Cover it with a lid or plate to prevent jumps. Keep this in a safe, stable place.
- Refill the tank: Slowly pour the bucket of conditioned, temperature-matched new water into the tank. You can use a clean plate or your hand to diffuse the flow and prevent disturbing the gravel too much. Fill it to about 1/2 inch from the top to allow for evaporation.
- Reintroduce your betta: Once the tank is full and the water is calm, use your cup to gently return your betta. Let him swim out on his own. Do not pour him in.
- Restart equipment: Ensure the heater is fully submerged before plugging it back in. Turn on the lights.
- Final top-off: If you removed your betta, you may have taken some tank water with him. You can now gently add a little more conditioned water to bring the level back up perfectly.
Pro Tip: The first hour after cleaning, watch your betta closely. He may be curious or slightly disoriented. Ensure the filter flow isn’t too strong on him after the water change (you may need to adjust the flow valve).
Common Mistakes & How to Avoid Them
Even with the best intentions, it’s easy to slip up. Here are the most frequent pitfalls and their fixes:
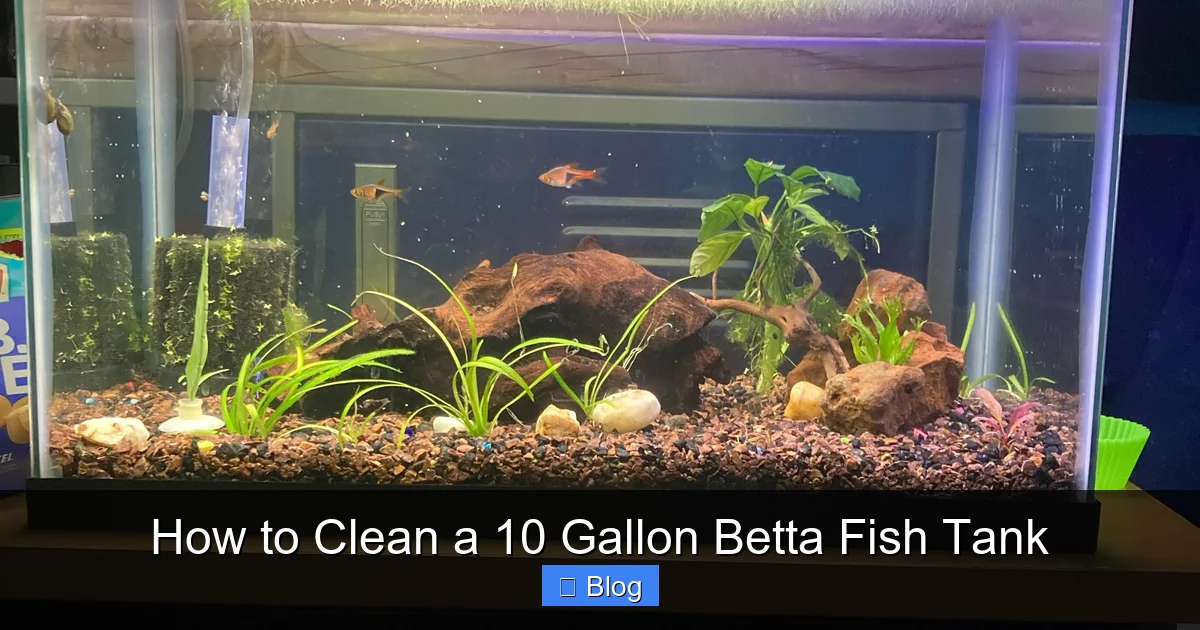
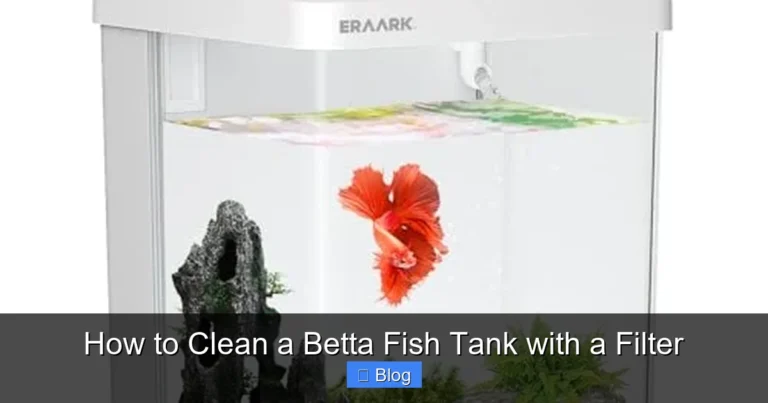
Visual guide about How to Clean a 10 Gallon Betta Fish Tank
Image source: i.redd.it
Mistake 1: Overcleaning the Gravel & Tank Surfaces
The Problem: Scrubbing every inch of gravel and glass with soap or hot water. This destroys the bio-film and bacterial colonies that form the backbone of your cycle.
The Fix: Use the vacuum method described. You are removing the *top layer* of debris, not sterilizing the substrate. The gravel should look cleaner, not brand new. Some mulm (brownish gunk) on the gravel is normal and healthy.
Mistake 2: Using Unconditioned Tap Water
The Problem: Chlorine and chloramines in tap water are instant fish killers and bacteria murderers. Adding even a small amount can cause immediate distress or a delayed cycle crash.
The Fix: Always, always treat every single drop of new water with a reliable dechlorinator. Dose according to the volume of water you are adding, not the entire tank volume. When in doubt, add a little extra (products like Prime are safe to overdose slightly).
Mistake 3: Neglecting the Filter
The Problem: Only cleaning the filter when it’s completely clogged and flow has stopped, or replacing all the media at once.
The Fix: Incorporate gentle filter media rinsing into every 2-4 week cleaning. This maintains optimal flow and bacterial health. Only replace media when it’s literally disintegrating, and do it piecemeal.
Mistake 4: Changing Too Much Water
The Problem: Doing a 75% or 100% water change. This causes drastic shifts in temperature, pH, and mineral content, and removes too many of the beneficial bacteria from the water column and surfaces.
The Fix: Stick to the 25-50% rule. If you have a nitrate problem, do two 25% changes a few days apart rather than one massive change. Consistency is safer than volume.
Mistake 5: Forgetting to Match Temperatures
The Problem: Adding cold tap water from the faucet. This causes thermal shock, slowing your betta’s metabolism and making him susceptible to disease.
The Fix: Use a thermometer. If your new water is too cold, let it sit longer. If it’s too warm, add a little cooler conditioned water from a separate jug. The goal is an invisible temperature difference.
Establishing a Long-Term Maintenance Rhythm
Cleaning shouldn’t be a stressful, all-day event. With a 10-gallon betta tank, a little bit of frequent, light maintenance is far better than infrequent deep cleans. Here’s a sample schedule:
Daily (1 Minute)
- Visual Check: Is your betta active? Are his fins intact? Is he eating? Are there any unusual spots, clumps of waste, or sudden cloudiness?
- Feed Sparingly: Overfeeding is the #1 cause of dirty tanks. Give only what he can eat in 2-3 minutes, once a day. Bettas can be fed every other day as adults.
Weekly (10 Minutes)
- Algae Wipe: Use your algae pad on the inside glass where you see growth. Do this before a water change when the water is clear.
- Surface Skim: Use a net or paper towel to remove any floating debris or oil film from the water surface.
- Water Top-Off: Evaporation causes water levels to drop, concentrating minerals and making the heater work harder. Add conditioned water to bring the level back up. Do not do this as a substitute for a real water change.
Every 2-4 Weeks (The Full Clean)
Follow the complete step-by-step process outlined above. The exact frequency depends on your tank’s bioload (just one betta is light) and your filter’s efficiency. Start with every 3 weeks and adjust based on your nitrate levels (from a test kit). If nitrate is consistently below 20 ppm before a change, you can stretch to 4 weeks. If it’s hitting 40 ppm, clean every 2 weeks.
Monthly Checks
- Inspect Equipment: Check the heater cord for damage, ensure the filter intake isn’t clogged, and verify all seals are intact.
- Test Water Parameters: Use a liquid test kit (API Master Test Kit is the gold standard) to check Ammonia, Nitrite, Nitrate, and pH. Record the results. You should see 0 Ammonia, 0 Nitrite, and Nitrate under 20-40 ppm (ideally under 20).
- Prune Plants: Trim any dead or dying leaves from live or silk plants.
Conclusion: A Clean Tank is a Happy, Healthy Home
Mastering how to clean a 10 gallon betta fish tank is the cornerstone of responsible betta ownership. It’s not about perfection; it’s about consistency and gentleness. By establishing a routine that respects the delicate biological balance, you provide your betta with the pristine, stable environment he deserves. You’ll be rewarded with vibrant colors, active behavior, and a long, healthy life for your aquatic companion. Remember, you are not just cleaning a tank; you are maintaining a living ecosystem. With the tools, knowledge, and gentle approach outlined here, you are more than equipped to be the steward of a thriving underwater world. Now, grab your siphon, check your thermometer, and enjoy the peaceful satisfaction of a job well done for your finned friend.
Frequently Asked Questions
How often should I completely clean my 10-gallon betta tank?
For a single betta in a filtered 10-gallon tank, a full clean with gravel vacuuming and filter rinsing should be done every 2 to 4 weeks. The exact interval depends on your feeding schedule and nitrate levels, which you should test for. Weekly algae wipes and water top-offs for evaporation are also essential.
Can I use tap water directly to fill my betta tank?
No. Tap water contains chlorine and chloramines, which are deadly to fish and will kill the beneficial bacteria in your filter. You must treat all new water with a complete water conditioner/dechlorinator before it touches your tank or your betta.
Do I have to remove my betta from the tank during cleaning?
It is not strictly necessary if you are careful and work gently. Many bettas stay in the tank during partial water changes. However, for a full clean where you are vigorously vacuuming and moving decorations, it is safer and less stressful to gently net your betta into a clean, secure container with some of his tank water. Always keep his temporary home in a safe, quiet place.
Can I use soap or vinegar to clean my betta tank and decorations?
Never use soap, detergent, or any household cleaner inside the aquarium. Even a trace residue is lethal. For stubborn mineral deposits on the glass outside the water line, a dilute vinegar solution (1:4 vinegar to water) can be used, but it must be rinsed off thoroughly with a damp cloth. Inside the tank, only use a dedicated algae pad or sponge and, if needed, a toothbrush with water from the tank.
How much water should I take out when cleaning?
Never replace more than 50% of the tank’s water volume in a single session. For a 10-gallon tank, this means removing and replacing no more than 5 gallons. Removing 25-30% (2.5-3 gallons) during a regular vacuuming session is a very safe and effective standard.
My tank has a lot of algae. Is that because I’m cleaning wrong?
Not necessarily. Algae growth is primarily driven by light and nutrients (nitrate/phosphates). Common causes include: the tank being in direct sunlight, the aquarium light being on for too many hours (10-12 is plenty), overfeeding, and not having enough live plants to compete for nutrients. To control it, reduce light duration, ensure you are not overfeeding, and maintain consistent water changes to lower nitrates. Manual removal during your weekly wipe is the best immediate solution.