How to Clean a 1 Gallon Betta Fish Tank
Cleaning a 1-gallon betta tank requires a gentle, precise approach due to the tiny water volume. You must perform frequent partial water changes (25-50%) using dechlorinated water, never use soap or clean all the décor at once, and always acclimate your betta during the process. The goal is to remove waste while preserving the essential beneficial bacteria and stable water conditions your sensitive fish relies on for survival.
Key Takeaways
- Frequency is Key: Small tanks get dirty fast; plan for 25-50% water changes 2-3 times per week, not a full clean.
- Never Use Soap: Even a tiny residue of dish soap, hand sanitizer, or cleaning agent is lethal to bettas. Use only water and designated tank tools.
- Preserve the Filter (if you have one): Never rinse filter media in tap water. Swish it gently in old tank water you’ve removed to preserve good bacteria.
- Condition All Water: Tap water contains chlorine and heavy metals. You must use a reliable water conditioner on *every* drop added to the tank.
- Your Betta is Part of the Process: Always gently net your betta into a clean holding cup with old tank water during the clean to prevent stress and injury.
- Clean Décor Separately: Use a designated toothbrush and old tank water to scrub algae off ornaments and the glass; never use the same brush for your bathroom.
- Match Temperature & pH: The new replacement water must be within 1-2°F of the tank’s temperature and have a similar pH to prevent shock.
📑 Table of Contents
- Why Cleaning a 1-Gallon Betta Tank is a Unique Challenge
- Gathering Your Essential Supplies: The Betta-Safe Toolkit
- Step-by-Step: The Gentle Partial Water Change Method
- The Critical Role of Water Conditioning and Temperature Matching
- Filter Maintenance (If Your 1-Gallon Setup Has One)
- Common Mistakes That Harm Bettas in Small Tanks
- Conclusion: A Clean Tank is a Happy, Healthy Betta
Why Cleaning a 1-Gallon Betta Tank is a Unique Challenge
So, you’ve got a beautiful betta fish in a charming little 1-gallon tank. Maybe it’s on your desk, your nightstand, or a cozy corner. It’s a lovely setup, but here’s the crucial truth every betta owner must understand: a 1-gallon tank is an extremely fragile ecosystem. It’s like trying to maintain a stable climate in a single room with no windows—the smallest change has a massive impact. This makes cleaning it not just a chore, but a delicate operation that, if done incorrectly, can quickly lead to a sick or deceased fish.
The core problem is dilution. In a 50-gallon community tank, a bit of fish waste or uneaten food is quickly diluted and processed by the filter and beneficial bacteria. In 1 gallon of water, that same amount of waste creates a toxic spike in ammonia and nitrites almost overnight. Your betta, a fish with a labyrinth organ that allows it to breathe air but is still highly sensitive to poor water quality, lives directly in this concentrated soup. Therefore, the philosophy of cleaning a 1-gallon betta tank is fundamentally different from cleaning a larger aquarium. It’s not about “scrubbing everything down” occasionally. It’s about frequent, gentle maintenance that removes toxins while preserving the microscopic life that keeps your fish safe. This guide will walk you through exactly how to do that, step by step.
Gathering Your Essential Supplies: The Betta-Safe Toolkit
Before you even think about touching the tank, having everything ready and within arm’s reach is critical. You don’t want to be frantically searching for a bucket while your betta sits in a tiny cup. This preparation makes the process smoother, faster, and less stressful for everyone involved.
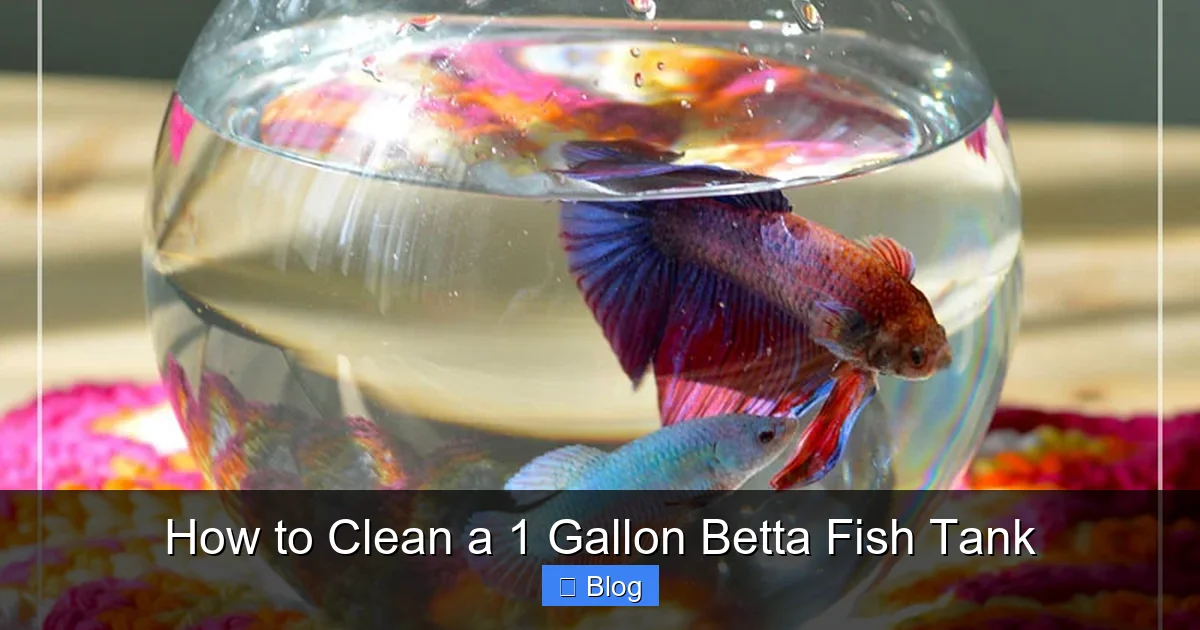
Visual guide about How to Clean a 1 Gallon Betta Fish Tank
Image source: i.redd.it
The Non-Negotiable Items
First, you need a dedicated water change bucket or clean, food-safe container. It should hold at least 2 gallons to comfortably accommodate the water you’ll remove and the fresh water you’ll add. This bucket is for aquarium use ONLY. Never use a bucket that has held soap, chemicals, or even food, as residues are deadly. A 1-2 gallon plastic pitcher from a dollar store works perfectly and is easy to handle.
Second, you need a gravel vacuum/siphon. For a 1-gallon tank, a small, simple bulb siphon is ideal. You don’t need a fancy powered one. This tool is your best friend for removing debris from the substrate without disturbing it too much. Look for one with a narrow nozzle that can fit into the small space.
Third, and absolutely vital, is a reliable water conditioner/dechlorinator. Brands like Seachem Prime, API Stress Coat+, or Tetra AquaSafe are excellent. This neutralizes chlorine, chloramines, and heavy metals in tap water. Without it, you are poisoning your fish with every water change.
Fourth, a clean, soft algae pad or a dedicated, never-used-before toothbrush. This is for scrubbing the glass and décor. Again, it must be a tool that has never touched soap.
Finally, a clean, soft towel for spills and a separate, small, clean holding container for your betta. A clean glass or plastic cup works, but a dedicated betta cup is better. It should be wide enough for your fish to swim in comfortably for the 15-20 minutes the clean will take.
Step-by-Step: The Gentle Partial Water Change Method
This is the heart of 1-gallon tank maintenance. We are not doing a full tear-down. We are performing a surgical partial water change to remove toxins and refresh the environment. Follow these steps in order.
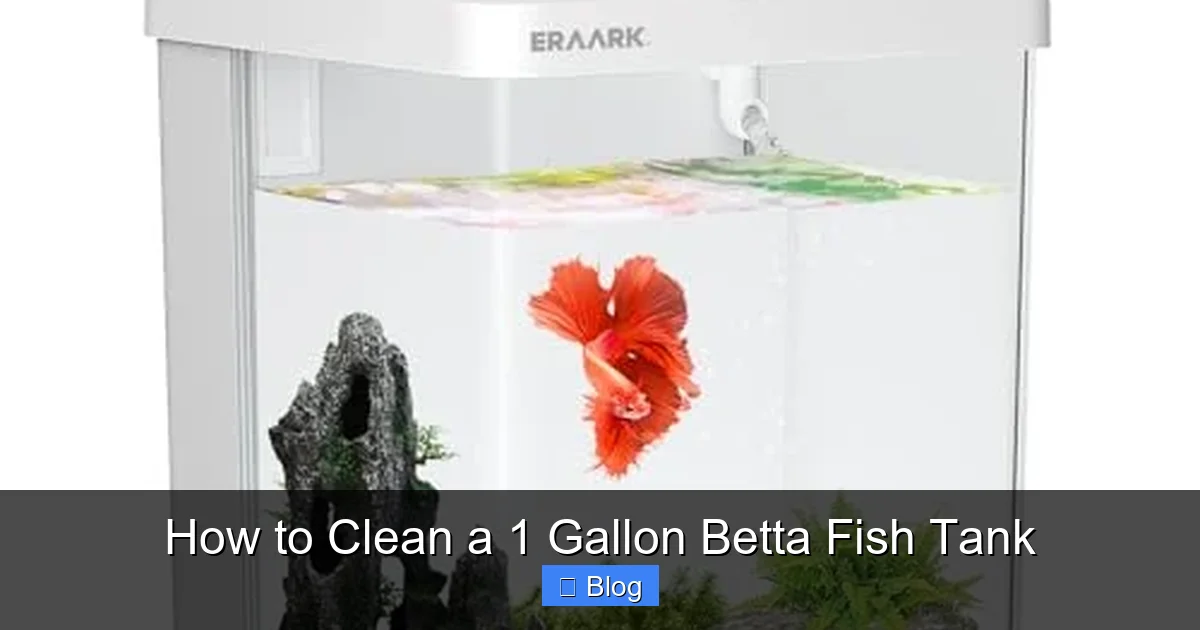
Visual guide about How to Clean a 1 Gallon Betta Fish Tank
Image source: m.media-amazon.com
Step 1: Preparation & Dechlorination
First, fill your clean bucket with the exact amount of new water you plan to add (e.g., 1 gallon for a 50% change). Immediately add the correct dose of water conditioner as per the bottle instructions. Stir it gently. Let this water sit while you work on the tank. This allows it to come to room temperature and ensures the conditioner has fully activated. If your tap water is very cold or very hot, you may need to mix some warm and cold to get it close to your tank’s temperature (usually 76-80°F for a betta).
Step 2: Safely Remove Your Betta
This is the most nerve-wracking part for new owners, but it’s simple. Have your clean holding cup ready. Using a clean net (a small, soft mesh net is best), gently herd your betta into the cup. Do not chase it wildly. Lower the net into the tank, let the betta swim into it, and lift it out in one smooth motion. Transfer the betta directly into the holding cup. Then, take approximately 1/4 to 1/2 of the water from the betta’s tank and pour it into the holding cup over your fish. This “old water” is conditioned and at the right temperature, so it reduces stress. Place the cup somewhere safe, dark, and stable—like inside a closed cabinet or covered with a towel. This keeps your betta calm.
Step 3: Cleaning the Décor and Glass (With Old Water)
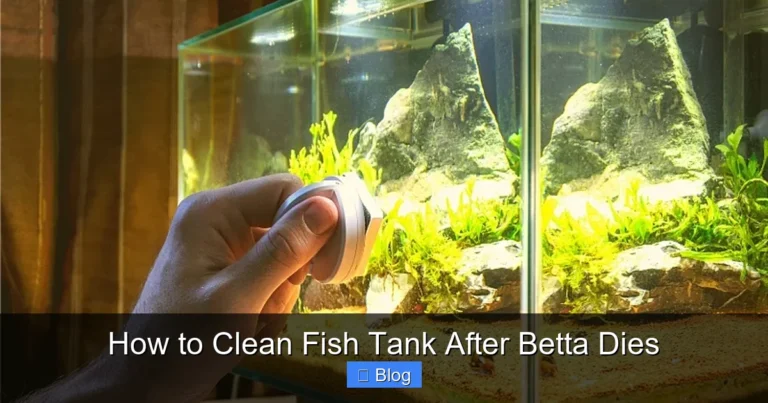
Now, with the tank empty of its inhabitant, you can clean. Take your dedicated toothbrush or algae pad. Dip it in some of the old tank water you just siphoned out (or will siphon out). Never use tap water on the décor. The chlorine in tap water will kill the beneficial bacteria colonies living on every surface. Gently scrub any algae from the glass walls. Use circular motions. Then, take out all the ornaments, rocks, and silk plants. One by one, scrub them thoroughly in the bucket of old tank water. You’ll see brown gunk (detritus) and green algae come off. Rinse them well in the old water. Set them aside on your clean towel.
Step 4: The Gravel Vac/Siphon – The Core of the Clean
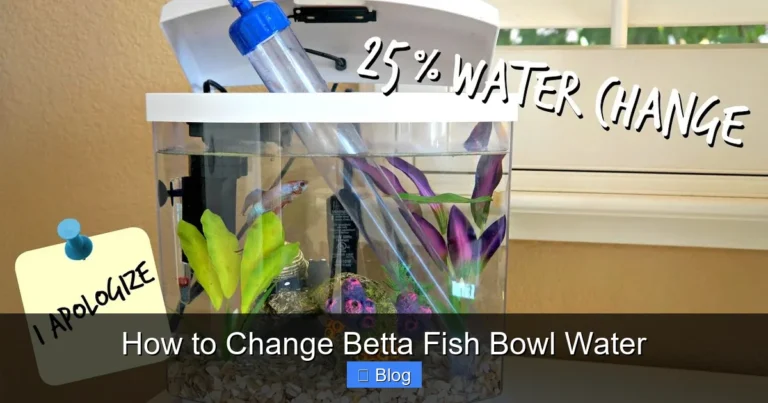
This is how you remove the solid waste that sinks. Insert the narrow end of your siphon into the gravel. Press down gently to get it a few inches in. You want to stir up the debris just enough that it gets sucked into the tube, but not so much that you cloud the entire tank. A good technique is to move the siphon nozzle in a slow, grid-like pattern across the entire bottom of the tank. As you move it, gently lift and lower it to agitate the top layer of gravel. The waste will be sucked up, and the heavier gravel will fall back down. Continue until you’ve removed the amount of water you planned (e.g., half the tank’s volume). You’ll be surprised how much brown stuff comes out! This removed water is full of waste and old bacteria—it’s perfect for the next step.
Step 5: Reassembling and Refilling
With the substrate clean and the décor scrubbed, you can now carefully place the ornaments back into the tank. Arrange them as you like, perhaps creating new hiding spots. Now, take your bucket of conditioned new water. Slowly, gently, pour it into the tank. Try not to disturb the gravel too much. You can pour it over a clean, rinsed rock or the side of the tank to diffuse the flow. Fill the tank to about 1/2 inch from the top (to allow for splash). Check the temperature of the new water with your hand; it should feel identical to the tank water. If you have a heater, now is the time to plug it back in and set it to the correct temperature.
Step 6: The Reintroduction (The Most Important Moment)
Now for your betta. Using your net, gently transfer it from the holding cup back into the freshly cleaned tank. Do not dump the cup’s water in. The water in the cup is from the old tank and contains waste. Net your fish, let excess water drip back into the cup, and place the betta near a plant or the side of the tank so it can orient itself. Observe it for a few minutes. It may dart around, flare at its reflection, or hide. This is normal stress from the move. Turn the lights off for a few hours to let it calm down completely. Do not feed for at least 24 hours after a water change to prevent adding more ammonia to the clean water.
The Critical Role of Water Conditioning and Temperature Matching
I cannot stress this enough. No tap water, straight from the faucet, should ever touch your betta tank. Municipal water treatment facilities use chlorine and chloramine to kill pathogens. These chemicals are lethal to fish and destroy the protective slime coat on your betta. A water conditioner works by instantly binding to and neutralizing these substances. It also often detoxifies ammonia and heavy metals, which is a huge bonus in a small tank. Always follow the dosage on the bottle. “Double dosing” is not safer; it can disrupt the water’s chemistry. Use it every single time you add water, whether it’s a full top-off or a partial change.
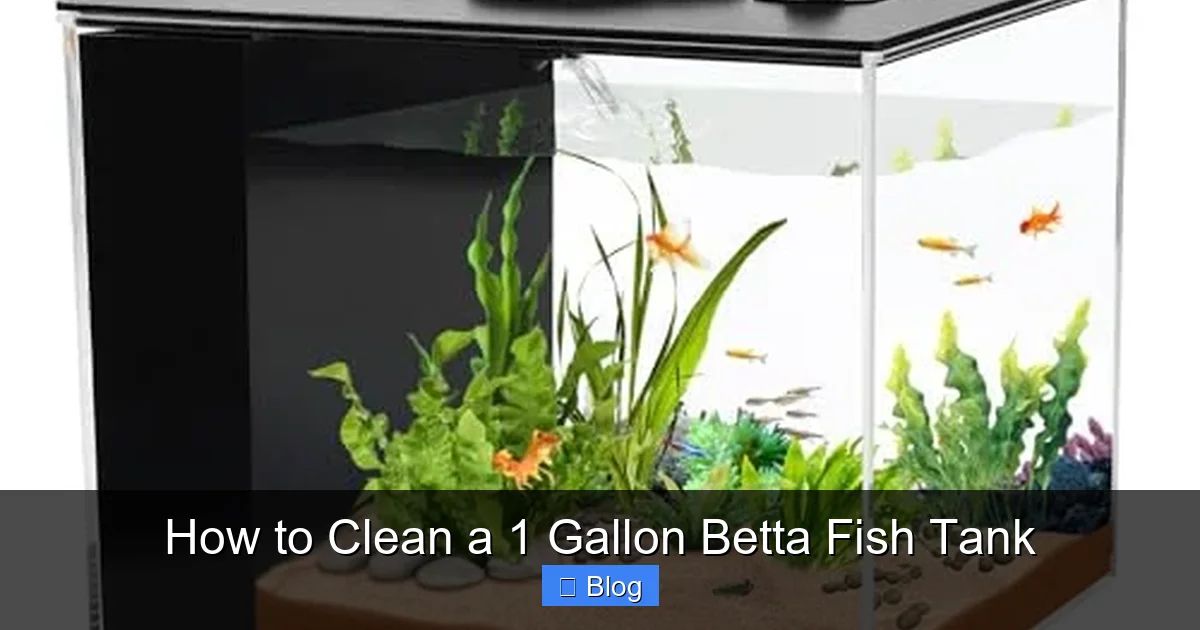
Visual guide about How to Clean a 1 Gallon Betta Fish Tank
Image source: m.media-amazon.com
Equally critical is temperature. Bettas are tropical fish. A sudden drop or spike of more than 1-2 degrees Fahrenheit can cause thermal shock, weakening their immune system and making them susceptible to disease like Ich or velvet. The easiest way to check is by feeling the water. The new water should feel the same as the tank water against your skin. If your tap runs very cold in winter, you may need to mix in some warm (not hot!) tap water or use a small heater in your water change bucket to bring it up to speed. Never add boiling water. The goal is a seamless, undetectable water change for your fish.
Filter Maintenance (If Your 1-Gallon Setup Has One)
Many 1-gallon “betta bowls” come with a tiny, internal filter. If yours does, it needs special care. The filter media (the sponge, cartridge, or bio-balls inside) is home to the vast majority of your tank’s beneficial bacteria—the good guys that convert toxic fish waste. Destroying this colony is a fast track to a “new tank syndrome” crash, even in an established small tank.
The Golden Rule: Never Use Tap Water
When it’s time to service the filter (usually every 4-6 weeks, or if you notice a significant drop in flow), follow this ritual. First, unplug the filter. Take it to your sink. Do not run it under the tap. Instead, take a cup of the old tank water you just siphoned out (or a separate container of tank water). Gently wring and swish the filter media in this old tank water. You are rinsing off the large debris and gunk that is clogging it, but you are leaving the bacterial film intact. You’ll see the water turn brown—that’s the fine detritus. Squeeze the sponge a few times until the water runs clearer. That’s it. Put it back in the filter housing and reassemble. If your filter has replaceable cartridges, you can rinse the old one in old tank water as above, but if it’s falling apart, replace it. However, when you put a new cartridge in, you are introducing a new, sterile media with no bacteria. To compensate, you can place the old, rinsed cartridge next to the new one for a few weeks to allow bacteria to colonize it, or be prepared for a mini-cycle where you must monitor ammonia closely and do more frequent water changes.
Common Mistakes That Harm Bettas in Small Tanks
Even with the best intentions, it’s easy to make errors that have severe consequences in a 1-gallon environment. Here are the most frequent pitfalls.
Mistake 1: The “Full Tank Scrub”
This is the #1 killer. The instinct is to completely empty the tank, scrub every surface with soap (or even just a scrub pad under the tap), and start fresh. This obliterates the entire biological filter. The tank is now “new” with zero beneficial bacteria. The moment you add your betta back in, its waste produces ammonia with nothing to process it. Ammonia poisoning occurs rapidly. Solution: Never clean all the décor at once. Clean half one week, half the next. Never use soap. Always use old tank water for rinsing.
Mistake 2: Overcleaning / Changing 100% of the Water
Related to the above. Changing all the water at once removes all the old water parameters your betta is adapted to. It also removes all the beneficial bacteria from the water column and surfaces. The sudden shift in pH, temperature, and mineral content is a huge shock. Solution: Stick to 25-50% changes. This dilutes pollutants while keeping the core ecosystem stable.
Mistake 3: Using the Wrong Tools (Soap, Bleach, Harsh Scrubbers)
A drop of dish soap is a death sentence. Bleach residues are equally toxic. Even using the same scrub brush you use for your kitchen counters can transfer grease and chemicals. Solution: Designate a specific, cheap toothbrush for aquarium use only. Keep it in the tank room. Use only water and your elbow grease. For stubborn mineral deposits (hard water spots), use vinegar diluted 1:1 with water, rinse *extremely* thoroughly with conditioned water, and let it air dry completely before reuse.
Mistake 4: Ignoring the Source: Overfeeding
No amount of cleaning can fix constant overfeeding. Excess food rots, producing ammonia and fouling the water. Bettas have small stomachs; 2-3 pellets once a day is plenty. Any food not eaten in 2-3 minutes must be netted out. Solution: Feed less, and always remove uneaten food immediately. This is the single most effective way to reduce your cleaning workload and keep water quality high.
Conclusion: A Clean Tank is a Happy, Healthy Betta
Maintaining a 1-gallon betta tank is a commitment to frequent, gentle care. It’s not about occasional deep cleans, but about consistent, small interventions that work with the biology of the tiny ecosystem. By performing 25-50% partial water changes 2-3 times per week, using only dechlorinated water at the correct temperature, never using soap or fully disrupting the filter and décor, you create a stable, clean home for your fish. Remember, your betta’s world is just a gallon of water. Everything you put in or take out has a direct and immediate effect. Treat that water with respect, follow these steps carefully, and you’ll be rewarded with a vibrant, active, and long-lived companion. A clean tank isn’t just about looks; it’s the foundation of your betta’s health and happiness.
Frequently Asked Questions
How often should I completely clean my betta’s 1-gallon tank?
You should never perform a “complete” clean where you strip the tank bare and wash everything. Instead, perform a partial water change (25-50%) 2-3 times per week. A full décor scrub should only happen if absolutely necessary, and you should only clean half the ornaments at a time to preserve beneficial bacteria.
Can I use bottled spring water instead of tap water with conditioner?
You can, but it’s often not recommended. Bottled water varies wildly in mineral content and pH, which can cause instability. It’s also expensive and creates a lot of plastic waste. The most reliable method is to treat your own tap water with a quality conditioner, which provides consistent, stable parameters your betta can adapt to.
My betta seems stressed after a water change. Is this normal?
Some brief stress (hiding, loss of appetite for a day) is normal due to the movement and new water. To minimize it, ensure the new water temperature is identical, the change is gentle and partial, and you acclimate your betta by using some old tank water in its holding cup. If stress lasts more than 24-48 hours or is accompanied by clamping, lethargy, or rapid breathing, re-check your water parameters and temperature.
What if I don’t have a siphon/gravel vacuum?
You can use a very clean, dedicated turkey baster or large pipette to manually remove debris from the substrate. It’s less efficient but works in a pinch. Alternatively, you can carefully cup handfuls of gravel in your hand during the water change to agitate and remove loose waste, but this is more disruptive. Investing in a small bulb siphon is highly recommended.
Is a filter even necessary in a 1-gallon betta tank?
A filter is highly recommended, even in small tanks, as it provides crucial water flow and a surface for beneficial bacteria. However, the filter must be adjusted to create a gentle flow, as bettas’ long fins struggle in strong currents. If you have a filter, maintaining it properly (rinsing media in old tank water) is critical. Without a filter, you must perform even more frequent water changes (daily 25%) to compensate.
Can I clean the tank with my betta still inside?
It is strongly advised against. Trying to scrub algae and décor around a swimming, curious betta is extremely stressful for the fish and risks injury from tools or nets. The brief period in a clean holding cup with some of its old water is far less traumatic. Always net your betta out first.