How to Change Your Betta Fish Water
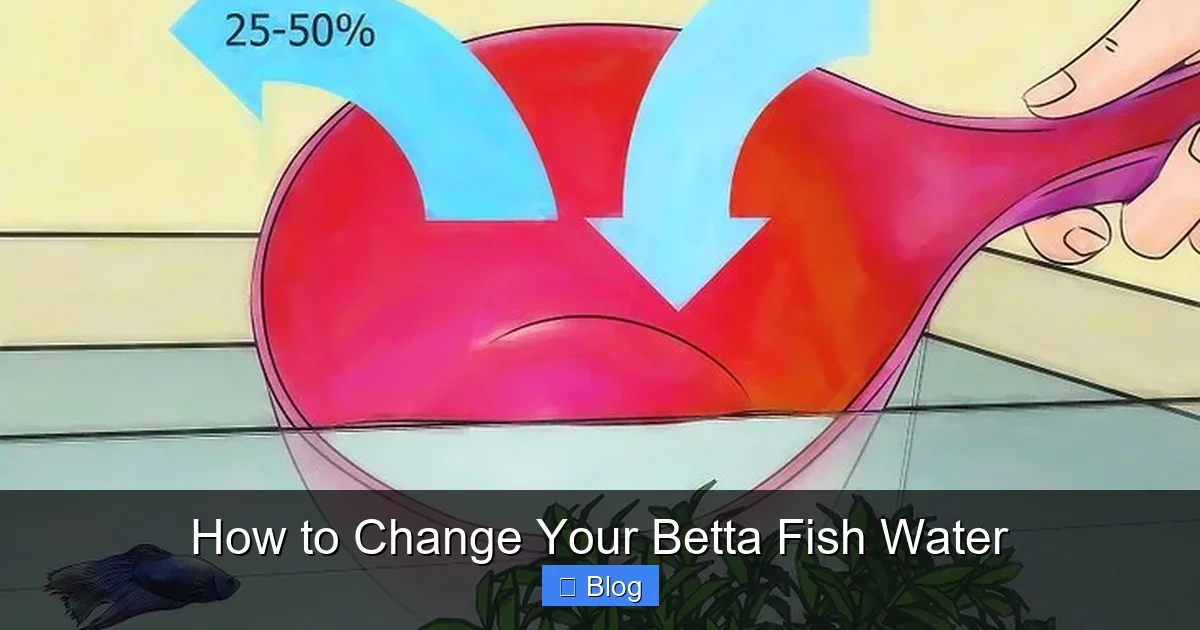
Regular, proper water changes are the single most important task for keeping your betta fish healthy and vibrant. It’s not just about replacing old water; it’s about removing toxic waste, maintaining stable water chemistry, and preventing disease. You must always use dechlorinated water that matches your tank’s temperature to avoid shocking your sensitive fish. Following a consistent, careful routine—typically a 25-50% partial change weekly—will mimic a natural, clean environment and give your betta the best chance at a long, active life. Neglecting this duty is the fastest path to a sick or lethargic fish.
So, you’ve got your beautiful betta fish, with its flowing fins and vibrant colors, settled in its new home. You’ve got the perfect tank, the right food, and maybe even a few silk plants. But there’s one task that stands between your betta and optimal health, a task that is often misunderstood or done incorrectly: how to change your betta fish water. It’s more than just dumping some water out and adding more from the tap. Done right, a water change is a refreshing reset for your aquatic ecosystem. Done wrong, it can be a traumatic event that stresses or even sickens your fish. This comprehensive guide will walk you through every single step, from the “why” to the “how,” ensuring you become a confident, expert caretaker. Think of this as your definitive handbook for crystal-clear water and a thriving betta.
Key Takeaways
- Consistency is critical: Perform partial water changes weekly to prevent ammonia and nitrite buildup.
- Temperature matching prevents shock: New water must be within 1-2°F (0.5-1°C) of the tank’s current temperature.
- Dechlorination is non-negotiable: Always treat tap water with a reliable water conditioner to neutralize chlorine and chloramines.
- Clean the substrate during changes: Gently siphon debris from the gravel to remove solid fish waste and uneaten food.
- Partial changes are safer than full changes: Replacing 25-50% of the water preserves beneficial bacteria and stabilizes the nitrogen cycle.
- Test your water parameters: Use a liquid test kit to monitor ammonia, nitrite, nitrate, and pH before and after changes.
- Observe your betta post-change: Watch for signs of stress like clamped fins or lethargy, which indicate a problem with the process.
📑 Table of Contents
- Why Water Changes Are Your Betta’s Lifeline
- How Often Should You Change Your Betta’s Water?
- Gathering Your Supplies: The Right Tools for the Job
- The Step-by-Step Guide to a Perfect Partial Water Change
- Common Mistakes That Harm Your Betta (And How to Avoid Them)
- Advanced Tips for a Flawless Routine
- Conclusion: A Labor of Love
Why Water Changes Are Your Betta’s Lifeline
Before we dive into the “how,” we must firmly establish the “why.” Your betta fish lives in a closed system—its tank. Everything it excretes, every uneaten pellet, every decaying plant leaf stays in that water. This organic matter enters a process called the nitrogen cycle, a natural but potentially toxic sequence.
The Nitrogen Cycle Simplified
It starts with ammonia (NH3/NH4+), which comes directly from fish waste and decomposing food. Ammonia is highly toxic, even in small amounts. Beneficial bacteria (the good guys) consume ammonia and convert it into nitrite (NO2-). Nitrite is also toxic. A second set of bacteria then converts nitrite into nitrate (NO3-). Nitrate is far less toxic and can be tolerated at low levels. However, as it accumulates, it becomes a problem, leading to poor water quality, algae blooms, and stress. Water changes are the only reliable way to remove nitrate and dilute the other waste products before they reach harmful concentrations. Without them, your tank’s bio-load will eventually poison your betta.
Beyond Toxins: The Other Benefits
Clean water isn’t just about chemistry. It’s about:
- Oxygenation: Fresh water holds more dissolved oxygen, which your betta and the beneficial bacteria need to breathe.
- Removing Particulates: Siphoning the gravel removes solid debris that can rot and cause ammonia spikes.
- Stabilizing pH: Regular changes help prevent the pH from crashing or spiking due to accumulating acids.
- Mimicking Nature: In a river or stream, constant water flow refreshes the environment. Your tank is a static pond; you must provide that refreshment manually.
How Often Should You Change Your Betta’s Water?
This is the most common question, and the answer is not one-size-fits-all. It depends entirely on your tank’s size, filtration (or lack thereof), and stocking.

Visual guide about How to Change Your Betta Fish Water
Image source: wikihow.com
The General Rule of Thumb
For the most common setup—a 5-gallon tank or larger with a gentle filter—a 25-30% partial water change once per week is the gold standard. This schedule effectively keeps nitrate levels low (ideally below 20 ppm) and maintains a stable environment. Smaller tanks, like the notorious 1- or 2.5-gallon bowls, require much more frequent attention—50% changes every 2-3 days—because toxins build up incredibly fast in a small volume of water. Unfiltered tanks of any size follow the same high-frequency rule as small filtered tanks.
How to Determine Your Exact Schedule
Don’t guess. Test your water. Purchase an affordable liquid test kit (like the API Freshwater Master Test Kit). Test for ammonia, nitrite, and nitrate. If you see any reading of ammonia or nitrite above 0 ppm, your tank is not cycled or is overloaded—you need immediate action. For nitrate, the goal is to keep it below 20 ppm for bettas. If your weekly 25% change keeps nitrate under 20, you’re on track. If it’s consistently higher (e.g., 40 ppm), increase the change volume to 40% or do changes twice a week. Consistency is more important than occasional large changes.
Gathering Your Supplies: The Right Tools for the Job
Having everything ready before you start makes the process smooth and quick, minimizing stress for your betta. Scrambling for a bucket mid-change is a recipe for disaster.
Visual guide about How to Change Your Betta Fish Water
Image source: wikihow.com
The Essential Toolkit
- Aquarium Gravel Cleaner/Siphon: This is your most important tool. A simple Python-style vacuum or a bulb-start siphon is perfect. It cleans the gravel while removing water. Avoid using just a cup; it won’t remove buried debris.
- Two Clean Buckets: Designate these exclusively for aquarium use. Never use buckets that have held soap, chemicals, or other contaminants. One is for dirty water (the water you remove), and one is for clean, treated water.
- Water Conditioner/Dechlorinator: A non-negotiable product. It instantly neutralizes chlorine, chloramines, and heavy metals in tap water. Seachem Prime is a popular, highly trusted brand.
- Thermometer: To ensure temperature matching. A simple floating or stick-on thermometer is sufficient.
- Optional but Helpful: A dedicated heater for your clean water bucket (if doing large changes in cold climates), a algae pad for the glass, and a soft cloth for wiping spills.
Water Temperature: The Silent Killer
This cannot be stressed enough. Betta fish are tropical fish from warm, shallow waters of Southeast Asia. They are extremely sensitive to temperature shock. The new water you add must be within 1-2°F (0.5-1°C) of your tank’s current temperature. A change of 5°F or more can cause severe stress, suppress the immune system, and lead to diseases like swim bladder disorder. Always check with your thermometer. If your tap water is very cold, you may need to pre-heat a portion of it using your aquarium heater (placed in the clean bucket) or let it sit in the room to adjust to ambient temperature.
The Step-by-Step Guide to a Perfect Partial Water Change
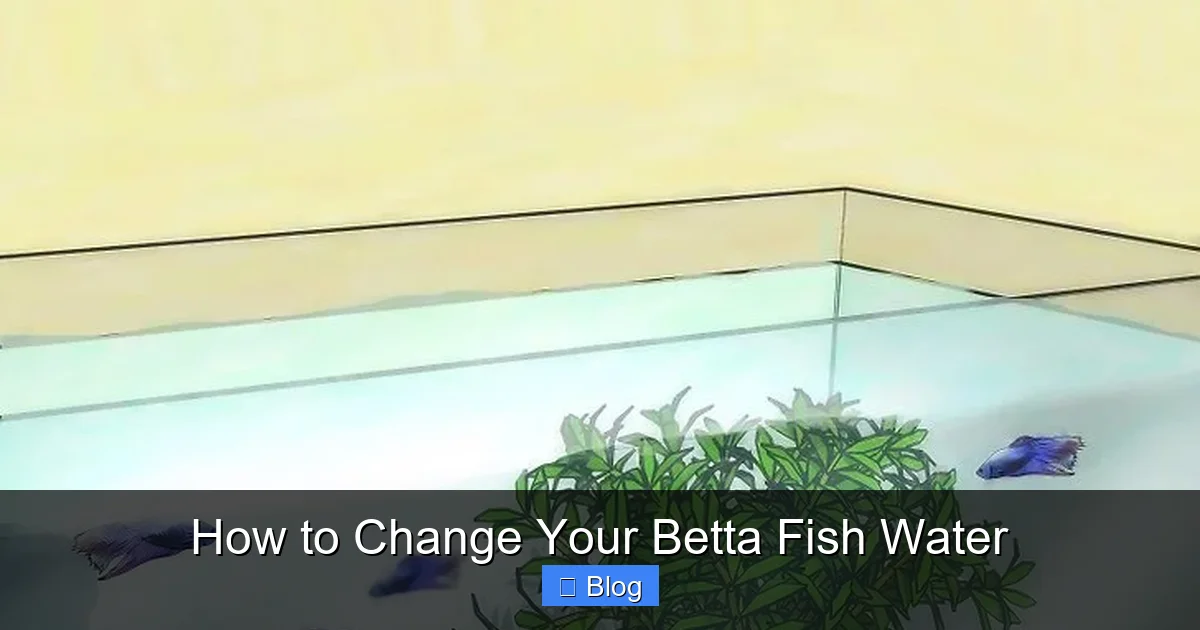
Now, let’s get our hands wet. This process assumes a filtered tank with a heater. We’ll focus on a 25-30% change in a 5-gallon tank. The principles scale for any size.

Visual guide about How to Change Your Betta Fish Water
Image source: wikihow.com
Phase 1: Preparation (2 Minutes)
- Turn off all equipment. Switch off the filter and heater at the outlet. This prevents damage from running dry (heater) and stops debris from being sucked into the filter during cleaning.
- Rinse your siphon. Rinse the gravel cleaner tube and tubing with clean tap water (not tank water!) to remove any dust.
- Prepare your clean water. Fill your clean bucket with the amount of tap water you’ll need (e.g., 1.5 gallons for a 30% change in a 5-gallon tank). Add the correct dosage of water conditioner to this bucket immediately. This allows the conditioner to work while you’re cleaning the tank.
- Check temperatures. Place your thermometer in the tank and in the bucket of new water. Note the readings. Adjust if necessary by adding a little warm or cool water to the bucket.
Phase 2: The Cleaning (5-7 Minutes)
- Position your siphon. Place the gravel cleaner tube into the substrate. Start the siphon by sucking on the tubing (or using the bulb). Never put your mouth on a tube that has been in aquarium water due to risk of pathogens. If using a bulb, prime it away from the tank.
- Gently push the tube into the gravel. As you push down, debris and fish waste will be sucked up. Move the tube to a new spot and repeat. Your goal is to clean about 1/3 of the gravel surface each week, rotating areas so you clean the entire bottom over a few weeks. Do not disturb decor or bury the tube too deep.
- Siphon until you’ve removed the target volume. Watch the water level in the tank. For a 5-gallon tank, removing 1.25-1.5 gallons is a 25-30% change. The dirty water goes into your “dirty” bucket.
- Wipe the glass (optional). While the water level is low, use an algae pad (never a soapy sponge!) to clean the inside of the glass where algae has built up.
- Clean your filter media (optional, monthly). Never replace all your filter media at once or rinse it in tap water, as this kills the beneficial bacteria. Once a month, gently swish the sponge or ceramic rings in the bucket of dirty tank water you just removed (or a separate cup of tank water) to remove large debris. Never use soap.
Phase 3: The Refill (2 Minutes)
- Check the water level and temperature one last time. Ensure the tank water hasn’t dropped too far for your heater (some heaters have minimum water lines). Re-check the new water temperature.
- Slowly add the new water. This is crucial. Do not dump the bucket in. Place a clean cup or the end of your siphon tube into the tank and gently pour the new water against the tank wall or onto a decorative rock. The goal is to avoid creating a strong current that stirs up debris or distresses your betta. Pouring slowly over 3-5 minutes is ideal.
- Restart your equipment. Once the tank is full, plug your filter and heater back in. Ensure the filter is submerged and the heater is fully underwater before turning it on.
- Wipe up any spills. A clean, dry cloth around the tank rim prevents water spots and slips.
Phase 4: The Aftercare
Observe your betta for the next 15-30 minutes. It may be curious and explore the refreshed water. This is normal. If it is darting frantically, clamped tight, or hiding and not moving, you may have a temperature or chemistry mismatch. Double-check your work. Do not feed immediately; wait at least an hour to avoid adding extra waste to the newly cleaned water.
Common Mistakes That Harm Your Betta (And How to Avoid Them)
Even with the best intentions, many betta owners make critical errors during water changes. Let’s identify and eradicate them.
Mistake 1: Using Untreated Tap Water
City water contains chlorine and chloramines to kill bacteria. These are deadly to your fish and will destroy your beneficial bacteria colony. Solution: Always, always use a water conditioner. Follow the dosage on the bottle. For large volumes, it’s often cheaper to buy conditioner in bulk.
Mistake 2: Temperature Shock
Adding cold tap water to a warm tank is a classic mistake. Solution: Use your thermometer. If you must use cold tap water, pre-heat it in a clean bucket with your aquarium heater (set to tank temp) for 30-60 minutes before the change.
Mistake 3: Cleaning Everything at Once
Overzealous cleaning can crash your nitrogen cycle. Scrubbing every surface with soap and replacing all filter media removes all the good bacteria, causing a “new tank syndrome” spike in ammonia. Solution: Only clean what’s necessary—the gravel and maybe the glass. Rinse filter media in old tank water, not tap water. Never replace more than 25% of filter media at a time.
Mistake 4: Changing Too Much Water, Too Often
While a 50% change is sometimes needed, doing a 100% full tank change weekly is stressful and destabilizing. It removes all beneficial bacteria and drastically alters water chemistry. Solution: Stick to 25-50% partial changes. Reserve a full 100% change only for emergencies (like a severe disease outbreak) or when setting up a new, fully cycled tank.
Mistake 5: Pouring Water Too Fast
A torrent of new water can stress your betta, stir up debris into the filter, and cause temperature layers to mix too rapidly. Solution: Use a cup or the siphon tube to create a gentle, steady stream. Pouring onto a rock or plant helps diffuse the flow.
Advanced Tips for a Flawless Routine
Once you’ve mastered the basics, these tips will elevate your betta-keeping game.
Acclimating After a Large Change
If you ever need to do a larger change (e.g., 50% because nitrate is high), consider a slower refill. After siphoning, add the new water in stages: pour in 25% of the new volume, wait 10 minutes, then add the remaining 25%. This gives your betta and the tank’s chemistry more time to adjust gradually.
Using the Dirty Water Wisely
The water you siphon out is rich in nutrients (fish waste). You can use it to water your houseplants or garden (avoid edible plants if you use medication in the tank). This is an eco-friendly practice that closes the loop on your routine.
Establishing a Ritual
Make water changes a weekly habit, like Sunday morning coffee. Set a reminder on your phone. Consistency is the key to preventing problems. A well-maintained tank rarely has issues, while an inconsistently maintained one is a constant source of stress and emergency treatments.
Conclusion: A Labor of Love
Learning how to change your betta fish water correctly is the cornerstone of responsible betta ownership. It’s a simple, repetitive task that pays immense dividends in the form of a active, colorful, and long-lived companion. By committing to a weekly schedule of partial water changes with dechlorinated, temperature-matched water, you are directly controlling the toxins that threaten your fish. You are mimicking the clean, flowing waters of its natural habitat. This isn’t a chore; it’s an act of care. The crystal-clear water you see after a good change is a direct reflection of the health and happiness thriving within it. Pick up your siphon, check your thermometer, and take that first step toward becoming the best betta parent you can be. Your fish’s vibrant fins and curious glides will thank you for it.
Frequently Asked Questions
Can I use bottled spring water for my betta tank?
You can, but it’s usually unnecessary and expensive. Bottled water often lacks essential minerals bettas need. If your tap water is heavily contaminated, a high-quality conditioner is a safer, cheaper, and more effective solution than relying on bottled water.
Do I need to remove my betta during the water change?
No, you do not need to net your betta out for a standard partial water change. The process is quick and gentle enough that your fish can remain in the tank. Removing them causes unnecessary stress and risk of injury. Only net them if you are doing a full 100% change for a serious medical treatment.
How do I clean the gravel without sucking up my betta?
Betta fish are curious but not fast. Keep the intake tube of your siphon close to the gravel substrate. Move deliberately. If your betta swims directly over the tube, simply pause and let it move away. The suction is weak enough at the tube’s end that it won’t harm a fish if briefly touched, but it’s best to avoid it. Your betta will learn the routine and often watch curiously from a safe distance.
What if I accidentally add water that’s too cold or too hot?
If you notice the mistake immediately, stop adding water. You’ll need to either remove some of the incorrectly tempered water with your siphon and replace it with properly tempered water, or wait and monitor your betta closely for signs of stress (gasping, lethargy, clamped fins). In severe cases, a temperature shock can lead to ich or other infections, so prevention is critical.
Is a full water change ever necessary?
A full 100% water change is a last-resort tool, not a routine. It’s used for severe disease outbreaks where medication requires a clean slate, or if the tank is contaminated with something harmful (like soap). It massively stresses the fish and crashes the biological filter. Always opt for partial changes for regular maintenance.
How can I tell if my water change was successful?
Success is measured over time. The immediate sign is your betta acting normal—exploring, flaring, or resting peacefully. The long-term signs are stable water test results (0 ammonia/nitrite, low nitrate), clear water, and the absence of algae blooms or fish health issues. If your betta is consistently active and your weekly tests show good parameters, your water change routine is working perfectly.