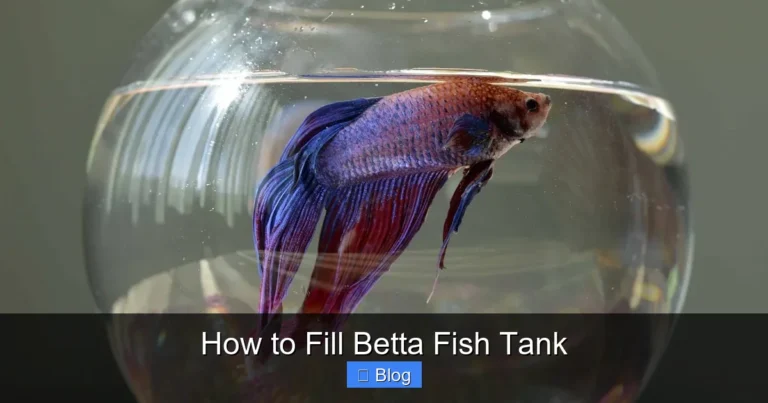
How to Change Water in Betta Fish Bowl
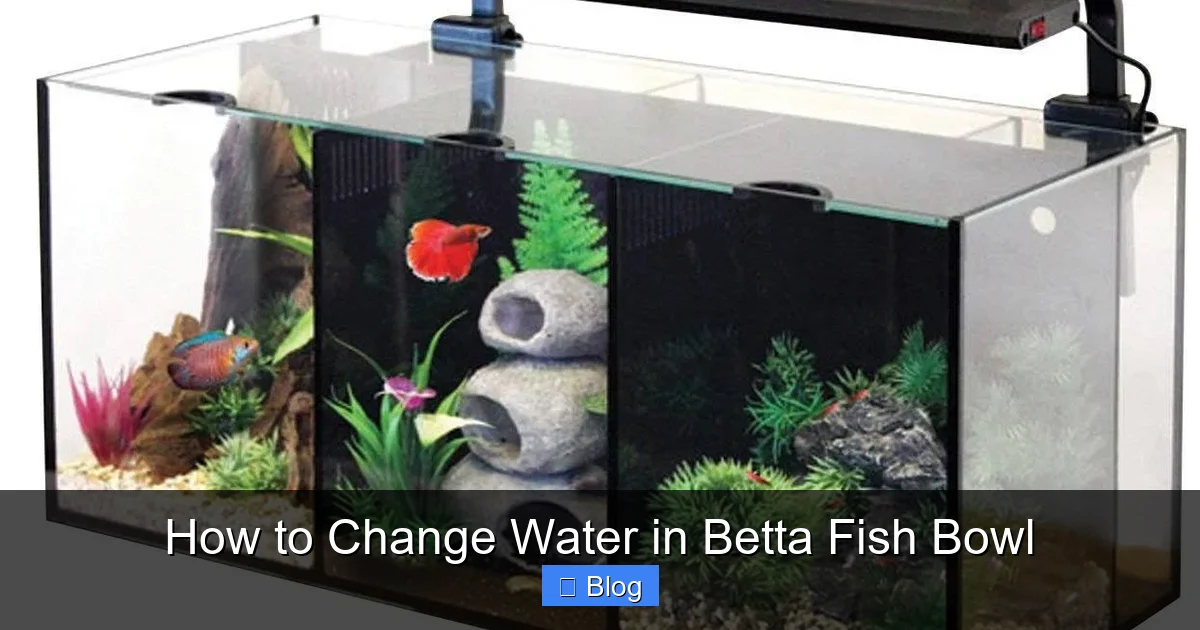
Changing your betta’s water is the single most important task for its health and longevity. A proper water change isn’t just dumping old water—it’s a careful process of removing toxins, replenishing minerals, and maintaining a stable, clean environment. This guide walks you through exactly how to do it correctly, the equipment you need, common mistakes to avoid, and how to establish a routine that keeps your vibrant betta thriving for years.
Key Takeaways
- Consistency is Critical: Establish and stick to a regular water change schedule (25-50% weekly for a bowl) to prevent toxic ammonia and nitrite buildup.
- Temperature Matching is Non-Negotiable: New water must be within 1-2°F (0.5-1°C) of the old water to prevent deadly temperature shock.
- Dechlorinator is Essential: Never add untreated tap water. Always use a water conditioner to neutralize chlorine and chloramines.
- Clean, Don’t Sterilize: Never use soap, chemicals, or abrasive scrubbers on the bowl, gravel, or decorations. Rinse with only the old tank water you’ve removed.
- Gravel Vacuuming is Key: A siphon is your best tool. It removes debris from the substrate without disturbing the betta or removing all beneficial bacteria.
- Slow and Steady Wins: Add new water slowly, ideally using a gentle stream or pouring it over a plate to avoid stressing your betta with strong currents.
- Observe Your Betta: Your fish’s behavior is your best report card. Lethargy, clamped fins, or loss of appetite often signal poor water quality first.
📑 Table of Contents
- Why Proper Water Changes Are the #1 Key to a Happy, Healthy Betta
- Understanding Your Betta’s Environment: The Bowl vs. The Tank Debate
- Essential Equipment: Your Water Change Toolkit
- The Step-by-Step Guide: How to Change Water in a Betta Fish Bowl
- Common Water Change Mistakes (And How to Avoid Them)
- Establishing a Maintenance Schedule: Beyond the Water Change
- Special Considerations: Bettas Have Specific Needs
- Conclusion: Making It a Habit for a Thriving Betta
Why Proper Water Changes Are the #1 Key to a Happy, Healthy Betta
Let’s be honest: when you first brought home that dazzling betta fish with its flowing fins and bold personality, the little glass bowl probably looked perfect. But that beautiful, serene bowl is actually a delicate, closed ecosystem. Every time your betta eats, breathes, and excretes, it’s adding waste products to the water. Without intervention, these toxins—primarily ammonia, nitrite, and nitrate—build up rapidly in the small volume of a bowl, turning your betta’s home into a hazardous environment. A proper water change is not just a cleaning chore; it’s the primary method of maintaining water quality, diluting these toxins, and providing a stable, healthy life for your aquatic pet. Skipping or performing water changes incorrectly is the fastest route to a stressed, sick, or prematurely dying betta. This guide will transform this essential task from a daunting chore into a simple, confident routine.
Understanding Your Betta’s Environment: The Bowl vs. The Tank Debate
Before we dive into the “how,” it’s crucial to understand the “why” in the context of a bowl. The betta fish bowl is a controversial topic in the aquarium hobby, and for good reason. Bettas are intelligent, active fish that, in the wild, traverse shallow, spacious rice paddies. A tiny, uncycled bowl is a severe restriction. In such a small volume (often under 2 gallons), water parameters can swing wildly in a matter of hours. Waste accumulates faster, oxygen can deplete, and temperature fluctuations are more pronounced. This makes consistent, careful water changes absolutely vital. While a filtered, heated 5-gallon tank is the ideal long-term home, many bettas live in bowls. For these fish, the keeper’s diligence with water changes is even more critical. Think of each water change as a partial reset of the bowl’s chemistry, giving your betta a fresh, clean slate to live in.
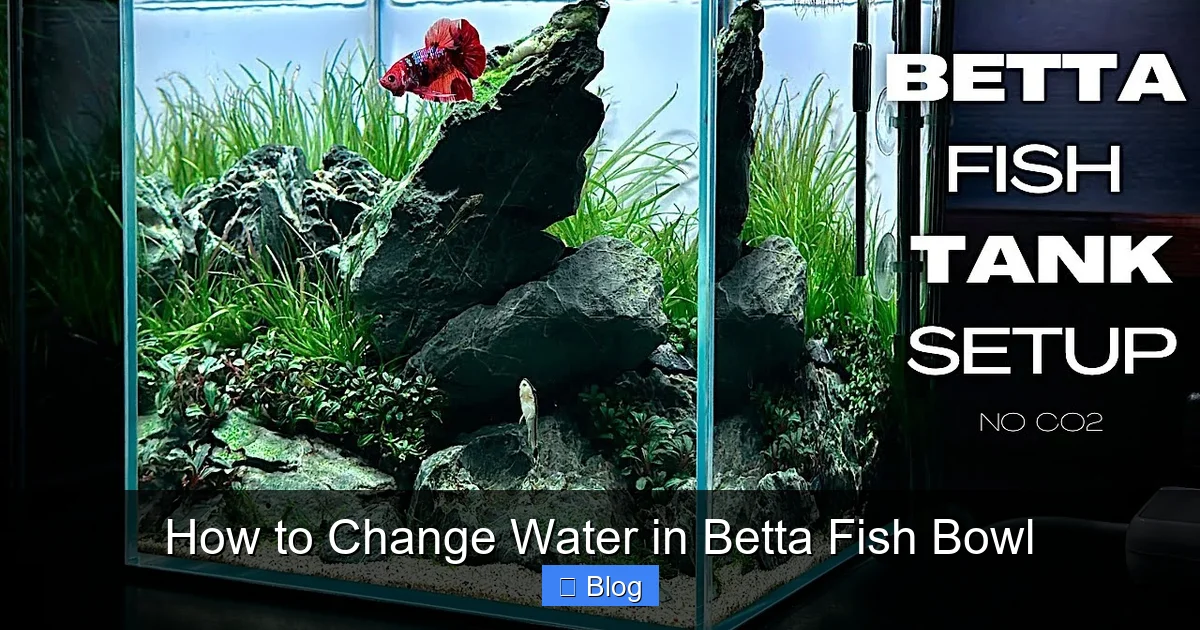
Visual guide about How to Change Water in Betta Fish Bowl
Image source: i.ytimg.com
The Nitrogen Cycle in a Bowl: A Simplified View
You don’t need a PhD in chemistry, but a basic grasp of the nitrogen cycle helps. Fish waste and decaying food produce ammonia (NH3/NH4+), which is highly toxic. In a fully cycled tank, beneficial bacteria convert ammonia to nitrite (also toxic), and then to nitrate (much less toxic). In a typical uncycled betta bowl, this bacterial colony is minimal or non-existent. Therefore, you are the “filter.” Your water changes physically remove the ammonia, nitrite, and nitrate before they can harm your betta. This is why frequency and volume of changes are so important in a bowl setting.
Essential Equipment: Your Water Change Toolkit
Doing this job right starts with having the right tools. You don’t need expensive gear, but a few specific items make the process safe, efficient, and stress-free for both you and your betta.
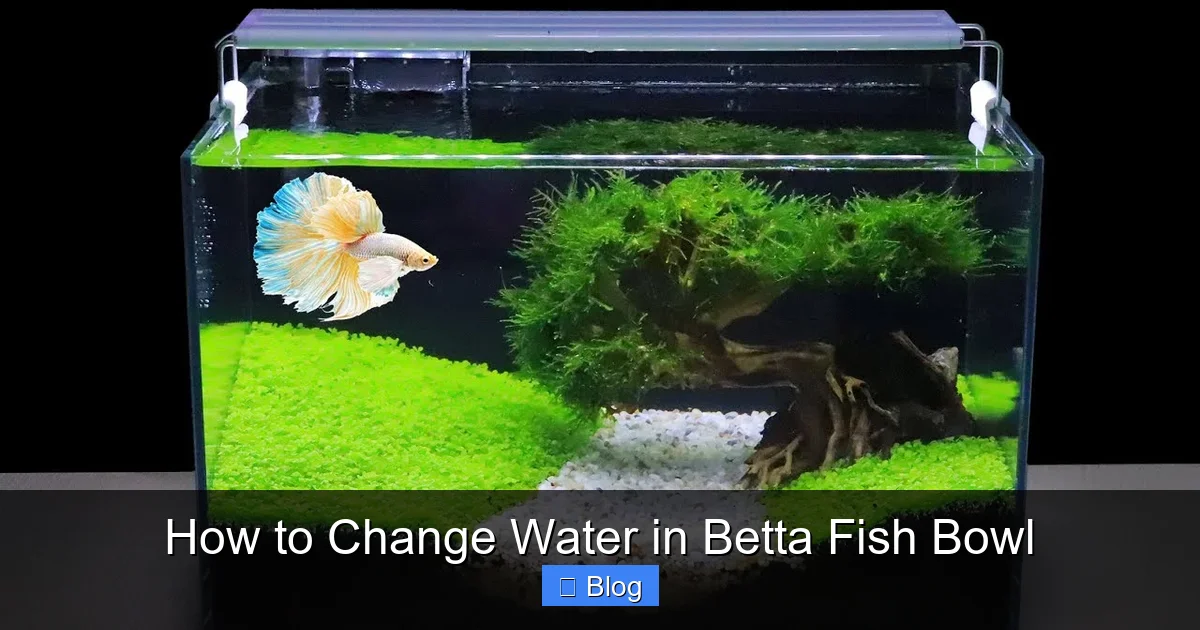
Visual guide about How to Change Water in Betta Fish Bowl
Image source: i.ytimg.com
The Siphon (Gravel Vacuum): Your Most Important Tool
This is not optional. A simple gravel vacuum—a plastic tube with a wide mouth and a flexible hose—is the cornerstone of a good water change. It allows you to remove debris (uneaten food, feces) from the gravel without taking all the water out. You prime it by sucking on the tube (or using a pump bulb on some models) to start the siphon. The flow of water pulls the loose gunk up from between the gravel bits. Look for a medium-sized one; too large and it’ll suck up gravel and potentially your betta; too small and it’s ineffective.
Water Conditioner (Dechlorinator)
This is absolutely non-negotiable. Tap water contains chlorine and/or chloramine, which are lethal to fish. A water conditioner (like Seachem Prime, API Stress Coat, or any reputable brand) instantly neutralizes these chemicals and may also detoxify ammonia and nitrite for a short period. Always have this on hand before you even think about starting a water change.
Buckets: Dedicated and Clean
You need at least two clean buckets. One is for the dirty water you’re removing (the “waste bucket”). The other is for the fresh, conditioned tap water (the “fresh water bucket”). These buckets should be used only for aquarium work. Never use a bucket that has held cleaning chemicals, even if you rinsed it. Residual soap or chemicals can be fatal. Label them if needed!
Thermometer: The Unseen Guardian
Do not guess the water temperature. An inexpensive stick-on aquarium thermometer or a digital one is crucial. You must match the temperature of the fresh water to the tank water within 1-2 degrees Fahrenheit (0.5-1°C). A significant difference causes thermal shock, which can shut down a betta’s organs and kill it quickly.
Other Helpful Extras
- Algae Scraper/Cloth: For wiping down the glass before you start (so debris doesn’t fall back in).
- Net: A small, soft mesh net can be used to gently corral your betta if you need to remove it temporarily (usually not necessary for a simple water change).
- Paper Towels: For wiping up spills and cleaning the outside of the bowl.
The Step-by-Step Guide: How to Change Water in a Betta Fish Bowl
Now, the main event. Follow these steps in order. With practice, you can complete a 50% water change in under 15 minutes. Always prepare all your equipment before you start.
Visual guide about How to Change Water in Betta Fish Bowl
Image source: m.media-amazon.com
Step 1: Preparation and Safety First
Place your dedicated “waste bucket” next to the bowl. Fill your “fresh water bucket” with the amount of tap water you’ll need (e.g., for a 50% change in a 2-gallon bowl, you need 1 gallon of fresh water). Add the correct dosage of water conditioner to this fresh water bucket immediately. Let it sit while you work. This gives the conditioner time to work and allows the water to come to room temperature. Pro Tip: If your tap water is very cold, you may need to mix in a little warm (not hot!) tap water to get it closer to the tank temperature. Use your thermometer to check.
Step 2: The Initial Clean-Up (Before the Siphon)
Use your algae scraper or a clean cloth (dampened with old tank water, not tap water) to gently scrub the inside glass of the bowl. This removes algae and biofilm. Don’t worry if some debris falls to the bottom—the siphon will get it. Also, wipe down any decorations or the rim of the bowl. This is the easiest time to do it.
Step 3: Starting the Siphon and Removing Old Water
Submerge the wide end of your gravel vacuum completely in the bowl. Place your thumb over the end of the hose to stop the flow. Now, place the hose end into your waste bucket. Remove your thumb from the hose to start the siphon. You may need to prime it first by sucking on the hose end until water flows (be careful not to inhale!). Once a steady stream is flowing, gently push the vacuum’s mouth into the gravel at the bottom. Swirl it lightly in a small circle. You’ll see debris and fish poop being sucked up into the hose. Move slowly around the entire bottom of the bowl, focusing on areas with visible waste. Do not dig too deep or you’ll disturb the gravel layer too much. Continue siphoning until you have removed the desired percentage of water (usually 25-50%). The siphoning process itself cleans the gravel as you go.
Step 4: Removing and Rinsing Decorations (Optional but Recommended)
If your betta has silk plants, a small castle, or other decorations, this is a good time to give them a rinse. Remove them one by one and place them in the waste bucket. Gently swish them around in the old tank water you just removed to dislodge any algae or gunk. Never use tap water or soap. The old tank water preserves any beneficial bacteria that may be on them. Set them aside on a clean towel.
Step 5: The Final Water Removal and Fish Safety
Once you’ve siphoned out the target volume and cleaned the gravel, you can finish removing the last bit of water if needed. At this point, the water level is low, and your betta will have much less room to swim. This is actually helpful—it reduces the chance of you accidentally sucking it into the siphon. You can gently use the siphon (without the gravel vacuum attachment, just the tube) to remove the last few inches of water from around the edges, being extremely cautious. Your betta will likely be hiding or swimming cautiously in the remaining shallow water.
Step 6: Adding the Fresh, Conditioned Water
This is the moment of truth. Check the temperature of your conditioned fresh water in the bucket with your thermometer. It must match the old water temperature. Now, you have two main options for adding it back, both designed to avoid creating a strong current that stresses your betta:
- The Plate Method: Place a clean plastic or ceramic plate (a small saucer works) on the surface of the remaining water in the bowl. Slowly pour the fresh water onto the plate. The water will cascade down the sides of the plate, dispersing gently and preventing a direct, forceful stream.
- The Slow Drip Method: If you have a spare piece of airline tubing, you can create a very slow drip by controlling the flow with a clamp or your thumb. This is the gentlest method but takes longer.
Fill the bowl to about 1/2 to 1 inch from the top (to allow for evaporation and swimming room).
Step 7: Return Decorations and Final Check
Place your rinsed decorations back into the bowl. Wipe any water spots from the outside glass with a paper towel. Turn on your light (if you have one). Now, take a moment to observe your betta. It might be a bit dartey or hide for a few minutes as it adjusts to the new water. This is normal. Ensure the water is clear. If you see a sudden cloudiness from disturbed gravel, it should settle within an hour. Do not feed your betta for at least 2-3 hours after the water change to avoid adding more waste to the newly cleaned water.
Common Water Change Mistakes (And How to Avoid Them)
Even with the best intentions, it’s easy to make errors that undermine your hard work. Here are the most frequent pitfalls and their fixes.
Mistake 1: Using Untreated Tap Water
The Error: Thinking that a little chlorine won’t hurt, or forgetting to add conditioner altogether.
The Consequence: Chlorine burns your betta’s gills, causing respiratory distress, lethargy, and death. Chloramine is even more persistent and deadly.
The Fix: Make adding conditioner the very first step in your prep. The moment you fill your fresh water bucket, dose it. The chemical reaction is nearly instant, but giving it a few minutes ensures it’s fully effective.
Mistake 2: Drastic Temperature Changes
The Error: Using cold tap water in winter or hot tap water in summer without checking.
The Consequence: Thermal shock. Your betta’s metabolism and immune system can collapse, leading to rapid death or prolonged illness like ich or fin rot.
The Fix: Invest in a $5 stick-on thermometer for your bowl and a separate one for your fresh water bucket. Check both before adding water. If your fresh water is too cold, add a small amount of warm (not hot!) tap water and mix thoroughly. If it’s too warm, add a little cold tap water or let it sit for 20-30 minutes.
Mistake 3: Overcleaning / Destroying the Ecosystem
The Error: Using soap to clean the bowl or decorations, or using a brand-new, never-rinsed sponge/cloth that has manufacturing residues.
The Consequence: Soap residues are catastrophic. Even a trace can destroy your betta’s slime coat (its protective barrier) and poison it. Sterilizing everything also removes any trace of beneficial bacteria, making the water quality unstable.
The Fix: Designate specific, clean tools for the aquarium. Use only the old tank water you’ve siphoned out for rinsing. If you must use a new item, rinse it obsessively with dechlorinated water first.
Mistake 4: Changing Too Much Water at Once
The Error: Doing a 100% water change weekly, or even a 75% change.
The Consequence: This causes massive swings in pH, temperature, and mineral content. It also removes all the trace beneficial bacteria that *are* present in the gravel and on surfaces, crashing the little biological filtration you have. It’s incredibly stressful.
The Fix: Stick to 25-50% changes. For a small, uncycled bowl, 50% is often the sweet spot. For a slightly larger, more established setup, 25% might be sufficient. Consistency with smaller changes is far better than occasional massive changes.
Mistake 5: Creating a Torrent of Water
The Error: Lifting the bucket high and pouring the new water directly into the bowl.
The Consequence: The force of the water can stress your betta, blow it against the glass, and dislodge or topple decorations. It also churns up the gravel, releasing trapped debris and clouding the water badly.
The Fix: Always use the plate method or a slow drip. Place the bucket’s spout just above the water level and pour gently onto your plate. Patience is key.
Establishing a Maintenance Schedule: Beyond the Water Change
A water change is the core of maintenance, but it doesn’t exist in a vacuum. Pair it with these simple, quick tasks for a truly healthy bowl.
Daily: The Quick Check
- Observe: Spend 30 seconds watching your betta. Is it active? Are its fins open and flowing? Is it eating? Any clamped fins, scratching on objects, or lethargy are red flags.
- Check Temperature: Ensure your bowl’s location isn’t subject to drafts or direct sunlight, which can cause rapid swings.
- Feed Sparingly: Overfeeding is the #1 cause of water quality problems. A betta’s stomach is the size of its eye. 2-3 high-quality pellets once a day is plenty. Remove any uneaten food after 5 minutes.
Weekly (During Your Water Change): The Deep Clean
- Gravel Vacuuming: As described, this is part of every water change.
- Glass Cleaning: Scrape off any algae before siphoning.
- Decor Inspection: Rinse decorations if they look slimy or algae-covered.
- Filter Check (if you have one): If your bowl has a small internal filter, rinse the sponge/media in the old tank water you just removed. Never use tap water.
- Inspect Equipment: Check the heater (if used) for proper function and the cord for safety.
Monthly: The Thorough Audit
- Full Decor Rinse: Take all decorations out and give them a more thorough rinse in old tank water.
- Check for Biofilm: Look at the water surface. A thin, oily film can develop. It’s usually harmless but can be removed by gently sliding a paper towel across the surface.
- Review Your Routine: Are you keeping up with changes? Is the water getting dirty faster? You may need to increase frequency or slightly reduce feeding.
Special Considerations: Bettas Have Specific Needs
Bettas are unique, and their care reflects that. When changing water, remember these betta-specific points.
The Importance of a Heater
Bettas are tropical fish from Thailand. They require a stable water temperature between 76-82°F (24-28°C). A small, adjustable aquarium heater (3-5 watts for a 2-gallon bowl) is not a luxury; it’s a necessity for long-term health. Cold water slows their metabolism, suppresses their immune system, and makes them prone to disease. During your water change, ensuring the new water matches the heated tank temperature is even more critical.
Gentle Filtration
While a bowl can’t hold a powerful filter, a small, gentle sponge filter or a very low-flow internal filter can be a huge help. It provides mechanical filtration (trapping particles) and, more importantly, a surface for beneficial bacteria to grow, establishing a *minimal* biological filter. If you have a filter, do not remove or replace all the media during a water change. Just rinse it gently in old tank water.
Signs Your Water Change Schedule Needs Tweaking
Your betta is the ultimate monitor. If you notice any of these, your water quality is likely suffering, and you need to increase the frequency or volume of your changes:
- Visible Cloudiness: Water that is consistently hazy or green.
- Algae Overgrowth: Excessive algae on glass or decorations indicates high nitrate levels.
- Odor: A clean aquarium has no smell. A “fishy” or ammonia-like smell means immediate action is needed.
- Betta Behavior: As mentioned: lethargy, gasping at the surface, clamped fins, faded colors, torn or rotting fins (fin rot).
- Debris: A constant layer of uneaten food or feces on the gravel bottom.
Conclusion: Making It a Habit for a Thriving Betta
Changing the water in your betta’s bowl is the most direct, powerful way you can care for it. It’s a simple act of love and responsibility that translates directly into a healthier, more vibrant, and longer-lived companion. By arming yourself with the right tools—a siphon, conditioner, and thermometer—and following the careful, gentle process outlined here, you remove the guesswork and the stress. Remember the core principles: match the temperature, always dechlorinate, siphon the gravel, add water slowly, and be consistent. Integrate this routine into your weekly schedule, just like feeding. Watch your betta’s brilliant colors deepen, its fins flare with energy, and its curious personality shine. That beautiful, glass bowl you fell in love with can be a true sanctuary, not just a container, because of the clean water you faithfully provide. Your betta’s health and happiness depend on it.
Frequently Asked Questions
Can I use bottled spring water instead of tap water for my betta?
While spring water is free of chlorine, it often lacks essential minerals and can have an unpredictable pH. It’s also expensive. Dechlorinated tap water is the standard and most reliable choice, as it contains stable mineral content that helps buffer pH. If you use spring water, you must still use a conditioner, and you should test its pH against your tap water to ensure stability.
How often should I change the water in my betta bowl?
For a typical unfiltered betta bowl (1-2 gallons), a 50% water change once a week is the minimum standard. If the bowl is smaller, has no heater, or you overfeed slightly, you may need to do 25-50% changes twice a week. Always observe your water clarity and your betta’s behavior to adjust your schedule.
Do I need to take my betta out of the bowl during the water change?
No, you do not need to remove your betta for a standard partial water change (25-50%). The process is quick and the water parameters change gradually. Removing your betta is more stressful than the change itself. Only remove it if you are doing a 100% change or need to deep-clean everything, which should be a rare event.
How do I clean algae off the bowl without harming my betta?
During your weekly water change, before you start siphoning, use an algae scraper or a clean, dedicated cloth (dampened with old tank water) to wipe the inside glass. Gently scrape or rub in circular motions. The loosened algae will fall to the bottom, where your siphon will remove it. Never use scrub pads, soap, or razor blades on the inside of an aquarium with fish.
My tap water is very hard/very soft. Does this matter for water changes?
Yes, but it’s usually not a problem. Bettas are adaptable to a range of water hardness (GH). The key is consistency. Dramatically changing the mineral content of the water with different sources (e.g., switching between hard tap and soft bottled water) can cause osmotic stress. Stick to one consistent source—typically your dechlorinated tap water—and your betta will acclimate.
What are the first signs that my betta is suffering from poor water quality?
The earliest and most common sign is a change in behavior: lethargy (hovering at the bottom or top), clamped fins (held tightly against the body), loss of appetite, or frantic darting. Visually, you might see faded or dull colors, and later, physical signs like torn or rotting fins (fin rot), white spots (ich), or a slimy coat. If you see these signs, perform an immediate 25-30% water change with properly conditioned, temperature-matched water and monitor closely.