How to Clean a Betta Fish Tank Properly
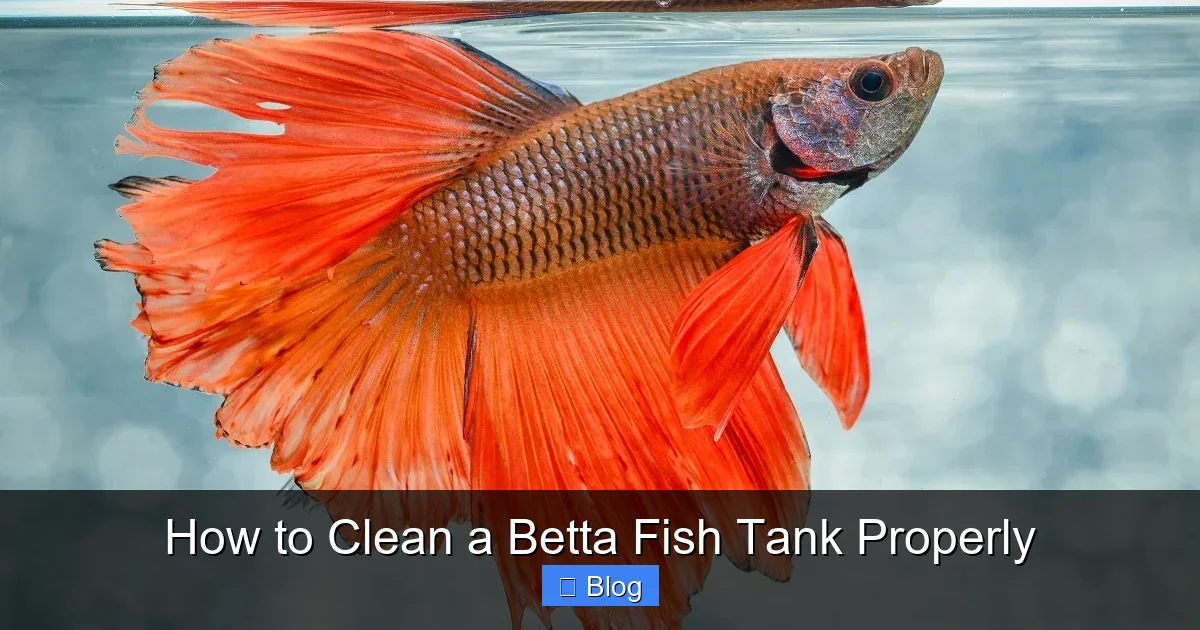
Cleaning a betta tank isn’t about scrubbing everything away—it’s about smart maintenance. The core process involves partial water changes (25-50%), vacuuming the gravel, and never using soap. You must always treat tap water with a dechlorinator and never replace all your filter media at once. Following these steps prevents toxic ammonia spikes and creates a stable, healthy environment where your betta can thrive with its beautiful fins on full display.
Key Takeaways
- Partial Water Changes are Key: Never change 100% of the water at once. A 25-50% change weekly removes toxins while preserving beneficial bacteria.
- Dechlorinate Always: Tap water contains chlorine and chloramines that are fatal to fish. Always use a water conditioner before adding water to the tank.
- Never Use Soap or Cleaners: Even a tiny residue of household cleaner is deadly. Use only water and designated aquarium tools (like a gravel vacuum) for cleaning.
- The Filter is Sacred: Never rinse or replace all your filter media in tap water. You would destroy the colony of good bacteria that processes fish waste. Rinse only in old tank water if needed.
- Gravel Vacuuming is Essential: Uneaten food and waste settles in the substrate, decaying into ammonia. Use a gravel vacuum to siphon this debris out during each water change.
- Test Your Water: Use a liquid test kit (not strips) to monitor ammonia, nitrite, nitrate, and pH. This tells you if your cleaning routine is effective.
- Consistency Beats Intensity: A little bit of maintenance every week is far better and safer for your betta than a rare, deep clean that disrupts the entire tank ecosystem.
📑 Table of Contents
- Why Cleaning Your Betta’s Tank Properly is Non-Negotiable
- Gathering Your Tools: The Betta Tank Cleaning Kit
- The Step-by-Step Guide to a Proper Water Change & Cleaning
- Common Mistakes That Can Harm Your Betta
- Establishing a Maintenance Schedule for a Thriving Betta
- Troubleshooting: What to Do When Things Go Wrong
Why Cleaning Your Betta’s Tank Properly is Non-Negotiable
You brought your betta home, mesmerized by its flowing fins and vibrant colors. You set up a beautiful tank, maybe with a silk plant or a gentle filter. But then, a few weeks in, the water looks a little cloudy. Or you notice a faint smell. Maybe your betta seems less active. This is your sign. Proper tank cleaning isn’t just about aesthetics; it’s the single most important factor in your betta’s long-term health and happiness.
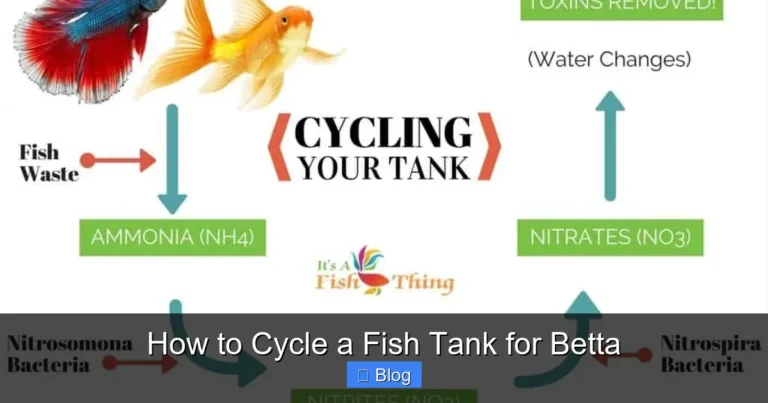
Betta fish, despite their hardy reputation, are sensitive creatures. They live in a closed ecosystem—their entire world is that glass box. Every bit of food they don’t eat, every scale they shed, every molecule of waste they produce stays in that water. Without intervention, these organic compounds break down. First, they turn into ammonia—a silent, colorless killer that burns gills and poisons the bloodstream. Then, with the help of beneficial bacteria, ammonia becomes nitrite (also toxic), and finally nitrate, which is less toxic but causes stress and disease in high amounts.
The Myth of the “Low-Maintenance” Betta
This is the biggest misconception in the aquarium hobby. The idea that bettas can live in a small, unfiltered vase is not just wrong; it’s cruel. While they can survive in poor conditions for a time, they will not thrive. A clean, stable tank with proper filtration and regular maintenance mimics their natural habitat—shallow, slow-moving waters of rice paddies and streams. Your goal isn’t just to keep your betta alive; it’s to provide an environment where it can display its full personality, build bubble nests, and live a life free of chronic stress. A dirty tank is a constant source of that stress, weakening its immune system and making it susceptible to fin rot, velvet, and other common illnesses.
Gathering Your Tools: The Betta Tank Cleaning Kit
Before you even touch the tank, having the right tools ready is crucial. This prevents frantic searches for a bucket or, worse, the temptation to use inappropriate household items. Think of this as your essential toolkit for aquatic success.
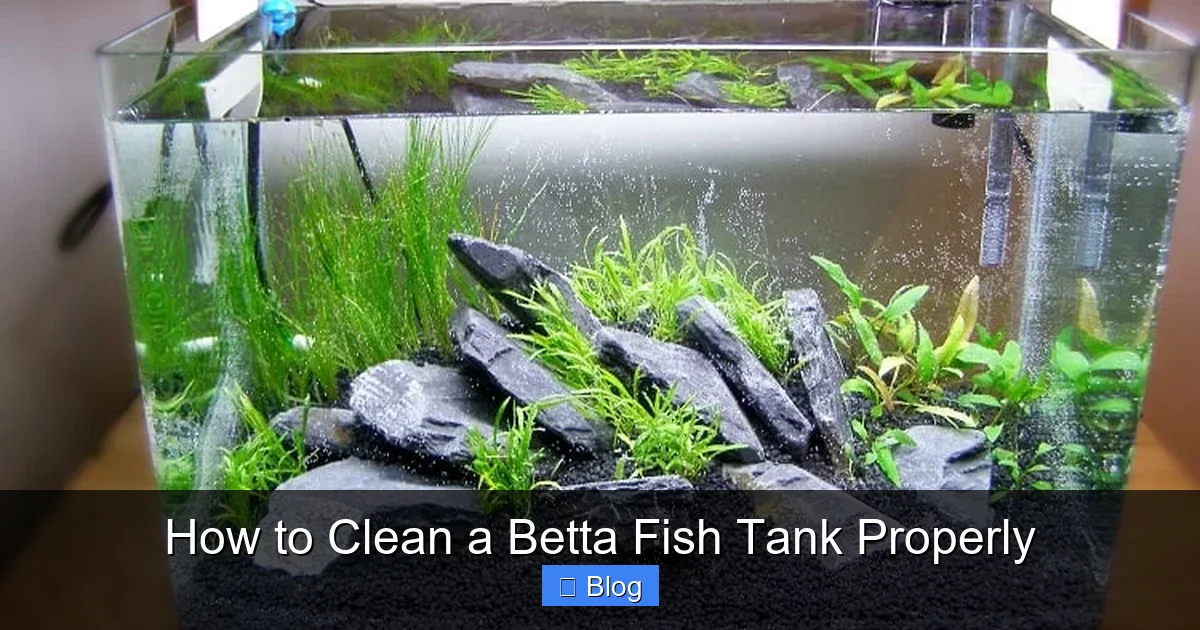
Visual guide about How to Clean a Betta Fish Tank Properly
Image source: fishlab.com
- A Dedicated Bucket (5 Gallon / 20L): This is your #1 tool. It must be used only for your aquarium. Never use a bucket that has held soap, chemicals, or even cleaning products. Residual traces are fatal. A clean, food-grade plastic bucket is perfect.
- Gravel Vacuum/Siphon: This is not optional. This simple plastic tube with a bulb is your best friend. It does two jobs: it siphons out old water and, as you stir the gravel, it sucks out the trapped debris (detritus) that sits underneath. Look for a 12-inch model for most standard betta tanks.
- Water Conditioner/Dechlorinator: This is a chemical non-negotiable. Brands like Seachem Prime are industry standards. It instantly neutralizes chlorine, chloramines, and heavy metals in tap water, making it safe for fish. Have this ready before you start the water change.
- Algae Scraper or Pad: For glass or acrylic tanks. Use a plastic scraper for acrylic to avoid scratches. A dedicated algae pad (like those from fluval or api) works well. For stubborn algae, a razor blade (carefully!) can be used on glass only.
- Clean Cloth or Paper Towels: Dedicated to the tank. Used for wiping the outside glass and any splashes. Never use the same cloth you use for kitchen counters.
- Filter Media (if needed): You should have spare filter cartridges, sponge, or bio-media on hand. But remember the golden rule: never replace all of it at once.
- Optional but Helpful: A small cup or pitcher for pouring water back in gently to avoid disturbing the substrate too much, and a thermometer to ensure new water temperature matches the tank.
Setting Up for Success: The Prep Phase
With your tools laid out, preparation is simple but vital. First, unplug the heater and filter. This is a safety must to prevent electrical hazards and to stop the filter from running dry when you remove water. Next, take your clean bucket and your gravel vacuum. Assemble the vacuum by attaching the tubing and priming it—submerge the entire tube in the tank and squeeze the bulb several times until water flows freely. Now you’re ready to begin the actual cleaning process.
The Step-by-Step Guide to a Proper Water Change & Cleaning
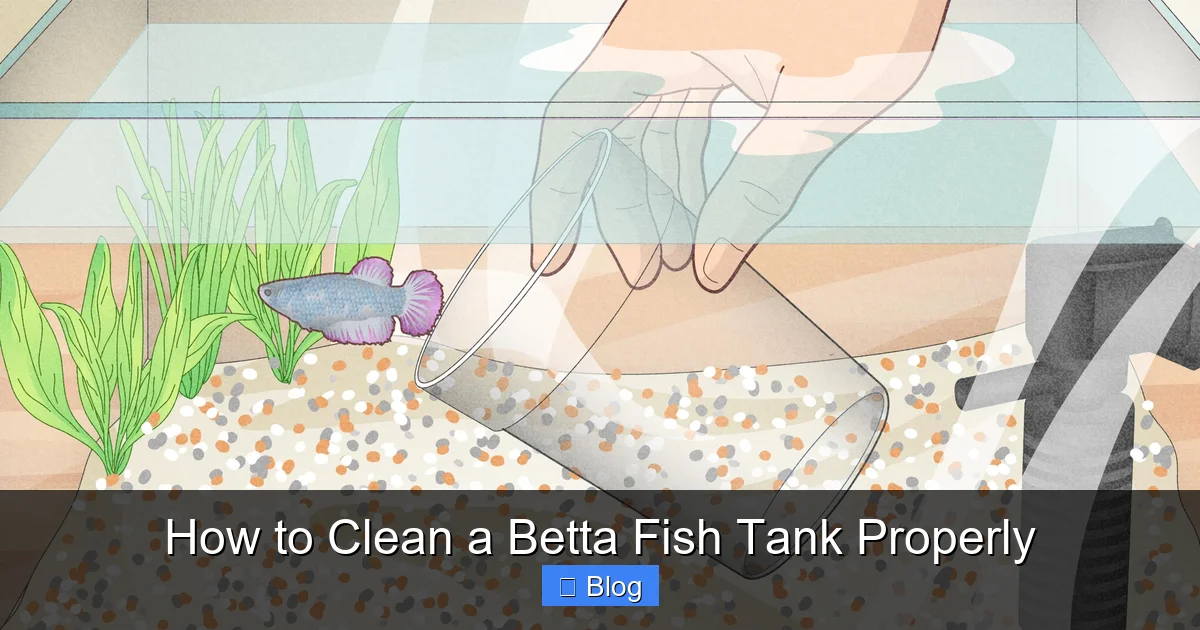
This is the heart of the process. We’re going to walk through a typical weekly 25-30% water change and cleaning routine. This routine, done consistently, is 90% of the battle.
Visual guide about How to Clean a Betta Fish Tank Properly
Image source: wikihow.com
Step 1: Siphon Out the Old Water & Debris
Place the end of your gravel vacuum into the tank and the other end into your bucket. Create suction by squeezing the bulb. Once water flows, hold the tube end in the tank. Now, methodically push the vacuum into the gravel at a 45-degree angle. You’ll see debris—tiny bits of food, fish waste, brown gunk—get sucked up and swirl into the tube. This is exactly what you want. Work your way around the entire tank floor, focusing on areas where debris collects, like behind decorations. As the bucket fills, you’ll see how much “crud” you’re removing. This visual is a great reminder of why this is necessary. Stop siphoning when the bucket is about half full or you’ve removed your target water volume (e.g., 5 gallons from a 20-gallon tank).
Step 2: Clean the Tank Walls and Decorations
With the water level lowered, it’s easier to clean the glass. Use your algae scraper or pad. Scrape from top to bottom in long, vertical strokes. For hard water stains or mineral deposits, a dedicated glass cleaner (like those from aquarium companies) or a paste of baking soda and water on a cloth can work—but rinse thoroughly with tank water afterward. Never use Windex or any household glass cleaner. For decorations (plastic plants, castles, etc.), use your algae pad or a soft toothbrush dedicated to the tank. Gently scrub them in the bucket of old tank water you just siphoned. Do not use soap. The old tank water you siphoned is perfect for this, as it contains beneficial bacteria and won’t shock your decorations.
Step 3: Address the Filter—With Extreme Care
This is where most beginners make a fatal error. Your filter is home to the beneficial bacteria that process ammonia. If you destroy this colony, your tank will “cycle” all over again, leading to dangerous ammonia and nitrite spikes. Never rinse your filter media under the tap. The chlorine in tap water will kill the bacteria instantly. Instead, take the media (the sponge, cartridge, or bio-balls) and gently squeeze and rinse it only in the bucket of old tank water you just removed. Swish it around until the water runs mostly clear. That’s it. You’ve removed the physical gunk but preserved the bacterial colony. If your filter media is falling apart (usually after 4-6 months), replace only half of it at a time, a month apart. The old media seeds the new.
Step 4: Prepare the New Water
Fill your clean bucket with fresh tap water. This water must be the same temperature as your tank water. A drastic temperature change (more than 2-3°F / 1-2°C) can shock your betta, causing stress or illness. Use your thermometer to check. If your tap is cold, you may need to mix in some warm (not hot!) water from the tap or let it sit to reach room temperature. Once the temperature is correct, add the correct dosage of water conditioner/dechlorinator directly to the bucket. Stir gently. If you have a saltwater tank (rare for bettas), this is the step to add aquarium salt.
Step 5: Refill the Tank
Gently pour the conditioned, temperature-matched water back into the tank. To avoid disturbing the gravel and creating a cloudy mess, you can pour it slowly over a plate placed on the substrate, or use a pitcher with a narrow spout. Fill until the water level is back to where it was. Don’t overfill.
Step 6: Restart and Monitor
Plug your filter and heater back in. Check for proper flow from the filter. The water might be a little cloudy from the gravel disturbance—this should settle within a few hours. Once everything is running smoothly, observe your betta. It might be curious or a bit startled by the activity. That’s normal. Do not feed it immediately; wait at least an hour to avoid adding excess waste to the newly cleaned water.
Common Mistakes That Can Harm Your Betta
Even with the best intentions, it’s easy to make errors. Here are the most frequent pitfalls and how to avoid them.
Visual guide about How to Clean a Betta Fish Tank Properly
Image source: m.media-amazon.com
Overcleaning: The “Scrub-a-Dub” Disaster
The urge to make everything sparkle is strong. But scrubbing every surface with soap, replacing all the gravel, or sterilizing every decoration is catastrophic. You are not making the tank “cleaner”; you are destroying the essential biological filter. The tank should never smell like chemicals. The “clean” look you’re after is achieved through regular, partial water changes, not a full reset. Think of your tank like a forest—you don’t burn it down to remove a few fallen leaves.
Ignoring the Gravel
Some people only change the water without vacuuming. This is half the job. The debris trapped in the gravel is the fuel for ammonia production. Vacuuming is non-negotiable. Get into the habit of vacuuming different sections each week so you cover the entire floor over time.
Using the Wrong Tools
Using a kitchen sponge (which has soap residue), a dirty bucket, or a metal scraper on acrylic are all recipes for disaster. Invest in the dedicated tools listed earlier. They are inexpensive and will save your fish’s life.
Neglecting Water Parameters
You can’t see ammonia, nitrite, or nitrate. Assuming the water is clean because it “looks” clear is dangerous. A liquid test kit (like the api Freshwater Master Test Kit) is the only way to know for sure. Test your water before and after a water change to understand your tank’s cycle. The goal is ammonia and nitrite at 0 ppm, and nitrate below 20 ppm for a betta.
Establishing a Maintenance Schedule for a Thriving Betta
Consistency is the magic word. A predictable routine creates a stable environment. Here’s a sample weekly schedule for a 5-10 gallon betta tank with a filter.
- Daily (1-2 minutes):
- Check filter flow—is it strong but not a torrent?
- Observe your betta. Is it active? Eating? Are fins intact? Any signs of clamping, spots, or fraying?
- Remove any obvious uneaten food after 5 minutes.
- Weekly (15-20 minutes):
- Perform the 25-30% water change using the full gravel vacuuming process described above.
- Scrape any algae from the glass.
- Rinse filter media in old tank water if it appears clogged (reduce flow).
- Test your water parameters (ammonia, nitrite, nitrate, pH). Write them in a logbook.
- Monthly / As Needed:
- Deep clean any decorations that have significant algae buildup (in old tank water).
- Inspect and clean the impeller of your filter if flow has decreased significantly.
- Check and calibrate your heater and thermometer.
- Change filter media according to manufacturer guidelines, remembering to only replace half at a time.
Adjusting for Your Specific Setup
Larger tanks (10+ gallons) with heavy filtration and live plants may require slightly less frequent water changes (maybe 20% every 10-14 days), but you must still test your water to know for sure. A heavily planted tank will absorb more nitrates. An unfiltered “bowl” or small vase is a different scenario entirely—it requires very frequent (almost daily) 100% water changes and is not a recommended setup for long-term betta health. The schedule above is for a standard, filtered, cycled aquarium.
Troubleshooting: What to Do When Things Go Wrong
Even with perfect maintenance, issues can arise. Here’s how to diagnose common problems.
Cloudy Water After a Change
This is usually a bacterial bloom. If you vacuumed thoroughly and the cloudiness is white/grayish and settles in 24-48 hours, it’s likely harmless bacteria multiplying from the disturbed substrate. Just wait it out. If it’s green, it’s an algae bloom caused by too much light or nutrients. Reduce lighting duration and ensure you’re not overfeeding. Persistent cloudiness can indicate overstocking or an inadequate filter.
Algae Taking Over
First, reduce light. No direct sunlight, and limit artificial light to 6-8 hours a day. Second, physically remove what you can during your clean. Third, consider adding live plants (like floating plants like frogbit or dwarf water lettuce) which compete with algae for nutrients. You can also introduce a few nerite snails or Amano shrimp as helpers, but remember they add bioload.
My Betta is Stressed After Cleaning
First, check your water parameters immediately. An ammonia spike from a filter mistake or a drastic temperature change is the prime suspect. Perform an emergency 25% water change with properly conditioned water. Ensure the heater is working and the temperature is stable. Hide places (plants, caves) help reduce stress. If lethargy or clamping persists, treat the water with a stress coat product and monitor closely.
Frequently Asked Questions
How often should I completely clean my betta’s tank?
You should never do a complete, full-tank tear-down clean on a regular basis. This destroys the beneficial bacteria cycle. Instead, perform partial water changes (25-50%) with gravel vacuuming weekly. A full clean (removing all fish, all water, scrubbing everything) should only be done in cases of a severe disease outbreak, and even then, you must preserve some old filter media and water to reseed the cycle.
Can I use tap water directly for my betta tank?
Absolutely not. Tap water contains chlorine and chloramines to make it safe for human consumption, but these chemicals are deadly to fish. You must always treat tap water with a complete water conditioner/dechlorinator (like Seachem Prime) before it touches your betta or enters the tank. Let the treated water sit for a few minutes to ensure full neutralization.
What’s the #1 mistake people make when cleaning a betta tank?
The most common and dangerous mistake is rinsing or replacing all the filter media under tap water. This washes away the colony of beneficial bacteria that lives on the filter media and is responsible for converting toxic ammonia into less harmful nitrate. Without this bacteria, your tank will re-cycle, leading to a dangerous spike in ammonia that can kill your betta within days. Always rinse filter media gently in a bucket of old tank water.
Do bettas need a filter? Can I have a filter-less tank?
While bettas can survive in unfiltered containers, a filter is highly recommended for a healthy, long-lived betta (5+ years). A filter provides mechanical filtration (removes debris), chemical filtration (removes impurities), and most importantly, a massive surface area for beneficial bacteria to grow, creating a stable nitrogen cycle. An unfiltered tank requires near-daily 100% water changes to prevent toxic waste buildup, which is stressful and unsustainable. A gentle filter with a flow adjuster is ideal for a betta’s long fins.
My betta tank has a lot of algae. Is it because I’m not cleaning it enough?
Algae is primarily caused by an imbalance of light and nutrients, not just “dirt.” Excess light (too much intensity or duration) and excess nutrients (from overfeeding or decaying matter) fuel its growth. First, reduce lighting to 6-8 hours max and ensure no direct sunlight hits the tank. Second, ensure you are vacuuming the gravel thoroughly during water changes to remove decaying food/waste. Third, consider adding fast-growing live plants to out-compete the algae for nutrients.
Should I clean the tank if my betta is sick?
Yes, but carefully. A clean, pristine environment is critical for a sick fish’s recovery. Perform your regular partial water change (25%) with clean, conditioned water. This removes pathogens and improves water quality. However, do not do a full tank clean or replace filter media, as this would add additional stress by destroying the stable environment. Focus on pristine water parameters (ammonia/nitrite at 0) and follow any specific medication or treatment protocols from a veterinarian or reputable source.