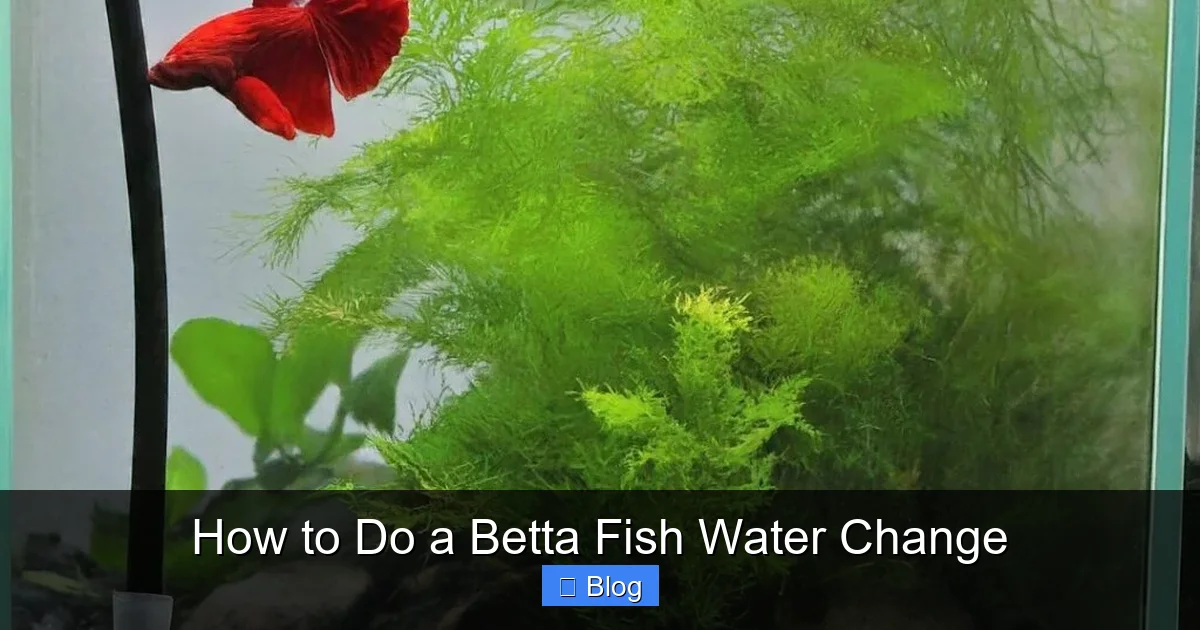
How to Do a Betta Fish Water Change
Performing regular, correct water changes is the single most important task for your betta’s health and longevity. This guide breaks down exactly how to do it safely, from gathering the right supplies to acclimating your fish properly. Avoid common pitfalls like temperature shock and over-cleaning to create a thriving, low-stress environment for your vibrant companion.
Key Takeaways
- Consistency is Critical: Perform partial water changes (25-50%) 1-2 times per week, never a full 100% change, to maintain stable water parameters and beneficial bacteria.
- Temperature Matching is Non-Negotiable: The new water must be within 1-2°F (0.5-1°C) of the tank’s current temperature to prevent dangerous thermal shock.
- Dechlorinator is Essential: Always treat tap water with a reliable water conditioner to neutralize chlorine, chloramines, and heavy metals before it touches your betta.
- Gentle Acclimation Prevents Stress: Never dump new water in. Slowly add it to the tank over 15-30 minutes to allow your betta to adjust to the subtle changes in water chemistry.
- Clean, Don’t Sterilize: Gently rinse filter media and decorations in the *old tank water* you’ve removed, never under tap water, to preserve the crucial biofilter.
- Observe Your Betta: Use water change time to closely check your fish for signs of illness (clamped fins, spots, lethargy) and ensure its behavior is normal.
- Supplies Matter: Use a dedicated gravel vacuum/siphon, a separate container for new water, and a reliable thermometer for accuracy and safety.
📑 Table of Contents
- Why a Proper Water Change is Your Betta’s Lifeline
- How Often Should You Change Your Betta’s Water? Finding the Right Rhythm
- Gathering Your Supplies: The Essential Toolkit
- The Step-by-Step Guide: Performing the Perfect Water Change
- Common Water Change Mistakes (And How to Avoid Them)
- Beyond the Basics: Optimizing Your Betta’s Environment
- Strong Conclusion
Why a Proper Water Change is Your Betta’s Lifeline
Let’s be honest, having a betta fish is like having a living piece of art. Their flowing fins and vibrant colors add a splash of life to any room. But beneath that beauty lies a simple, fundamental truth: their health hinges entirely on the water they live in. In the wild, bettas inhabit slow-moving, warm waters where natural processes constantly refresh their environment. In your tank, that process is up to you. A proper water change isn’t just a chore; it’s the cornerstone of responsible betta ownership. It dilutes harmful toxins like ammonia and nitrites, replenishes essential minerals, removes waste, and stabilizes the water’s pH. Skipping or doing it incorrectly is the fastest route to a sick or stressed betta, prone to fin rot, velvet, or other common ailments. Mastering this skill is your first and most important step as a betta parent.
The Myth of the “Low-Maintenance” Betta
You’ve probably heard that bettas can live in tiny bowls with infrequent water changes. This is a dangerous and persistent myth, often spread by pet stores selling them as “easy” desk pets. Bettas are hardy, yes, but hardy does not mean maintenance-free. They are gulping air-breathers from a family of fish that evolved in waters rich in plants and natural filtration. A small, unfiltered bowl becomes a toxic soup quickly. A filtered, heated tank of at least 5 gallons is the true minimum for a healthy, active betta that can live for 3-5 years—or even longer. And the key to maintaining that tank? You guessed it: consistent, correct water changes.
How Often Should You Change Your Betta’s Water? Finding the Right Rhythm
This is the most common question, and the answer isn’t one-size-fits-all. It depends entirely on your tank setup. The golden rule is: larger, filtered tanks require less frequent changes than smaller, unfiltered containers.
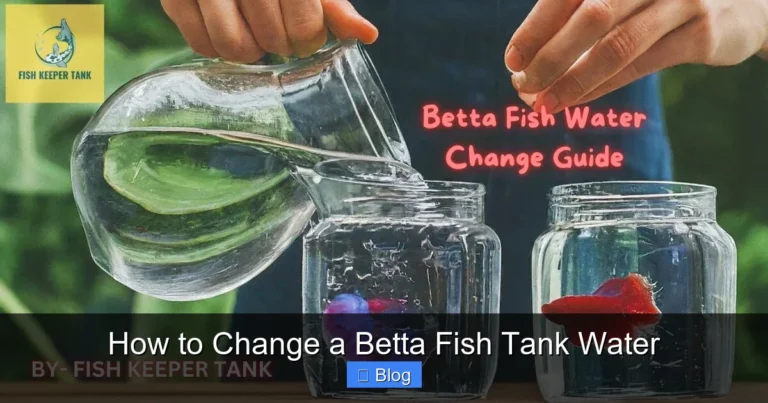
Visual guide about How to Do a Betta Fish Water Change
Image source: fishkeepertank.com
The 5-Gallon Filtered Tank (The Gold Standard)
If your betta lives in a properly filtered tank of 5 gallons or more, you’re setting them up for success. The filter houses beneficial bacteria that break down waste (the nitrogen cycle). In this setup, you should perform a 25-30% water change once a week. This weekly routine is perfect for diluting nitrates (the end product of the cycle), removing any uneaten food or debris the filter missed, and maintaining consistent water parameters. It’s a manageable task that keeps the ecosystem stable.
The 2.5-3 Gallon Tank or Unfiltered “Bowls”
If your betta is in a smaller, unfiltered environment (which we strongly advise upgrading from), the water quality deteriorates much faster. In this case, you must be more vigilant. Aim for a 50% water change every 2-3 days. Yes, you read that correctly. Waste builds up rapidly in smaller volumes of water, and without a filter’s biological filtration, only water changes can remove it. This high-frequency schedule is labor-intensive and a primary reason why small, unfiltered containers lead to such short, stressful lives for bettas.
Signs You’re Changing Water Too Often or Not Enough
Watch your fish and test your water. If you see chronic stress (hiding, glass surfing, faded colors), it might mean water changes are too infrequent. Conversely, if you see sudden, drastic shifts in behavior immediately *after* a change, you might be doing them too frequently or incorrectly (e.g., major temperature swings). A simple liquid test kit is your best friend. Aim to keep ammonia and nitrites at 0 ppm and nitrates below 20 ppm.
Gathering Your Supplies: The Essential Toolkit
Having everything ready before you start makes the process smooth and minimizes stress for you and your betta. Scrambling for a bucket mid-change is a recipe for disaster.
Visual guide about How to Do a Betta Fish Water Change
Image source: fishkeepertank.com
The Must-Haves
- Gravel Vacuum/Siphon: This is your #1 tool. It’s a plastic tube with a wide opening that creates suction to pull debris from the gravel while removing water. Get one sized appropriately for your tank. A simple hand-pump style is fine.
- Dedicated Water Buckets: Have at least two clean buckets (1-2 gallons each is usually sufficient). NEVER use buckets that have held soap, chemicals, or other cleaners. Label them “FISH ONLY” to avoid accidents. One is for removing old water, the other for preparing new water.
- Water Conditioner (Dechlorinator): This is non-negotiable. Tap water contains chlorine and chloramines that are lethal to fish. A quality conditioner (like Seachem Prime, API Stress Coat, or any reputable brand) neutralizes these instantly. Keep the bottle next to your tank.
- Aquarium Thermometer: Don’t trust the heater’s dial. Use a separate, accurate thermometer (digital or glass stick-on) to check both your tank water and your new water. Precision here prevents shock.
- Algae Scraper or Pad: Use this during the water change to clean the glass walls. A clean view helps you observe your betta better!
The “Nice-to-Haves”
- Turkey Baster or Pipette: Perfect for sucking up stubborn bits of waste from plants or decor without disturbing everything.
- Magnetic Glass Cleaner: Great for larger tanks, allowing you to clean the outside and inside simultaneously.
- Water Test Kit: While not needed for every change, a liquid test kit (not strips) is invaluable for monitoring your water parameters monthly and troubleshooting issues.
The Step-by-Step Guide: Performing the Perfect Water Change
Now for the main event. Follow these steps precisely, and you’ll turn a potentially stressful event into a smooth, routine maintenance task.

Visual guide about How to Do a Betta Fish Water Change
Image source: fishkeepertank.com
Step 1: Preparation is Everything (5 Minutes)
First, gather all your supplies. Fill your “clean” bucket with the exact amount of new water you’ll need (e.g., for a 5-gallon tank with a 25% change, you’ll need about 1.25 gallons). Now, treat this new water with the correct dosage of water conditioner. Do this first so it has time to work. Gently stir or swirl the bucket. Next, adjust the temperature of this new water. Use your thermometer. Add a little warm or cool water from the tap (in a separate container) until the new water matches your tank’s temperature exactly. This might take a few minutes, but it’s the most critical step for preventing thermal shock.
Step 2: The Gentle Siphon – Cleaning While You Change
Place the wide end of your gravel vacuum into the tank. If it’s a hand-pump model, squeeze the bulb a few times to start the siphon. Hold the end of the siphon tube over your “old water” bucket. Now, gently push the vacuum into the gravel. You’ll see debris and fish waste get sucked up. Do not dig too deep or stir up the entire substrate. Work in small sections, hovering just above the gravel to lift loose gunk. Move the vacuum slowly across the tank floor. This process cleans your substrate AND removes the water simultaneously. If you have sand, be extra gentle to avoid sucking it up.
Step 3: The Art of the Slow Pour – Acclimating Your Betta
Once you’ve removed the desired amount of dirty water (stop when your bucket is full or you’ve hit your percentage goal), it’s time to add the clean water back. This is not a “dump and hope” situation. Take a clean cup, pitcher, or even the cup that came with your conditioner. Gently scoop the conditioned, temperature-matched new water from its bucket. Now, slowly pour this water onto the surface of the tank, ideally against a rock or the glass to diffuse the flow. The goal is to add the new water over 15-30 minutes. This slow addition allows your betta to gradually adjust to the slight changes in pH and mineral content, preventing osmotic shock. It also prevents disturbing your tank’s heater and filter too much.
Step 4: The Final Touches & Observation
After the last of the new water is added, wipe down the outside of the glass with a clean, dry cloth (paper towels can leave lint). Check your equipment: is the filter still flowing? Is the heater still on? Finally, and most importantly, spend 2-3 minutes just watching your betta. Is it swimming normally? Are its fins open and flowing, not clamped? Is it eating normally later? This observation period is your best health check. If your betta seems stressed (hiding, rapid gill movement), double-check your water temperature match next time.
Common Water Change Mistakes (And How to Avoid Them)
Even with the best intentions, it’s easy to make errors. Here are the most frequent missteps and their fixes.
Mistake #1: The Full Tank Flush
Many beginners think they need to empty the entire tank, scrub everything, and start fresh. This is the #1 mistake. A 100% water change destroys the entire colony of beneficial bacteria living in your filter and substrate, crashing your nitrogen cycle. It also causes massive, stressful swings in water chemistry and temperature. The Fix: Stick to partial changes (25-50%). Your filter media should only be rinsed in the old tank water you just removed, maybe once a month if it’s clogged.
Mistake #2: The Temperature Shock
Pouring in cold tap water or water that’s too hot is a direct path to a sick fish. Symptoms include lethargy, loss of appetite, and white spot disease (Ich) due to the immune system crash. The Fix: Always, always, ALWAYS use a thermometer. Match the new water to the tank water. If you’re unsure, err on the side of making the new water slightly warmer (by 0.5°F) than the tank, as the slow addition will cool it slightly.
Mistake #3: Forgetting the Dechlorinator
It sounds obvious, but in a rush, it’s easy to forget. Chlorine in tap water burns a fish’s gills and is rapidly fatal. The Fix: Make conditioner part of your prep ritual. As soon as you start filling your clean bucket, add the conditioner. The instructions will tell you the dosage per gallon. When in doubt, use a little more—conditioners are generally safe to overdose slightly.
Mistake #4: Over-Cleaning the Tank
Scrubbing every surface with soap (even “fish-safe” soap) or using harsh chemicals leaves toxic residues. Rinsing filter media under the hot tap water kills the beneficial bacteria. The Fix: Use only water (preferably the old tank water) and an algae pad or soft cloth for cleaning. Never use soap. For filter media, gently squeeze it in the bucket of old tank water you just removed to dislodge debris. If it’s falling apart, replace only half of it at a time to preserve bacteria.
Beyond the Basics: Optimizing Your Betta’s Environment
Water changes are the foundation, but they work best when combined with other good practices.
Feeding & Waste Management
Overfeeding is the #1 cause of poor water quality. Bettas have stomachs the size of their eyeball. Feed them only what they can eat in 2-3 minutes, once or twice a day. Remove any uneaten pellets immediately with a net or turkey baster. Less waste in the tank means less to clean out during water changes and a more stable environment.
Live Plants: Nature’s Filter
Consider adding a few hardy, low-light live plants like Anubias, Java Fern, or Marimo moss balls. Plants naturally absorb ammonia and nitrates as nutrients, helping to stabilize water quality between changes. They also provide enrichment and reduce stress for your betta. Just be sure to rinse them thoroughly (in separate water) before adding to your tank to remove any hitchhiking pests.
The Final Word on Commitment
Your betta depends on you. Establishing a consistent water change schedule—say, every Sunday afternoon—turns a chore into a predictable ritual. It’s your direct line to ensuring your fish not only survives but thrives, displaying its full personality and brilliant colors for years to come. This simple act of care is what separates a pet owner from a true fishkeeper.
Strong Conclusion
Mastering the betta fish water change is your passport to a vibrant, healthy companion. It’s not about perfection; it’s about consistency, care, and a little bit of know-how. By committing to regular, properly executed partial changes—matching temperatures, using conditioner, siphoning gently, and acclimating slowly—you are directly controlling the one variable that determines your betta’s well-being. You become the guardian of its miniature ecosystem. The reward is a stunning, active fish that greets you at the glass, a living testament to the power of proper care. So grab your siphon, set a calendar reminder, and enjoy the peace of mind that comes with a crystal-clear tank and a thriving betta.
Frequently Asked Questions
Can I use bottled spring water for my betta tank?
It’s not recommended. Bottled water lacks essential minerals bettas need and can have inconsistent pH. It’s also expensive and not eco-friendly. Properly conditioned tap water is almost always the best, most stable choice.
Do I need to take my betta out of the tank during a water change?
No, and you shouldn’t. Removing your betta causes unnecessary stress and risk of injury. Perform the water change with your betta in the tank, being careful not to disturb it with the siphon or your hands.
How do I clean the tank decorations and filter?
During a water change, rinse decorations and filter media (sponges, ceramics) in the bucket of old tank water you just removed. Gently squeeze or swish them to remove debris. Never use tap water or soap, as this kills beneficial bacteria.
What if I accidentally change too much water or the temperature is off?
If you notice your betta acting stressed (gasping, clamped fins, lethargy) immediately after a change, immediately check your water parameters and temperature. For minor temperature mismatches, the slow acclimation during pouring should have helped. For major errors, a partial correction with properly conditioned, temperature-matched water in a separate container may be needed, but consult a vet or experienced keeper first.
Is it normal for my betta to hide after a water change?
A little bit of hiding for 15-30 minutes is normal as the fish adjusts to the subtle changes in its environment. However, if it hides for hours, stops eating, or shows other signs of distress, you likely made an error in temperature matching or acclimation speed during the change.
Can I clean the algae off the glass with my hands or a scrubber?
Yes, but use an algae pad or scraper designed for aquariums. Never use your bare hands if you have soap or lotion on. For tough spots, a razor blade (used very carefully at an angle) or a magnetic cleaner can work. Always rinse the pad/scraper in the old tank water bucket first to remove any loose debris.