How to Change My Betta Fish Water

Changing your betta fish’s water correctly is non-negotiable for its health. Unlike many fish, bettas are sensitive to poor water quality, which can lead to fatal illnesses. It’s not just about swapping out old water; it’s about maintaining a stable, clean, and dechlorinated environment. This process involves matching temperature, treating tap water, cleaning the substrate without disturbing your fish, and establishing a consistent schedule. Mastering this simple routine is the single most important thing you can do to ensure your betta lives a long, vibrant life.
So, you’ve got that beautiful, flowing-tailed betta fish, with its colors like living jewels, and you want to do right by it. You’ve set up a cozy tank, maybe with a plant or two, a gentle heater, and a quiet filter. But there’s one task that can feel daunting, mysterious, and frankly, a bit messy: how to change my betta fish water. It’s the most critical part of betta care, yet it’s often the least understood. Let’s fix that right now. Think of this not as a chore, but as a direct line of communication with your fish’s health. A proper water change is a love letter to your betta, written in clean, clear, stable water.
The common misconception is that bettas, those famous “fighting fish” from tiny, dirty puddles in the wild, are somehow hardy and can live in a dirty cup. This is the biggest mistake a betta owner can make. In the wild, bettas live in vast, shallow rice paddies and streams with constant, gentle water turnover from rain and flow. Their natural habitat is not a stagnant puddle; it’s a dynamic ecosystem. In your tank, waste from your fish, uneaten food, and decaying plant matter create toxic compounds like ammonia. Without regular, correct water changes, these toxins build up, burning your betta’s gills, damaging its fins, and suppressing its immune system, leading to diseases like fin rot or dropsy. Changing the water is how we replicate nature’s cleanup crew. It’s simple, but the details matter immensely. Let’s walk through every single step, from “why” to “how,” so you can do this with confidence and care.
Key Takeaways
- Never use untreated tap water: Chlorine and chloramines in tap water are deadly to bettas. Always use a reliable water conditioner/dechlorinator.
- Match the temperature perfectly: The new water must be within 1-2°F (0.5-1°C) of the old tank water to prevent dangerous thermal shock.
- Partial changes are best: Perform 25-50% water changes 1-2 times per week. A 100% change is extremely stressful and should be avoided unless in an emergency.
- Clean the substrate gently: Use a gravel vacuum to remove waste from the bottom during every change, but don’t uproot plants or disturb the filter media excessively.
- Test your water: Use a liquid test kit (not strips) to monitor ammonia, nitrite, nitrate, and pH. This tells you if your change schedule is adequate.
- Slow and steady wins: Add new water slowly to avoid disrupting the tank’s temperature and creating strong currents that stress your betta.
- The filter stays on: Keep your filter running during the water change to maintain beneficial bacteria colonies and water circulation.
📑 Table of Contents
Why Water Changes Are Your Betta’s Lifeline
Before we dive into the “how,” we must solidify the “why.” Understanding the chemistry at play transforms a routine task into a meaningful health practice. Your betta’s tank is a closed system. Everything that goes in—food, your betta’s waste, a decaying leaf—stays in until you remove it.
The Invisible Toxins: The Nitrogen Cycle in a Nutshell
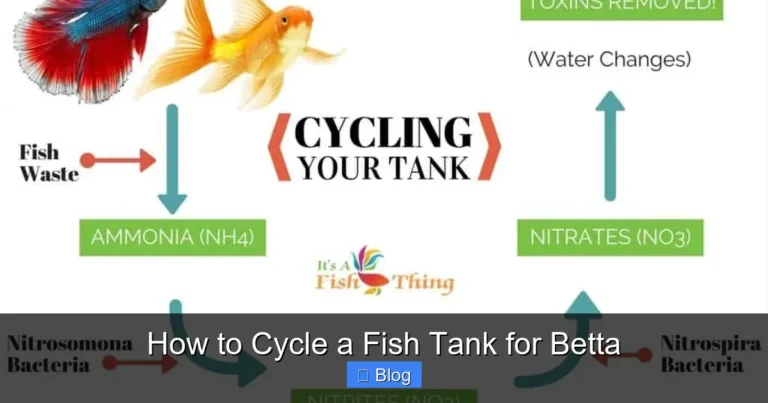
Fish waste and decomposing matter release ammonia (NH3/NH4+). This is acutely toxic. In a cycled tank (a tank with an established filter), beneficial bacteria convert ammonia into nitrite (NO2-), which is also toxic. A second set of bacteria then converts nitrite into nitrate (NO3-), which is far less toxic but still problematic in high concentrations. Nitrate is the final byproduct that accumulates. The only way to remove nitrate is by physically removing the water it’s dissolved in. This is the core reason for water changes: to dilute and remove these nitrogenous wastes, especially nitrate, and reset the water chemistry.
The Dangers of “Old” Water
Stale water isn’t just about toxins. Over time, essential trace elements and minerals can be depleted or become imbalanced. The pH can slowly drop as organic acids build up. The water can also become cloudy with bacterial blooms or algae spores. For a betta, with its delicate labyrinth organ (a special breathing organ that allows it to gulp air from the surface) and sensitive fins, poor water quality is a direct assault. You might see clamped fins, lethargy, loss of appetite, faded colors, or frequent gasping at the surface. These are all cries for help from an environment that has become poisonous. Consistent, proper water changes prevent these symptoms before they start.
Gathering Your Arsenal: The Essential Supplies
Doing the job right requires the right tools. You don’t need a fancy, expensive setup, but skimping on key items will make the process harder and less effective. Let’s get your betta water change kit together.
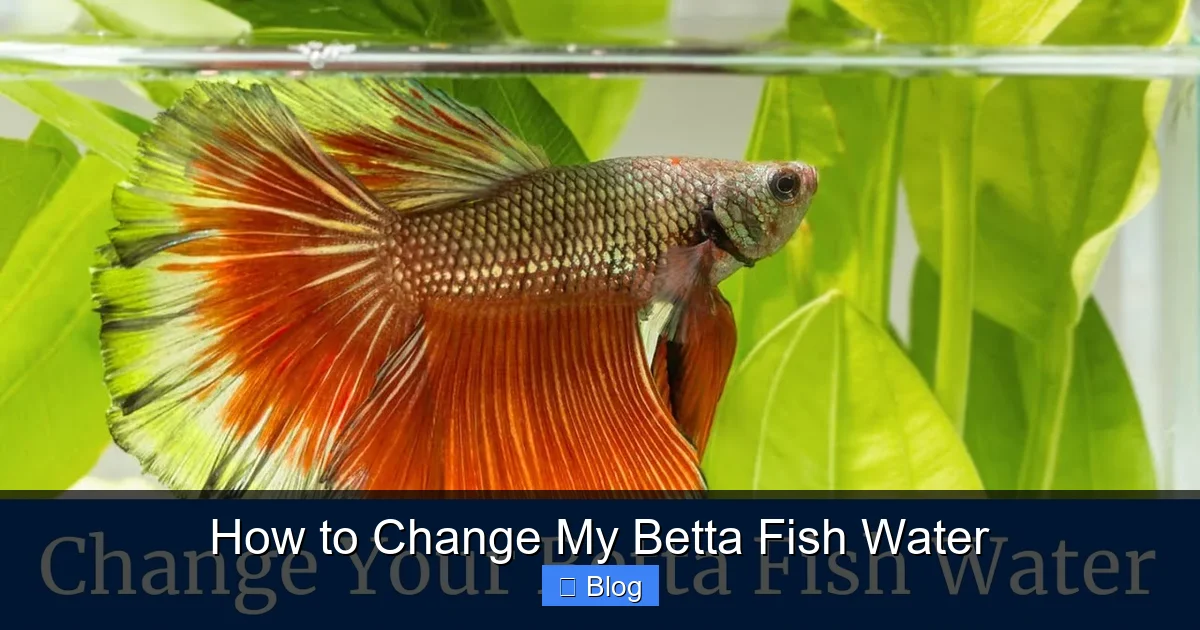
Visual guide about How to Change My Betta Fish Water
Image source: japanesefightingfish.org
The Non-Negotiable: Water Conditioner
This is your #1 most important tool. Tap water contains chlorine and/or chloramine, added by municipalities to kill pathogens. These are lethal to fish and will destroy the beneficial bacteria in your filter. You must neutralize them. A liquid water conditioner like Seachem Prime (a concentrated, excellent choice that also detoxifies ammonia for 48 hours) or a standard product from API or Tetra is essential. Never, ever skip this step. Dose it according to the bottle instructions for the amount of water you are changing. If you are on a well, you may not have chlorine, but you should still use a conditioner that removes heavy metals and neutralizes chloramine if present.
The Gravel Vacuum (Siphon)
This is your best friend for cleaning. It’s a simple plastic tube with a wide mouth and a smaller, flexible siphon hose. It allows you to suck up debris from the substrate while the water flows out. You can find basic ones at any pet store. For a betta tank (often 5-10 gallons), a standard size is perfect. Pro Tip: Before your first use, prime the siphon by sucking on the end of the hose (or using a pump attachment) until water flows freely. Never put your mouth on the end that goes in the tank if you’ve used it before, as it can harbor bacteria.
Clean Buckets (Dedicated to Fish Only!)
You need at least one, preferably two, clean buckets. One is for the old water you’re removing (you can pour this on plants—it’s great fertilizer!). The other is for the fresh, conditioned water you’ll be adding. These buckets must never be used for household cleaning. Residues from soaps, detergents, or chemicals are catastrophic for fish. Label them clearly: “FISH TANK ONLY.” A 2-3 gallon bucket is ideal for most betta setups.
Thermometer
Do not guess the temperature. A cheap, stick-on aquarium thermometer or a digital one is crucial. You must match the temperature of your new water to the tank water within 1-2 degrees Fahrenheit. A sudden cold-water change is a common cause of shock and illness.
Optional but Helpful: Algae Scraper/Pad, Cloth, Tweezers
An algae scraper (magnetic or handheld) is great for cleaning the glass during the change. A dedicated, lint-free cloth can wipe down the outside. Long tweezers are handy for removing dead leaves or plucking stubborn algae from plants without getting your arm wet.
The Step-by-Step: How to Change Betta Fish Water Properly
Now, the main event. We’ll walk through a standard 25-30% partial water change. This is the gold standard for weekly maintenance. The process is calm, methodical, and should take 15-20 minutes.
Visual guide about How to Change My Betta Fish Water
Image source: i.ytimg.com
Step 1: Preparation (The Most Important Minute)
Before you touch anything in the tank, gather all your supplies. Fill your clean “new water” bucket with fresh tap water. Now, add the correct dose of your water conditioner to this bucket. Condition the new water before it ever touches your tank. Let it sit for a minute to mix. While that’s happening, check your tank’s temperature with your thermometer. Now, adjust the temperature of your new water. You can do this by adding a little warm (not hot!) tap water to the bucket, or by using a separate small heater in the bucket if you have one. The goal is to get the new water within 1-2°F of the tank water. Once conditioned and temperature-matched, set this bucket aside.
Step 2: The Gentle Removal (Cleaning the Gravel)
Now, approach the tank calmly. Your betta is likely watching you. Turn off the filter (optional, but it reduces splashing and makes vacuuming easier; turn it back on immediately after). Insert the wide end of your gravel vacuum into the substrate. Angle it so it just hovers above the bottom or digs in slightly. Start the siphon by squeezing the bulb (if it has one) or sucking briefly on the hose (if you haven’t pre-primed it). As water flows out into your “old water” bucket, gently stir the substrate with the vacuum’s mouth. You’ll see a cloud of debris—fish poop, uneaten food, dead plant matter—get sucked up. Move the vacuum around the tank, focusing on areas where debris collects, like corners and under decorations. Do not vacuum all the gravel at once. Do about a third of the tank floor each change, rotating areas weekly. This ensures you clean thoroughly without disturbing every beneficial bacteria colony in the substrate at once. Continue until you’ve removed the desired amount of water (e.g., 3 gallons from a 10-gallon tank). Watch the water level drop in your tank.
Step 3: The Quick Tidy-Up
With the water level down, you have easy access to the tank walls. Use your algae scraper or a dedicated cloth to wipe down the inside glass, starting from the top down. This prevents algae spores from falling back into the water. If you have decorations, you can gently rinse them in the old bucket of water you just removed (which is now full of debris) to scrub off algae. Never use soap! The old tank water is perfect for this rinse. If you have live plants, you can gently rinse their leaves in the old bucket too. This is also a good time to prune any dead leaves with your tweezers.
Step 4: The Grand Replenishment
Now for the new water. Place a clean plate or your hand in the tank and pour the conditioned, temperature-matched new water onto it. This breaks the force of the stream, preventing it from blasting your betta or kicking up substrate. Pour slowly. Let the water level rise gradually. This is calming for your fish and prevents thermal shock from a sudden influx of even slightly different-temperature water. Fill the tank back to its normal level. Once full, wipe down the outside of the tank with your cloth for a crystal-clear view.
Step 5: Restart and Observe
Turn your filter back on if you turned it off. Give it a quick rinse in the old bucket of dirty water if it’s a hang-on-back or internal filter to clear any major clogs—but never use tap water on your filter media, as that kills the good bacteria. Now, step back. Observe your betta for a few minutes. It might be curious, swimming near the new water flow, or it might hide for a little while. This is normal. Offer a tiny pinch of food if it’s feeding time, but don’t be alarmed if it’s not hungry immediately. The hard part is done. You’ve successfully changed your betta’s water.
Common Mistakes & How to Avoid Them
Even with the best intentions, a few pitfalls can turn a good water change into a stressful event. Let’s troubleshoot the most frequent errors.
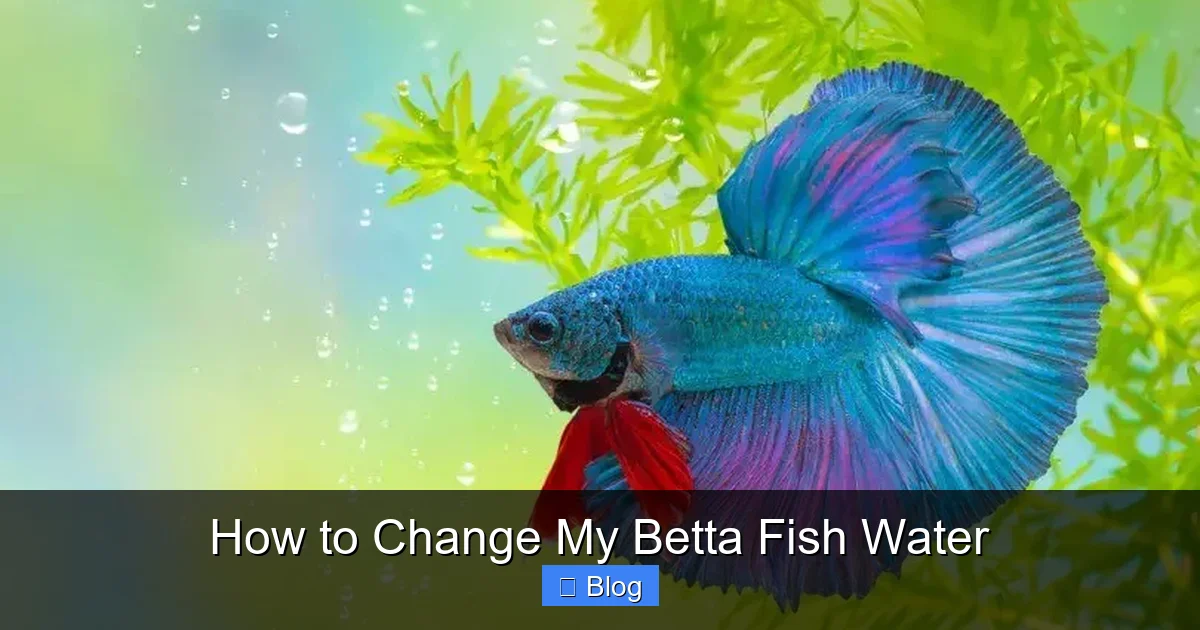
Visual guide about How to Change My Betta Fish Water
Image source: bettafishworld.com
Mistake 1: The 100% Full Tank Flush
New owners often think, “If 25% is good, 100% must be better!” This is dangerously wrong. A full water change completely removes all the beneficial bacteria from your filter media and substrate (the ones that process ammonia). It also drastically changes every water parameter (pH, GH, KH, temperature) and is profoundly stressful for your fish. It can shock its system and wipe out its immune response. Stick to partial changes of 25-50%. Only do a 100% change in a dire emergency, like a severe medication mishap, and even then, you must be incredibly careful to match parameters and re-seed the filter with bacteria.
Mistake 2: Forgetting to Dechlorinate
It seems obvious, but it happens. You’re in a hurry, you think “a little chlorine won’t hurt,” or you forget to add conditioner to the new water bucket. This is a fast track to dead fish. Chlorine burns gill tissue. Chloramine is even more persistent. Always, always, always use a conditioner. If you forget and add untreated water, immediately add a double dose of conditioner to the entire tank and monitor your fish closely for signs of distress (gasping, frantic swimming).
Mistake 3: Temperature Shock
Pouring cold tap water into a warm tropical tank is like throwing an ice bucket on your betta. It can cause immediate shock, leading to loss of equilibrium, clamped fins, and susceptibility to disease like Ich. Always test both temperatures. If your new water is too cold, add a little warm tap water to the bucket and remix. If it’s too warm, let it sit for a few minutes or add a splash of cool (not cold) tap water. A small, adjustable aquarium heater in your new water bucket is the ultimate professional tip for perfect temperature matching.
Mistake 4: Over-Cleaning the Filter
Your filter is not a trash can to be emptied and scrubbed every week. The porous media inside (ceramic rings, bio-balls, sponge) is home to the precious bacteria that run your nitrogen cycle. Rinsing this media under the fast, chlorinated stream of a tap water faucet will sterilize it, crashing your cycle. When you do need to rinse filter media (maybe once a month if it’s getting clogged), do it gently in the old bucket of tank water you just removed during the water change. Swish it around to dislodge debris, but don’t scrub it clean. You want to preserve the bacterial film.
Advanced Considerations: Beyond the Basics
Once you have the weekly routine down, you can fine-tune for an even healthier, more stable environment. This is where you go from a good betta owner to a great one.
Understanding Your Water Source
Not all tap water is created equal. Your water’s natural pH, hardness (GH), and mineral content (KH) can vary wildly by region. Some areas have very soft, acidic water; others have hard, alkaline water. Bettas are adaptable but prefer slightly acidic to neutral water (pH 6.5-7.5) and soft to moderately hard water. If your tap water is extremely hard or has a very high pH, you might consider using reverse osmosis (RO) water, which is pure, and then re-mineralizing it with additives to create the perfect, stable parameters. This is an advanced step, but for most, a consistent tap water regimen with conditioner is perfectly fine.
The Importance of a Test Kit
You are guessing without a test kit. Your eyes cannot see ammonia or nitrate. A reliable liquid test kit (like the API Freshwater Master Test Kit) is worth every penny. Test your tap water before you add conditioner to know what you’re starting with. Test your tank water before a change to see if your 25% weekly change is keeping nitrate low (ideally under 20 ppm). If nitrate is consistently high, you may need to increase the change frequency, volume, or reduce feeding/stocking. Testing empowers you with data.
Live Plants as a Supplement
If you have live plants (like easy, low-light varieties: Anubias, Java Fern, Marimo moss balls), they will consume some nitrates and other waste products as fertilizer. They are not a replacement for water changes, but they are a fantastic supplement that can help stabilize the tank, provide natural hiding spots, and improve water quality between changes. Just remember, plants also need light and nutrients, so don’t forget to prune them and occasionally add a liquid fertilizer if needed.
A Final, Clear-Conscience Conclusion
Changing your betta’s water isn’t a mystery; it’s a simple, powerful act of care. It’s the one thing you control completely that has the biggest impact on your fish’s lifespan and vibrancy. The ritual—gathering your bucket, vacuuming the gravel, watching the clear new water flow in—connects you to the ecosystem you’ve created. Your betta doesn’t need a perfect, sterile environment. It needs a stable, clean, and dechlorinated one. By following the steps we’ve outlined—using a conditioner, matching temperatures, vacuuming gently, and changing 25-50% weekly—you are directly preventing disease, reducing stress, and giving your aquatic companion the pristine home it deserves. You’ll see the results: brighter colors, more active exploration, longer fins, and a curious, welcoming betta that swims up to greet you. Now, take a deep breath, grab your siphon, and give your betta the gift of clean water. It’s easier than you think, and your fish will thank you for every single drop.
Frequently Asked Questions
How often should I change my betta fish water?
For a properly filtered tank of 5 gallons or more, a 25-30% partial water change once or twice a week is ideal. In an unfiltered bowl or small tank (<5 gallons), you should perform 50% changes every other day to maintain safe water quality, as waste builds up much faster in smaller volumes.
Can I use bottled spring water for my betta tank?
You can, but it’s generally not recommended as a regular practice. Spring water lacks consistent mineral levels and can have an unpredictable pH. It’s also expensive. If you must use it due to poor tap water, you must still test it and may need to add minerals. Treating your own tap water with a conditioner is almost always cheaper, more consistent, and better for your betta.
Do I need to take my betta out of the tank during a water change?
No, you should never remove your betta for a standard partial water change. The process is less stressful if your fish stays in its familiar home. Only remove your betta if you are doing a complete teardown/clean (which is rare) or if you need to perform a medical treatment in a separate hospital tank.
How do I clean the tank glass and decorations without harming my betta?
During the water change, after you’ve lowered the water level, use an algae scraper or a dedicated, soft cloth to wipe the inside glass. For decorations, rinse them in the old bucket of dirty tank water you just removed. This water is full of the beneficial bacteria from the tank, so it’s safe to use for rinsing. Never use soap, detergents, or tap water on decorations or filter media.
My tap water has a strong chlorine smell. Is that normal and how do I treat it?
A slight chlorine smell is normal in treated municipal water. It means your water conditioner is even more critical. Use a high-quality conditioner like Seachem Prime, which neutralizes both chlorine and chloramine. Dose it in the new water bucket according to the instructions for the volume you are changing. The smell will disappear once the conditioner has done its job.
What should I do if I accidentally add untreated tap water to the tank?
Act immediately. Perform another partial water change (25%) with properly conditioned water to dilute the chlorine. Add a double dose of water conditioner to the entire tank volume to ensure all chlorine/chloramine is neutralized. Monitor your betta closely for the next 24-48 hours for signs of distress like rapid gill movement, gasping, or lethargy. If symptoms appear, consider a hospital tank with pristine, conditioned water and consult a vet or experienced aquarist.