How to Crochet a Betta Fish
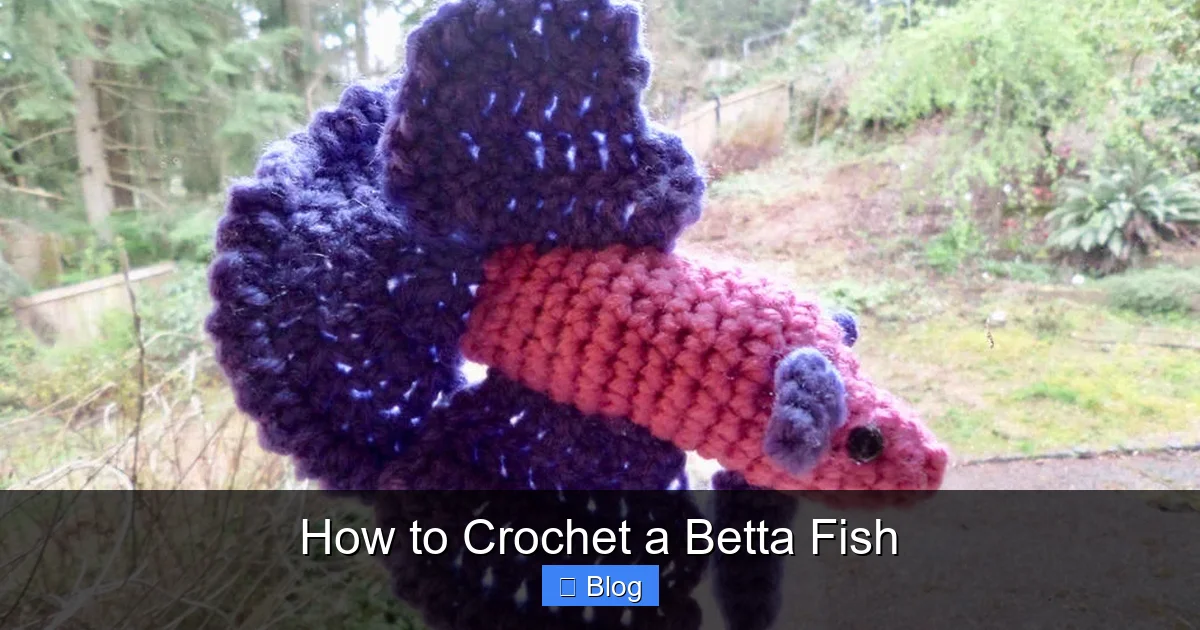
Creating a crocheted betta fish is a delightful and accessible project for crafters of all skill levels. This guide provides detailed, beginner-friendly instructions for crafting a colorful, anatomically-inspired fish using basic crochet techniques. You’ll learn to shape the iconic body, flowy fins, and tail, resulting in a beautiful decorative piece or a durable, pet-safe toy. Follow along to make your own stunning aquatic friend!
Key Takeaways
- Start with a Magic Ring: The entire betta fish begins with a simple magic ring (adjustable loop) to create a tight, secure center for the body, preventing unraveling.
- Use Simple Stitches: This project primarily relies on single crochet (sc) for tight shaping and half double crochet (hdc) for slightly more drape in the fins, making it perfect for beginners.
- Increases and Decreases Shape the Form: Strategic increases (2 sc in one stitch) widen the body, while invisible decreases (dec) taper it to create the distinct betta silhouette.
- Color Changes are Key: The iconic look comes from changing yarn colors at precise rounds to separate the head, body, and fins, mimicking real betta patterns.
- Stuffing and Finishing Matter: Firm, even stuffing gives the fish its form, while carefully sewing fins in the correct orientation and adding safety eyes (if not for pets) brings it to life.
- Consider the End Use: If making a pet toy, use durable, pet-safe yarn, avoid small parts like plastic eyes, and ensure all seams are extremely secure with a strong mattress stitch.
📑 Table of Contents
- Dive Into a New Craft: Crocheting Your Own Betta Fish
- Gathering Your Supplies: The Essential Toolkit
- Casting On: Crafting the Betta’s Body
- Bringing It to Life: The Fins and Tail
- Assembly and Finishing Touches: Putting It All Together
- Customization and Care: Making It Your Own
- Conclusion: Your Handmade Aquatic Masterpiece Awaits
Dive Into a New Craft: Crocheting Your Own Betta Fish
Have you ever marveled at the flowing, jewel-toned fins of a betta fish? Their elegant, almost regal presence in a simple bowl is captivating. Now, imagine capturing that same beauty in a lasting, handmade form. Crocheting a betta fish is a wonderfully rewarding project that combines basic amigurumi techniques with a splash of creativity. It’s less about complex lacework and more about sculpting with yarn, making it an ideal adventure for beginners ready to try something slightly more structured, yet still incredibly fun.
This isn’t just another generic amigurumi animal. The betta’s iconic shape—a compressed, oval body paired with spectacular, separate fins—offers a fantastic lesson in shaping and color work. Whether you dream of a vibrant desk companion, a nursery mobile piece, or a durable, stitch-safe toy for a curious cat, this guide will walk you through every single step. We’ll talk yarn, hooks, the magic ring, and how to make those fins look like they’re floating in water. So, grab your hook and let’s get started on bringing a little piece of aquatic art to life with just a few simple materials.
Gathering Your Supplies: The Essential Toolkit
Before we cast our first stitch, let’s round up the tools. The beauty of this project is its simplicity. You likely have most of these items lying around your craft stash. The right materials will make the process smoother and the final result more polished and durable.
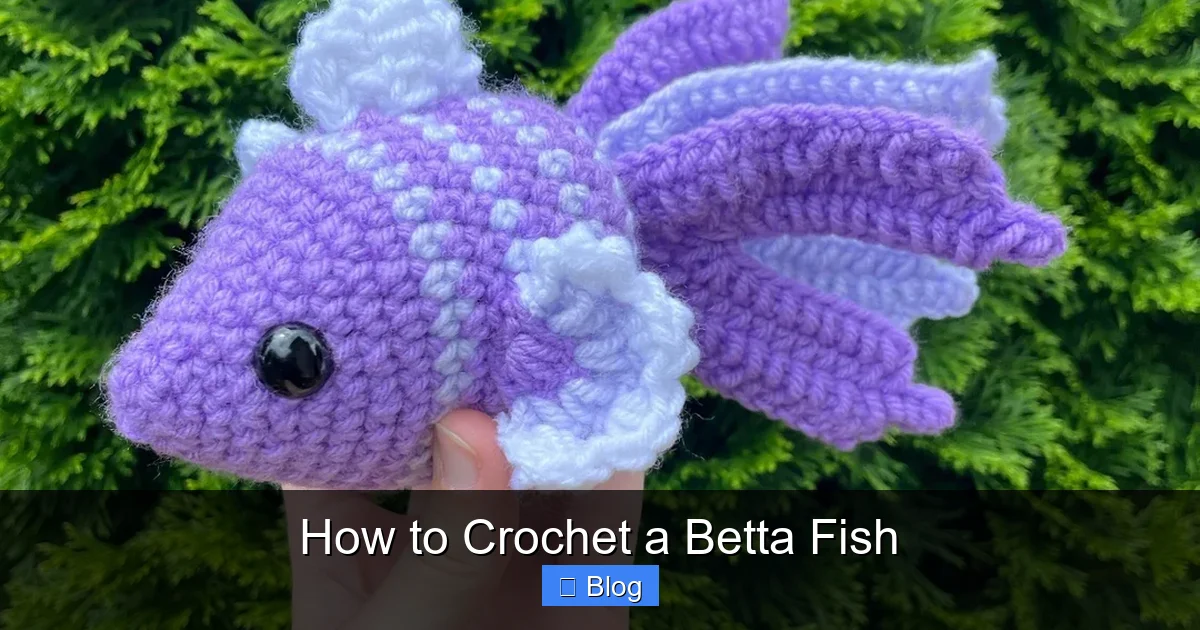
Visual guide about How to Crochet a Betta Fish
Image source: i.etsystatic.com
Yarn: The Heart of Your Fish
For a classic, sturdy betta, you’ll want a worsted-weight (Category 4) acrylic or cotton yarn. Acrylic is affordable, washable, and comes in every color imaginable. Cotton has a nice, firm texture that holds detail well but can be less stretchy. For a pet toy, prioritize a durable, tightly-plied acrylic yarn that can withstand some chewing. Avoid anything too fuzzy or splitty, as it will make seeing your stitches difficult. You’ll need at least three colors: a main body color (like royal blue or crimson), a contrasting color for the head/fin tips (often a lighter shade or white), and a small amount of black for the eyes (if using plastic safety eyes, you won’t need black yarn).
The Right Hook and Other Tools
Your crochet hook size depends on your yarn. Check the yarn label; for worsted weight, a 4.0mm (G-6) or 4.5mm (H-8) is standard. Using a slightly smaller hook than recommended will create a tighter fabric, which is crucial for amigurumi to prevent stuffing from showing through. You’ll also need:
- Stuffing: Polyester fiberfill is standard. Use a firm hand when stuffing to create a solid, shape-holding form.
- Safety Eyes: 6mm or 8mm plastic safety eyes are perfect, but only if this is a decorative item. For pet toys, embroider eyes with black yarn instead.
- Tapestry Needle: For weaving in ends and sewing pieces together.
- Stitch Markers: A must for marking the beginning of each round and important increase/decrease points.
- Scissors: A sharp pair for clean cuts.
Casting On: Crafting the Betta’s Body
The body is the foundation of your betta, and it all starts with a magic ring. This technique creates an adjustable loop that you can pull tight to eliminate any hole at the center—essential for a neat amigurumi start. Don’t worry if it feels fiddly at first; it becomes second nature quickly.
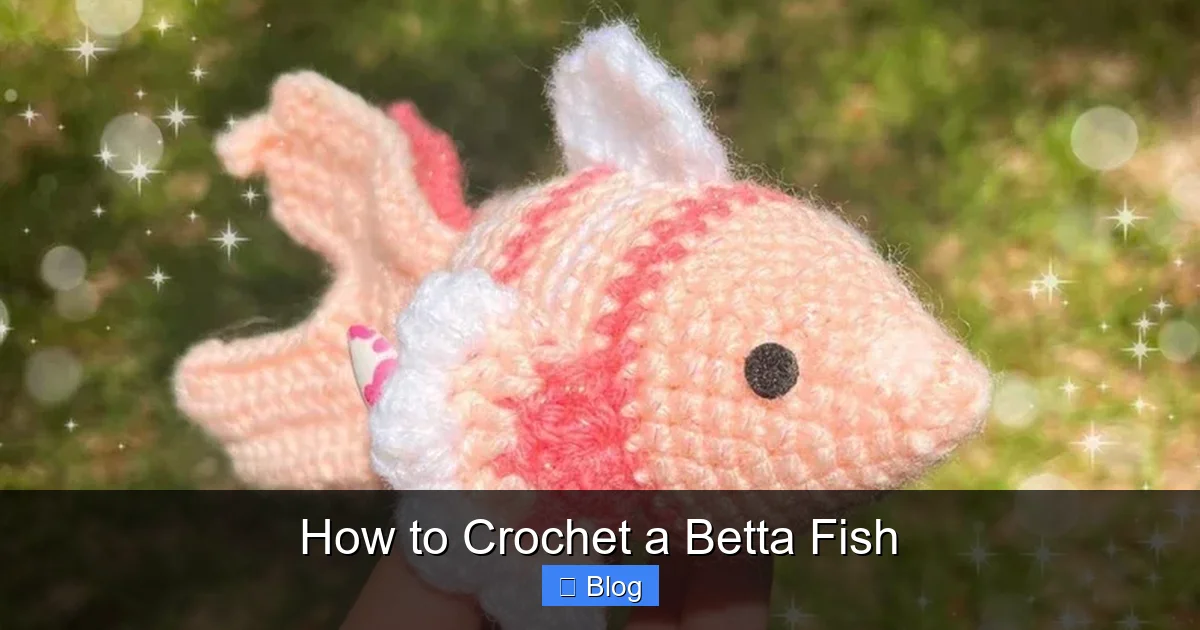
Visual guide about How to Crochet a Betta Fish
Image source: i.etsystatic.com
Step 1: The Magic Ring and First Rounds
Form a loop with your yarn, holding the tail end against the working yarn. Insert your hook into the loop, yarn over, and pull up a loop. Chain 1 (this does not count as a stitch). Now, work 6 single crochets (sc) into the ring. Pull the tail end gently to close the ring tightly. Place a stitch marker in the last stitch made. You should have a tiny circle of 6 sc. This is Round 1.
Round 2: Increase in every stitch. (2 sc in each stitch around) = 12 stitches.
Round 3: (1 sc, 1 increase) repeat around. = 18 stitches.
Round 4: (2 sc, 1 increase) repeat around. = 24 stitches.
Round 5: (3 sc, 1 increase) repeat around. = 30 stitches.
Round 6: (4 sc, 1 increase) repeat around. = 36 stitches. This creates a nice, wide base for your fish.
Step 2: Shaping the Torso
Now we’ll start to taper the body to create that compressed betta shape. We’ll work even (no increases) for a few rounds to build length, then begin decreases.
Rounds 7-15: Work even in single crochet (1 sc in each stitch around) for 9 rounds. You’ll have 36 stitches per round. This builds the main cylindrical body. Keep your stitch markers in place!
Round 16: (4 sc, 1 decrease) repeat around. = 30 stitches.
Round 17: (3 sc, 1 decrease) repeat around. = 24 stitches.
Round 18: (2 sc, 1 decrease) repeat around. = 18 stitches.
Round 19: (1 sc, 1 decrease) repeat around. = 12 stitches.
Round 20: Decrease in every stitch. = 6 stitches. Fasten off, leaving a long tail for sewing the bottom closed. Stuff the body firmly before closing the final round completely.
Bringing It to Life: The Fins and Tail
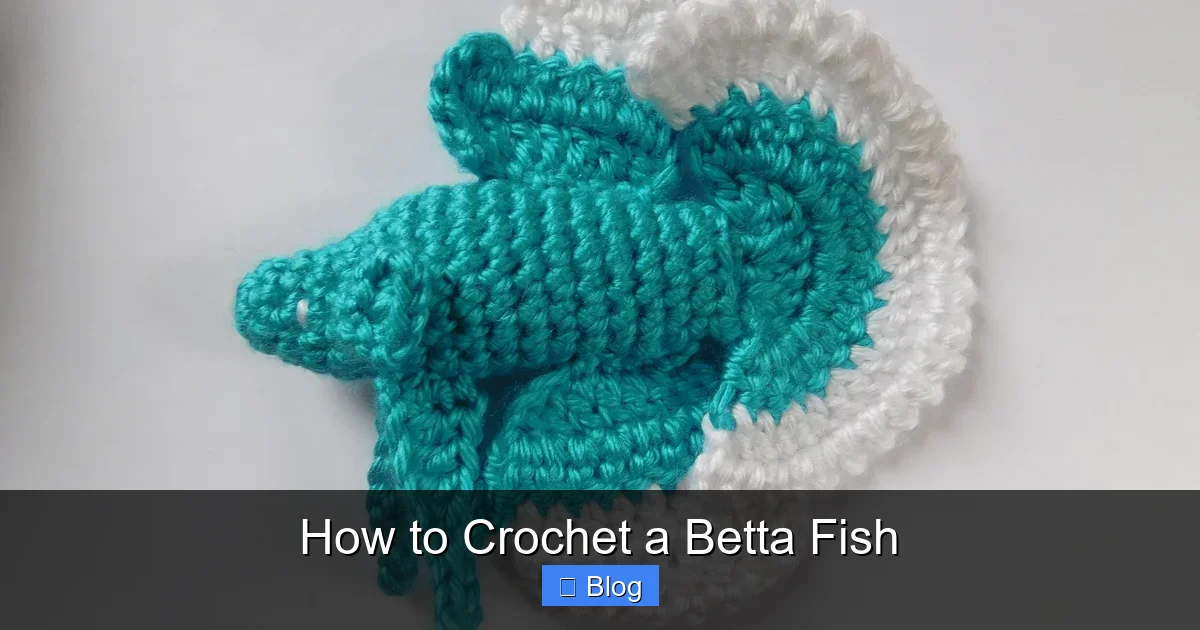
What makes a betta a betta? Its magnificent fins! We’ll create the dorsal fin on top, the two large side pectoral fins, and the dramatic, flowing tail. These are worked separately and sewn on, giving you complete control over their final “floating” position.
Visual guide about How to Crochet a Betta Fish
Image source: i.etsystatic.com
The Dorsal Fin: The Sail on Top
Using your main body color, chain 12.
Row 1: Starting in the 2nd chain from hook, work 11 sc. Turn. (11 sts)
Row 2: Chain 1. (1 sc, 1 increase) repeat to end. Turn. = 16 sts.
Row 3: Chain 1. (2 sc, 1 increase) repeat to end. Turn. = 24 sts.
Row 4: Chain 1. (3 sc, 1 increase) repeat to end. Turn. = 32 sts.
Rows 5-7: Work even in sc for 3 rows.
Row 8: Chain 1. (3 sc, 1 decrease) repeat to end. = 24 sts.
Row 9: Chain 1. (2 sc, 1 decrease) repeat to end. = 18 sts.
Row 10: Chain 1. (1 sc, 1 decrease) repeat to end. = 12 sts.
Fasten off, leaving a long tail for sewing. You can gently block this fin by dampening it and shaping it to a curve.
The Pectoral Fins: Graceful Side Swoops
Make two identical fins.
Chain 8.
Row 1: Starting in 2nd chain, 7 sc. Turn. (7 sts)
Row 2: Ch 1. (1 sc, 1 inc) repeat to end. = 10 sts.
Row 3: Ch 1. (2 sc, 1 inc) repeat to end. = 13 sts.
Rows 4-6: Work even in sc.
Row 7: Ch 1. (2 sc, 1 dec) repeat to end. = 10 sts.
Row 8: Ch 1. (1 sc, 1 dec) repeat to end. = 7 sts.
Fasten off, leaving a long tail. These will be sewn to the sides of the body, just behind the head, angling slightly backward.
The Tail Fin: The Grand Finale
The tail is worked in a long, tapered rectangle. For a full, dramatic look, use a contrasting color for the lower half.
Chain 30.
Row 1: Starting in 2nd chain, 29 sc. Turn. (29 sts)
Rows 2-5: Work even in sc.
Row 6: Ch 1. (13 sc, 1 dec, 13 sc) – this centers the decrease. Turn. = 28 sts.
Rows 7-10: Work even in sc.
Row 11: Ch 1. (12 sc, 1 dec, 12 sc). = 27 sts.
Rows 12-15: Work even in sc.
Row 16: Ch 1. Decrease every 3rd stitch across the row. (Dec, sc, sc) repeat. This will taper the tail. = 18 sts.
Row 17: Ch 1. (1 sc, 1 dec) repeat to end. = 12 sts.
Row 18: Ch 1. Decrease in every stitch. = 6 sts.
Fasten off. If using two colors for the tail, change to the second color after Row 8 or 9 for a gradient effect. Weave in all ends securely.
Assembly and Finishing Touches: Putting It All Together
This is where your betta truly comes to life. Proper assembly is key to a professional look. Take your time, use pins to position pieces, and sew with a strong, neat stitch.
Positioning and Pinning: The Blueprint
First, firmly stuff the body one last time, ensuring it’s evenly packed. Take your dorsal fin and pin it to the center top of the body, with the wide base pointing toward the tail. The pectoral fins should be pinned on the sides, just behind where the head would be, angling slightly out and back like they’re propelling the fish forward. The tail fin gets pinned to the very end of the body, centered on the back. Step back and look. Do the fins have a sense of flow? Adjust pins until it looks balanced and graceful.
The Sewing Technique: A Strong, Invisible Seam
Use the long tails left on your fins and the body’s closing tail. Thread your tapestry needle. For the most secure and invisible seam on amigurumi, use a mattress stitch (whip stitch). Insert your needle through the back loop only of a stitch on the fin, then through the corresponding back loop on the body. Pull snug. Move to the next set of loops. This creates a flat, nearly invisible seam on the right side. Sew the dorsal fin first, then the pectorals, then the tail. Go through multiple times at the base of each fin for extra durability, especially if this is a pet toy.
Adding the Face: Eyes and Details
For a decorative betta, attach plastic safety eyes between Rounds 9 and 10 of the body, about 3-4 stitches apart, centered over the “head” area (the wider part of the body). Push them in firmly.
For a pet-safe toy, embroider the eyes. Using black yarn and a tapestry needle, make a small, tight French knot or a few straight stitches for each eye. Place them in the same spot. You can also use your contrasting color yarn to embroider a simple curved line for a mouth just below the eyes. Weave in all remaining ends meticulously inside the body to prevent any loose threads from being pulled out.
Customization and Care: Making It Your Own
Once you’ve mastered the basic pattern, the real fun begins! The betta’s incredible variety in color and fin type is your playground for customization.
Color Play and Pattern Ideas
Don’t feel limited to solid colors. Try these ideas:
- Half-Moon Tail: Make the tail fin wider by adding more starting chains (40-45) and working more rows before tapering.
- Color Blocking: Change colors mid-body round to create horizontal stripes or a “koi” effect.
- Marble or Speckle: Use a variegated yarn that shifts between two colors for a natural, watery look.
- Iridescent Shimmer: Use a yarn with a metallic or holographic thread woven in for a shimmering, scale-like effect.
Size Adjustments and Pet Toy Safety
To make a larger or smaller betta, adjust your starting magic ring and initial increases. For a mini betta, start with 4 sc in the magic ring and follow a similar increase pattern. For a jumbo one, start with 8 or 10. For pet toys, size up slightly to make it harder to swallow whole, and use a super bulky yarn (Category 6) with a larger hook (6.0mm or 7.0mm). Always supervise pets with any handmade toy. Regularly check for signs of wear, pulling, or damage to the seams and stuffing. If the toy becomes ragged, repair or retire it immediately.
Cleaning and Maintenance
The care depends on your yarn. Most acrylic amigurumi can be hand-washed in cool water with a mild detergent, then air-dried flat. Never machine dry, as the heat can melt synthetic fibers and cause shrinkage. For cotton or wool items, follow the yarn label’s instructions. A quick spot clean with a damp cloth is often sufficient for dust. Store your finished betta in a dry, out-of-sunlight place to prevent color fading. With proper care, your crocheted companion can last for years, bringing a touch of handmade charm to your space.
Conclusion: Your Handmade Aquatic Masterpiece Awaits
Congratulations! You’ve now navigated the journey from a simple skein of yarn to a flowing, colorful betta fish. This project teaches fundamental amigurumi skills—the magic ring, increasing and decreasing for shape, color changing, and secure assembly—all wrapped in a fun, thematic package. The first one might take a few evenings, but you’ll soon find your rhythm, and the process of shaping those fins becomes a satisfying, almost meditative craft.
Don’t be afraid to experiment with your own color combinations and fin styles. Imagine a galaxy betta with deep purples and blues speckled with white, or a neon betta in electric pink and green. Each one you make tells a story of patience and creativity. Share your finished fish in your crafting community; you’ll be amazed at how many people are inspired to try their hand at this unique project. Now, pick up your hook, choose your colors, and start swimming into your next crochet adventure. Your beautiful betta is waiting to be born.
Frequently Asked Questions
Is crocheting a betta fish difficult for a beginner?
This pattern is rated as “advanced beginner.” It uses basic stitches (single crochet, half double crochet) but requires comfort with working in rounds, the magic ring, and simple increases/decreases. If you’ve made a basic amigurumi sphere before, you’ll be fine. Take it one round at a time.
What yarn is best for a pet-safe betta toy?
Use a durable, tight-plied worsted or bulky weight acrylic yarn. Avoid cotton (can fray), wool (may felt), and anything with loose hairs or embellishments. Embroider eyes instead of using plastic safety eyes, and double-sew all fins and seams with a strong mattress stitch for maximum security.
How long does it take to crochet a betta fish?
For an average crocheter, expect to spend 4-8 hours total. This includes time for the body, all four fins, assembly, and finishing. More intricate color changes or larger sizes will increase the time. The tail fin is the most time-consuming piece.
Can I make the fins look more “flowy” and less stiff?
Yes! After sewing the fins on, you can gently steam block them. Hold the fin over a steaming kettle (not touching the water) or use a garment steamer on a low setting. Shape the fin into a graceful curve as you steam it, then let it cool completely. This relaxes the stitches and gives a softer, more organic drape.
What if I don’t know how to do a magic ring?
The magic ring (adjustable loop) is crucial for a tight start. Search for “magic ring crochet tutorial” on video platforms like YouTube. Seeing it done is much easier than reading instructions. Alternatively, you can chain 2 and work your first round into the first chain, but it will leave a small hole.
How do I wash my finished crocheted betta fish?
For most acrylic yarns, hand wash in cool water with a gentle detergent. Gently squeeze out excess water—do not wring. Lay flat on a towel, reshape if needed, and allow to air dry completely. Do not machine wash or dry, as agitation and heat can damage the fibers and shape. For cotton, check the yarn label as some can shrink.