How to Fill a Betta Fish Tank
Filling a betta tank isn’t just about adding water. It’s a critical process that requires proper water preparation, temperature matching, and gentle techniques to protect your sensitive betta fish. Skipping these steps can cause fatal shock or poor water quality.
Key Takeaways
- Always treat tap water: Use a reliable water conditioner to neutralize chlorine, chloramines, and heavy metals before it touches your betta.
- Match the temperature precisely: New water must be within 1-2°F (0.5-1°C) of the tank’s existing temperature to prevent thermal shock.
- Fill slowly and gently: Use a plate, saucer, or pitcher with a narrow spout to disperse water flow and avoid stressing the fish or disturbing the substrate.
- Never overfill: Leave an inch of air space below the tank rim to prevent jumping and allow for proper gas exchange.
- Cycle the tank first: A fully cycled aquarium with established beneficial bacteria is non-negotiable for long-term betta health, even before the first fill.
- Test your water parameters: Use a liquid test kit to confirm pH, ammonia, nitrite, and nitrate are safe for your betta before adding fish.
📑 Table of Contents
- Why Properly Filling a Betta Tank is More Than Just Adding Water
- Step 1: The Foundation – Water Preparation is Non-Negotiable
- Step 2: Equipment Setup Before the First Drop
- Step 3: The Art of Filling – Technique Matters
- Step 4: The Critical Final Steps Before Adding Your Betta
- Common Mistakes That Can Kill Your Betta (And How to Avoid Them)
- Conclusion: Setting the Stage for a Thriving Betta
Why Properly Filling a Betta Tank is More Than Just Adding Water
So, you’ve picked out a stunning betta fish with flowing fins and a vibrant personality. You’ve got the perfect tank, the beautiful plants, and the cute castle decor. The final, seemingly simple step is to fill it with water. But here’s the critical truth: how you fill that betta fish tank is one of the most important actions you will take for your new pet’s survival and long-term health. It’s a process that, if done incorrectly, can lead to immediate stress, shock, or even death. Bettas are stunningly beautiful but notoriously sensitive fish, native to the warm, shallow, slow-moving waters of Southeast Asia. Their labyrinth organ allows them to breathe air, but their fins and skin are delicate, and they are highly susceptible to water quality and temperature fluctuations. This guide will walk you through every single step, from the very first drop of water to the moment your betta glides into its new home, ensuring you do it safely and correctly.
Step 1: The Foundation – Water Preparation is Non-Negotiable
Before a single drop enters the tank, your water must be treated. This is the single most common mistake new betta owners make. Straight-from-the-tap water is a toxic soup for your fish.
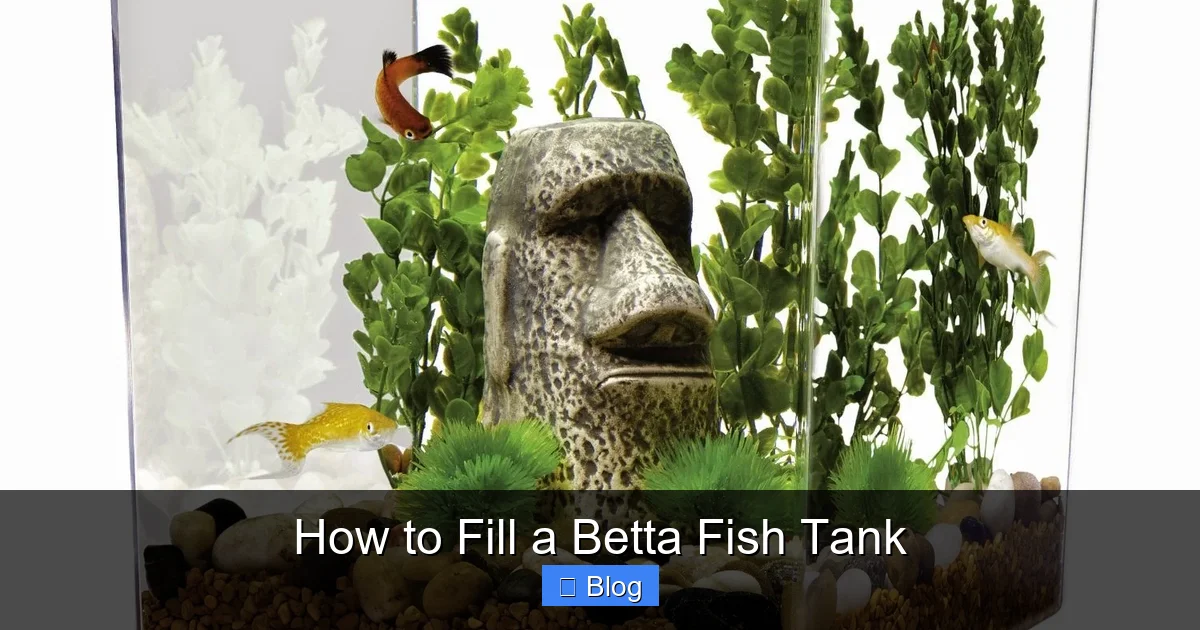
Visual guide about How to Fill a Betta Fish Tank
Image source: 3.bp.blogspot.com
Understanding What’s in Your Tap Water
Municipal water treatment plants add chlorine and chloramines to kill bacteria and make water safe for human consumption. For us, it’s a health safeguard. For a betta, these chemicals are lethal. Chlorine evaporates relatively quickly when exposed to air, but chloramines are a stable compound that does not. Additionally, tap water can contain trace heavy metals like copper and zinc, which are toxic to fish in even small concentrations. Your goal is to neutralize all of these.
Choosing and Using a Water Conditioner
A water conditioner (also called a dechlorinator) is your first and most essential purchase. Do not skip this. Look for a reputable brand like Seachem Prime, API Stress Coat+, or Tetra AquaSafe. These products work instantly to bind to and neutralize chlorine, chloramines, and heavy metals, making the water safe.
- How to use it: Follow the dosage instructions on the bottle meticulously. Typically, you add the conditioner to the new water you are about to put in the tank, not directly into the aquarium with fish already inside (unless performing an emergency water change). For a full tank fill, you can treat the entire volume in a clean bucket first or add the correct amount directly to the empty tank before filling, ensuring it mixes well as the water flows in.
- Pro Tip: Products like Seachem Prime also help detoxify ammonia, nitrite, and nitrate for a short period, which is a bonus during the initial cycling process or after a water change.
Checking pH and Hardness
Bettas prefer slightly acidic to neutral water, with a pH between 6.5 and 7.5. They are also adaptable to a range of water hardness (GH). Use a liquid water test kit (more accurate than test strips) to check your tap water’s baseline parameters. If your tap water is very hard (high GH) or very alkaline (high pH above 8.0), you may need to take additional steps like using driftwood, Indian almond leaves, or specialized substrates to gently buffer the water over time. However, do not use pH-lowering chemicals as a quick fix; stable pH is far more important than an exact number.
Step 2: Equipment Setup Before the First Drop
Your tank should be a complete, ready-to-go ecosystem before you introduce water or fish. Rushing this step leads to disaster.
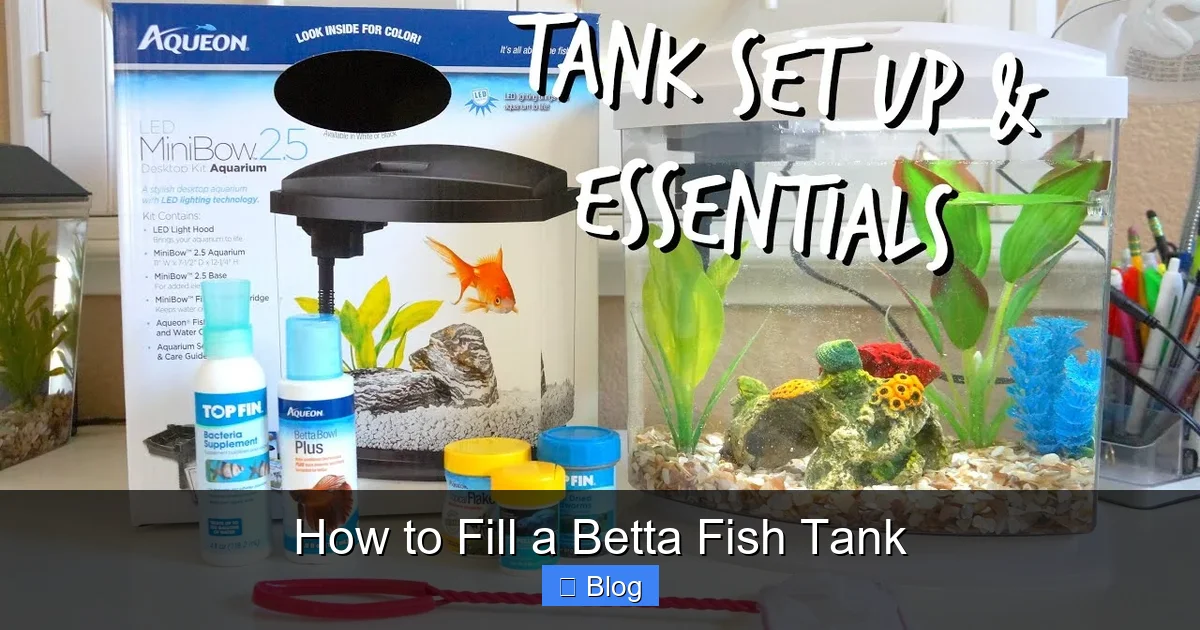
Visual guide about How to Fill a Betta Fish Tank
Image source: i.ytimg.com
Location, Location, Location
Place your tank on a perfectly level, sturdy surface designed to hold its weight (water weighs about 10 pounds per gallon). Avoid direct sunlight (causes algae spikes and temperature swings) and high-traffic areas (causes stress). Ensure it’s near a power outlet and on a stand that allows for easy access for maintenance.
Installing the Filter and Heater
Filter: Install your filter according to the manufacturer’s instructions. For bettas, a gentle flow is key. If your filter is too strong, you can baffle it by adding a sponge over the intake or output, or by adjusting the settings. The filter should be running before you add water to establish the initial beneficial bacteria colony on the filter media.
Heater: This is essential. Bettas are tropical fish and require a consistent water temperature between 78°F and 80°F (25.5°C – 26.5°C). Install a reliable, adjustable aquarium heater (5-10 watts per gallon is a good rule). Place it near the water flow from the filter to distribute heat evenly. Do not turn it on until the tank is filled with water, as running a heater dry will destroy it.
The Final Pre-Fill Check
With the tank in place, do a final check:
- Is the stand level?
- Is all equipment (filter, heater, thermometer) securely installed?
- Is the substrate (gravel or sand) rinsed thoroughly and evenly spread?
- Are decorations and plants (live or silk) securely placed so they won’t topple?
- Do you have a lid or hood ready? Bettas are notorious jumpers.
Step 3: The Art of Filling – Technique Matters
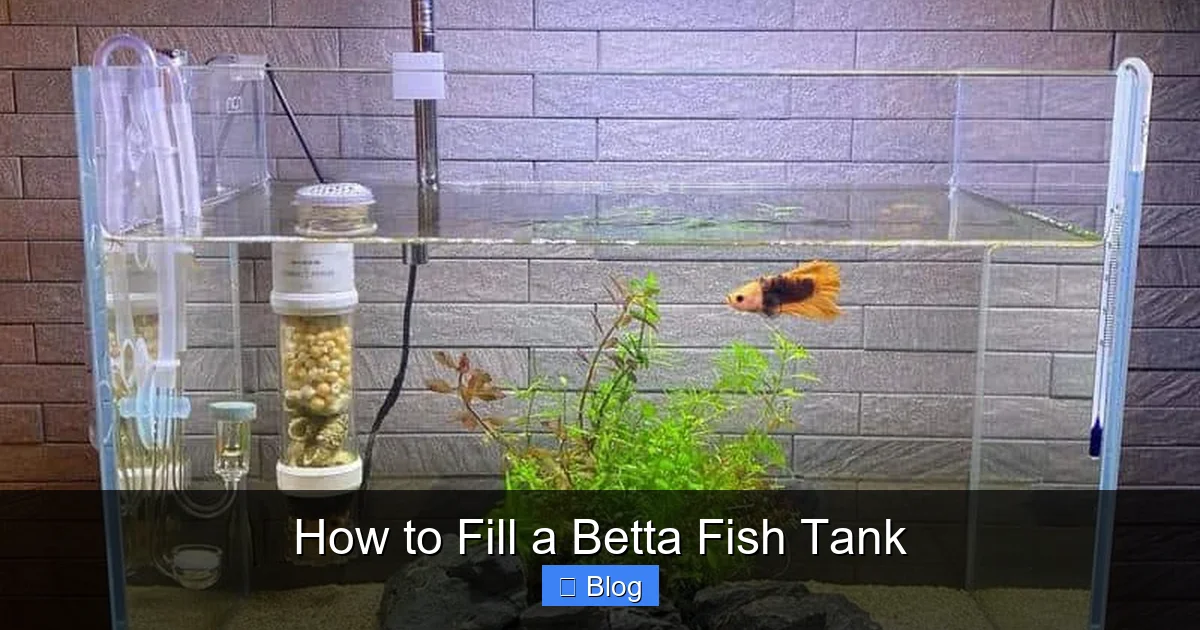
Now for the main event. Your goal is to fill the tank without kicking up excessive debris, creating strong currents, or shocking any future inhabitants.
Visual guide about How to Fill a Betta Fish Tank
Image source: acaquarium.com
Method 1: The Plate or Saucer Technique (Best for First Fill)
This is the gold standard method.
- Place a clean dinner plate, saucer, or plastic bowl directly on the substrate in the center of the tank.
- Gently pour the treated, temperature-matched water onto the plate. The plate will diffuse the force of the water, preventing it from displacing gravel and creating a cloudy mess.
- Fill the tank until the water level is about 1-1.5 inches below the top rim. This leaves crucial headspace to prevent evaporation overflow and, most importantly, to stop a determined betta from leaping out.
Method 2: The Pitcher with a Spout
If you don’t have a plate, use a clean pitcher or jug with a narrow spout.
- Hold the pitcher very close to the water’s surface.
- Tilt it slowly to let the water stream out gently and slide down the tank glass or into the substrate.
- This requires a steadier hand but achieves a similar result to the plate method.
What to Absolutely Avoid
- Do not pour water directly from a bucket from a height. This churns the substrate into a silt storm that can clog filter intakes and take days to settle.
- Do not use your hands or a cup to splash water in. This creates uneven currents and stress.
- Do not overfill. That extra inch of space is a vital safety buffer.
Step 4: The Critical Final Steps Before Adding Your Betta
The tank is full, the heater and filter are humming. You’re not done yet. Patience is the final, most important ingredient.
Temperature Adjustment and Stabilization
Your heater will now begin to bring the water to the target temperature (78-80°F). This can take several hours. Do not add your betta until the temperature is stable and has been for at least 24 hours. Use an accurate aquarium thermometer (digital or glass) to monitor. Fluctuations of more than 2 degrees can be fatal.
The Nitrogen Cycle: You Cannot Skip This
This is the most vital concept in fishkeeping. The “cycle” is the process of establishing a colony of beneficial bacteria that convert toxic fish waste (ammonia) into less harmful nitrite and finally into nitrate. A tank is “cycled” when it can process ammonia to nitrate within 24 hours. Adding a betta to an uncycled tank is a death sentence via ammonia poisoning.
- How to cycle a new tank: With the filter running, add an ammonia source (pure ammonia, a piece of fish food, or a bacteria starter like Tetra SafeStart or Seachem Stability). Test water daily with a liquid test kit. The cycle is complete when you see a spike in ammonia, followed by a spike in nitrite, and finally, both read 0 ppm with only detectable nitrates (which are controlled by water changes). This takes 4-6 weeks.
- The Shortcut: If you need to add your betta immediately (not ideal), you must perform daily 25-50% water changes to keep ammonia and nitrite at 0 ppm, which is labor-intensive and risky. The best practice is to wait for a full cycle.
Final Water Test and Acclimation
Once the tank is cycled and at the correct, stable temperature, perform a final comprehensive water test. You need to see:
- Ammonia: 0 ppm
- Nitrite: 0 ppm
- Nitrate: < 20 ppm (ideally)
- pH: Stable between 6.5-7.5
Now, you can acclimate your betta. Float its sealed bag in the tank for 15-20 minutes to equalize temperature. Then, slowly add a cup of tank water to the bag every 10 minutes for about 30 minutes. Finally, use a net to gently transfer the betta to the tank, discarding the bag water (which may contain waste and pathogens). Do not pour the bag water into your clean aquarium.
Common Mistakes That Can Kill Your Betta (And How to Avoid Them)
Let’s review the catastrophic errors and their simple fixes.
Using Untreated Tap Water
The #1 killer. It’s not an option. Always, always use a water conditioner. No exceptions.
Thermal Shock from Incorrect Water Temperature
Adding water that is too cold or too hot. Always use an aquarium thermometer to check the new water temperature against the tank’s temperature before filling. Adjust with a little warm or cold water from the tap if needed, but always treat it with conditioner first.
Overfilling the Tank
Leaving no headspace invites disaster. Betta fish are world-class jumpers. A startled betta can launch itself out of an overfilled tank in seconds. The air gap is a physical barrier.
Rushing the Nitrogen Cycle
Impatience here leads to “New Tank Syndrome,” where invisible toxins build up and burn the betta’s gills and skin. The fish will gasp, lose color, and die. Test your water. Be patient.
Using a Powerful Filter
A strong current exhausts a betta, damages its long, flowing fins, and prevents it from resting at the surface. Choose a filter with an adjustable flow rate or always baffle it. You should see the betta’s fins gently swaying, not being torn back.
Conclusion: Setting the Stage for a Thriving Betta
Filling a betta fish tank is the foundational ritual of responsible betta ownership. It’s a deliberate act of care that sets the stage for everything that follows. By treating your water, matching temperatures precisely, filling with gentle care, and respecting the non-negotiable nitrogen cycle, you are not just adding water to a glass box. You are creating a stable, safe, and healthy ecosystem. You are providing your betta with the gift of a stress-free environment where its colors can intensify, its fins can flow gracefully, and its fascinating personality can truly shine. Remember, the time you invest in doing this correctly—the careful testing, the patient waiting—pays dividends in the form of a vibrant, interactive companion that can bring joy for three to five years or more. Your betta’s life literally depends on the steps you take today. Do them right, and you’ll be rewarded with a stunning underwater friend.
Frequently Asked Questions
Can I use bottled spring water instead of tap water for my betta tank?
While some spring waters are safe, many have inconsistent mineral content (hardness) and pH that may not be ideal for bettas. It’s also expensive and environmentally taxing. Treated tap water with a conditioner is the most reliable, consistent, and cost-effective method for most hobbyists.
How often should I perform a full water change versus a partial water change?
How often should I perform a full water change versus a partial water change?
In a fully cycled, established betta tank, you should never perform a 100% water change. Doing so strips the tank of beneficial bacteria and causes dangerous parameter swings. Instead, perform a 25-50% partial water change once or twice a week, using the same careful process of treating and temperature-matching the new water. This maintains water quality while preserving the healthy bacterial colony.
Do I need to clean the tank and all decorations before the first fill?
Yes, absolutely. All gravel, sand, rocks, and decorations must be thoroughly rinsed with clean water (no soap!) until the water runs clear. This removes manufacturing dust, debris, and potential contaminants. Live plants should be gently rinsed as well. This initial clean is crucial for starting with a pristine environment.
What is the ideal water temperature when filling the tank, and how long does it take to stabilize?
The ideal temperature range is 78-80°F (25.5-26.5°C). After filling with temperature-matched water, turn on the heater. It typically takes 4-8 hours for a properly sized heater to bring a full tank to temperature and stabilize. Always use a separate, accurate thermometer to verify the heater’s setting; built-in heater thermostats can be inaccurate.
My filter creates too much current for my betta. What can I do?
You must reduce the flow. Easy fixes include: attaching a sponge to the filter output nozzle, adding a pre-filter sponge over the intake, placing plants or decorations strategically to block the current, or adjusting the filter to its lowest setting if it has a flow control. A calm betta is a healthy betta.
Is it okay to fill the tank with water before installing the filter and heater?
Technically you can, but it’s not best practice. It’s more efficient to install the filter media and heater first, then fill. This ensures the filter begins cycling immediately and prevents you from having to reach into a full tank to install equipment, which can disturb your aquascape. If you fill first, install equipment carefully and start them right away.