How to Clean Betta Fish Tank with Live Plants
Cleaning a betta tank with live plants requires a gentle, methodical approach to protect your fish and preserve the beneficial bacterial colony. You must never remove all plants or scrub everything clean; instead, focus on partial water changes, gentle debris removal, and targeted cleaning of decorations while leaving the filter media and substrate largely undisturbed. The core principle is to clean the tank without sterilizing it, ensuring the stable, healthy environment your betta and plants need to thrive.
Key Takeaways
- Preserve the Biofilm: Never use soap, clean all decorations in old tank water, and never change 100% of the water to protect the beneficial bacteria cycle.
- Gentle is Key: Use a soft siphon or turkey baster for debris, and if pruning plants, use sterilized scissors to avoid introducing contaminants.
- Test Your Water: Always use a liquid water test kit before and after cleaning to monitor ammonia, nitrite, nitrate, and pH levels.
- Match Water Parameters: New water for top-offs and changes must match the tank’s temperature, pH, and hardness to prevent shocking your betta.
- Inspect Plants First: Check live plants for dead leaves, algae, or pests during every clean, addressing issues immediately to maintain tank health.
- Filter Care is Minimal: Only rinse mechanical filter media (like sponges) in old tank water once a month, if at all, and never replace all media at once.
- Slow and Steady: Perform cleaning in stages if needed, and always put your betta’s stress level first—a slightly messier tank is better than a clean but traumatized fish.
📑 Table of Contents
Why Cleaning a Planted Betta Tank is Different (and Crucial)
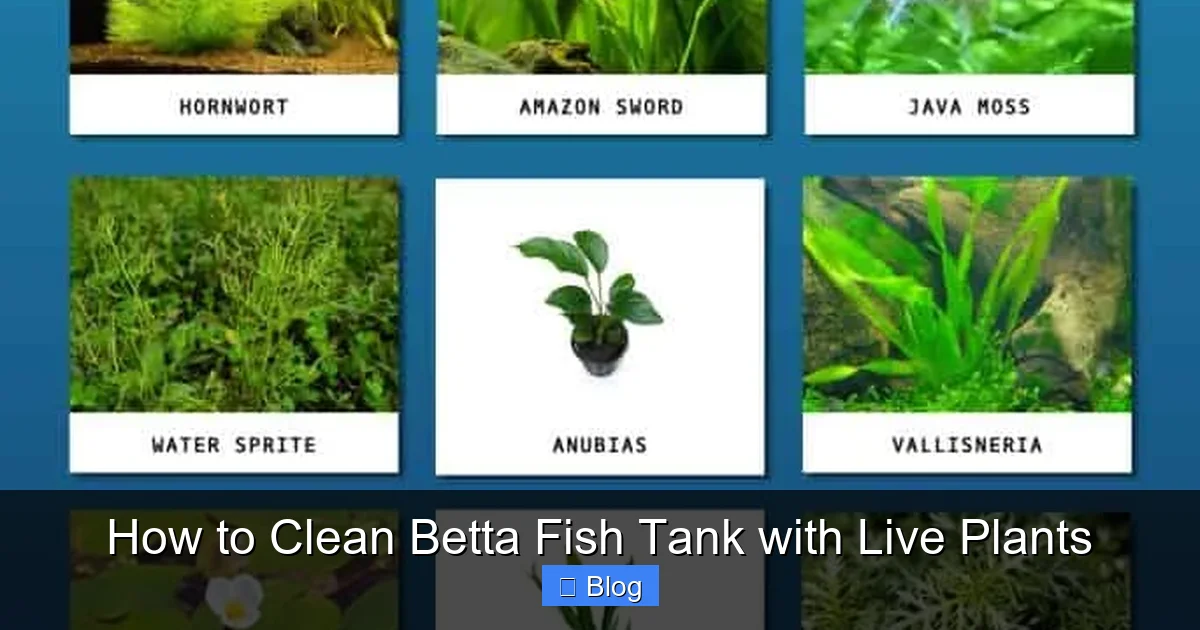
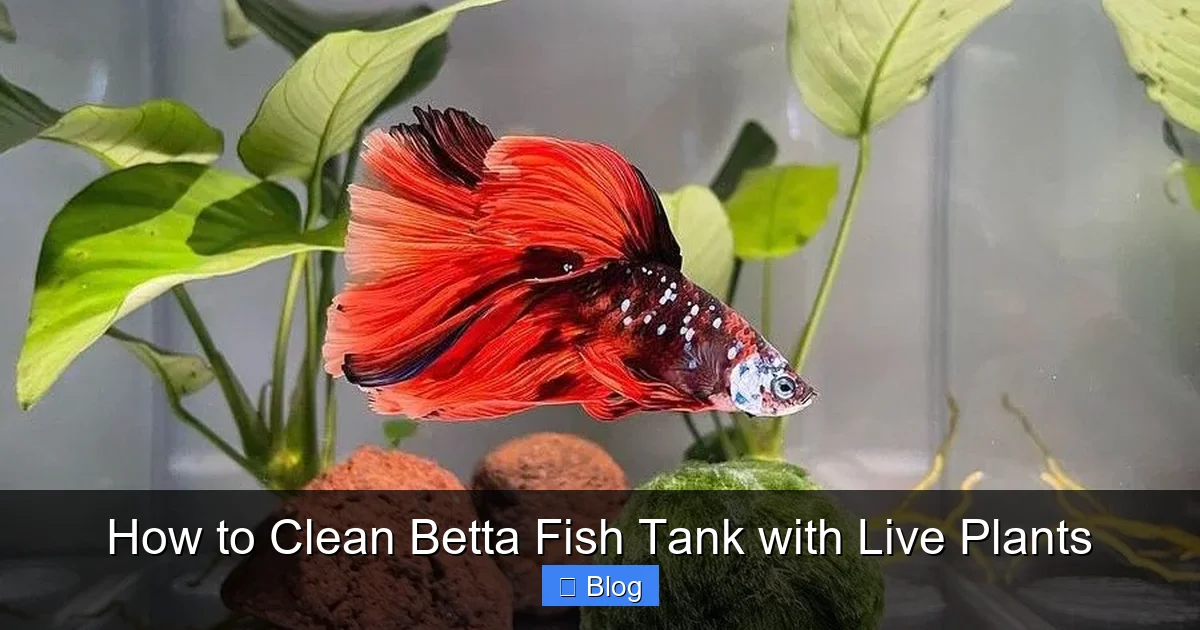
So, you’ve set up the perfect betta palace: a heated, filtered 5-gallon tank with gentle flow, hiding spots, and beautiful live plants like Anubias, Java Fern, or Marimo moss balls. It’s a serene underwater garden. But then, you see a few fallen leaves, a speck of algae, or cloudy water. The instinct is to give it a thorough, sterile scrub-down. Stop! If you have live plants, your cleaning philosophy must change completely. A planted betta tank isn’t just a container of water and fish; it’s a miniature, balanced ecosystem.
Those live plants and the surfaces they grow on are home to a vast, invisible community of beneficial bacteria. These bacteria are the heroes of your aquarium, performing the “nitrogen cycle” by converting toxic fish waste (ammonia) into less harmful nitrates. A deep clean that removes all the “gunk” also annihilates this bacterial colony, crashing your cycle and subjecting your sensitive betta to dangerous ammonia spikes. Furthermore, live plants themselves are sensitive to physical damage and changes in water chemistry. Your goal is to clean the tank without sterilizing it, maintaining stability above all else. This guide will walk you through exactly how to do that, step-by-step, ensuring your betta remains happy and your planted oasis flourishes.
Gathering Your Supplies: The Plant-Safe Cleaning Kit
Before you even think about touching the tank, having the right tools on hand makes the process smooth and safe. Using the wrong tools or chemicals is the fastest way to harm your plants, beneficial bacteria, and betta. Here’s your essential checklist, all of which should be dedicated solely to aquarium use.
Visual guide about How to Clean Betta Fish Tank with Live Plants
Image source: ouraquariumlife.com
Must-Have Tools
- Gravel Vacuum/Siphon: The most important tool. Choose one with a flexible, wide head for planted tanks to gently clean around plant roots without uprooting them. A bulb-style siphon can help with precise water removal.
- Two Clean Buckets: One for old tank water (to rinse filter media and decorations), and one for new, treated water. Never mix these up. Label them if needed!
- Algae Scraper/Pad: Use a non-scratch pad or a dedicated plastic algae scraper. For stubborn algae on glass, a single-sided razor blade (used with extreme care on the glass only) is effective, but never use it near acrylic or on decorations.
- Soft Cloths or Paper Towels: For wiping the inside glass. Use only plain, unscented, lint-free cloths. Never use paper towels on acrylic as they can scratch.
- Long-Handled Forceps or Planting Tongs: Invaluable for gently moving plants, retrieving decor, or planting new stems without sticking your entire arm in the water.
- Pruning Shears/Scissors: Get a small, sharp pair dedicated to your aquarium. Before and after use, sterilize them with a quick dip in hydrogen peroxide (3%) or a diluted bleach solution (10%), then rinse thoroughly in old tank water.
- Water Test Kit: A reliable liquid test kit (like API Freshwater Master Test Kit) is non-negotiable. Test strips are too inaccurate for monitoring a cycled tank.
- Water Conditioner/Dechlorinator: For treating all new tap water.
What You Should NEVER Use
- Soap, Detergents, or Household Cleaners: Even a trace is lethal to fish and bacteria.
- Vinegar (for routine cleaning): While a diluted vinegar soak can remove hard water stains from glass outside the tank, it must be rinsed with dechlorinated water and never used inside a cycled tank with fish and plants.
- Hot Water: It kills beneficial bacteria on contact. Use only room-temperature old tank water for rinsing.
- Any “Tank Cleaner” Sprays: These are almost always harmful to aquatic life.
Step-by-Step: The Gentle Cleaning Process
Now, let’s get your hands wet. This routine should be performed weekly or bi-weekly, depending on your tank’s bioload (a betta in a 5-gallon with plants has a low bioload). The key is consistency and gentleness. We’ll aim to change about 25-30% of the water per session.
Visual guide about How to Clean Betta Fish Tank with Live Plants
Image source: wikihow.com
Step 1: Preparation & Observation (5 Minutes)
Before you disturb anything, turn off the filter (to prevent a mess) and the heater (for safety). Have your buckets and tools ready. Now, look closely. What is the actual problem? Is it just a few dead leaves? A patch of algae on the glass? Cloudy water from bacterial bloom? This observation tells you where to focus your efforts. Do not clean everything just because. Target only what needs cleaning.
Step 2: The Partial Water Change & Gravel Vacuuming (The Heart of the Clean)
This is the most critical step for water quality and must be done correctly with plants.
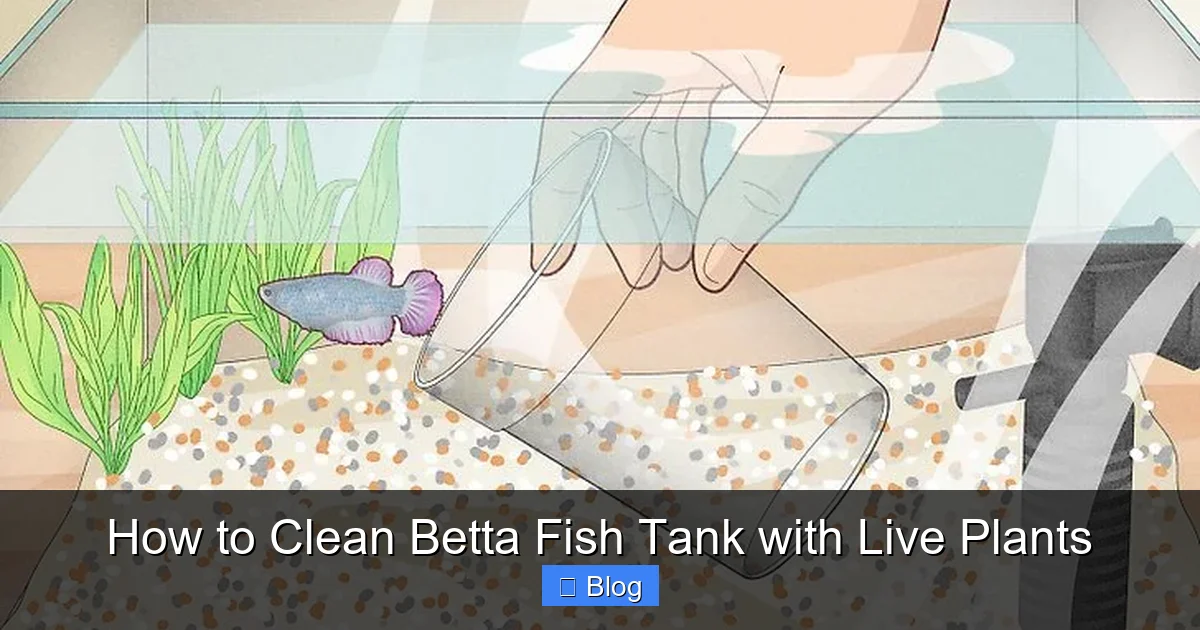
- How to Siphon: Gently insert the siphon head into the substrate, preferably between plants. Don’t plunge it deep. Hover it just above the bottom and gently stir the top 1/2 inch of gravel with the siphon nozzle to lift fish waste and uneaten food debris into the tube. Do not aggressively vacuum the entire substrate bed every week. This disturbs plant roots and the deeper substrate where beneficial bacteria live. Rotate your vacuuming zones each week.
- Around Plants: Be extra careful around delicate plant roots. For rooted plants like Amazon Swords, vacuum the open areas around them. For rhizome plants (Anubias, Java Fern) attached to wood/rock, vacuum the substrate beneath them but avoid digging up the rhizome.
- Marimo Moss Balls: Gently roll them in your hands over the bucket to squeeze out debris and old water before placing them back.
Siphon out 25-30% of the tank water directly into your designated “old water” bucket. This water is now full of beneficial bacteria and will be used for rinsing filter media.
Step 3: Decor & Hardscape Cleaning
Now, inspect your driftwood, rocks, and ceramic decorations. If they have a light slime coat or algae, do not scrub them under tap water! Instead:
- Remove them one by one.
- Using a soft toothbrush dedicated to the tank, gently scrub them in the bucket of old tank water you just siphoned. The bacteria-rich water will loosen debris without killing the biofilm.
- For stubborn algae on non-porous rocks, you can use the algae scraper directly on the surface.
- Rinse them briefly in the old water bucket and place them on a clean towel. Return them to the tank only after the water change is complete.
Step 4: Glass Cleaning
With the water level lowered (from the siphon), cleaning the glass is easier and requires less scrubbing.
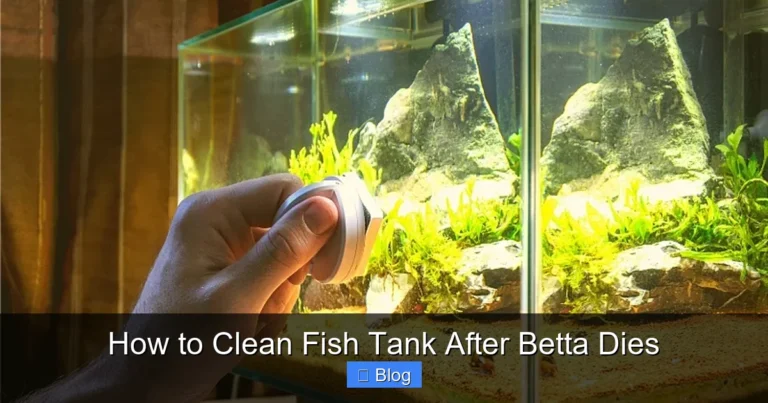
- Start with the algae scraper or pad, working from the bottom up to avoid dripping.
- For the inside front glass, you can often just wipe it with a clean, damp microfiber cloth.
- Never use your hands to wipe the inside—oils from your skin can pollute the water.
- Clean the outside of the glass with a separate, dry cloth.
Step 5: Plant Maintenance (The Live Element)
This is where your planted tank care shines. Use this time to inspect and tend to your plants.
- Remove Dead/Dying Foliage: With your sterilized scissors, snip off any brown, black, or mushy leaves at the base. Dispose of them outside the tank. This prevents them from rotting and fouling the water.
- Prune Overgrowth: If stem plants are getting too tall or bushy, trim them. For plants like Java Fern, remove excess plantlets from the leaf tips if you don’t want them.
- Control Algae on Plants: If a plant leaf is coated in hair algae or black beard algae, you may need to remove that specific leaf entirely. Do not try to scrape algae off delicate leaves—it damages them. Sometimes, a quick dip in a weak hydrogen peroxide solution (1ml 3% H2O2 per liter of water for 1-2 minutes) followed by a rinse in old tank water can help, but test on one leaf first.
- Check for Pests: Look for snails (which may be unwanted) or pest insects like planaria on the glass or on plants.
Step 6: Filter Media Care (Minimal Intervention)
This is the #1 rule: Never replace all your filter media at once. You would be throwing away your entire bacterial colony.
- Take the media (usually a sponge, ceramic rings, or bio-balls) out of the filter.
- Place it in the bucket of old tank water you siphoned earlier.
- Gently squeeze and swish the sponge (if it’s a sponge filter) in the old water until the large chunks of debris come out. Do not wring it out completely or scrub it until it’s white. You want to preserve the dark, slimy biofilm (that’s the good bacteria!).
- Rinse ceramic rings or bio-balls briefly in the old water, just to dislodge big particles.
- If your filter has a pre-filter sponge on the intake, this can usually be cleaned more thoroughly as it catches the big debris.
- Put the media back into the filter immediately. It should go back into the same chamber.
Step 7: The New Water & Final Steps
Now, prepare your new water. Fill your clean “new water” bucket with tap water. Add your water conditioner/dechlorinator according to the dosage instructions. Crucially, this new water must match the temperature of your tank water (within 1-2°F). Use a floating thermometer to check. A temperature shock is a major stressor for bettas.
- Slowly pour the new, temperature-matched, conditioned water back into the tank. You can use a plate or your hand to deflect the flow so it doesn’t disturb the substrate or plants.
- Bring the water level back to its normal height.
- Turn your heater and filter back on.
- Wipe any spills on the outside of the tank.
- Use the forceps to gently reposition any plants that may have shifted.
- Do not feed your betta immediately. Wait at least 30 minutes to an hour to allow any residual stress and water movement to settle.
Step 8: Post-Cleaning Protocol
Your work isn’t done until you’ve monitored the aftermath.
- Test your water parameters (ammonia, nitrite, nitrate, pH) 24 hours after the cleaning. This is the true test of whether you disturbed the cycle. In a healthy cycled tank, ammonia and nitrite should be 0 ppm, and nitrate should be low (under 20 ppm).
- Observe your betta closely for the next few hours. Is he swimming normally? Breathing calmly? Hiding excessively or gasping at the surface are signs of stress or poor water quality.
- Check your plants over the next few days. They may look a bit shocked or melt slightly after being moved or pruned. This is normal. Ensure they are still securely anchored.
Special Considerations for Common Planted Tank Issues
Sometimes, your cleaning is driven by a specific problem. Here’s how to address common issues without harming your ecosystem.
Visual guide about How to Clean Betta Fish Tank with Live Plants
Image source: infishtank.com
Dealing with Algae: Identification and Gentle Removal
Algae is a symptom of an imbalance, usually too much light or nutrients. Cleaning is part of the solution, but don’t over-clean.
- Green Spot Algae (on glass): A single-sided razor blade (on glass only) or a dedicated algae magnet is very effective. Scrape it off during your glass cleaning step.
- Hair Algae/Brush Algae (on plants): Manual removal is best. Pull it off with your fingers or forceps. Often, you must remove the affected leaf entirely. Reducing light duration and checking your fertilizer dosing will help long-term.
- Blue-Green Algae (Cyanobacteria): This is actually bacteria. It forms slimy sheets. Remove as much as possible manually. A brief, 3-day blackout (cover tank completely) can eradicate it, but this is stressful for plants and fish and should be a last resort.
- Never use algaecides in a betta tank. They are often toxic to fish and invertebrates and can harm plants.
Managing “Melting” or Dying Plants
It’s heartbreaking when a new plant starts turning brown and mushy (melting). This is often due to emersion (the plant was grown out of water) or a change in water parameters. During your clean:
- Act Fast: As soon as you see melting, remove the dead tissue immediately to prevent it from rotting and fouling the water.
- Don’t Dig Them Up: If a plant is attached to wood/rock (like Anubias or Java Fern), leave it be. The rhizome might still be healthy. Just remove the dead leaves. If it’s a rooted plant and the roots are rotting, you may need to replant it in a new spot with better substrate.
- Be Patient: Some plants will melt back completely and then send out new, acclimated growth from the roots or rhizome. This can take 2-4 weeks.
Creating a Sustainable Cleaning Schedule
Consistency is what prevents big, disruptive cleanings. Here’s a simple weekly/bi-weekly schedule for a 5-10 gallon planted betta tank.
Weekly/Bi-Weekly Tasks (During Your Main Clean)
- Test water parameters (before starting, and again 24h after).
- Perform 25-30% water change with gravel vacuuming in sections.
- Wipe algae from glass.
- Gently clean decor in old tank water.
- Inspect and prune all plants (remove dead leaves).
- Check filter flow. If significantly reduced, lightly rinse media in old tank water.
- Observe betta behavior and health.
Monthly/As-Needed Tasks
- More thorough filter media cleaning (rinse all media in old tank water).
- Deep gravel vacuuming, covering the entire substrate over several weeks.
- Prune and propagate fast-growing stem plants to maintain shape.
- Clean the outside of the glass and tank hood/lid.
- Inspect and clean heater and filter intake tubes.
Remember: Your betta’s stress level is your ultimate guide. If a water change seems to stress him (hiding, lethargy), try doing smaller changes more frequently. A stable, slightly “imperfect” tank is always better than a perfectly clean but cycled-crash-prone tank.
Conclusion: The Art of Balance
Cleaning a betta fish tank with live plants is less about achieving a sterile, spotless aquarium and more about cultivating and maintaining a balanced, stable ecosystem. You are a custodian of a complex biological system, not a janitor. Your primary objectives are to remove excess waste products (via water changes), control algae, and tend to plant health, all while preserving the colonies of beneficial bacteria that are the foundation of your tank’s health.
By following the gentle, methodical approach outlined here—using only old tank water for rinsing, changing only a portion of the water, targeting specific problem areas, and minimizing filter disruption—you create an environment where your betta can display his beautiful fins with confidence and your live plants can grow lush and green. This routine fosters not just survival, but true thriving. You’ll be rewarded with a captivating, low-stress underwater world that is a joy to observe and a testament to your careful, informed stewardship. The cleanest tank is not the one without any debris, but the one where the water parameters are stable, the inhabitants are active and healthy, and the plants are vibrant. That is the true goal.
Frequently Asked Questions
Can I use tap water to clean my aquarium decorations?
No, you should never use untreated tap water to clean decorations that will go back into the tank. Tap water contains chlorine and chloramines that kill beneficial bacteria. Always rinse decorations in a bucket of old tank water that you siphoned out during the water change.
How do I clean algae off my live plants without harming them?
For algae on plant leaves, the safest method is manual removal. Gently rub the leaf between your thumb and forefinger under a gentle stream of old tank water, or use a soft toothbrush. If the leaf is severely coated, it’s often better to prune it off entirely with sterilized scissors to prevent the algae from spreading and to save the plant’s energy.
My water gets cloudy after cleaning. Is that normal?
A slight, temporary cloudiness (a bacterial bloom) can occur after a water change as bacteria adjust to the new water volume. This should clear within 24-48 hours as the filter pulls it out. If the cloudiness is severe and lasts longer, it may indicate you disturbed the substrate too much or are over-cleaning, releasing excessive organic debris. Ensure you’re vacuuming gently and not changing too much water at once.
What if I accidentally use soap on something that goes in the tank?
This is a serious emergency. Immediately remove the soapy item. Perform a large (50%+) water change with properly conditioned water. Monitor ammonia levels very closely with your test kit for the next 48-72 hours, as a soap residue can kill beneficial bacteria and lead to an ammonia spike. Be prepared to do additional water changes if ammonia appears.
How often should I really be doing a full substrate vacuum?
In a well-planted tank with a good bacterial colony in the substrate, you should never vacuum the entire substrate bed in one go. This destroys the deep bacterial colonies. Instead, vacuum only a different section of the tank each week (e.g., front-left one week, back-right the next). This keeps the tank clean without sterilizing the entire substrate at once.
My betta seems stressed after a water change. What did I do wrong?
The most common cause is a parameter shock. Double-check that your new water temperature matched the tank exactly. Also, ensure your water conditioner was properly dosed to remove all chlorine/chloramines. Finally, the water change itself may have been too large or too fast. Try reducing the change to 15-20% next time, adding the new water very slowly (over 30-60 minutes) using a drip method or by pouring it over a cup placed in the tank to diffuse the flow.