How to Clean Small Betta Fish Tank
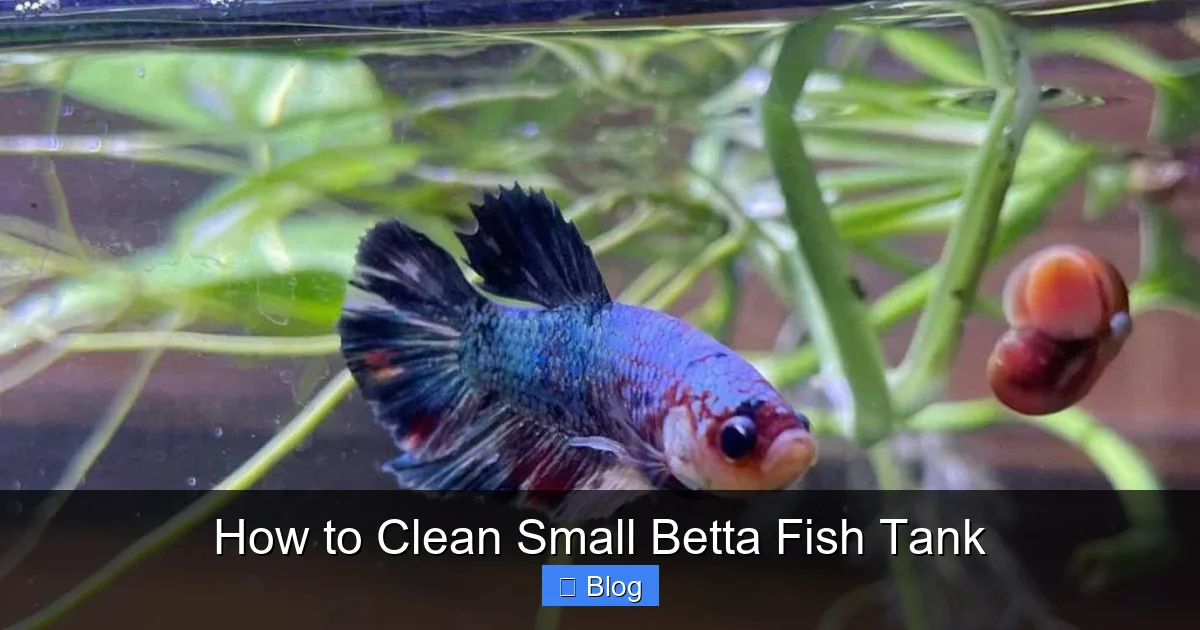
Cleaning a small betta tank correctly is crucial for your fish’s health and longevity. Unlike a simple bowl, a filtered and heated small tank requires a specific, gentle process to avoid harming your betta or disrupting the essential nitrogen cycle. This guide breaks down exactly how to do it safely, from gathering the right tools to performing a partial water change without stressing your fish. Following these steps ensures a clean, stable, and thriving aquatic environment for your vibrant companion.
Key Takeaways
- Never fully empty and scrub the tank. A 100% water change destroys the beneficial bacteria that process toxins, crashing the tank’s cycle and poisoning your betta.
- Always treat tap water with a dechlorinator. Chlorine and chloramines in tap water are lethal to fish and kill beneficial bacteria; always use a water conditioner before adding water to the tank.
- Never use soap or household cleaners inside the tank. Even a tiny residue of soap is toxic to fish. Use only tank-safe tools and rinse everything thoroughly with dechlorinated water.
- Clean the filter media correctly. Gently rinse filter sponges or cartridges in the old tank water you’ve removed during the water change, never under tap water, to preserve good bacteria.
- Match the temperature of new water to the tank water. A sudden temperature shock of more than 1-2°F can severely stress or kill your betta. Always check with a thermometer.
- Frequency matters more than volume. Cleaning a 2.5-gallon tank with 25-30% water changes 1-2 times per week is far better for water quality than a single large, infrequent change.
📑 Table of Contents
- Why Proper Cleaning is Non-Negotiable for Your Betta
- Gathering Your Supplies: The Right Tools for the Job
- The Step-by-Step Cleaning Process: A Safe, Gentle Routine
- Common Mistakes That Harm Your Betta (And How to Avoid Them)
- Setting Up a Sustainable Maintenance Schedule
- Beyond the Basics: Troubleshooting Cloudy Water & Algae
- Conclusion: A Clean Tank is a Happy, Healthy Home
Why Proper Cleaning is Non-Negotiable for Your Betta
You brought that beautiful, flowing-finned betta home, and it’s living in a small, filtered tank on your desk. It’s easy to look at that clear water and think, “It looks fine, why bother?” But the truth is, what you can’t see is the most important part. Your betta’s small tank is a complex, living ecosystem. It’s home to a delicate balance of beneficial bacteria that are your fish’s invisible guardians. These bacteria live primarily in the filter media and on surfaces in the tank, working tirelessly to convert your betta’s toxic waste (ammonia) into less harmful substances (nitrite, then nitrate).
When you clean a small betta fish tank improperly—like using soap, scrubbing everything raw, or replacing all the water—you don’t just make it look nice. You wipe out this essential bacterial colony. This is called “crashing the nitrogen cycle.” The result? Ammonia spikes, poor water quality, and a stressed, susceptible betta that is prone to diseases like fin rot or dropsy. The goal of cleaning isn’t sterility; it’s maintenance. You want to remove waste products (uneaten food, feces, debris) and dilute nitrates while carefully preserving the good bacteria that keep your betta safe. A proper routine is the single most important thing you can do for your betta’s long-term health and vibrancy.
Gathering Your Supplies: The Right Tools for the Job
Before you even touch your betta, having everything ready and within arm’s reach is key to a smooth, low-stress process for both of you. Rummaging around for a bucket mid-clean is a recipe for accidents. Here’s your essential toolkit.
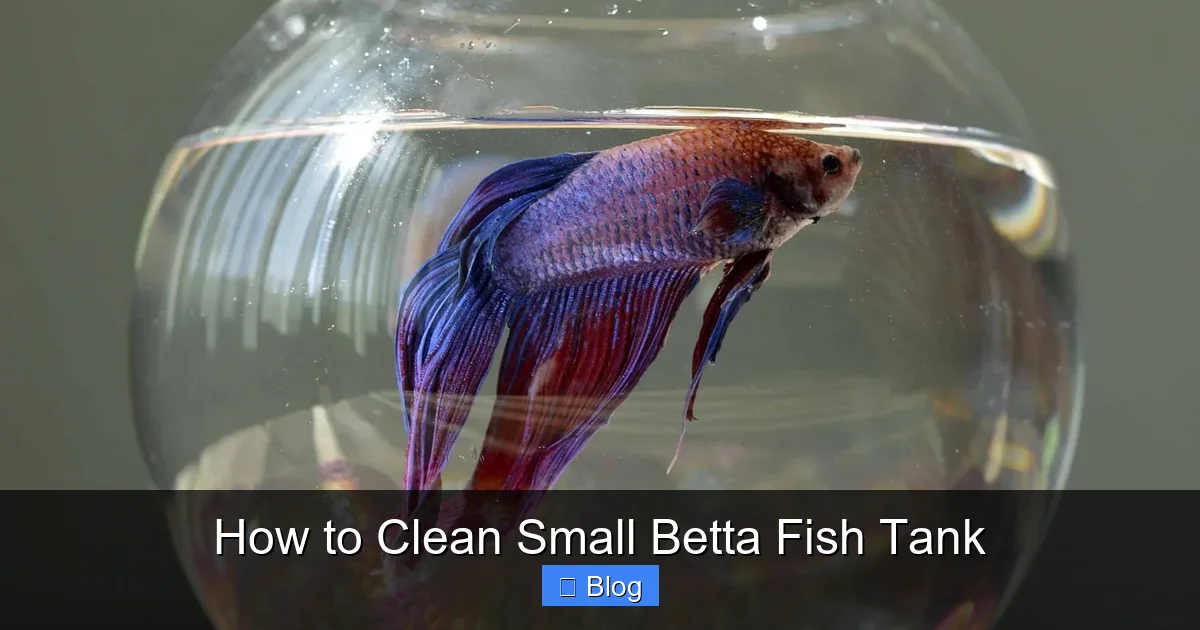
Visual guide about How to Clean Small Betta Fish Tank
Image source: fishtanksetups.com
The Non-Negotiables
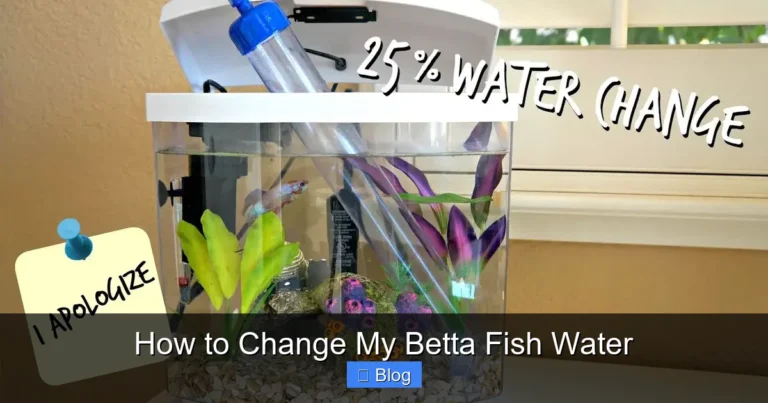
- Two Clean Buckets or Containers: Designate one exclusively for “dirty” water (the water you siphon out) and one for “clean” water (your treated, temperature-matched fresh water). Never use buckets that have held soap or chemicals.
- Aquarium Gravel Vacuum/Siphon: This is your most important tool. A simple hand-powered siphon with a wide, angled tube end is perfect for small tanks. It allows you to remove debris from the substrate while simultaneously siphoning out water.
- Water Conditioner/Dechlorinator: A high-quality product like Seachem Prime or API Stress Coat is essential. It neutralizes chlorine, chloramines, and heavy metals instantly. You cannot skip this step.
- Clean, Soft Cloths or Paper Towels: For wiping the inside glass and décor. They must be brand new and never used with any cleaning products.
- A Small Net: For temporarily moving your betta if necessary during a deep clean.
- thermometer: A cheap stick-on or digital thermometer is crucial for ensuring your new water matches the tank temperature exactly.
What You Should NOT Use
- Absolutely No Soap, Detergent, or Household Cleaners: Not even a drop. The residues are lethal.
- Abrasive Scrubbers or Pads: They can scratch glass and acrylic, creating more places for algae to grip. Use a clean cloth or your algae pad (see below) gently.
- “Algae Scrapers” with Metal Blades: For acrylic tanks, these will scratch. For glass, use caution. Often, a damp cloth is sufficient for a small betta tank.
- Tap Water to Rinse Anything: The chlorine in tap water will kill beneficial bacteria on filter media or décor. Always use your dechlorinated tank water (the water you just siphoned out) for rinsing.
The Step-by-Step Cleaning Process: A Safe, Gentle Routine
Now, let’s put the tools to work. This routine assumes you’re doing a standard 25-30% water change, which is ideal for a small betta tank (2.5 to 5 gallons). Perform this every 7-10 days. If your tank is heavily stocked or you overfeed, you may need to do it weekly.
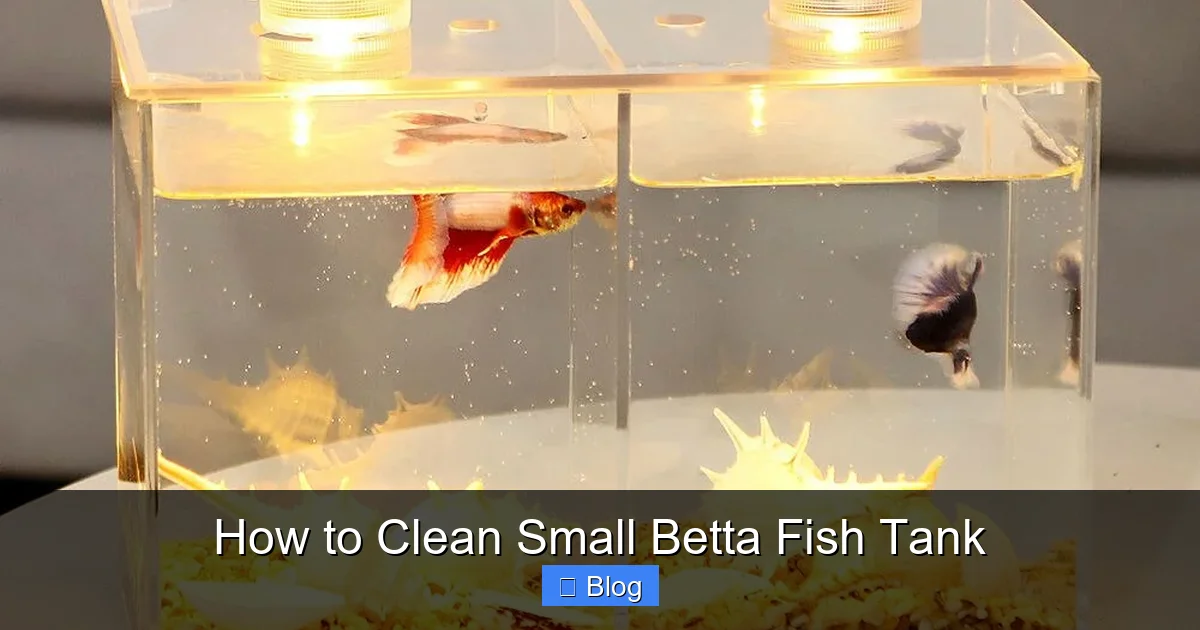
Visual guide about How to Clean Small Betta Fish Tank
Image source: images.nexusapp.co
Step 1: Prepare Your New Water
This is the first step, not the last. Fill your “clean” bucket with fresh tap water. Immediately add the correct dosage of water conditioner as per the bottle instructions. Stir well. Place the bucket next to the tank. Let it sit for 15-30 minutes so it comes to room temperature. Use your thermometer to check that this new water’s temperature matches your tank’s water temperature within 1°F (0.5°C). This is critical to prevent thermal shock.
Step 2: Unplug & Remove Your Betta (Optional but Calm)
Unplug the heater and filter. For a small tank, the current from a filter can sometimes be strong for a betta. During cleaning, you’ll be moving things and creating disturbances. Many keepers gently net their betta and place it in a clean, temperature-matched holding cup with some of the old tank water. This is the safest, least stressful option. If your betta is very skittish, you can also carefully lower a large, clean cup into the tank and coax it in. Cover the cup with a cloth to keep it calm. If you choose to leave your betta in the tank, work very slowly and deliberately on the opposite side.
Step 3: The Gentle Gravel Vacuum & Water Removal
This is the core of the cleaning process. Take your gravel vacuum and the “dirty” bucket. Prime the siphon by sucking on the tubing (or using the built-in primer bulb) until water flows vigorously. Gently push the wide end of the vacuum into the substrate at one corner of the tank. You’ll see debris and fish waste being sucked up into the tubing. Do not plunge the vacuum deep into the gravel. Just hover it just above or lightly on top of the substrate, moving it slowly in small circles. The suction will pull the loose waste out. Siphon water from different areas of the tank until you have removed 25-30% of the total water volume. For a 2.5-gallon tank, this means removing about 2/3 of a gallon (roughly 2.5 liters). Watch the level on the side of the tank or use a measuring cup. Pour this old, dirty water into a sink or down the drain.
Step 4: Décor & Glass Cleaning
Now, with the water level lowered, you have easy access. Take your clean, damp cloth or paper towel. Do not use any soap. Gently wipe the inside glass from top to bottom. You’ll remove the algae film that has built up on the pane. For any decorations (rocks, plastic plants, resin caves), take them out and rinse them thoroughly in the old tank water you just siphoned out (which is in your “dirty” bucket). Use your fingers or a soft cloth to rub off any slime or debris. The old tank water is safe for this because it still contains the beneficial bacteria from the surfaces. Rinse them well, then set them aside on a clean towel.
Step 5: Filter Maintenance – The Most Important Step
Your filter is the heart of the biological filtration. Never, ever rinse filter media under your tap water. The chlorine will instantly kill the beneficial bacteria colony. Instead, take the filter cartridge or sponge out. Place it in the bucket of your old tank water (the water you siphoned out). Gently squeeze and agitate it a few times. You’ll see brown, dirty water swirl out. This is normal. You are removing the physical gunk (solid waste) that is clogging the media and reducing water flow, but you are leaving the vast majority of the bacterial biofilm intact. Do not over-clean it. If the media is falling apart or is so clogged that water barely trickles through after a gentle squeeze, it’s time to replace it. But even then, keep the old media in the tank for another 2-3 weeks alongside the new media to seed the bacteria. For sponge filters, simply wring it out in the old tank water.
Step 6: Reassemble & Refill
Put your clean decorations back in the tank. Reinstall the filter media and reassemble the filter. If you removed your betta, gently net it from the holding cup and acclimate it to the new water temperature by floating the cup in the tank for 5-10 minutes, then slowly adding a little tank water to the cup before finally releasing it. Now, it’s time to add your new, conditioned, temperature-matched water. Place a clean plate or bowl on the substrate where you want to pour the water. Slowly pour the new water from your “clean” bucket over the plate. This prevents the water current from disturbing the substrate too much and kicking up debris you just cleaned. Fill to about 1/2 inch from the top to allow for evaporation and surface movement without splashing.
Step 7: Final Check & Restart
Wipe any spills on the outside of the tank. Double-check that everything is secure. Plug the filter back in first, then the heater. Make sure the heater is fully submerged before plugging it in. Observe your betta for a few minutes to ensure it’s acting normally. The water might look a little cloudy from disturbed substrate; this is normal and will clear in a few hours as the filter runs. Your clean small betta fish tank is now complete!
Common Mistakes That Harm Your Betta (And How to Avoid Them)
Even with the best intentions, it’s easy to make errors that undermine your cleaning efforts. Let’s troubleshoot the most frequent pitfalls.
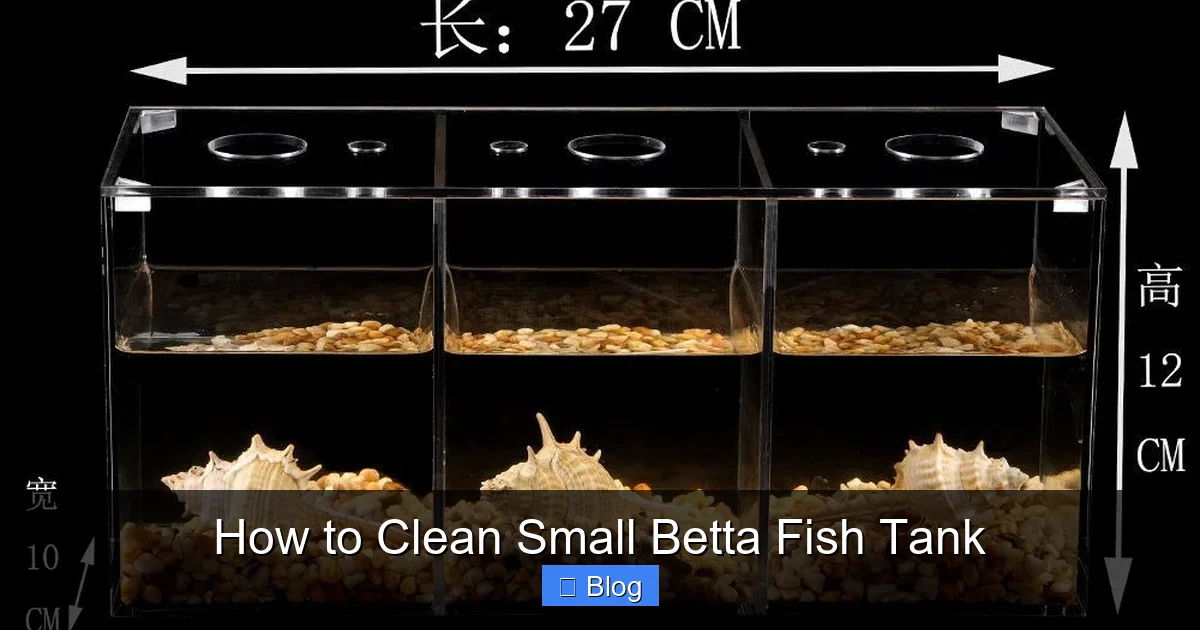
Visual guide about How to Clean Small Betta Fish Tank
Image source: images.nexusapp.co
Mistake 1: Using Tap Water to Rinse Filter Media or Décor
The Problem: This is the #1 mistake. The chlorine in tap water is a bactericide. It will decimate the beneficial bacteria population in your filter, leading to a toxic ammonia spike days later.
The Fix: Always, always use the old tank water you’ve siphoned out for any rinsing. Keep your “dirty” bucket for this purpose. It’s safe, bacteria-rich, and the right temperature.
Mistake 2: Over-cleaning or Using Soap
The Problem: Scrubbing every surface with a sponge and soap, or using brand-new décor every time, removes all the bacteria. The tank becomes a sterile, toxic box. Soap residues are like poison to fish.
The Fix: Adopt a “less is more” philosophy. You are removing visible waste and diluting nitrates, not performing surgery. A simple wipe-down and a gentle gravel vacuum are sufficient. Décor only needs cleaning if visibly slimy, and only with old tank water or a dedicated, soap-free algae pad.
Mistake 3: Not Matching Water Temperature
The Problem: Pouring in cold tap water or water that’s too warm causes thermal shock. This weakens your betta’s immune system, makes it lethargic, and can lead to death.
The Fix: Invest in a $5 thermometer. Check the temperature of your new, conditioned water and your tank water before refilling. They must match. If your new water is too cold, let it sit longer. If it’s too warm, add a little cooler tap water and re-condition.
Mistake 4: Cleaning Too Infrequently or Too Frequently
The Problem: Waiting a month or more allows nitrate levels to climb dangerously high, stressing your betta. Conversely, cleaning too often (e.g., daily 50% changes) prevents the bacterial colony from establishing and stabilizing, creating constant stress.
The Fix: For a small betta tank, a consistent schedule of 25-30% water changes once or twice a week is the gold standard. Use a liquid test kit (for ammonia, nitrite, nitrate) to monitor your water parameters and adjust frequency if needed.
Setting Up a Sustainable Maintenance Schedule
Consistency is what separates a thriving betta from a surviving one. A simple weekly or bi-weekly routine makes each cleaning quick and predictable.
The Bi-Weekly Ideal (For a 2.5-5 Gallon Tank)
This is the sweet spot for most small betta setups with a filter and no tank mates.
- Day 1 (Water Change Day): Perform the full 25-30% water change process described above. This includes vacuuming gravel, wiping glass, and rinsing filter media in old tank water.
- Day 3-4 (Spot Check): Spend 30 seconds looking at the tank. Is there any uneaten food on the bottom? Scoop it out with a net or the gravel vacuum tube. Is the glass getting a noticeable algae film on the front? Wipe it with your algae pad or a clean corner of your cloth. This tiny bit of maintenance prevents big messes later.
- Day 7: Repeat the full water change if you’re on a weekly schedule, or just do the spot check if you’re on a bi-weekly full change.
Adjusting Your Schedule
Your schedule isn’t set in stone. If you have a larger tank (closer to 5 gallons), you might get away with a weekly 25% change. If you have a tiny 1.5-gallon “nano” tank with no filter, you may need to do 50% changes twice a week. The best tool for adjustment is an aquarium water test kit. Test your water before a scheduled change. If nitrate levels are consistently below 20 ppm, your schedule is likely fine. If they are creeping toward 40 ppm or higher, increase the frequency or volume of your water changes slightly.
Beyond the Basics: Troubleshooting Cloudy Water & Algae
Sometimes, even with regular cleaning, you might face two common issues: persistent cloudy water or algae blooms. Understanding their cause is key to solving them.
Is It Bacterial Bloom or Something Else?
A white, milky, or cloudy appearance 24-48 hours after a cleaning is often a bacterial bloom. This happens when you’ve disturbed the substrate significantly, releasing a surge of nutrients into the water column. The bacteria population explodes to consume them. It’s usually harmless and will clear on its own as the filter removes the excess bacteria. The fix is to be more gentle during vacuuming and ensure you’re not overfeeding. If the cloudiness is green, it’s likely an algae bloom caused by too much light or nutrients. Reduce the tank’s light period (use a timer for 6-8 hours max), ensure you’re not overfeeding, and consider adding live plants to out-compete the algae for nutrients.
Fighting Algae the Safe Way
For a small betta tank, aggressive algae removal isn’t usually needed. A little algae is natural and even beneficial as a food source for some shrimp (though not with a betta). To control it:
- Light Control: Never place the tank in direct sunlight. Use a low to moderate intensity LED light on a consistent schedule.
- Manual Removal: During your water change, wipe the glass. You can gently rub algae off decorations with your fingers or a clean cloth in the bucket of old tank water.
- Introduce a Clean-Up Crew (With Caution): A single nerite snail can be a great, betta-safe algae eater for a small tank. Avoid shrimp, as bettas often see them as food.
Avoid chemical algae treatments. They are often harmful to invertebrates and can stress fish. Manual removal and nutrient control are safer and more effective long-term.
Conclusion: A Clean Tank is a Happy, Healthy Home
Cleaning your small betta fish tank doesn’t have to be a daunting chore. By shifting your mindset from “scrubbing” to “maintaining a balanced ecosystem,” the process becomes simple, quick, and deeply rewarding. Remember the golden rules: preserve the good bacteria by never using soap or chlorinated water on filter media, always match temperatures, and commit to frequent, partial water changes rather than rare, deep cleans. Your betta, with its flowing fins and curious personality, depends on you to be its water quality manager. A stable, clean environment is the foundation for a vibrant, active, and long-lived companion. The 15 minutes you spend every week or two on this routine will pay off in years of joyful observation and a healthier, more resilient fish. You’ve got this!
Frequently Asked Questions
Can I use bottled spring water instead of tap water for my betta tank?
No, bottled spring water is not recommended. It lacks the essential minerals that help stabilize pH and act as a buffer. It can also be too soft. Tap water, properly conditioned, is the standard and provides a stable mineral content. Always use a reliable water conditioner with tap water.
My betta is very stressed during cleaning. How can I make it less scary?
The key is to minimize chaos. Always net your betta into a clean, quiet holding cup with some of the old tank water before you start. Work slowly and deliberately on the opposite side of the tank. Keep the cup covered. Perform water changes in a calm room without sudden noises or vibrations. Return your betta only after the new water is added and the filter/heater are running calmly.
Do I really need a filter for a small betta tank?
Yes, a filter is strongly recommended even for small tanks (2.5 gallons+). It provides crucial mechanical filtration (traps debris) and, most importantly, houses the beneficial bacteria for biological filtration. A gentle, adjustable flow filter is best. It creates a more stable environment and reduces the frequency and labor of water changes compared to a unfiltered bowl.
How do I know if my filter is too strong for my betta?
If your betta is struggling to swim, hiding constantly, has clamped fins, or is being pushed around by the current, the flow is too strong. Look for filters with adjustable flow settings. You can also modify the output by attaching a sponge to the outlet, using a spray bar, or placing plants/decor to break up the current in the betta’s resting spots.
What’s the fastest way to clear up cloudy water after a water change?
First, be patient. Mild cloudiness from stirred-up substrate usually clears within 2-4 hours as the filter runs. Ensure your filter is running properly and media isn’t clogged. Adding a water clarifier (polymeric flocculant) can help bind tiny particles for the filter to catch, but the best solution is to be more gentle during vacuuming and perform smaller, more frequent water changes to prevent major disturbances.
My tank has a strange smell after cleaning. Is that normal?
A slight, earthy smell is normal and comes from the substrate and beneficial bacteria. A strong, pungent, rotten egg, or ammonia-like smell is not normal. This indicates poor water quality, likely from overfeeding, insufficient cleaning, or a disrupted cycle. Test your water immediately for ammonia and nitrite. Perform an extra 25% water change with properly conditioned water and review your feeding and maintenance schedule.