How to Clean a 3 Gallon Betta Fish Tank
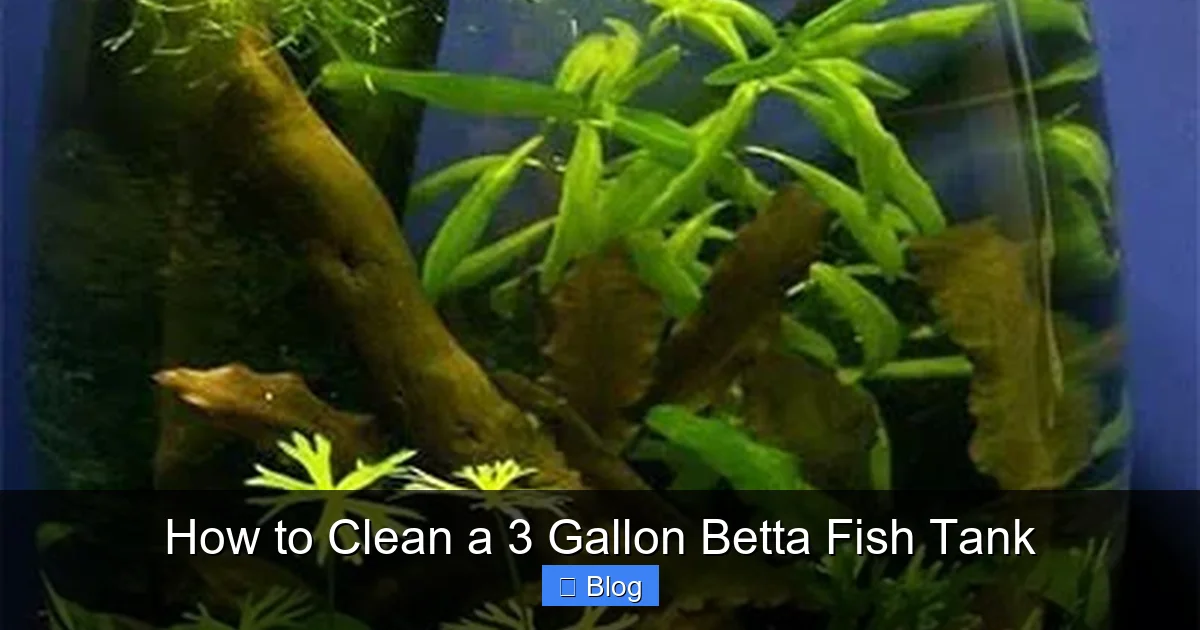
Cleaning a 3-gallon betta tank is a non-negotiable part of responsible ownership. Due to the small water volume, toxins build up rapidly, making regular, partial water changes (25-50%) the single most important task. You must use a water conditioner, clean the gravel with a vacuum, never use soap or chemicals on decorations, and always match the temperature of the new water to the tank. This simple, consistent routine prevents stress, disease, and ensures your vibrant betta thrives in a clean, stable environment.
Key Takeaways
- Partial water changes are essential: Replace 25-50% of the water weekly to dilute toxins without shocking the system.
- Gravel vacuuming is a must: Use a gravel vacuum to remove waste trapped in the substrate during every water change.
- Temperature matching prevents shock: New water must be within 1-2°F (0.5-1°C) of the tank’s temperature before adding.
- Avoid soap and chemicals: Never use household cleaners on tank items; use only dedicated aquarium tools or a vinegar rinse for hard deposits.
- Condition all tap water: Always treat tap water with a dechlorinator/water conditioner before it touches your betta.
- Clean, don’t overclean: Never wash filter media in tap water; rinse it gently in old tank water to preserve beneficial bacteria.
- Observation is part of cleaning: Use cleaning time to closely inspect your betta for signs of illness or stress.
📑 Table of Contents
- Why Cleaning a 3-Gallon Betta Tank is Uniquely Critical
- Gathering Your Cleaning Arsenal: Essential Tools
- The Step-by-Step Cleaning Ritual: A 25-50% Water Change
- Common Mistakes That Harm Your Betta (And How to Avoid Them)
- Establishing a Sustainable Maintenance Schedule
- Equipment Deep Dive: Choosing the Right Tools for a Small Tank
- Conclusion: The Rewarding Rhythm of Care
Why Cleaning a 3-Gallon Betta Tank is Uniquely Critical
Let’s be honest: a 3-gallon tank is often marketed as a “beginner” or “space-saving” betta home. But here’s the crucial truth every betta owner must understand: a smaller water volume is exponentially less forgiving than a larger aquarium. In a 10-gallon tank, a little waste gets diluted. In a 3-gallon tank, that same amount of waste becomes a concentrated toxin bomb. Your betta, with its labyrinth organ allowing it to breathe air, is still completely susceptible to ammonia, nitrite, and nitrate poisoning from its own uneaten food and waste. This makes a disciplined cleaning routine not just a good idea—it’s the primary pillar of your fish’s health and longevity. Think of your 3-gallon tank not as a static decorative item, but as a dynamic, living ecosystem that you are solely responsible for balancing. Neglecting its cleanliness is the fastest path to a lethargic, clamped-fin, disease-ridden betta. Conversely, a pristine 3-gallon tank can be a stunning, healthy palace for your fish to showcase its brilliant colors and fascinating personality.
The Nitrogen Cycle on a Micro-Scale
To clean effectively, you need to understand what you’re cleaning. The nitrogen cycle is the process where toxic fish waste (ammonia) is converted by beneficial bacteria first into nitrite (also toxic) and then into nitrate (less toxic but still problematic in high amounts). In a cycled 3-gallon tank, these bacteria live primarily in the filter media and on the gravel surface. The problem? The cycle is a delicate balance. Because there’s so little water, any spike in ammonia from overfeeding or a missed water change can reach lethal levels within hours. Nitrates, the end product, accumulate quickly with no dilution from a large water volume. High nitrates cause chronic stress, suppress the immune system, and lead to algae blooms. Your weekly water change is your primary tool to reset this cycle’s balance by physically removing nitrates and diluting any other dissolved wastes before they harm your betta.
Gathering Your Cleaning Arsenal: Essential Tools
Walking into this task unprepared is the number one cause of failed cleanings or, worse, accidents. You need a dedicated set of tools that live only for your aquarium. Cross-contamination from household chemicals is a silent killer. Here is your non-negotiable checklist:
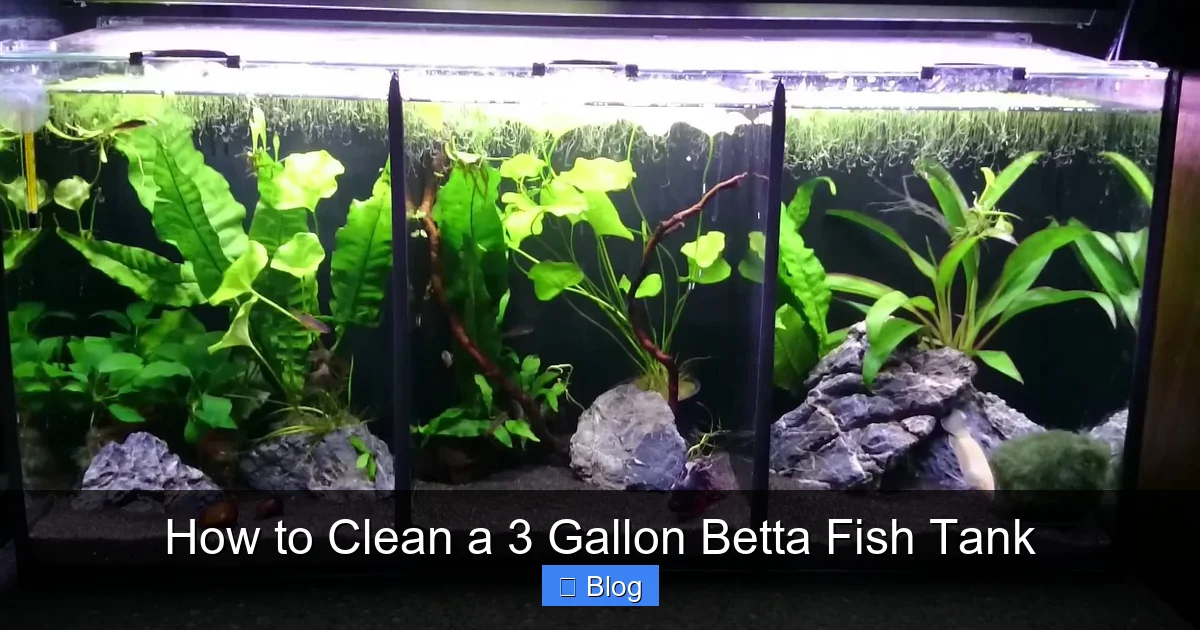
Visual guide about How to Clean a 3 Gallon Betta Fish Tank
Image source: i.pinimg.com
- Aquarium Gravel Vacuum/Siphon: This is your most important tool. It’s a plastic tube with a wide mouth that you suck-start to create a siphon. It cleans the gravel while you remove old water. Get one sized for your tank; a long, thin one works best for small, uniquely shaped tanks.
- Water Conditioner/Dechlorinator: This is not optional. Tap water contains chlorine and chloramines, which are lethal to fish and will destroy your beneficial bacteria. You must treat every drop of new water. Seachem Prime is a popular, effective brand.
- Two Clean Buckets (Designated “Tank Only”): One for old tank water (the “dirty” bucket) and one for new, conditioned water (the “clean” bucket). Never use buckets that have held soap or other cleaners.
- Algae Scraper or Pad: A plastic scraper for glass tanks or a dedicated pad for acrylic. Never use a kitchen scrubbing pad, as it can scratch the tank and may contain soap residue.
- Soft, Lint-Free Cloths or Paper Towls: For wiping the inside glass and cleaning the outside. Have a separate cloth for the outside to avoid transferring algae spores.
- Thermometer: A simple stick-on or digital aquarium thermometer is crucial for temperature matching.
- Optional but Helpful: A small net for temporarily moving your betta if you feel it’s necessary, a dedicated turkey baster for spot-cleaning debris, and a toothbrush for scrubbing decorations.
Why You Should Never Use Soap (Seriously, Never)
It cannot be stressed enough: no dish soap, no hand soap, no window cleaner, no nothing. Even a trace amount of these chemicals will coat your fish’s gills, poison it, and obliterate the beneficial bacteria colony in your filter and gravel. This would cause an immediate and catastrophic ammonia spike, often killing your betta within a day. For stubborn mineral deposits (white, crusty buildup) on the glass or decor, use white vinegar diluted with water (a 1:1 ratio) and scrub with a dedicated algae pad or toothbrush. Rinse everything extremely thoroughly with clean, dechlorinated water afterward. When in doubt, use only water and physical scrubbing.
The Step-by-Step Cleaning Ritual: A 25-50% Water Change
This is your weekly (or sometimes twice-weekly, depending on feeding and stocking) core maintenance. The goal is to remove waste and refresh minerals without causing stress. Here is the detailed, safe procedure.
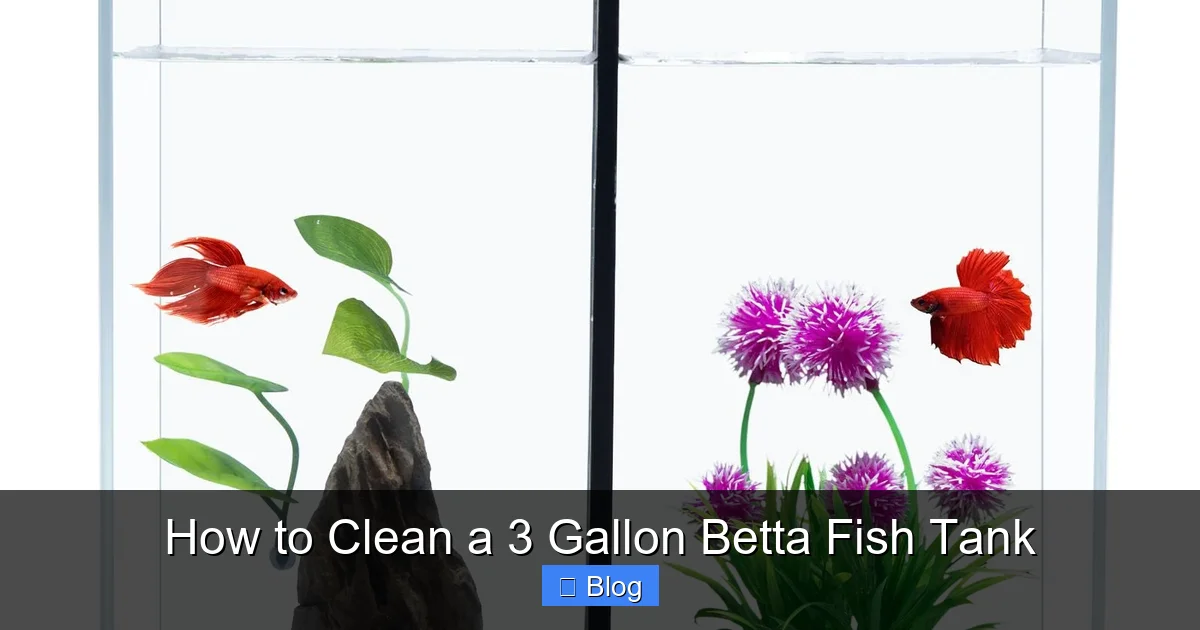
Visual guide about How to Clean a 3 Gallon Betta Fish Tank
Image source: images-na.ssl-images-amazon.com
Step 1: Preparation and Peace
First, gather all your tools and buckets near the tank. Turn off any heaters and filters (you can leave the filter on if you’re very careful not’t suck up air, but turning it off prevents debris from being stirred up and clogging it). This is also your health check moment. Observe your betta. Is it swimming actively? Are its fins full and open? Are there any spots, frayed fins, or lethargy? Note anything unusual. Have your water conditioner ready and know exactly how much to use for the amount of water you’ll be replacing (e.g., 5ml for 10 gallons, so for 1.5 gallons from a 3-gallon tank, use about 0.75ml—always follow the bottle’s instructions for your specific volume).
Step 2: The Siphon and Vacuum: Your Gravel’s Deep Clean
This is the most misunderstood step. You are not just removing water; you are vacuuming the substrate. Place the wide end of your gravel vacuum into the tank and the other end into your “dirty” bucket. Submerge the entire vacuum tube, then place your thumb over the end in the bucket and lower the tank end to the bottom. Release your thumb and the water will start flowing. Once the siphon is established, plunge the vacuum nozzle into the gravel. You’ll see waste and detritus get sucked up. Move the nozzle slowly through the gravel in a grid pattern, lifting it slightly and pushing it down into the substrate. You’re not digging a hole; you’re agitating the top layer to release trapped debris. If you suck up a piece of gravel, just let it fall back out the end of the vacuum. Continue this until you have removed the desired amount of water (e.g., 1.5 gallons from a 3-gallon tank). The water in the “dirty” bucket will be cloudy—that’s the waste you’ve extracted.
Step 3: Decor and Glass: The Surface Scrub
With the water level lowered, it’s the perfect time to clean the tank walls and decorations. Use your dedicated algae scraper or pad. Start from the bottom and work your way up, so dislodged algae falls onto the substrate where your vacuum will get it later. For decorations, remove them one by one and scrub them in the bucket of old tank water you just removed (or in a separate container with dechlorinated water). Do not use tap water, as it will kill beneficial bacteria on their surfaces. A soft toothbrush is excellent for getting into crevices of fake plants or ornaments. If you have live plants, gently rinse their leaves in the old tank water to remove any detritus.
Step 4: The Filter: Gentle Maintenance
Your filter is the heart of your biological filtration. This is the most delicate part. Never replace all your filter media at once, and never rinse it under the tap. If your filter has a cartridge, sponge, or bio-balls, gently squeeze and swish them in the bucket of old tank water you just removed. You are merely removing the thick layer of debris that’s blocking water flow. You want to leave the slimy, brown gunk—that’s the beneficial bacteria. If the media is falling apart, replace only half of it at a time, and place the new media alongside the old for a month to allow bacteria to colonize it. If you have a hang-on-back filter with a sponge pre-filter, rinse that thoroughly in old tank water. Clean the impeller and intake tube with a cotton swab if needed.
Step 5: The New Water: Condition and Match Temperature
Now, fill your “clean” bucket with fresh tap water. Immediately add the correct dose of water conditioner. Stir it well. This chemically neutralizes chlorine/chloramines and detoxifies ammonia. Next, you must match the temperature. Use your thermometer to check the temperature of the old water remaining in the tank (it will have cooled slightly). Your new water must be within 1-2°F (0.5-1°C) of this temperature. If it’s too cold, you can add a little warm tap water (but be careful not to scald yourself or the fish—test with your elbow or a thermometer). If it’s too warm, let it sit for a few minutes. Temperature shock is a major stressor.
Step 6: The Refill: Slow and Steady
Place your clean bucket on a stable surface above the tank level. Use the siphon hose (with the gravel vacuum end removed) to slowly pour the new, conditioned, temperature-matched water back into the tank. Do not pour it directly onto your betta or the substrate. Instead, pour it against the glass wall or over a decoration to diffuse the flow. A sudden torrent of water can stress your fish and stir up all the debris you just cleaned. Fill the tank to the desired level, usually about 1 inch from the top to allow for evaporation and prevent jumping (though bettas are notorious jumpers, so a lid is highly recommended).
Step 7: Restart and Final Check
Once filled, restart your filter and heater. Check for any leaks. Wipe down the outside of the tank with your dedicated cloth. Place the decorations back in their spots. Now, give your betta a final, close look. It might be a bit startled by the activity, but it should calm within an hour. Ensure it’s swimming normally. Do not feed immediately; wait at least an hour to let any residual stress settle. Your cleaning is complete.
Common Mistakes That Harm Your Betta (And How to Avoid Them)
Even with the best intentions, it’s easy to make errors during a tank clean. These are the most frequent pitfalls that turn routine maintenance into a disaster.
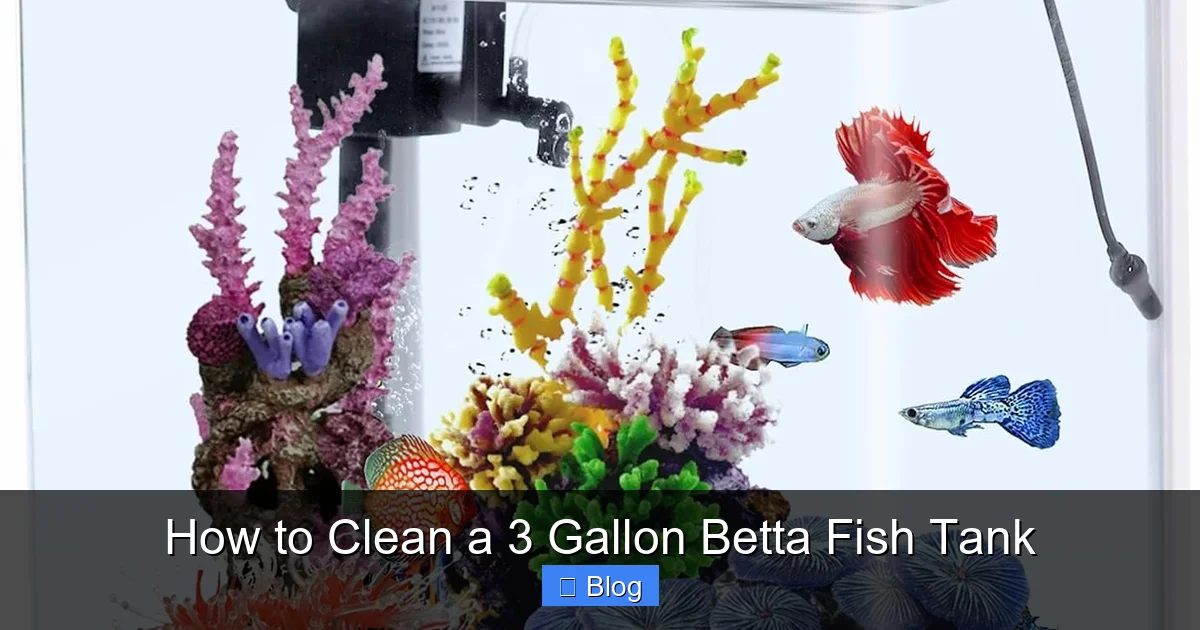
Visual guide about How to Clean a 3 Gallon Betta Fish Tank
Image source: m.media-amazon.com
Mistake 1: Changing Too Much Water
The urge to “really clean it” and do a 100% water change is strong, especially with a small, visibly dirty tank. This is the #1 mistake. A full water change removes all the beneficial bacteria from your filter media and gravel, crashing the nitrogen cycle. It also subjects your betta to a massive shock from drastic changes in water chemistry and temperature. Always stick to 25-50% changes. If your tank is in truly terrible shape (murky, high nitrates), do a series of 25% changes over 2-3 days instead of one large change.
Mistake 2: Not Matching Temperature
Pouring room-temperature water into a tank heated to 78°F is a classic error. Your betta’s body temperature matches the water. A sudden drop or rise of even a few degrees can cause thermal shock, weakening its immune system and making it susceptible to diseases like dropsy or ich. Always use a thermometer. It takes an extra 60 seconds and saves your fish’s life.
Mistake 3: Forgetting the Gravel Vacuum
Some owners simply remove the old water with a cup and pour new water in. This does nothing to remove the solid waste (fish poop, uneaten food) that’s buried in the gravel. That waste decays and produces ammonia. The gravel vacuum is non-negotiable because it physically removes this solid pollutant.
Mistake 4: Over-cleaning the Filter
Seeing a clogged filter, you might be tempted to disassemble it and scrub every component in tap water. This is catastrophic. You are washing away the entire colony of bacteria that processes your betta’s toxic waste. The result is an immediate and deadly ammonia spike. The rule is: rinse mechanical filter media (sponges, floss) gently in old tank water. Never replace all media at once. If you have chemical media like activated carbon, you can replace that monthly, as it doesn’t harbor bacteria.
Mistake 5: Using the Wrong Tools
Using a kitchen sponge that had dish soap on it, or a towel that’s been washed with fabric softener, introduces lethal chemicals. Designate specific, cheap tools from a dollar store as “aquarium only.” Label them if you must. It’s a small investment to prevent a big loss.
Establishing a Sustainable Maintenance Schedule
Consistency is more important than perfection. A regular, predictable schedule prevents crises. For a 3-gallon betta tank, here is a realistic and effective weekly routine:
- Daily (30 seconds): Feed your betta a small amount (no more than its eye size in pellets, or a few frozen foods). Observe its behavior. Is it active? Eating? Check the filter is running. Look for any obvious debris or uneaten food to remove with a turkey baster.
- Weekly (20-30 minutes): Perform your full 25-50% water change following the step-by-step guide above. This includes gravel vacuuming, algae wiping, filter rinsing (in old tank water), and temperature-matched water addition with conditioner.
- Monthly (10 minutes): During your weekly clean, do a more thorough inspection. Check the filter impeller for wear. Test your water parameters with a liquid test kit (API Freshwater Master Test Kit is the gold standard). You should see 0 ppm ammonia, 0 ppm nitrite, and nitrates below 20 ppm. If nitrates are high, increase the weekly water change volume or frequency. Wipe down the outside of the tank and the hood/canopy to prevent dust from falling in.
- Every 6 Months: Consider replacing filter media (gradually, as mentioned) and deep-cleaning any decorations in a vinegar solution if they are heavily encrusted with calcium deposits. Also, inspect your heater and thermometer for accuracy.
Note: If you have live plants, you may need to prune them and remove dead leaves during the weekly clean. If you have a betta that’s a messy eater, you may need to do water changes twice a week.
Equipment Deep Dive: Choosing the Right Tools for a Small Tank
Working in a 3-gallon space requires appropriately sized tools. Using a large, clunky gravel vacuum meant for a 55-gallon tank is frustrating and inefficient. Here’s how to select gear that makes your life easier:
Gravel Vacuums for Small Tanks
Look for “mini” or “small” gravel vacuums. They have shorter, narrower tubes that can easily maneuver in a compact tank with a tight-fitting lid. Some even come with a hand pump to start the siphon, eliminating the need to suck on the tube (a major hygiene plus). The Python No-Spill Mini Gravel Vac is a popular, effective choice. The key is a nozzle that fits comfortably into the gravel bed without constantly sucking up the substrate itself.
Filters: Sponge vs. Hang-On-Back
The filter in a 3-gallon tank is usually a small internal power filter or a tiny hang-on-back (HOB) model. Sponge filters are excellent for bettas because they provide gentle flow (betta fins are delicate) and superb biological filtration surface area. They are also easy to clean—just squeeze the sponge in old tank water. If you have a HOB filter, ensure its flow is adjustable to a very low setting. When cleaning a HOB, focus on the impeller well and the sponge pre-filter. The bio-media cartridge inside should only be swished in old tank water.
Heaters: Accuracy and Safety in a Small Space
A small tank heats up and cools down very quickly. You need a small, fully submersible heater with an external thermostat (like those from Eheim Jager or Aqueon). Set it to 78-80°F. Use a separate thermometer to verify the temperature, as built-in heater thermostats can be inaccurate. A heater guard is a good idea to prevent your betta from burning itself if it rests against the glass. Never run a heater in an empty tank.
Conclusion: The Rewarding Rhythm of Care
Cleaning a 3-gallon betta tank is not a burdensome chore; it’s the fundamental language of care you speak to ensure your aquatic companion’s welfare. By understanding why the small volume demands diligence, arming yourself with the correct tools, and following a gentle, consistent routine of partial water changes and substrate vacuuming, you transform a simple glass box into a thriving micro-ecosystem. You’ll see the results in your betta’s vibrant colors, energetic flares, and long, flowing fins. The 20 minutes you invest each week are returned tenfold in the peaceful joy of watching a healthy, happy betta explore its pristine home. Remember: in a small tank, your actions have immediate, powerful consequences. Embrace the rhythm, master the technique, and your betta will reward you with its captivating presence for years to come.
Frequently Asked Questions
How often should I completely clean my 3-gallon betta tank?
You should never do a “complete” clean (100% water change + washing everything in tap water). Instead, perform a partial water change of 25-50% weekly. This regular dilution of waste is sufficient and maintains the essential beneficial bacteria cycle. A full tear-down is only ever needed in a severe disease outbreak, followed by a full re-cycle.
Can I use regular tap water to rinse decorations or filter media?
Absolutely not. Tap water contains chlorine and chloramines that will kill the beneficial bacteria living on your filter media and decorations. This will crash your nitrogen cycle. Always rinse filter media gently in the bucket of old tank water you just removed during the water change. For decorations, rinse them in dechlorinated water or the old tank water.
Is a water conditioner really necessary for every water change?
Yes, it is 100% necessary. Tap water is treated with chlorine or chloramines to make it safe for human consumption, but these chemicals are lethal to fish and will destroy the biological filter in your tank. You must treat all new tap water with a dechlorinator/water conditioner before it enters the tank, every single time.
My tap water is from a well and has no chlorine. Can I skip the conditioner?
Even if your water source is untreated, you should still use a water conditioner. Many conditioners also contain additives that detoxify ammonia and heavy metals that may be present in your water supply. It’s a cheap insurance policy that also helps your betta’s slime coat. For well water, it’s also wise to test for heavy metals and high mineral content (hardness).
Should I take my betta out of the tank during cleaning?
For a routine 25-50% water change and gravel vacuuming, it is strongly recommended to leave your betta in the tank. Removing it causes unnecessary stress and risk of injury. The water changes are not stressful for the fish if done correctly (temperature-matched, dechlorinated water). Only remove your betta if you are doing a major tear-down, treating a disease with medication that requires removal, or if it is extremely stressed and you need to place it in a clean hospital tank.
How do I get rid of algae without harming my betta?
For glass algae, use a dedicated algae scraper or pad during your weekly clean when the water level is lowered. For stubborn spots, a 1:1 white vinegar and water solution on a cloth or toothbrush works well (rinse thoroughly afterward). The best long-term algae control is managing nutrients: don’t overfeed, perform consistent water changes to remove nitrates, and avoid placing the tank in direct sunlight. Snails or shrimp can help, but in a 3-gallon betta tank, they may become food.