How to Change Betta Fish Water Bowl
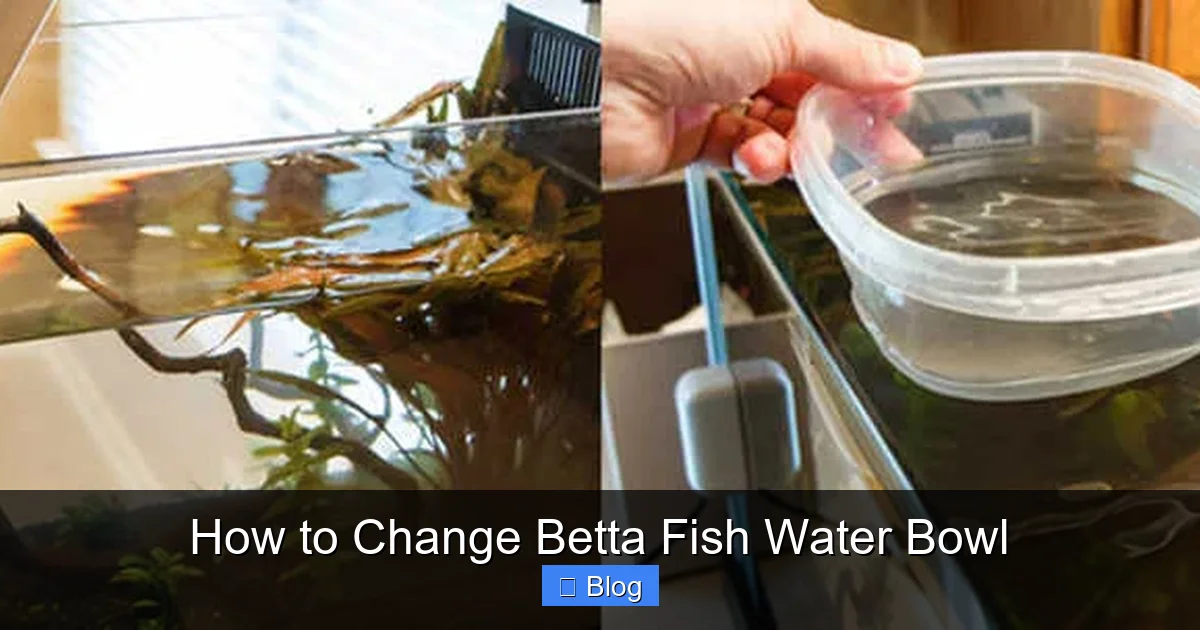
Changing your betta’s water correctly is the single most important thing you can do for its health. It must be done regularly using properly conditioned, temperature-matched water to remove toxic waste. Never remove the fish or fully sterilize the bowl, as this destroys beneficial bacteria and causes dangerous stress. Follow our detailed, step-by-step guide to master this essential hobby skill and give your betta the pristine environment it deserves.
So, you’ve brought home a magnificent betta fish, with its flowing fins and vibrant personality. You’ve set up a beautiful bowl or tank, chosen some decor, and named your new aquatic companion. But then, a nagging question arises: how often should I change the water, and what’s the right way to do it? If you’re wondering how to change betta fish water bowl correctly, you’ve already taken the most important first step toward being a fantastic betta owner. Proper water changes are not just a chore; they are the cornerstone of your fish’s health, longevity, and vibrancy. This comprehensive guide will walk you through every single detail, from the “why” to the “how,” ensuring you create a thriving, stress-free aquatic world for your beloved betta.
Many new betta owners make critical mistakes during water changes—using cold water, over-cleaning the bowl, or forgetting dechlorinator—which can lead to sick fish, faded colors, and Sadly, premature death. But don’t worry. By the end of this article, you’ll have the confidence and knowledge to perform this routine task like a seasoned aquarist. We’ll break it down into simple, actionable steps, explain the science behind the process, and highlight common pitfalls to avoid. Let’s dive in and transform this weekly task into a seamless, health-boosting ritual for your finned friend.
Key Takeaways
- Frequency is critical: Small, unfiltered bowls need 100% water changes 2-3 times per week; larger, filtered tanks require 25-50% changes weekly.
- Water conditioner is non-negotiable: Always use a quality dechlorinator to neutralize chlorine, chloramines, and heavy metals from tap water.
- Match the temperature precisely: New water must be within 1-2°F (0.5-1°C) of the old water to prevent lethal thermal shock.
- Never fully empty and scrub the bowl: This kills the essential cycle of beneficial bacteria that process fish waste, leading to “new tank syndrome.”
- Preserve the filter (if present): Never rinse filter media in tap water; only swish it in the old tank water you’ve removed to clean it.
- Test your water: Use an aquarium test kit to monitor ammonia, nitrite, and nitrate levels, guiding your maintenance schedule.
- Slow and gentle wins: Add new water slowly to avoid disturbing the substrate and stressing your betta with sudden currents.
📑 Table of Contents
Why Consistent Water Changes Are Non-Negotiable for Betta Health
Before we get to the how-to, we must understand the why. A betta’s home, no matter how small, is a complete ecosystem. Your fish eats, breathes, and excretes within this closed system. Every bit of uneaten food, every gulp of air at the surface (bettas are labyrinth fish and need atmospheric oxygen), and every waste product accumulates in the water. The primary enemy is ammonia (NH3/NH4+), a colorless toxin produced directly from fish waste and decomposing food. Even tiny amounts are devastating to a betta’s gills and internal organs.
The Nitrogen Cycle in Your Betta’s Home
In a fully established aquarium, beneficial bacteria (Nitrosomonas) convert toxic ammonia into nitrite (NO2-), which is still toxic. Another bacteria (Nitrospira) then converts nitrite into nitrate (NO3-), which is far less harmful in low concentrations. This is the famed nitrogen cycle. However, in a small, unfiltered betta bowl, this cycle is extremely fragile or non-existent. There are simply not enough surface area and bacteria to handle the bioload (the fish’s waste output). Therefore, you become the filter. Your regular water changes physically remove ammonia, nitrite, and nitrate before they can build up to dangerous levels.
Other Crucial Benefits of Fresh Water
Beyond toxin removal, water changes replenish essential minerals and trace elements that get depleted over time. These are vital for your betta’s osmoregulation (maintaining internal salt/water balance) and overall health. Fresh water also stabilizes pH, which can fluctuate dangerously in old water due to the buildup of acids from biological processes. Finally, it removes any dissolved organic compounds that can cloud the water and stress your fish. Simply put, clean water equals a stronger immune system, brighter colors, more active behavior, and a significantly longer lifespan.
Essential Supplies: What You Need Before You Start
Gathering your tools before you begin will make the process smooth and prevent frantic searching while your fish is in a temporary container. Having everything ready minimizes the time your betta is out of its main home. Here is your definitive checklist.
Visual guide about How to Change Betta Fish Water Bowl
Image source: i.ytimg.com
The Core Toolkit
- A Dedicated Clean Bucket or Container: This is for the new, conditioned water. It should be at least 1-2 gallons in size, made of plastic or glass, and used only for your aquarium. Never use a bucket that has held cleaning chemicals.
- A Water Conditioner/Dechlorinator: This is the most important chemical you will buy. Brands like Seachem Prime, API Stress Coat, or Fluval Aquaplus are excellent. They instantly neutralize chlorine, chloramines, and heavy metals. Some also contain stress-reducing slime coat protectants.
- A Gravel Vacuum/Siphon: This two-part tool is a game-changer. It allows you to remove old water while simultaneously vacuuming debris (uneaten food, feces) from the substrate. For small bowls, a simple 1/4″ diameter siphon hose works perfectly.
- A Clean Thermometer: An inexpensive floating or stick-on thermometer is crucial for ensuring your new water matches the old water’s temperature exactly.
- A Clean Cup or Small Container: For temporarily holding your betta during the change if needed. A clean, soap-free food storage container works well.
- Paper Towels or a Microfiber Cloth: For wiping down the inside of the bowl/tank walls to remove algae or water spots. Do not use paper towels with lotion or fragrances.
What to AVOID Using
Never use soap, detergent, or any household cleaner on anything that will go back into the tank. Even a tiny residue can be fatal. If you must deep-clean the gravel or decorations, use only hot water and a dedicated brush (like an old toothbrush). Never use the same bucket for new water that you used to remove old water, unless you have thoroughly rinsed it with fresh water first.
Step-by-Step Guide: The Correct Way to Change Betta Fish Water
Now, let’s get our hands wet. The exact process differs slightly based on whether you have a simple unfiltered bowl or a filtered tank. We’ll start with the most common scenario: the unfiltered betta bowl or small tank (under 5 gallons).

Visual guide about How to Change Betta Fish Water Bowl
Image source: fishkeepertank.com
Step 1: Prepare the Replacement Water (The Day Before or Hours Ahead)
This is the most critical preparatory step. Fill your dedicated clean bucket with the amount of water you plan to replace (e.g., 50% of the bowl’s volume). Add the full dose of water conditioner as directed on the bottle. Stir gently. Now, let this water sit. Why? Because tap water is often colder than your tank and may still contain dissolved gases. Letting it sit for 2-24 hours allows it to reach room temperature and equilibrate. Pro Tip: For absolute temperature accuracy, place your thermometer in the bucket of new water and in the existing tank. Adjust with a little warm or cold tap water until they read identically.
Step 2: The Gentle Removal Process
Do not net your betta unless absolutely necessary. The goal is to cause minimal disturbance. First, use your cup to gently scoop out about 10-20% of the existing water and pour it into your temporary holding container (which you’ve also pre-filled with a little conditioned water). Then, carefully place your betta into this container using a cup. Close the container or place it somewhere dark and secure.
Now, take your siphon/gravel vacuum. Prime it (get the water flowing) by sucking on the tubing or using a pump bulb. Gently insert the vacuum end into the gravel, moving it slowly to suck out debris and old water simultaneously. Continue until you’ve removed the desired percentage (e.g., 50% for a 2x/week change in a small bowl). If you have a filter, unplug it now. You can gently swish the filter sponge/media in the bucket of old, removed water to clean it—never under the tap.
Step 3: Cleaning the Habitat (Without Killing the Good Bacteria)
Take your damp paper towel or cloth and gently wipe down the inside walls of the bowl/tank to remove any algae or film. If you have decorations or silk plants, you can rinse them in the bucket of old tank water you just removed. Do not use soap. For gravel with heavy debris, you can gently stir it with your hand or the vacuum to release trapped waste, but avoid a full, aggressive cleaning that disturbs every single grain. Your goal is to remove the bulk of the visible waste, not sterilize the environment.
Step 4: The Refill – Temperature and Technique Are Everything
Now, take your bucket of perfectly conditioned, temperature-matched new water. Place a clean plate or your hand on the substrate to deflect the water flow. Slowly and gently pour the new water down the side of the bowl or onto the plate. A slow pour prevents clouding the gravel and eliminates stressful currents for your betta. Fill to the desired level, leaving a small air gap at the top.
Step 5: Reintroducing Your Betta and Final Steps
If you removed your betta, use a cup to gently transfer it back to its clean home. Pour the old water from its temporary container away—do not add it back. Re-submerge any decorations. Reconnect and turn on your filter (if you have one). If you use a heater, ensure it’s fully submerged and set to the correct temperature (78-80°F / 25.5-26.5°C).
For Filtered Tanks (5+ gallons): The process is similar but you typically only change 25-50% of the water weekly. You do not need to remove the fish. Simply use the siphon to vacuum the gravel and remove the designated amount of water. Prepare and add the new conditioned water as described. Clean filter media monthly by rinsing in the old tank water you’ve just removed.
Common and Dangerous Mistakes to Absolutely Avoid
Even with the best intentions, it’s easy to make errors that can harm your betta. Let’s highlight the most frequent and dangerous ones.

Visual guide about How to Change Betta Fish Water Bowl
Image source: animalslog.com
Mistake 1: Using Water That’s Too Cold or Too Hot
This is the #1 cause of shock and death during water changes. Bettas are tropical fish. A sudden temperature shift of even a few degrees can shut down their immune system, cause organ failure, and induce severe stress. Always, always use a thermometer. Never guess. Room temperature tap water (often 60-70°F / 15-21°C) is almost always too cold for a betta’s heated bowl.
Mistake 2: Forgetting the Water Conditioner
Tap water contains chlorine and chloramines to make it safe for human consumption. To a fish, these are potent poisons that burn gills and kill cells. The effects can be fast (gasping, lethargy) or slow (organ damage). No matter how clear the water looks, if you haven’t added conditioner, it’s toxic. There is no safe exception.
Mistake 3: Over-Cleaning the Tank
Frequently Asked Questions
What is how to change betta fish water bowl?
how to change betta fish water bowl is an important topic with many practical applications.