How to Change Betta Fish Tank
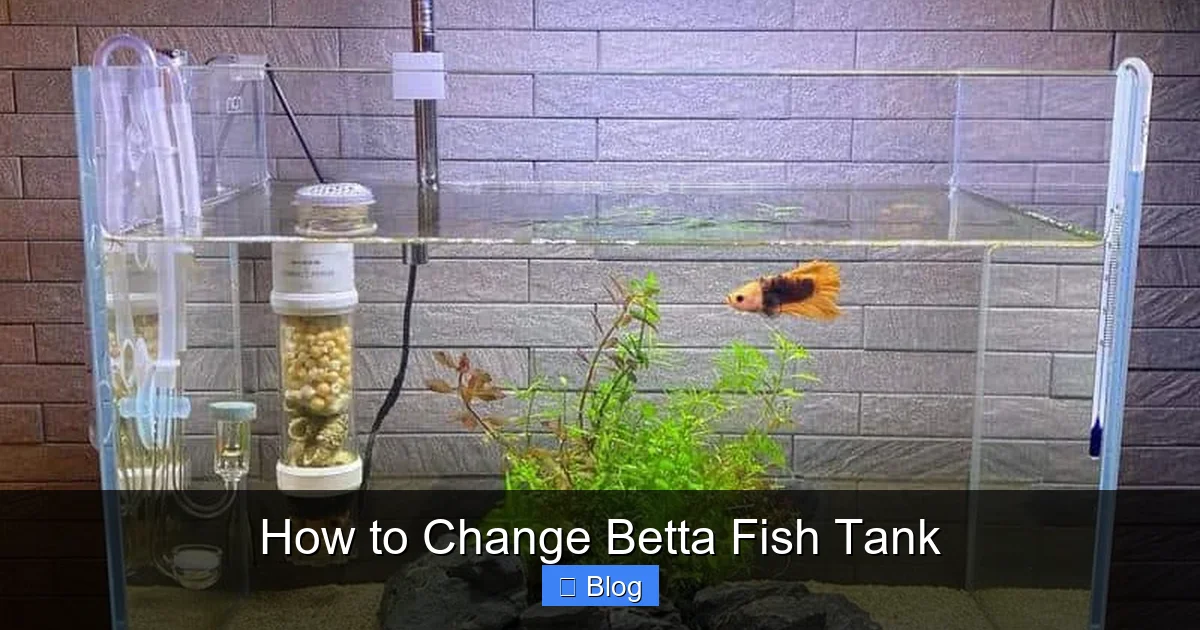
Changing your betta’s tank water is the single most important routine for its health and longevity. Unlike a full tank clean, a proper water change removes toxic waste while preserving beneficial bacteria. This guide details the exact, stress-free method to change betta fish tank water, including preparing new water, using the right tools, and establishing a consistent schedule to keep your Siamese fighting fish vibrant and thriving.
Key Takeaways
- Partial water changes (25-50%) are essential, not full tank scrubs. Full cleans destroy the biofilter, causing dangerous ammonia spikes.
- Always treat tap water with a dechlorinator. Chlorine and chloramines in untreated tap water are lethal to bettas and their beneficial bacteria.
- Match the new water temperature precisely to the tank water. A sudden temperature shift is a major cause of shock and stress in bettas.
- Use a gravel vacuum/siphon to clean the substrate. This removes trapped waste and debris from the bottom, which is a primary source of pollution.
- Never wash filter media in tap water. Gently rinse it in the old tank water you’ve just removed to preserve the beneficial bacteria colonies.
- Consistency is key. A regular schedule (e.g., 25% weekly or 50% bi-weekly) is far better than irregular, large changes.
- Test your water parameters regularly. A liquid test kit is the only way to know for sure if your change schedule is adequate for your specific tank setup.
[FEATURED_IMAGE_PLACEHOLDER]
📑 Table of Contents
Why Proper Water Changes Are Non-Negotiable for Betta Fish
Let’s start with the absolute basics. Your betta fish lives in its own excretions. Every time your betta eats, breathes, or poops, it releases ammonia into the water. In a new, small tank, this ammonia quickly builds up to lethal levels. In a cycled tank, beneficial bacteria convert ammonia to nitrite, and then to less harmful nitrate. But here’s the catch: nitrate never leaves the system on its own. It just accumulates. The only way to remove nitrate, along with other dissolved organics, food debris, and fish waste, is by physically removing old tank water and replacing it with fresh, clean water. This is the core of how to change betta fish tank water properly.
Betta fish are particularly sensitive. They originate from slow-moving, plant-rich waters in Southeast Asia. Their labyrinth organ allows them to breathe air, but their gills and skin are still directly exposed to the water quality. Poor water is the #1 cause of a weakened immune system, making your betta susceptible to diseases like fin rot, velvet, and dropsy. A proper water change routine mimics the natural, gentle renewal of their habitat. It’s not just about cleanliness; it’s about maintaining a stable, toxin-free ecosystem where your betta’s vibrant colors can truly shine and its flowing fins can stay healthy.
The Danger of the “Full Tank Clean”
Many new betta owners make a critical mistake. They think a “good clean” means emptying the entire tank, scrubbing every surface with soap or harsh cleaners, and replacing all the water at once. This is a disaster. The glass, the decorations, and especially the filter media are coated with a thin, beneficial biofilm of bacteria. This is your tank’s biofilter—the invisible army that processes toxins. Washing everything with tap water or disinfectants obliterates this colony. You then place your betta into a sterile tank with no biological filtration, and the cycle starts from zero. Ammonia will spike, often fatally, within 24-48 hours. The goal of changing a betta fish tank is to remove pollutants, not sterilize the environment.
Essential Equipment: Your Water Change Toolkit
Before you even think about lifting a bucket, you need the right tools. Doing this correctly with the proper gear is what separates a stressful ordeal from a 10-minute routine. Here’s exactly what you need to learn how to change betta fish tank water like a pro.
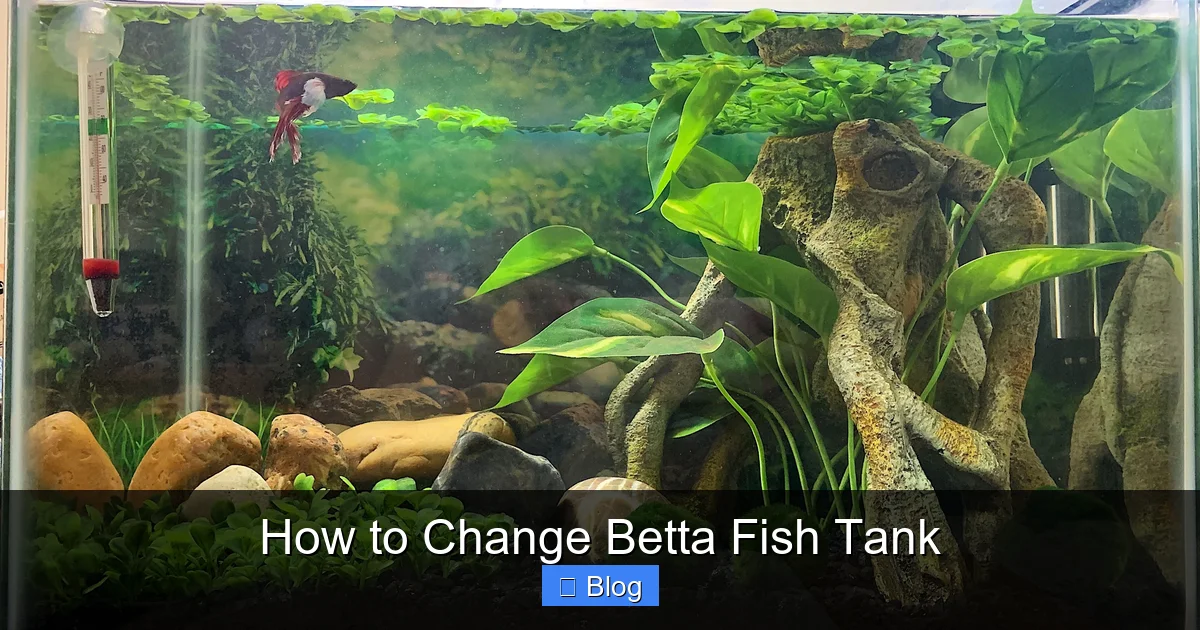
Visual guide about How to Change Betta Fish Tank
Image source: i.pinimg.com
The Gravel Vacuum/Siphon: Your #1 Tool
This is not optional. A gravel vacuum is a simple plastic tube with a wide mouth and a siphon bulb. It does two jobs at once: it removes old water and it cleans your substrate. As you push the tube into the gravel, waste and debris are sucked up into the tubing while the heavier gravel falls back down. You must get one sized appropriately for your tank. For a standard 5-gallon betta tank, a 6-inch vacuum is perfect. Using your mouth to start the siphon is outdated and risky (you could ingest tank water). Get a model with a built-in pump bulb or a primer ball.
Water Conditioner/Dechlorinator
This is absolutely life-saving. Tap water contains chlorine and/or chloramines to make it safe for human consumption. These chemicals are deadly to fish and will wipe out your beneficial bacteria in seconds. You must treat all new water before it touches your betta. Use a reputable brand like Seachem Prime, API Stress Coat+, or any standard dechlorinator. Follow the dosage instructions on the bottle based on the amount of water you’re adding. Prime is popular because it also detoxifies ammonia and nitrite for 24-48 hours, offering a safety net.
Two Clean Buckets
You need two dedicated buckets that are only ever used for your aquarium. Never use a bucket that has held cleaning chemicals, even if you rinsed it. Label them “TANK WATER” and “FRESH WATER” to avoid confusion. The “Tank Water” bucket is where you’ll siphon the old water into. The “Fresh Water” bucket is where you’ll fill tap water, add conditioner, and let it temper to the right temperature before adding to the tank.
Thermometer
Do not guess the temperature. A simple stick-on tank thermometer or a digital thermometer is cheap and crucial. Your goal is to have the new water within 1-2 degrees Fahrenheit (or 0.5-1 degree Celsius) of your existing tank temperature. Bettas are tropical fish, typically kept at 78-80°F (25.5-26.5°C).
The Step-by-Step Guide: How to Change Betta Fish Tank Water
Now, let’s walk through the exact process. We’ll assume a standard weekly 25% water change for a 5-gallon planted tank with a betta. This method is gentle, thorough, and maintains your biofilter.
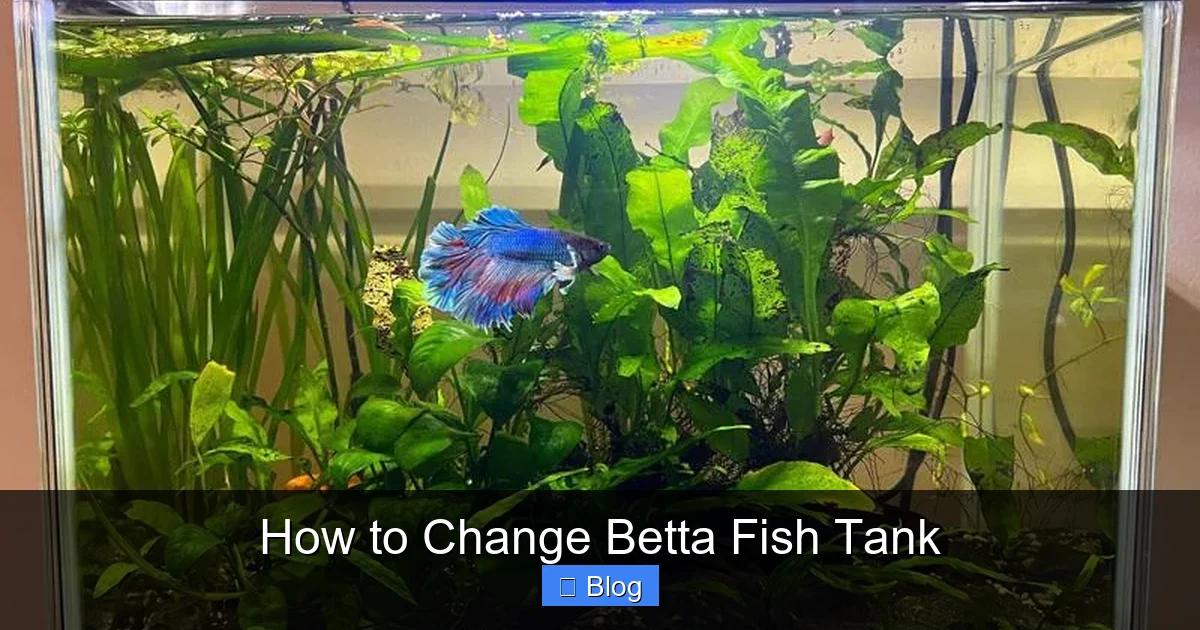
Visual guide about How to Change Betta Fish Tank
Image source: acaquarium.com
Step 1: Preparation – Get Your Fresh Water Ready
This is the most important step for preventing temperature shock. Fill your “Fresh Water” bucket with tap water. Add the correct dose of water conditioner/dechlorinator immediately. Now, you need to get this water to the exact temperature of your tank. There are two main ways:
- For Heater Tanks: Place the bucket next to the aquarium and use a small, submersible aquarium heater (like a 50W) to bring the water up to temperature. This is the most precise method.
- For Smaller Volumes: If you’re only changing 1-2 gallons, you can add a small amount of pre-heated (not boiling!) tap water from your kitchen to the bucket, mixing carefully until the thermometer reads the correct temp.
Let the conditioned water sit and stabilize for 15-20 minutes. Check the temperature against your tank’s thermometer. It must match. Do not proceed until it does.
Step 2: The Siphon – Removing Old Water and Gunk
Place the end of your gravel vacuum into the “Tank Water” bucket. Submerge the vacuum tube completely in the tank. If using a bulb, squeeze it several times to start the siphon. If using a primer ball, push it down firmly. Water will flow from the tank into the bucket.
Now, gently plunge the wide end of the vacuum into the gravel at various spots around the tank. You’ll see debris get sucked up. Move the vacuum through the gravel in a systematic pattern. Don’t just hover over one spot; clean a section of the substrate, then move to another. Pay special attention to corners and areas behind decorations where waste collects. If you have sand, be gentler to avoid sucking it all up, but still stir the surface lightly to remove waste. Continue siphoning until you have removed the desired percentage of water (e.g., about 1.25 gallons from a 5-gallon tank for a 25% change).
Step 3: Preserving the Biofilter – Cleaning Filter Media
This is where most people mess up. Your filter media (sponges, ceramic rings, bio-balls) is home to your beneficial bacteria. Do not rinse it under the tap. Take a small cup of the old tank water you just siphoned into the “Tank Water” bucket. Gently wring and squeeze the filter media in this cup to remove the solid gunk. The water will turn brown—that’s fine. You are simply freeing up the pores so water can flow through it again. You are not sterilizing it. If your media is falling apart, replace only half of it at a time, and put the new media in alongside the old for a month to seed it.
Step 4: The Final Clean-Up
While the siphon is still flowing, take the opportunity to wipe down the inside glass with an algae pad (the magnetic ones are great) or a dedicated, clean algae scraper. Remove any large, visible debris from decorations with your fingers or a toothbrush (rinsed in tank water). Do not use soap. If you have live plants, you can gently rinse their leaves in the old tank water bucket to remove any accumulating detritus.
Step 5: The Refill – Adding New Water Slowly
Now, take your bucket of perfectly conditioned and temperature-matched “Fresh Water.” This is the moment of truth. You have two options for adding it:
- The Gentle Drip Method (Highly Recommended): Use airline tubing from your tank’s air pump, or a new piece. Create a siphon from the fresh water bucket into the tank, and then control the flow by tying a loose knot in the tubing or using a flow control valve. Let the water drip slowly into the tank over 30-60 minutes. This is the least stressful method, as it mimics a gentle rain and prevents sudden changes in water chemistry or temperature.
- The Pouring Method: If you must pour, do it against the glass of the tank or against a decoration to diffuse the force. Never pour directly onto your betta. Pour slowly.
As you add water, the tank level will rise. Stop before it overflows. The final water level should be about ½ to 1 inch from the top rim to allow for evaporation and surface agitation without splashing.
Step 6: Restart and Observe
Plug your filter back in if you unplugged it. Turn your heater back on. Once the new water is fully added and the tank is calm, observe your betta for a few minutes. It might be curious or slightly disoriented. This is normal. If it is gasping at the surface frantically or lying on its side, double-check your water temperature and parameters. With a proper change, your betta should be active, exploring, and flaring at its reflection within the hour.
Common Mistakes and How to Avoid Them
Even with the best intentions, it’s easy to slip up. Here are the most frequent errors people make when they change betta fish tank water and how to correct them.
Visual guide about How to Change Betta Fish Tank
Image source: 3.bp.blogspot.com
Mistake 1: Using Untreated Tap Water
The Error: Thinking a little chlorine won’t hurt, or forgetting to add conditioner altogether.
The Fix: Make conditioner a non-negotiable first step. Keep the bottle next to your tank supplies. Always dose based on the volume of new water you are adding, not the total tank volume. For example, if you’re adding 2 gallons to a 5-gallon tank, dose for 2 gallons.
Mistake 2: Not Matching Temperature
The Error: Adding cold tap water from the kitchen directly into a warm tank.
The Fix: Invest in a dedicated heater for your water change bucket. A small, inexpensive 50W heater will pay for itself in prevented stress and illness. Always, always use a thermometer to verify. Your betta’s internal organs will thank you.
Mistake 3: Cleaning the Filter Media Incorrectly
The Error: Scrubbing the sponge under the cold tap until it’s white and “clean.”
The Fix: Remember: you want it functionally clean, not sterile. A quick squeeze in a cup of old tank water is all that’s needed. If the media is so clogged that water barely flows through it, it’s time to replace it, but do so gradually.
Mistake 4: Changing Too Much Water, Too Often
The Error: Doing a 100% water change every week because “more clean must be better.”
The Fix: Stick to 25-50% weekly. This removes enough pollutants without causing massive swings in pH, temperature, and mineral content. A stable, slightly “dirty” (in terms of nitrate) cycle is safer than a pristine but chemically unstable tank.
Mistake 5: Overlooking the Source of Pollution
The Error: Changing water diligently but overfeeding, leaving uneaten food to rot, or having a filter that is too weak for the bioload.
The Fix: Feed your betta no more than it can eat in 2-3 minutes, once or twice a day. Remove any uneaten pellets immediately. Ensure your filter is appropriately sized for your tank (a general rule is a filter that turns over the tank volume 4-5 times per hour). A 5-gallon tank needs a filter rated for at least 20-25 GPH.
Establishing the Perfect Water Change Schedule
There is no one-size-fits-all rule. Your ideal schedule depends on your tank size, filtration, feeding, and whether it’s planted. Here’s a framework to build your own plan.
The General Rule of Thumb
For a filtered, cycled betta tank of 5 gallons or more:
- 25% weekly water change OR 50% water change every two weeks.
This is the baseline. If your tank is smaller (2.5 gallons), you should lean towards the 25% weekly schedule, as smaller volumes fluctuate faster.
How to Test and Adjust Your Schedule
This is where a liquid water test kit (API Freshwater Master Test Kit) becomes your best friend. After a week of following your chosen schedule, test your water parameters at the end of the cycle, just before your next water change.
- Ideal Nitrate Level: Should be below 20 ppm (parts per million). For sensitive fish like bettas, aiming for under 10 ppm is even better.
- If Nitrate is above 20 ppm: You need to increase the frequency or volume of your changes. Try 25% twice a week.
- If Nitrate is consistently below 5 ppm: Your current schedule is likely sufficient. You might even be able to stretch to 50% every two weeks if other parameters are stable.
Never test for ammonia or nitrite in a cycled, stable tank. If you see any amount of either (0.25 ppm or higher), your cycle has crashed. This points to over-cleaning, over-medicating, or using too much conditioner that binds to ammonia and then releases it. You must immediately do a 25-50% water change and investigate the cause.
Special Considerations for Planted Tanks
Live plants are fantastic at absorbing nitrates and other pollutants. A heavily planted, lightly stocked betta tank may only need a 25% water change every 2-3 weeks. However, you still need to physically remove debris from the substrate with your siphon. Plants will also consume minerals from the water, so very infrequent changes can lead to a mineral deficiency. The siphon cleaning is still non-negotiable.
Conclusion: A Simple Habit for a Thriving Betta
Learning how to change betta fish tank water correctly is the single greatest skill you can develop as a betta keeper. It’s not a chore; it’s a direct investment in the health, color, and lifespan of your aquatic companion. By committing to a regular, partial water change routine—using dechlorinated, temperature-matched water, a gravel vacuum, and a gentle touch—you create a stable, clean environment that allows your betta’s natural beauty and personality to flourish. You prevent the silent suffering caused by poor water quality. You move from being a pet owner to a true aquatic steward. Set a calendar reminder, gather your simple toolkit, and make this 15-minute ritual a non-negotiable part of your week. Your betta, with its fins fluttering and colors popping, will be your most grateful and vibrant reward.
Frequently Asked Questions
How often should I change my betta fish tank water?
For a filtered, cycled tank of 5 gallons or more, perform a 25% water change weekly or a 50% change every two weeks. Smaller tanks or uncycled tanks require more frequent changes. Always use a water test kit to confirm your nitrate levels are below 20 ppm, which is the best indicator of an adequate schedule.
Can I use bottled spring water for my betta tank?
It’s not recommended. Spring water has inconsistent mineral content and pH, which can cause dangerous swings. It also lacks essential minerals that bettas need. Dechlorinated tap water, properly conditioned, is almost always the better, more stable, and more cost-effective choice.
Is it okay to change 100% of the water at once?
No. A full 100% water change is extremely stressful and dangerous. It destroys the established beneficial bacteria colonies in your filter and substrate, leading to a “new tank syndrome” ammonia spike. It also causes severe temperature and pH shock. Always stick to partial changes of 25-50%.
What temperature should the new water be?
The new water must be within 1-2 degrees Fahrenheit (0.5-1 degree Celsius) of your existing tank water. For a typical betta tank kept at 78-80°F (25.5-26.5°C), your new water should be in that exact range. Use a thermometer to be certain—never guess.
Do I need to remove my betta during the water change?
No, you do not need to net your betta out for a standard partial water change. The process is quick and the changes are minimal enough that your betta will be fine in the tank. Removing it causes unnecessary stress and risk of injury. Only net your betta if you are doing a major tank overhaul or if it is extremely stressed and hiding.
Can I use soap or vinegar to clean my betta tank?
Never use soap, detergent, or any household cleaner inside the tank or on any equipment that will contact your fish. Residues are toxic. For tough algae on glass, use a dedicated algae scraper or a razor blade (for glass only). For decorations, soak them in a 1:1 vinegar/water solution, rinse extremely thoroughly with dechlorinated water, and then let them sit in conditioned water for a few hours before returning to the tank.