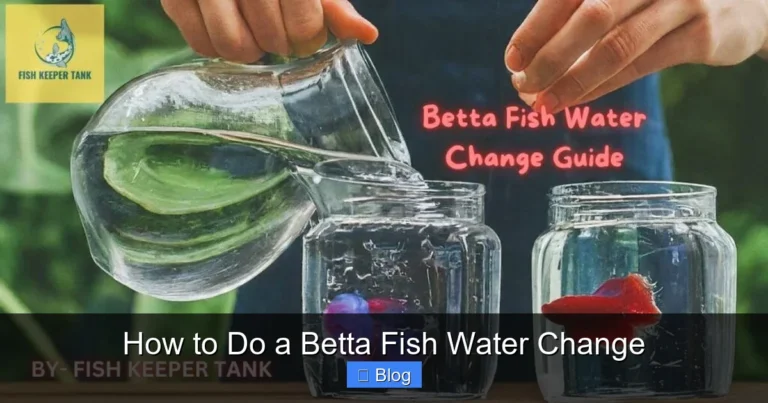
How to Change a Betta Fish Tank
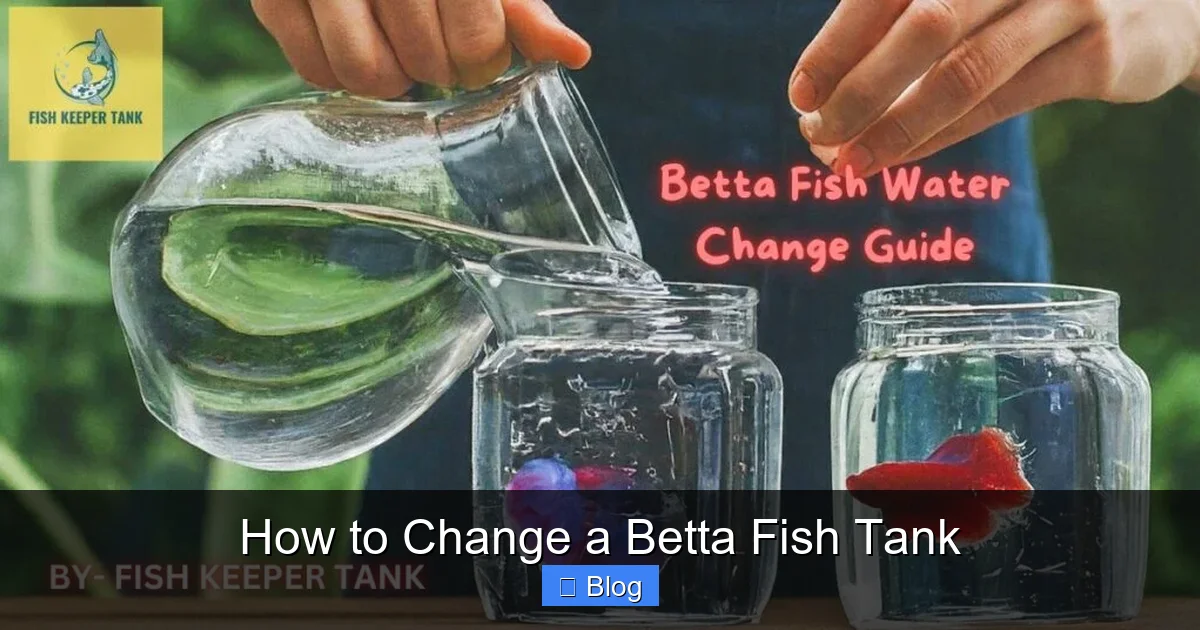
Changing your betta’s tank is more than just dumping old water. It’s a critical routine that directly impacts your fish’s health and longevity. Proper water preparation, temperature matching, and gentle handling are non-negotiable to prevent stress and disease. This guide breaks down the exact process, from gathering supplies to the final refill, ensuring a safe and clean environment for your vibrant companion.
Key Takeaways
- Always use a water conditioner/dechlorinator: Tap water contains chlorine and heavy metals lethal to bettas. Never skip this step.
- Match the new water temperature exactly: A sudden temperature shock is a primary cause of stress and illness. Use a thermometer.
- Never clean all decorations at once: Beneficial bacteria live on surfaces. Clean only 25-50% of decor per water change to maintain a stable biofilter.
- Use a gravel vacuum siphon: This removes solid waste from the substrate without disturbing the entire tank environment.
- Do not overclean the filter: Rinse filter media in the old tank water you’re removing, not tap water, to preserve good bacteria.
- Acclimate your betta if temporarily moved: If you must remove your fish, float its container in the new water to equalize temperature before release.
- Consistency is key: A regular schedule (e.g., 25% weekly) is far better than infrequent, large water changes.
📑 Table of Contents
- Why Proper Tank Changes Are a Betta’s Lifeline
- Gathering Your Arsenal: Essential Supplies Before You Start
- The Step-by-Step Dance: How to Change a Betta Tank Without Panic
- Water Wisdom: The Science Behind the Siphon
- Common Pitfalls & How to Avoid Them: The “Don’ts” List
- Beyond the Weekly Change: Building a Holistic Maintenance Routine
- Conclusion: The Ripple Effect of a Single Change
Why Proper Tank Changes Are a Betta’s Lifeline
Let’s be real. The idea of how to change a betta fish tank might sound like a simple chore. In your mind, it’s probably a quick dump-and-fill job. But here’s the crucial truth: a proper water change is the single most important maintenance task you will ever perform for your betta fish. It’s not just about making the water look clear; it’s about replicating the clean, stable, and chemical-free environment of a slow-moving Asian stream that your betta evolved in.
Your betta lives in its own waste. Ammonia from urine and gills, nitrites, and nitrates from the nitrogen cycle—these toxins build up silently. Even with a filter, partial water changes dilute these harmful compounds. They also remove excess food debris, decaying plant matter, and other organic sludge that clouds the water and fuels bad bacteria blooms. Skipping or botching this process is a direct ticket to fin rot, swim bladder issues, lethargy, and a drastically shortened lifespan. Think of it as the difference between living in a stuffy, polluted room versus a fresh, breezy space. Your betta feels that difference on a biological level.
Gathering Your Arsenal: Essential Supplies Before You Start
Walking out of the room to grab a missing tool mid-change is the #1 way to forget a critical step or prolong your betta’s stress. Set up everything in the room with the tank. Here’s your checklist:
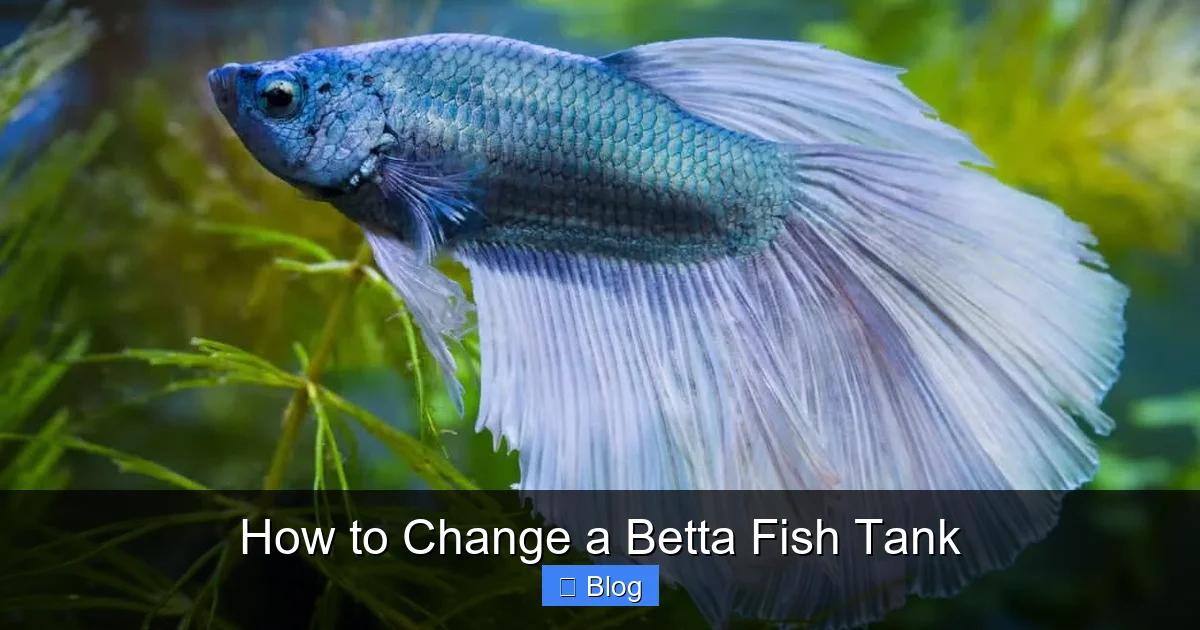
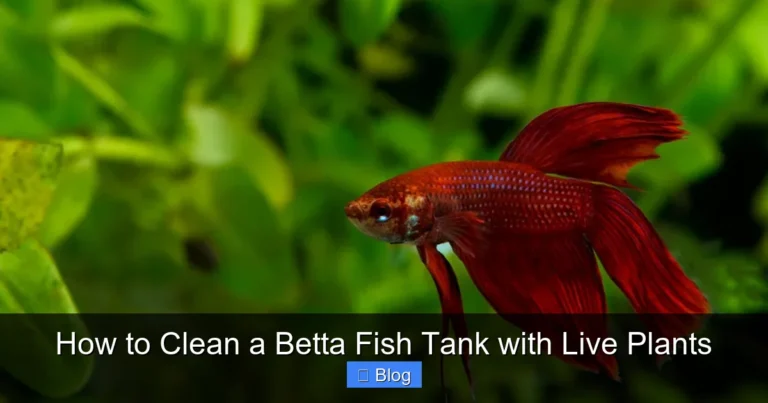
Visual guide about How to Change a Betta Fish Tank
Image source: fishtankmaster.com
- Water Conditioner (Dechlorinator): The absolute MVP. Brands like Seachem Prime are popular, but any reputable brand that neutralizes chlorine, chloramines, and heavy metals will work. This is your first line of defense.
- Gravel Vacuum/Siphon: A simple, plastic, hand-powered siphon is perfect for a betta tank. It uses gravity to pull water and debris from the gravel. You can find these at any pet store.
- Two Clean Buckets: Designate one bucket specifically for dirty tank water (the water you remove) and another for fresh, conditioned water. Never, ever use the same bucket for both without a thorough rinse. Cross-contamination is a real risk.
- thermometer: A simple aquarium sticker thermometer or a digital one. You must confirm the new water temperature matches the tank’s within 1-2 degrees Fahrenheit.
- Algae Scraper or Mag-Float: For cleaning the glass walls. A magnetic cleaner is great as you can do it from outside the tank.
- Clean Cloths or Paper Towels: For wiping down the outside of the glass and any splashes. Use a separate cloth for this, not one used for kitchen counters.
- Net (Optional but helpful): A small, soft mesh net for temporarily moving your betta if necessary.
- Clean Container for Betta (If moving): A small, clean plastic tub or another clean quarantine tank. It must be free of any soap or chemical residues.
The Step-by-Step Dance: How to Change a Betta Tank Without Panic
Now, let’s get into the rhythm. The goal is efficiency and minimal disturbance. A typical change for a 5-10 gallon betta tank is replacing 25-50% of the water weekly. Never do a 100% change unless it’s an emergency (like a chemical spill), as it destroys your beneficial bacterial colony and cycles.

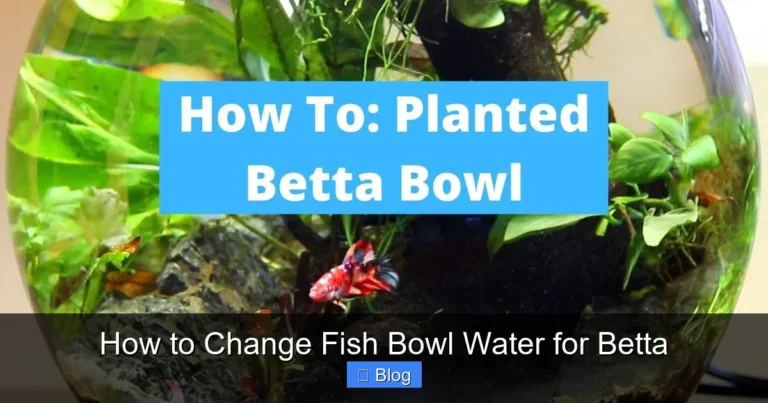
Visual guide about How to Change a Betta Fish Tank
Image source: i.ytimg.com
Phase 1: Preparation and First Contact
Before you touch anything, add your water conditioner to the fresh water bucket according to the dosage instructions. Let it sit. Then, unplug any heaters, filters, and air stones. This is for safety and to prevent them from running dry if the water level drops too low.
Next, start the siphon. Place the gravel vacuum end into the tank and the other end into your dirty water bucket. Prime the siphon by sucking gently on the tube (keep it above the water level until water flows, then submerge) or using a pump bulb if your siphon has one. Once it’s flowing, gently push the vacuum end into the gravel. You’ll see a cloud of debris get sucked up. That’s the goal! Work methodically around the tank, deep-cleaning about a third of the gravel substrate each week. Over a month, you’ll have cleaned the entire bottom. The old, dirty water flows into your bucket.
Phase 2: The Gentle Art of Cleaning
With some water removed, the water level is lower. This is your chance to clean without making a huge splash.
- Algae Scraping: Use your scraper to gently remove any algae from the glass. Start from the bottom and work up. The debris will float down and can be sucked up by your siphon if it’s still running.
- Decor & Ornaments: Take out any artificial plants, castles, or rocks. Gently rinse them in the dirty tank water you just removed (from the bucket!). This preserves the beneficial bacteria coating them. Use your fingers or a soft brush to dislodge any gunk. Never use soap or tap water on these items.
- Filter Maintenance: If it’s time to rinse your filter media (sponges, ceramic rings), do it only in that same bucket of dirty tank water. Squeeze and swish it until the water runs clear-ish. You are not trying to make it sterile; you’re just unclogging it. If your filter uses replaceable cartridges, now is the time to put in a new one.
Phase 3: The Big Refill
This is the most critical phase for preventing shock. Your betta is likely hiding as you work. Now, you need to prepare the new water perfectly.
First, ensure your fresh, conditioned water in the bucket is the same temperature as the tank water. Use your thermometer to check both. If the fresh water is cooler, you’ll need to warm it. You can use a separate heater in the bucket, or let it sit to reach room temperature. Do not add cold water to a warm tank.
Once temperatures match, slowly and gently pour the new conditioned water back into the tank. Do not dump it. Aim the stream against the glass wall or use a plate to diffuse it. This prevents disturbing the gravel and causing a sediment storm. Fill to the original water level, leaving about 1 inch from the top to account for evaporation and prevent jumping.
Phase 4: The Finale and Reboot
Wipe down the outside of the tank with your clean cloth. Re-submerge and plug in your heater and filter. Ensure the filter is primed and flowing smoothly. If you temporarily moved your betta, now is the time to return it. Float its container in the tank for 15-20 minutes to allow temperatures to equalize, then gently net it and release it near a plant or decor so it has a hiding spot immediately.
Observe your betta for the next hour. It might be curious, exploring the refreshed environment. That’s a great sign! If it’s hiding more than usual, don’t worry; it’s just adjusting. Keep lights dim for the rest of the day.
Water Wisdom: The Science Behind the Siphon
You might wonder, “Why can’t I just use a cup to remove water?” You can, but a gravel vacuum is exponentially more effective. The siphon’s real magic is in its ability to extract solid waste from the substrate. Fish waste, uneaten pellets, and decaying leaves sink and bury themselves in the gravel. Over time, they rot and release ammonia. A cup only removes the clear water on top. A siphon, when used correctly, acts like a tiny underwater vacuum cleaner, pulling that debris out of the ecosystem before it breaks down. This mechanical removal is half the battle. The chemical removal is handled by the water conditioner and dilution from the fresh water. Together, they create a stable, low-toxin environment.
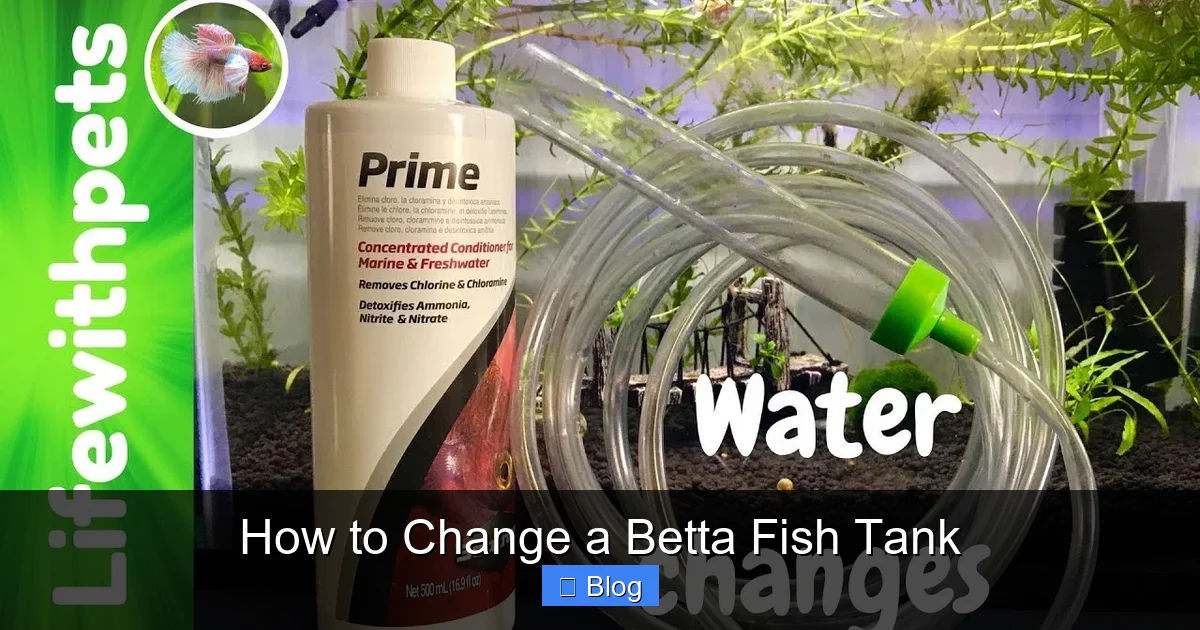
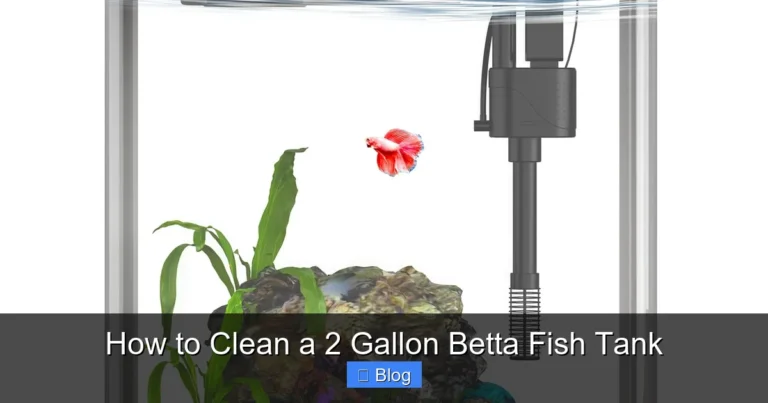
Visual guide about How to Change a Betta Fish Tank
Image source: i.ytimg.com
Furthermore, the process of siphoning also gently aerates the gravel, preventing dangerous anaerobic gas pockets (hydrogen sulfide) that can build up in deep, undisturbed sand. While betta tanks often have shallow substrate, this aeration is still a beneficial side effect of a proper vacuuming routine.
Common Pitfalls & How to Avoid Them: The “Don’ts” List
Even with the best intentions, mistakes happen. Here are the most common errors and their fixes:
- The Overzealous Cleaner: Scrubbing every surface with soap, replacing all filter media at once, or using tap water on decor. This triggers a “new tank syndrome” mini-cycle, where toxic ammonia spikes because you killed the beneficial bacteria. Solution: Clean in stages. Only 25% of decor/gravel per week. Rinse filter media in old tank water.
- The Temperature Neglecter: Adding room-temperature water to a heated tank. This causes thermal shock, weakening the immune system. Solution: Always, always match temperatures. Use a thermometer.
- The Chlorine Forgotter: Assuming your tap water is safe. It is not. Chlorine and chloramines are added to municipal water to kill pathogens—they’ll kill your betta’s gill tissue. Solution: Make water conditioner as non-negotiable as the water itself. Add it to the bucket before you even start.
- The Disturber: Dumping the new water in from a height, creating a sandstorm and stressing the fish. Solution: Pour slowly against a wall or use a clean cup to trickle it in.
- The Inconsistent Scheduler: Doing a massive 75% change once a month because you “forgot.” This causes wild fluctuations in water chemistry. Solution: Set a weekly or bi-weekly alarm. Small, frequent changes are physiologically easier for your betta to handle than rare, large ones.
Beyond the Weekly Change: Building a Holistic Maintenance Routine
A water change is the centerpiece, but it’s part of a larger system. Integrate these tasks into your calendar:
- Daily (30 seconds): Feed a proper portion (no more than what your betta can eat in 2 minutes). Check that the heater is on and the filter is flowing. Quick visual health check for clamped fins, frayed edges, or unusual behavior.
- Weekly (During Water Change): Scrape algae from the front glass. Test key water parameters (Ammonia, Nitrite, Nitrate, pH) with a liquid test kit. This is your report card on how the cycle is handling the bioload. Trim any decaying plant leaves.
- Monthly: Deep clean the filter intake sponge or pre-filter. Inspect heater cords for mineral buildup. Check all equipment for proper function. Wipe down the outside of the tank thoroughly with a damp cloth (no chemicals!).
- Every 6 Months: Consider replacing filter media *gradually*. If you have ceramic rings, they rarely need replacing. If you have floss or sponges, replace half at a time, a month apart.
Remember, your betta’s tank is a closed ecosystem. You are the steward of that system. Your goal is not to make it “sterile,” but to maintain a balanced, stable, and clean environment where beneficial bacteria can thrive, and your betta can swim without being poisoned by its own waste.
Conclusion: The Ripple Effect of a Single Change
Mastering how to change a betta fish tank is the ultimate act of responsible ownership. It connects you directly to the fundamental needs of your fish: clean water, stable chemistry, and a low-stress habitat. It’s a ritual that, once established, becomes second nature. The 20 minutes you spend each week performing this careful dance pay off in the most beautiful way—in the form of a vibrant, active, and long-lived betta that flares with health and displays its magnificent fins with pride. You’re not just changing water; you’re renewing the very world your betta calls home. Start your routine today, and watch the difference it makes.
Frequently Asked Questions
Can I use bottled spring water instead of tap water for my betta tank?
Bottled spring water can be used, but it’s generally unnecessary and costly. It often lacks essential minerals bettas need and can have inconsistent pH. The reliable method is to treat tap water with a quality dechlorinator, which makes it safe and maintains necessary mineral content.
How much of the tank water should I change each time?
For a properly cycled tank, change 25-50% of the water weekly. Changing more than 50% at once can destabilize the beneficial bacteria and cause harmful parameter swings. Smaller, frequent changes are always better for your betta than infrequent, large ones.
Is it okay to remove my betta from the tank during the water change?
It’s best to leave your betta in the tank if possible. The process is less stressful if you work around it. Only remove it if you need to do extensive deep-cleaning or if the water level will drop so low it risks jumping or becoming trapped. If you do remove it, float its container in the new water to match temperatures before release.
My tap water is very hard. Will this hurt my betta?
Betta fish are quite adaptable to a range of water hardness (GH). Consistent, stable parameters are more important than achieving a specific number. As long as you are performing regular water changes with conditioned tap water, your betta will acclimate to your local water source over time.
Do I need to clean the gravel every single water change?
Yes, you should vacuum part of the gravel every time. Use your siphon to gently remove waste from about one-third of the substrate during each 25% water change. This methodical approach ensures all waste is removed over a few weeks without disturbing the entire tank bed at once.
The water in my betta tank gets cloudy quickly after a change. Why?
Cloudiness after a water change is usually a bacterial bloom. It’s often triggered by over-cleaning (washing all decor/gravel in tap water, killing good bacteria) or a major disruption that causes an imbalance. The cloud should clear on its own within 24-48 hours as the bacterial population stabilizes. Prevent it by cleaning less aggressively and always using tank water to rinse filter media and decorations.