How to Get a Betta Fish Tank Ready
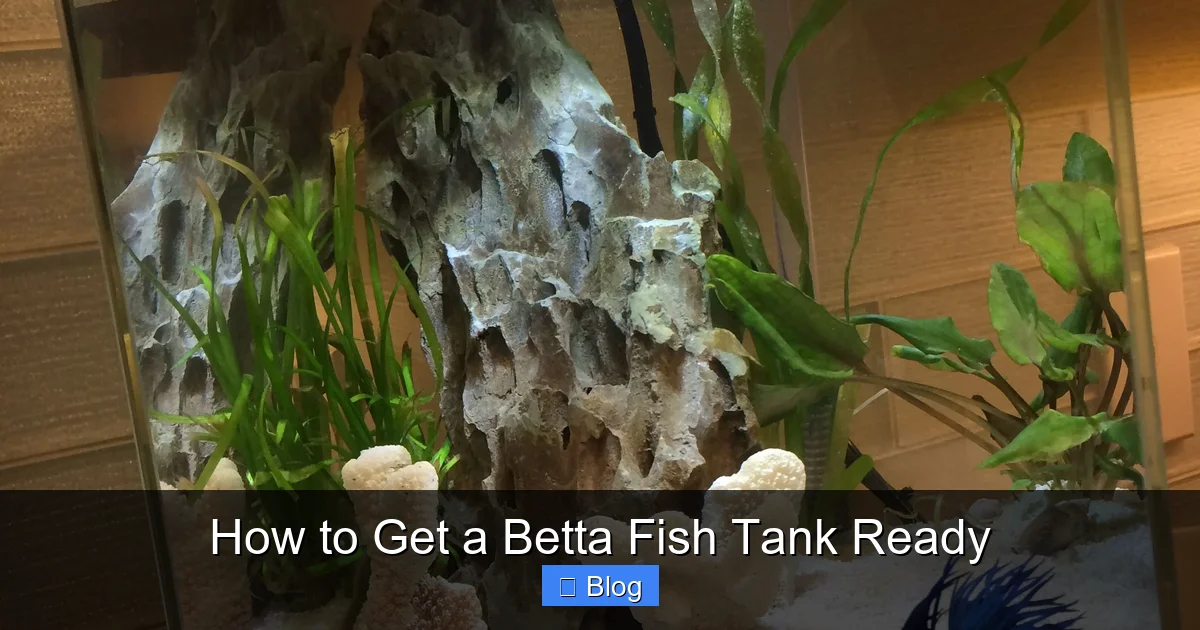
Preparing a betta tank correctly is the single most important factor in your fish’s long-term health and happiness. It’s not just about filling a bowl with water; it’s a multi-step process that involves cycling the tank to establish beneficial bacteria, meticulously testing water parameters, and creating a stable, filtered, heated environment. Skipping these steps leads to stress, disease, and a tragically short lifespan for your vibrant companion.
Key Takeaways
- Tank Size is Non-Negotiable: A minimum of 5 gallons is essential for a healthy betta, providing stable water conditions and space to explore.
- The Nitrogen Cycle is Mandatory: You must fully cycle the tank for 4-6 weeks before adding your betta to establish a bio-filter that neutralizes toxic fish waste.
- A Heater is Not Optional: Bettas are tropical fish requiring a consistent water temperature between 78-80°F (25.5-26.5°C) to thrive.
- A Filter is Crucial for Water Quality: A gentle, adjustable filter keeps the water clean and supports the cycle; choose one with a low flow to not damage your betta’s delicate fins.
- Water Testing is Your Best Tool: Use a liquid test kit to monitor ammonia, nitrite, nitrate, and pH, ensuring the water is truly safe before and after adding your fish.
- Patience Prevents Problems: Rushing the setup process is the #1 cause of betta health issues. Taking 4-6 weeks to prepare properly pays off in a vibrant, long-lived pet.
- Proper Acclimation Saves Lives: Never dump your betta into the new tank. Use the drip or float method to slowly equalize temperature and water chemistry.
📑 Table of Contents
- Why a Proper Setup is Everything for Your Betta
- Step 1: Gathering Your Essential Equipment
- Step 2: The Critical Process of Cycling Your Tank
- Step 3: Achieving Perfect Water Parameters
- Step 4: Final Tank Preparations & Decor
- Step 5: Introducing Your Betta to Its New Home
- Step 6: The Ongoing Commitment: Maintenance & Observation
Why a Proper Setup is Everything for Your Betta
Bringing home a beautiful betta fish, with its flowing fins and bold personality, is an exciting moment. You’ve picked out the perfect spot for its new home, maybe a sleek glass cube or a beautifully planted aquarium. But here’s the critical truth that separates betta enthusiasts from betta mourners: how to get a betta fish tank ready is not a quick, last-minute task. It’s a deliberate, scientific process that forms the foundation of your fish’s entire life. A common, tragic misconception is that bettas can live happily in small bowls or vases because they survive in rice paddies in the wild. This is a dangerous oversimplification. In nature, bettas have vast, stable water systems with natural filtration. In your home, you are entirely responsible for replicating that stable, clean environment. A properly cycled, filtered, and heated tank is not a luxury for a betta—it is a biological necessity. Skipping these steps condemns your fish to a life of stress, ammonia burns, fin rot, and a lifespan measured in months, not years. This guide will walk you through every single step, transforming that empty tank into a thriving aquatic paradise.
Step 1: Gathering Your Essential Equipment
Before you add a single drop of water, you need the right tools for the job. Think of this as building a house—you need a solid foundation and the right materials before moving in. Cutting corners here leads to constant problems down the line.
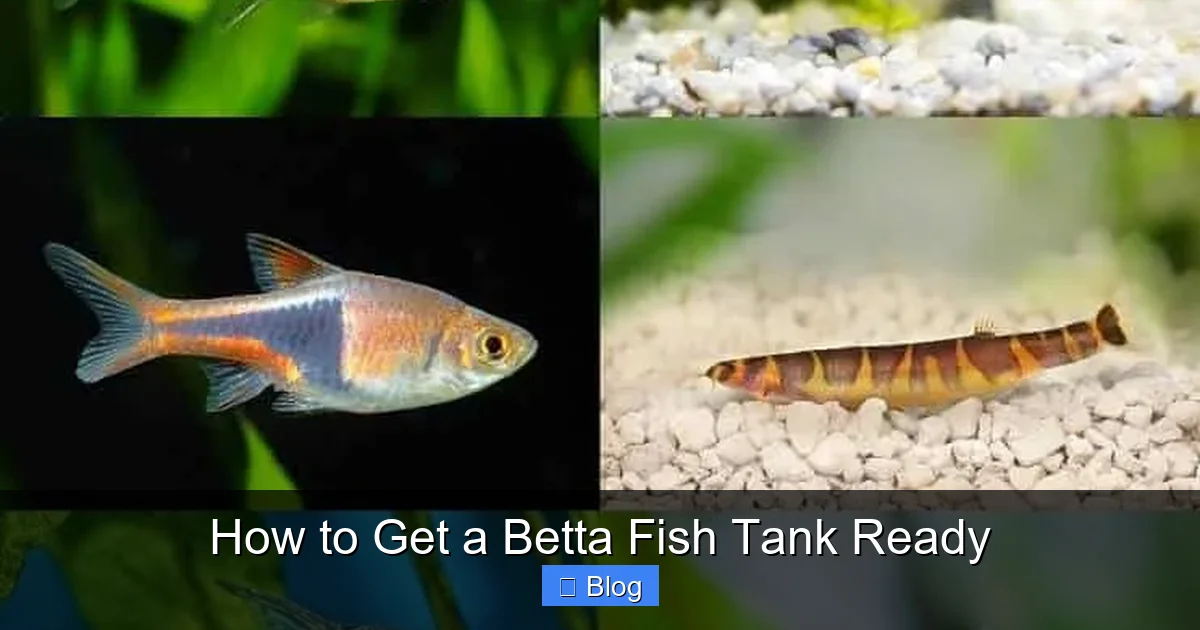
Visual guide about How to Get a Betta Fish Tank Ready
Image source: fishkeepingworld.com
The Tank Itself: Ditch the Bowl, Embrace the Gallon
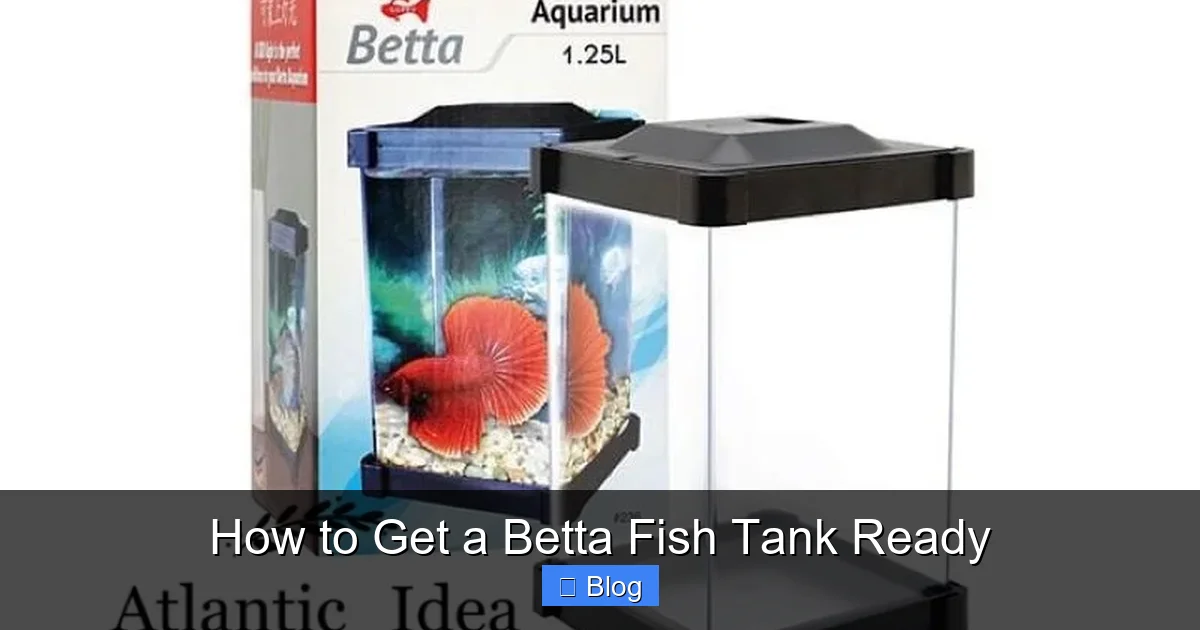
The most important piece of equipment is the tank. Forget the myth of the betta in a bowl. A true, suitable home for a betta starts at 5 gallons. Why is size so critical? Larger volumes of water are more stable. They dilute waste products and toxins, making it harder for a single mistake (like overfeeding) to cause a disastrous spike in ammonia that can kill your fish. A 5-gallon tank is the absolute minimum, but a 10-gallon provides even more stability and room for enrichment. Look for a sturdy glass or acrylic aquarium with a secure lid—bettas are known jumpers!
- Pro-Tip: A long, wide tank (like a 20-gallon “long”) is better than a tall, narrow one of the same volume. Bettas are surface-dwellers and labyrinth fish who need easy access to the top to breathe air. A wide surface area is more important than height.
The Filter: The Engine of a Healthy Tank
All fish produce waste (ammonia) that is toxic to them. A filter’s job is two-fold: it physically removes debris from the water and, more importantly, it houses the beneficial bacteria that convert deadly ammonia into less harmful nitrates. This biological filtration is the heart of the nitrogen cycle. For a betta, you must choose a filter with an adjustable flow setting. Bettas have long, delicate fins and are not strong swimmers. A powerful current will exhaust them, stress them out, and can even tear their fins. Look for filters labeled “for bettas” or “low-flow,” such as sponge filters (excellent for 5-gallon setups), hang-on-back (HOB) filters with flow adjusters, or canister filters with spray bars that diffuse the current.
- Example: The AquaClear or Fluval HOB filters are popular choices because their flow can be turned down very low. A simple air-driven sponge filter is also a fantastic, gentle option that provides superb biological filtration.
The Heater: Keeping Your Tropical Fish Toasty
Bettas are native to the warm, shallow waters of Southeast Asia. Their immune systems function optimally between 78-80°F (25.5-26.5°C). In a room-temperature home, especially in winter, the water will be far too cold. A cold betta is a lethargic, stressed betta with a weakened immune system, prone to diseases like dropsy. You need a reliable aquarium heater. For a 5-gallon tank, a 50-watt adjustable submersible heater is standard. Always use a separate thermometer (like a stick-on analog or a digital one) to verify the actual water temperature, as heater dials are often inaccurate.
Other Must-Have Supplies
You’ll also need:
- Water Conditioner/Dechlorinator: Tap water contains chlorine and chloramines, which are lethal to fish and will kill the beneficial bacteria you’re trying to grow. You must treat all tap water with a dechlorinator (like Seachem Prime or API Stress Coat) before it ever touches the tank.
- Substrate: Gravel or sand. It provides a home for beneficial bacteria and a place to anchor plants. For beginners, inert, smooth gravel is easiest. Rinse it thoroughly before adding to the tank.
- Hiding Places &> Decor: Bettas are curious but also need security. Provide caves, silk or live plants, and smooth, non-porous decorations. Avoid anything with sharp edges or rough textures that can tear a betta’s fins. Live plants like Anubias or Java Fern are excellent as they require little light and help absorb nitrates.
- Test Kit: This is your most important diagnostic tool. Do not use test strips; they are notoriously inaccurate. Invest in a liquid test kit like the API Freshwater Master Test Kit. It will let you measure ammonia, nitrite, nitrate, and pH.
Step 2: The Critical Process of Cycling Your Tank
This is the most important, non-negotiable step in how to get a betta fish tank ready. Cycling means establishing a colony of beneficial bacteria (biofilter) that lives in your filter media and substrate. These bacteria perform a magical, life-saving conversion: they eat the toxic ammonia your fish produces and convert it first to nitrite (also toxic) and then to nitrate (much less toxic, removed by water changes). This process takes 4-6 weeks. Adding your betta before the cycle is complete is like moving a person into a house with no sewage system—waste will quickly poison them.
Visual guide about How to Get a Betta Fish Tank Ready
Image source: down-my.img.susercontent.com
Setting Up for the Cycle
With your equipment assembled, it’s time to start. Rinse your substrate and add it to the tank. Fill the tank with dechlorinated water, being careful not to disturb the substrate too much. Install and turn on your filter and heater. Set the heater to 78-80°F. At this stage, there is no fish, no food, and no source of ammonia. We need to introduce ammonia to feed the future bacteria.
Methods to Cycle a Tank
You have a few options to jump-start the cycle:
- The Fishless Cycle (Recommended & Safest): This is the best method for a betta tank. You add a pure ammonia source (like DrTim’s Ammonium Chloride or plain, unscented ammonia from a hardware store) to the tank to mimic fish waste. You dose it to a level of 2-4 ppm, then test daily. As ammonia drops, nitrite will rise, and finally, nitrate will appear. When you can add ammonia and see it convert to nitrate within 24 hours with zero ammonia and zero nitrite, the cycle is complete.
- Using a Bacteria Starter: Products like Seachem Stability or API Quick Start contain live beneficial bacteria. They can significantly shorten the cycle time (sometimes to 1-2 weeks) when used according to directions alongside an ammonia source. They are a great help but don’t replace the need for testing.
- The “Silent Cycle” with Plants: If you use a *lot* of fast-growing stem plants and root tabs, the plants can absorb ammonia directly, masking the cycle. However, this is risky for a first-time betta owner, as the biological filter may not be robust enough for a fish. It’s better to combine plants with a traditional cycle.
During the cycle, do not change the water unless nitrate gets extremely high (over 40 ppm) or you need to adjust pH. Changing water removes the bacteria you’re trying to grow.
Step 3: Achieving Perfect Water Parameters
Once your tank is cycled, your water parameters should be stable and safe. Here’s what you’re aiming for:
- Ammonia (NH3/NH4+): 0 ppm
- Nitrite (NO2-): 0 ppm
- Nitrate (NO3-): < 20 ppm is ideal. Under 40 ppm is acceptable, but lower is always better for long-term health.
- pH: Bettas are adaptable but prefer slightly acidic to neutral water, around 6.5-7.5. The key is stability—avoid rapid swings.
Before you even think about adding your betta, you must test the water and confirm ammonia and nitrite are at a strict 0 ppm. If you see either, the cycle is not complete. Wait. It’s normal to see nitrate. Perform a final large water change (25-50%) to bring nitrate down below 20 ppm before introducing the fish.

Visual guide about How to Get a Betta Fish Tank Ready
Image source: down-sg.img.susercontent.com
Step 4: Final Tank Preparations & Decor
With the water chemistry perfect, it’s time for the finishing touches.
Adding Live Plants
Live plants are highly recommended. They oxygenate the water, absorb nitrates, provide natural hiding spots and grazing areas, and mimic the betta’s native habitat. Easy, low-light plants for beginners include Java Moss, Anubias, Java Fern, and Amazon Swords. Anchor them to driftwood or rocks (do not bury the rhizome of Anubias/Java Fern). They will help create a calming, natural environment that reduces stress.
Temperature & Flow Check
Let the tank run for 24 hours with the heater and filter on. Use your thermometer to check that the temperature is stable in the 78-80°F range. Observe the filter output. Is the current too strong? You may need to add a spray bar, baffle the intake with a sponge, or choose a different filter setting. The water should have a gentle ripple, not a strong current pushing your betta around.
The Final Water Change
Do a final 25% water change with freshly dechlorinated water at the same temperature as the tank. This will dilute any lingering nitrates from the cycle and ensure everything is pristine for your new arrival.
Step 5: Introducing Your Betta to Its New Home
The day has come! Your tank is cycled, tested, and beautifully decorated. Now, you must acclimate your betta properly. This process is called “drip acclimation” and is vital to prevent shock from differences in temperature, pH, and mineral content between the transport bag water and your tank water.
The Drip Acclimation Method
- Float the sealed bag in the tank for 15-20 minutes to equalize temperature.
- Gently open the bag and roll the top down a few inches to create an air pocket, allowing it to float open.
- Using airline tubing or a small cup, start a very slow drip of tank water into the bag. Aim for 2-4 drips per second.
- Once the bag is full, carefully pour out about half the water (into the sink, not the tank) and continue the drip.
- Repeat this fill-and-dump process for 45-60 minutes. This slowly adjusts the fish to your tank’s water chemistry.
- Finally, use a net to gently transfer the betta from the bag to the tank. Discard the bag water—do not pour it in, as it contains waste from the fish.
For the first few days, keep the lights dim and avoid disturbing the tank. Your betta will be exploring, hiding, and getting used to its new territory. Do not feed for the first 24 hours to allow its digestive system to settle.
Step 6: The Ongoing Commitment: Maintenance & Observation
A properly set-up tank is not a “set it and forget it” system. It requires a small, regular commitment to keep your betta thriving for 3-5 years.
Daily Checks
- Observe your betta. Is it active? Swimming normally? Eating? Its fins are full and not clamped? Bright colors? Any signs of lethargy, white spots, torn fins, or bloating are early warning signs.
- Check the filter is running and the heater light is on (if applicable).
Weekly Maintenance Routine
- Water Test: Test your water parameters (ammonia, nitrite, nitrate, pH). This should be a weekly ritual.
- Water Change: Perform a 25% water change weekly. Use a gravel vacuum to siphon debris from the substrate. Always replace with dechlorinated water that matches the tank’s temperature.
- Filter Maintenance: Once a month, gently rinse the filter media (sponges, bio-balls) in the bucket of *old tank water* you just removed during the water change. Never use tap water, as it will kill the beneficial bacteria.
By following this comprehensive guide on how to get a betta fish tank ready, you are not just setting up an aquarium; you are engineering a stable, life-support system. This initial investment of time and care directly translates to a healthier, more active, and dramatically longer-lived betta that will reward you with its fascinating behaviors and stunning beauty for years to come.
Frequently Asked Questions
Can I use a bowl or vase for a betta fish?
No. Bowls and vases are too small to maintain stable water conditions. They lack filtration and heating, leading to rapid toxin buildup and temperature swings that cause severe stress and disease. A minimum 5-gallon filtered and heated tank is the only acceptable home for a betta.
How long does it take to cycle a betta tank?
The nitrogen cycle typically takes 4-6 weeks to complete fully. Using a bacteria starter like Seachem Stability can shorten this to 2-3 weeks, but you must still test the water to confirm ammonia and nitrite are at 0 ppm before adding your betta.
Do betta fish really need a heater?
Absolutely yes. Bettas are tropical fish from warm climates. They require a consistent water temperature between 78-80°F (25.5-26.5°C). Without a heater, their metabolism slows, their immune system weakens, and they become highly susceptible to fatal diseases.
What is the best filter for a betta tank?
The best filter for a betta is one that provides strong biological filtration but has a gentle, adjustable flow. Sponge filters (air-driven) are excellent for small tanks. Hang-on-back (HOB) filters with flow control, like the AquaClear series, are also great. The key is a flow that doesn’t push your betta around.
How often should I change the water in a betta tank?
Once the tank is cycled and stable, you should perform a 25% water change weekly. This removes accumulated nitrates and replenishes minerals. Always use a gravel vacuum to clean the substrate and treat new water with a dechlorinator.
Can I add plants or tank mates right away?
No. You must first complete the nitrogen cycle and ensure the water is safe (ammonia & nitrite at 0 ppm). Once the tank is stable, you can add live plants at any time. For tank mates, wait at least 4-6 weeks after adding your betta to ensure it is healthy, stress-free, and established in its territory before considering any additions.