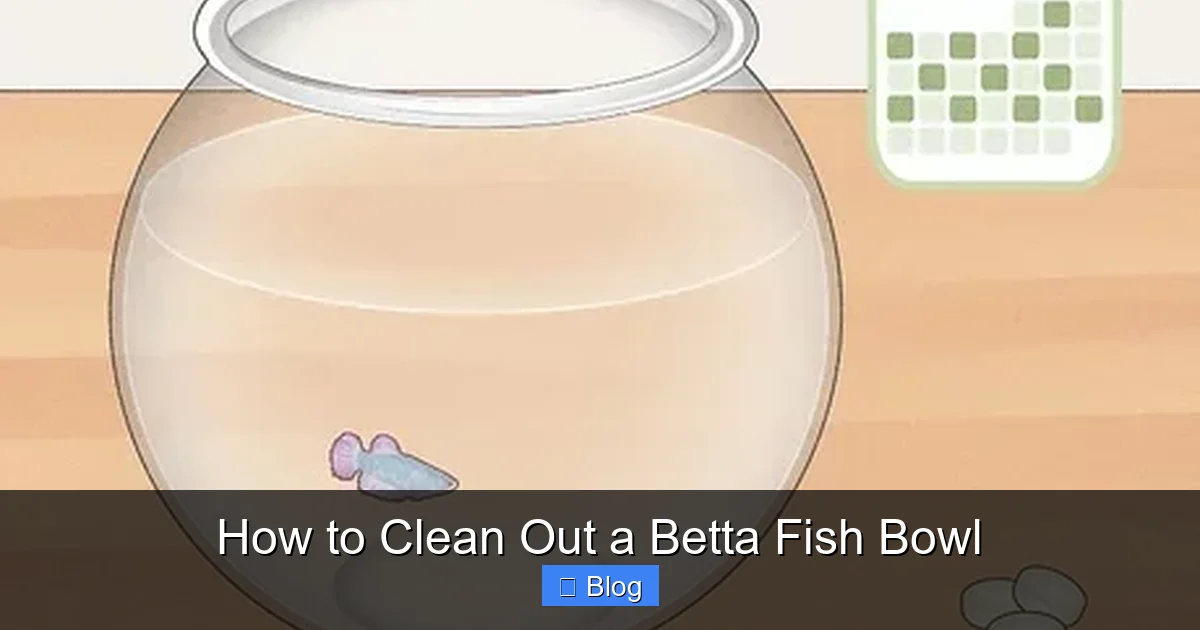
How to Clean Out a Betta Fish Bowl
Cleaning a betta fish bowl correctly is crucial for your fish’s health. Unlike larger tanks, betta bowls require a gentle, partial-water approach to avoid toxic ammonia spikes. Always use dechlorinated water at the same temperature, never use soap or chemicals on decorations, and clean the gravel and glass thoroughly but carefully. A proper weekly routine, not a full teardown, is the key to a thriving betta in its bowl environment.
Key Takeaways
- Never use tap water directly: Always treat tap water with a reliable water conditioner to neutralize chlorine and chloramines, which are fatal to bettas.
- Avoid all soaps and detergents: Even a tiny residue of household cleaner is toxic. Use only water and dedicated aquarium tools (like a gravel vacuum) for cleaning.
- Perform partial water changes, not full cleans: Replacing 50-75% of the water weekly maintains stable water parameters and beneficial bacteria, preventing dangerous ammonia/nitrite spikes.
- Match water temperature precisely: New water must be within 1-2°F of the old water to prevent thermal shock, a serious stressor for bettas.
- Clean all surfaces and gravel: Use an algae pad for the glass and a gravel vacuum to siphon waste from the substrate, the primary source of decay.
- Test your water regularly: Use an aquarium test kit to monitor ammonia, nitrite, and nitrate levels. This is the only way to know if your cleaning routine is effective.
- Observe your betta after cleaning: Watch for signs of stress like lethargy or clamped fins for 24 hours post-cleaning, which can indicate a parameter issue.
📑 Table of Contents
- Why Properly Cleaning Your Betta’s Bowl Isn’t Optional
- Gathering Your Supplies: The Right Tools for the Job
- The Step-by-Step Guide to a Safe, Effective Clean
- Common Mistakes That Harm Bettas (And How to Avoid Them)
- Troubleshooting: Cloudy Water, Algae, and Stubborn Grime
- Long-Term Maintenance: Beyond the Weekly Clean
- Conclusion: The Gentle Art of Betta Bowl Care
Why Properly Cleaning Your Betta’s Bowl Isn’t Optional
Let’s be honest: when we look at that beautiful, solitary betta fish swimming in its bowl, it’s easy to think maintenance is simple. A splash of water here, a quick wipe there. But here’s the truth your betta wishes it could tell you: a dirty bowl is a toxic, stressful prison. Unlike a large, cycled aquarium with a robust filter and biological filtration, a small betta bowl is a fragile, closed ecosystem. Waste (fish poop, uneaten food) decays rapidly, producing ammonia. In a confined space, ammonia levels can skyrocket to lethal levels in a matter of days. This isn’t just about aesthetics; it’s about the fundamental health and survival of your aquatic pet. A proper clean betta fish bowl routine is your primary defense against fin rot, velvet disease, dropsy, and a host of other ailments caused by poor water quality. It’s the single most important thing you can do for your betta’s longevity and vibrancy.
The Myth of the “Low-Maintenance” Betta Bowl
The image of a betta in a tiny vase is a persistent and harmful myth. Bettas, native to the shallow, warm rice paddies and slow-moving streams of Southeast Asia, actually thrive in spacious, well-maintained environments. A small bowl (under 2.5 gallons) is, by definition, a temporary or suboptimal home. However, many keepers start with one due to space or budget. If that’s your situation, understanding that how to clean out a betta fish bowl becomes even more critical is the first step to responsible ownership. You are not just changing water; you are performing essential ecosystem maintenance in a miniature world. The goal is to remove accumulated toxins while preserving the beneficial bacteria that help process waste, and to do so without causing the fish undue stress.
Gathering Your Supplies: The Right Tools for the Job
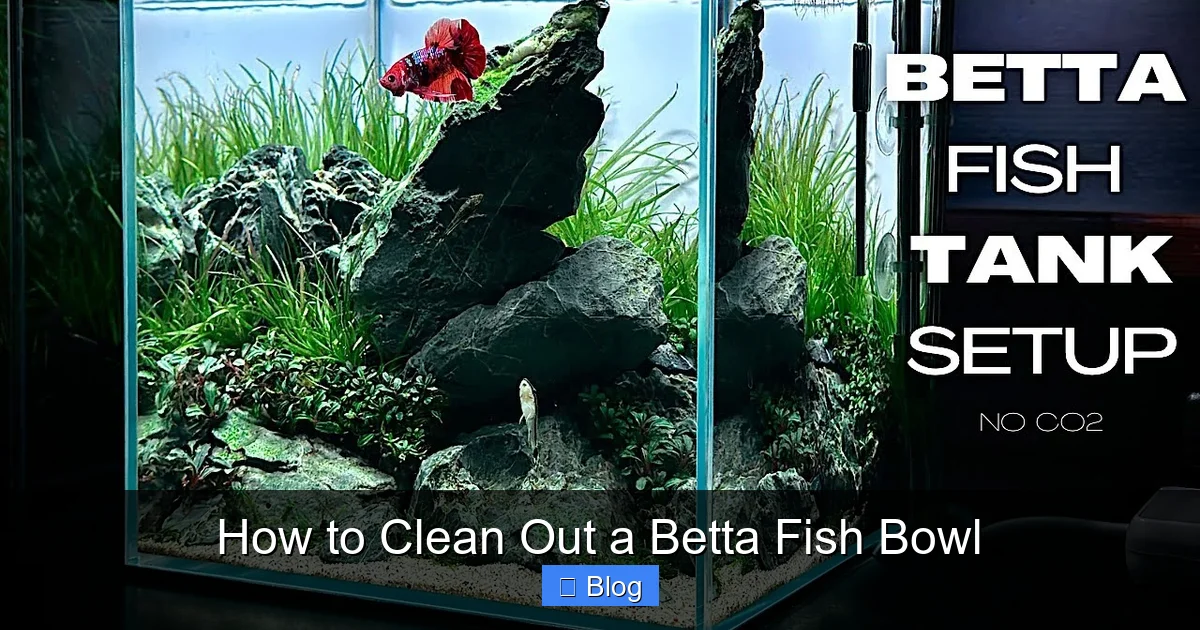
Before you even touch the water, having everything ready is key to a smooth, stress-free process for both you and your betta. Rushing to find a bucket mid-clean is a recipe for using the wrong water temperature or forgetting a crucial step. Think of this as your betta bowl cleaning kit.
Visual guide about How to Clean Out a Betta Fish Bowl
Image source: i.ytimg.com
Essential Cleaning Arsenal
- Two Dedicated Buckets or Containers: One for the old water you remove (which you will NOT reuse) and one for the fresh, conditioned water you add. These buckets should be used only for aquarium purposes. Never use a bucket that has held soap, bleach, or other household chemicals.
- Aquarium Gravel Vacuum/Siphon: This is non-negotiable. A simple hand-siphon (like the Python or Aqueon versions) is perfect. It does two jobs: it removes debris-laden water and cleans the gravel by stirring it and sucking out the dislodged waste. Do not use your mouth to start the siphon; use the bulb or pump style to avoid ingesting harmful bacteria.
- Algae Pad or Magnetic Cleaner: A non-scratch algae pad (the kind for glass or acrylic, check your bowl material) is essential for scrubbing the inside glass. For deeper bowls, a magnetic cleaner that works on both sides of the glass is a lifesaver, preventing you from having to reach in.
- Soft, Lint-Free Cloths or Paper Towels: For wiping down the outside of the bowl and any decorations. Keep these separate from your kitchen towels.
- Aquarium Water Conditioner: A high-quality dechlorinator is your most important chemical. Seachem Prime is a popular, effective choice that also detoxifies ammonia for 24-48 hours, providing a safety net. Use it according to the dosage for the amount of water you are replacing.
- Thermometer: A simple stick-on or floating thermometer is crucial to ensure the new water temperature matches the old water exactly.
Helpful Extras (But Not Required)
- Turkey Baster: Excellent for gently sucking out debris from tight spots around decorations without disturbing the substrate too much.
- New, Soft Toothbrush: A dedicated, unused toothbrush is perfect for scrubbing decorations, silk plants, or the betta’s hideaway. Again, never a used one from your bathroom.
- Bucket with a Spigot or Faucet Adapter: If you do this often, a system that connects your sink directly to the siphon can make water changes dramatically easier.
The Step-by-Step Guide to a Safe, Effective Clean
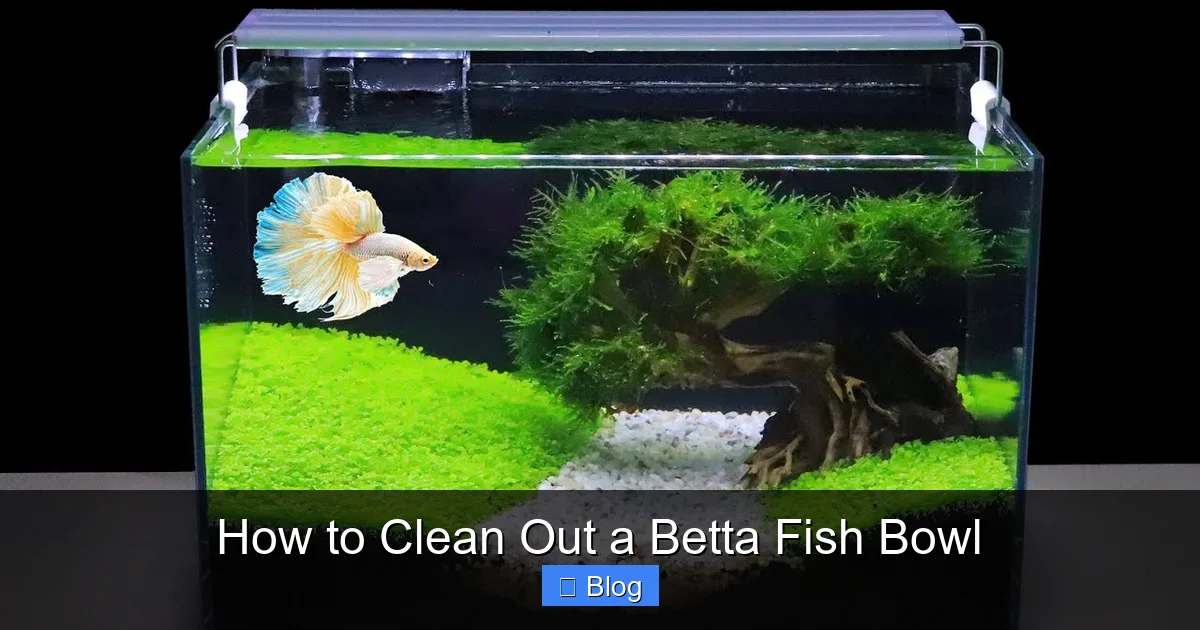
Now, the core process. This method is designed for a typical weekly or bi-weekly partial water change in a 2-5 gallon betta bowl. It prioritizes the stability of the environment. Remember: the cardinal rule is to never, ever remove your betta from the bowl unless it’s an absolute emergency. The stress of netting and relocation is far greater than the disturbance of a partial water change.
Visual guide about How to Clean Out a Betta Fish Bowl
Image source: i.ytimg.com
Step 1: Preparation and Initial Observation
First, gather all your supplies near the sink or where you’ll be working. Before touching anything, take 30 seconds to observe your betta. Is it swimming normally? Are its fins bright and open? Is there any visible fungus, sores, or clamped fins? This baseline will help you notice if the clean causes any immediate distress. Then, unplug any heater or filter you might have (though most simple betta bowls don’t use a filter). If you have a heater, leave it in the bowl during the water change to maintain temperature, but ensure it’s fully submerged and not being lifted out of the water.
Step 2: Removing Old Water and Cleaning the Gravel
This is the most important mechanical part of the clean. Place the end of your gravel vacuum into the bowl and the other end into your “dirty water” bucket. Start the siphon (using the bulb or by sucking carefully—keep your mouth away from the end!). Once water is flowing, plunge the vacuum tube into the gravel at the base of the bowl. Move it in a slow, deliberate circular pattern, lifting it slightly and letting it sink back in. You’ll see a cloud of debris (fish poop, old food) being sucked up. Continue this process, moving around the entire bottom, until you have removed 50-75% of the total water volume. For a 3-gallon bowl, you’re aiming to remove about 1.5 to 2.25 gallons. The water in the bucket will be dirty—this is expected. Discard this water down the drain. Do not reuse it.
Step 3: Cleaning the Glass and Decorations
With the water level lowered, you now have easy access to the bowl walls. Use your algae pad to gently scrub the inside glass from top to bottom. Use firm but gentle pressure; you are removing bio-film and algae, not scratching the glass. For stubborn algae, you may need to apply a little more pressure, but never use a razor blade on a glass bowl (it can scratch) or any acrylic bowl (it will scratch permanently). Next, remove any decorations, rocks, or silk plants. Place them in the now-empty “dirty” bucket or a separate clean container. Using your hands or the dedicated soft toothbrush, rinse each item thoroughly under room-temperature tap water. Gently rub off any visible slime coat, algae, or debris. Do not use soap. The goal is to remove waste, not sterilize (which would kill beneficial bacteria). Rinse until the water runs clear.
Step 4: The Crucial Water Preparation
This step separates successful keepers from those who lose fish. While you were cleaning, fill your second, clean bucket with fresh tap water. Now, you must treat it. Add the correct dosage of your water conditioner based on the volume of new water you will be adding (which is equal to the amount you removed). Stir it in well. Next, check the temperature. Use your thermometer to check the temperature of the old water still in the bowl. Then, check the temperature of the new, conditioned water in the bucket. They must match within 1-2 degrees Fahrenheit. If the new water is too cold, add a little warm tap water and re-check. If it’s too warm, let it sit for a few minutes. Temperature shock is a silent killer.
Step 5: Reassembly and Final Top-Off
Once your decorations are clean and your new water is perfectly conditioned and temperature-matched, it’s time to reassemble. Place the clean decorations back into the bowl in their original positions (or new ones, if you prefer). Slowly, gently, pour the new conditioned water into the bowl. Try to pour it against the glass or over a decoration to minimize disturbance to the substrate and, more importantly, to your betta. Do not dump it directly on the fish. Continue until the water level is back to its original height, usually about 1-2 inches from the top rim to allow for oxygen exchange. Wipe down the outside of the bowl with your lint-free cloth. Re-plug your heater (if you have one) and filter (if you have one). Wait at least 30 minutes for any temperature equalization and for the water to clarify before turning the heater back on, or follow your heater’s manual instructions.
Common Mistakes That Harm Bettas (And How to Avoid Them)
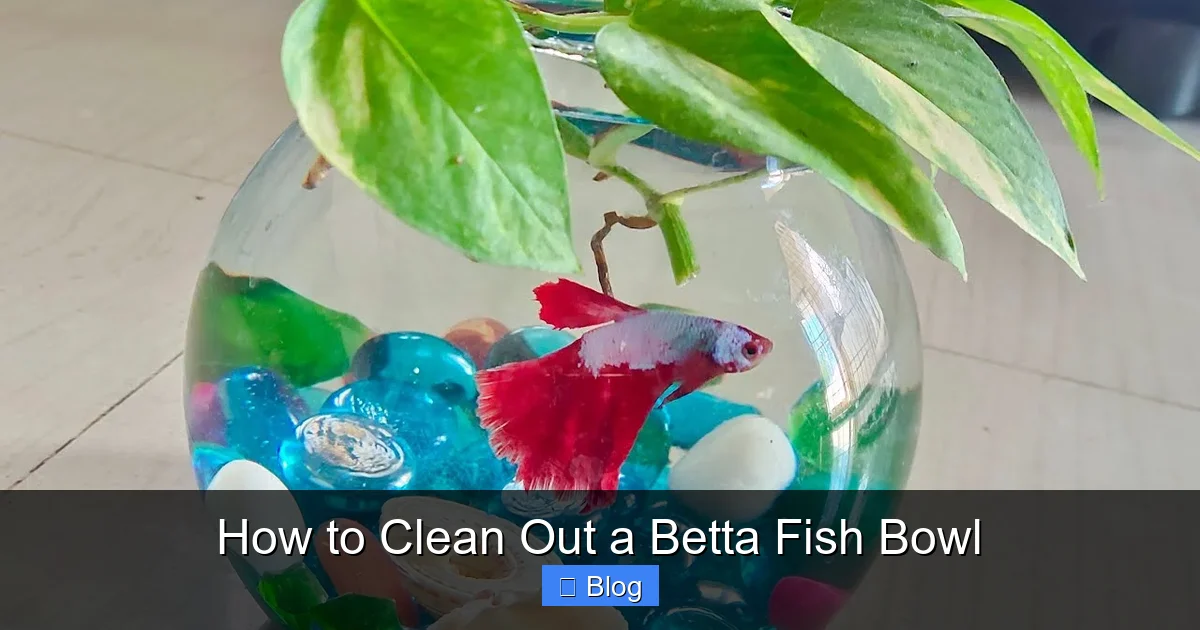
Even with the best intentions, it’s easy to make errors during a clean betta fish bowl routine. These mistakes are often the difference between a thriving fish and one that falls ill. Let’s debunk the dangerous myths and practices.
Visual guide about How to Clean Out a Betta Fish Bowl
Image source: i.ytimg.com
Mistake 1: The Full Teardown and Sterilization
The Error: Removing the betta, emptying all water, scrubbing every surface and decoration with soap or vinegar, and starting completely fresh every week. This is the single most common and deadly mistake. You are destroying the entire biological filter—the colony of beneficial bacteria that lives in the gravel, on decorations, and on the filter media (if present). These bacteria are what convert toxic ammonia into less harmful nitrates. Without them, every bit of fish waste becomes pure poison.
The Fix: Never do a full 100% water change and never use soap. Stick to the partial change method described above. Only replace or deep-clean decorations (with just water) if they are visibly caked with waste, and even then, do it in rotation so you don’t remove all bacterial habitat at once.
Mistake 2: Using Untreated Tap Water
The Error: Thinking that letting tap water sit out for a day “removes the chlorine.” While this can dissipate some chlorine, it does nothing for chloramine, a more stable chemical added to most municipal water supplies that does not evaporate. Chloramine is just as toxic as chlorine.
The Fix: Always, always use a water conditioner that specifically states it neutralizes both chlorine and chloramine. Read the label. Prime is a safe bet. Dose for the volume of water you are adding, not the entire bowl volume.
Mistake 3: Temperature Mismatch
The Error: Adding cold tap water from the sink to a warm bowl, or adding hot water. Bettas are tropical fish, preferring 78-80°F (25.5-26.5°C). A drop or spike of even 5 degrees can cause severe stress, suppressing their immune system and making them susceptible to disease.
The Fix: Use a thermometer. Always. Mix hot and cold tap water in your clean bucket to get close to the target temperature, then fine-tune and confirm with the thermometer before adding it to the bowl.
Mistake 4: Overfeeding and Subsequent “Cleaning”
The Error: Feeding too much, leading to excess food rotting on the bottom. Then, during the clean, stirring up this massive amount of decaying matter, clouding the water and creating an ammonia spike.
The Fix: Feed your betta only what it can eat in 2-3 minutes, once or twice a day. Any food that sinks to the bottom after 5 minutes should be considered waste and removed with a turkey baster during the week, before it decays. During your gravel vacuuming, you should be removing this accumulated solid waste.
Troubleshooting: Cloudy Water, Algae, and Stubborn Grime
Even with a good routine, you might encounter specific issues. Here’s how to handle them without resorting to harmful shortcuts.
The Bowl is Cloudy After Cleaning
This is usually a “bacterial bloom.” When you vacuum the gravel, you disturb fine particles and potentially stir up some beneficial bacteria. The cloudiness is typically harmless and will settle within 24-48 hours. Do not do another water change to fix it—that will just prolong the cycle. Just let the filter (if you have one) run or let it settle naturally. If the cloudiness is green, that’s an algae bloom, likely caused by too much light or nutrient overload (overfeeding). Reduce the duration of any light (natural or artificial) to 8-10 hours max and ensure you are removing all uneaten food.
Algae is Growing on the Glass
A little algae is normal and can even be a snack for your betta. A lot is a sign of an imbalance. First, reduce light as mentioned. Second, during your clean, use your algae pad to scrub it off. For particularly stubborn spots where the pad won’t reach (like the top rim), you can use a clean, dedicated razor blade only on glass bowls, held at a very shallow angle to scrape it off. Be extremely careful not to cut yourself or scratch the glass below the algae line. For acrylic, never use a razor; use a plastic algae scraper or your pad with more elbow grease.
Decorations are Slimy or Discolored
This is normal biofilm. During your clean, remove the item and rinse it thoroughly under lukewarm (not hot) tap water. Use your dedicated toothbrush to gently scrub the surfaces. If it’s a porous rock or driftwood, you may need to boil it for 10-15 minutes in a separate pot to deep-clean, then let it cool completely before returning it to the bowl. This should be done very rarely, perhaps once a year.
Long-Term Maintenance: Beyond the Weekly Clean
A clean betta fish bowl is the result of consistent habits, not heroic efforts once a month. Building a sustainable routine is key.
Establishing a Reliable Schedule
For a bowl under 2.5 gallons, a 50-75% water change is needed every 3-4 days. This is because the bioload (waste) accumulates so quickly in such a small volume. For a larger, filtered bowl (3-5 gallons), you can stretch to a weekly 25-50% change. The only way to know for sure is to use a liquid test kit (like the API Freshwater Master Test Kit). Test your water 24 hours after a water change. If your ammonia or nitrite reads above 0.25 ppm, you need to change water more frequently. If nitrate is consistently above 20 ppm before your change, increase the percentage you change.
Daily and Weekly Quick Checks
Incorporate these into your routine:
- Daily (30 seconds): Look at your betta. Is it active? Eating? Are its fins nice and wide? This is your most important health check.
- Every Other Day: Check the water temperature with your thermometer. Ensure the heater (if present) is functioning and the water isn’t getting too hot or cold.
- Weekly (before the clean): Look for uneaten food on the bottom and remove it with a turkey baster. Wipe any fingerprints or spots off the outside glass. Check that all equipment is working properly.
When to Consider an Upgrade
If you find yourself struggling to maintain water quality even with frequent changes, or if your bowl is smaller than 2.5 gallons, it’s time to seriously consider an upgrade. A 5-gallon tank with a gentle sponge filter is a world of difference. It provides vastly more stable water chemistry, requires less frequent water changes (maybe 25% weekly), and offers your betta actual space to explore. The effort to maintain a 5-gallon tank is often less than the frantic struggle to keep a tiny bowl clean. It’s the best thing you can do for your betta’s welfare.
Conclusion: The Gentle Art of Betta Bowl Care
Cleaning a betta fish bowl is not a chore; it’s a ritual of care. It’s the tangible way you provide a healthy, toxin-free home for a creature that depends entirely on you. By following the method outlined—using the right supplies, performing partial water changes with dechlorinated, temperature-matched water, and avoiding the temptation to over-sterilize—you create a stable, safe haven. Remember, you are not trying to create a sterile laboratory. You are maintaining a balanced, miniature ecosystem. The goal is clarity and consistency, not perfection. Watch your betta flare at its reflection in the clean glass, watch it weave through its plants, and know that its vibrant colors and active personality are a direct result of your informed, gentle care. A clean bowl is a happy bowl, and a happy betta is a joyful companion for years to come.
Frequently Asked Questions
Can I use soap to clean my betta’s bowl or decorations?
No. Even a tiny, invisible residue of soap or detergent is highly toxic to fish and will kill them. Always use only clean water and dedicated aquarium tools (like an algae pad) for scrubbing. For stubborn algae, use a razor blade only on glass (never acrylic) or increase water changes.
How often should I completely clean the betta bowl?
You should never do a complete, 100% teardown and clean. This destroys the beneficial bacteria cycle. Instead, perform a partial water change (replacing 50-75% of the water) every 3-4 days for bowls under 2.5 gallons, or weekly for larger, filtered setups (3-5 gallons). Only remove and scrub decorations if they are visibly coated in waste.
What’s the best way to remove algae from the glass?
Use a non-scratch algae pad designed for aquariums. Gently scrub the inside glass during your water change when the water level is low. For very stubborn algae on a glass bowl, you can carefully use a clean razor blade held at a shallow angle. Never use a razor on an acrylic bowl, as it will scratch it permanently.
Do I need a filter for my betta bowl?
While not strictly required, a gentle sponge filter is highly recommended for any bowl over 1 gallon. It provides mechanical filtration (removing debris) and crucial biological filtration (housing beneficial bacteria that process toxins). This makes water quality much more stable and reduces the frequency and urgency of water changes. Choose a filter with a very gentle flow, as bettas dislike strong currents.
Is it okay to use bottled spring water instead of tap water?
It’s not ideal and can be inconsistent. Bottled water often lacks essential minerals bettas need and can have unpredictable pH and hardness. It’s also expensive and creates plastic waste. Treated tap water with a quality conditioner is the most reliable, consistent, and cost-effective method for a clean betta fish bowl.
My betta seems stressed after a water change. What did I do wrong?
>The most common cause is a temperature shock or a chlorine/chloramine issue. Double-check that the new water temperature matched the old water exactly using a thermometer. Also, ensure you used a sufficient dose of water conditioner that neutralizes both chlorine and chloramine. Always add the conditioner to the new water before it enters the bowl. If stress persists, test your water parameters with a liquid test kit to check for ammonia or nitrite spikes.