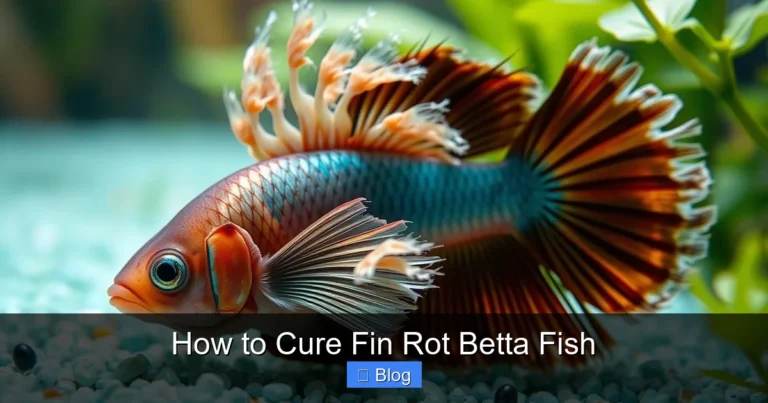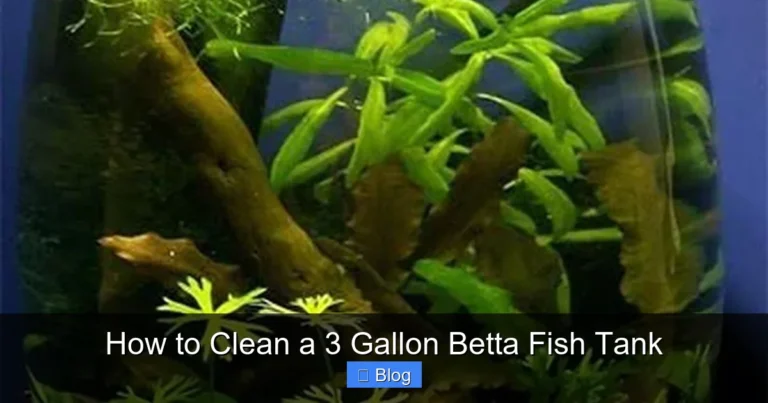
How to Cycle a Fish Tank Betta
Cycling a betta fish tank is the non-negotiable, foundational step to creating a safe, healthy home for your fish. It involves establishing a colony of beneficial bacteria that converts toxic fish waste into harmless substances. This process, called the nitrogen cycle, typically takes 4-6 weeks and must be completed before adding your betta. Rushing this step is the leading cause of “new tank syndrome,” fin rot, and premature death. You must use a liquid test kit to monitor ammonia, nitrite, and nitrate levels until the cycle is stable.
So you’ve brought home a beautiful betta fish, maybe in a cute little cup from the store, and you’ve set up a sparkling new aquarium. You’ve added the heater, the filter, some decor, and filled it with treated water. It looks perfect. But before you even think about pouring your new pet into that water, there is one absolutely critical, non-negotiable step you must take: cycling the fish tank. This isn’t just a suggestion or a “best practice”—it is the single most important thing you can do for your betta’s long-term health and survival. Skipping this process is like moving a person into a brand-new house with no plumbing or sewage system. The waste has nowhere to go, and it quickly becomes a toxic nightmare. Let’s walk through exactly how to cycle a fish tank for your betta, why it matters so much, and how to do it the right way.
Key Takeaways
- Cycling is Mandatory: You must cycle a tank before adding a betta. A cycled tank has bacteria that neutralize fish waste, preventing poisoning.
- The Nitrogen Cycle is the Goal: The process builds bacteria that convert toxic ammonia → toxic nitrite → less toxic nitrate.
- Test, Don’t Guess: A reliable liquid test kit (like API Freshwater Master) is your most important tool. You cannot cycle successfully without it.
- Patience is Part of the Process: A full cycle takes 4-6 weeks minimum. Adding fish early will almost certainly harm or kill them.
- Fishless Cycling is Recommended: For bettas, adding an ammonia source without fish (fishless cycling) is the safest, most humane method.
- Live Plants Help, But Don’t Replace Cycling: While plants consume some nitrates, they do not establish the bacterial colonies needed to handle betta waste.
- Maintenance Begins After Cycling: Once cycled, regular water changes (25-50% weekly) are needed to remove nitrates and keep the ecosystem balanced.
📑 Table of Contents
- What is the Nitrogen Cycle and Why Your Betta’s Life Depends on It
- Choosing Your Cycling Method: Fishless vs. With Fish (And Why One is Clearly Better)
- Step-by-Step: How to Perform a Fishless Cycle for Your Betta Tank
- Using Bottled Bacteria Products: Helpful Boost or Waste of Money?
- Common Cycling Mistakes (And How to Avoid Them)
- After the Cycle: The Real Beginning of Betta Care
What is the Nitrogen Cycle and Why Your Betta’s Life Depends on It
To understand cycling, you need to understand the “nitrogen cycle.” Don’t worry, it’s simpler than it sounds. In your aquarium, a silent, invisible ecosystem is at work. Your betta, like all living things, produces waste (ammonia) through its gills and excretes it. This ammonia is incredibly toxic—even tiny amounts will burn your betta’s gills, damage its fins, suppress its immune system, and eventually kill it. In a natural body of water or a mature, cycled tank, a special group of bacteria called Nitrosomonas exists. These bacteria colonize your filter media, gravel, and decorations. They eat the toxic ammonia and convert it into another substance called nitrite.
The Two Stages of Toxicity
Nitrite is also highly toxic. It works differently than ammonia—it binds to your fish’s hemoglobin, preventing it from carrying oxygen in the blood. This is called “brown blood disease” and is just as deadly as ammonia poisoning. But don’t panic! Another group of bacteria, called Nitrospira, takes over. They consume the nitrite and convert it into nitrate. Nitrate is much, much less toxic. While high levels of nitrate can still stress fish over the long term, it’s manageable with regular water changes. Plants in your tank will also absorb some nitrate as fertilizer. This entire process—ammonia → nitrite → nitrate—is the nitrogen cycle. “Cycling the tank” simply means growing enough of these beneficial bacteria colonies to process the amount of waste your betta will produce, as fast as it’s produced.
Why Betta-Specific Cycling is Crucial
You might think, “My betta is in a tiny cup at the store, it can’t produce that much waste.” That’s true, but the goal is to create a stable, resilient system. A cycled tank can handle the normal waste load and even minor spikes from overfeeding. Furthermore, bettas are particularly sensitive. They are labyrinth fish, meaning they breathe atmospheric air, but their gills are still delicate. They are prone to fin rot and other bacterial infections when stressed by poor water quality. A properly cycled tank provides the clean, stable water parameters that bettas thrive in. It’s the foundation of disease prevention. You are not just removing toxins; you are building a biological safety net for your fish.
Choosing Your Cycling Method: Fishless vs. With Fish (And Why One is Clearly Better)
There are two primary ways to cycle a tank: with fish (the old, inhumane method) or without fish (the modern, recommended method). For a betta, the choice should be obvious.
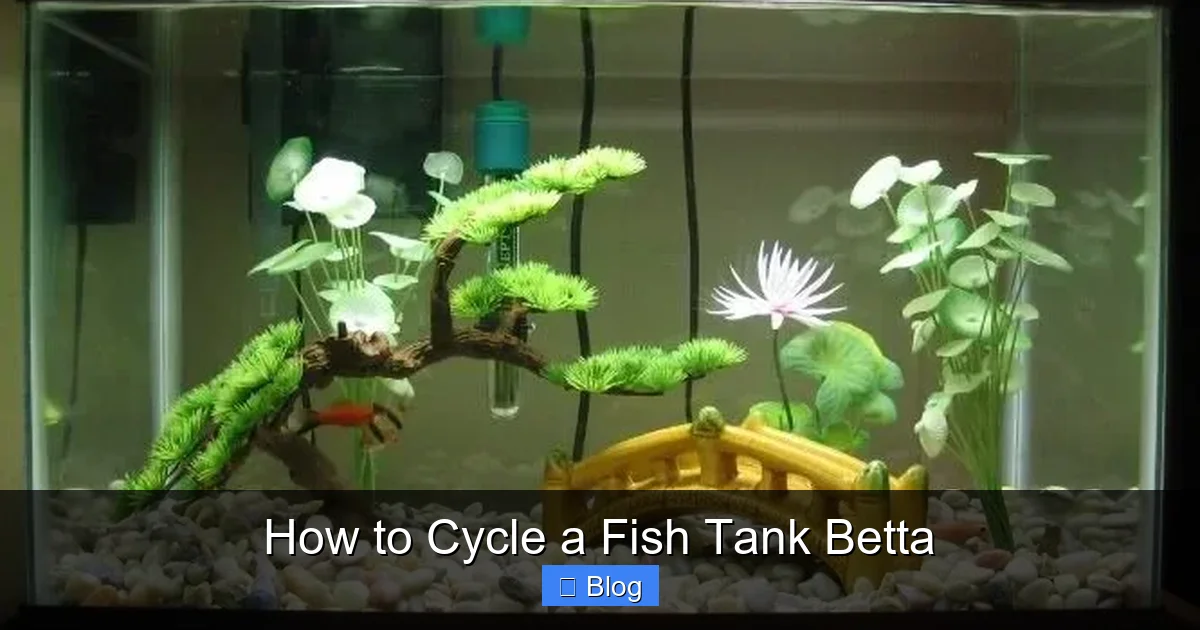
Visual guide about How to Cycle a Fish Tank Betta
Image source: petshun.com
The Inhumane and Dangerous “Cycling with Fish” Method
This traditional method involves putting a hardy fish (often a betta, tragically) into a new tank and using its waste as the ammonia source. The idea is that as the bacteria grow, they will slowly process the waste. The problem? That fish is living in lethal levels of its own poison from day one. Ammonia and nitrite spikes are inevitable and severe. You are essentially using your betta as a live test subject, subjecting it to chemical burns and oxygen deprivation. Many bettas will develop fin rot, become lethargic, gasp at the surface, and die before the cycle ever completes. It’s cruel, stressful for the fish, and results in a poor start to its life. Do not cycle with your betta.
The Humane and Effective “Fishless Cycling” Method
This is the method every responsible betta owner should use. You add an pure ammonia source to the empty, heated, filtered tank to simulate fish waste. The beneficial bacteria will still grow to consume this ammonia, but no fish is present to suffer. Once the cycle is complete—confirmed by your test kit showing 0ppm ammonia, 0ppm nitrite, and rising/stable nitrates—you can safely add your betta to a pristine, toxin-free environment. It’s safer for the fish and gives you complete control over the process.
Optional: The “Planted Tank” Shortcut (Not a True Cycle)
Some aquarists heavily plant a tank with fast-growing plants like hornwort, anacharis, or frogbit weeks before adding fish. These plants can absorb ammonia and nitrates directly, potentially lowering initial spikes. However, plants do not establish the nitrifying bacteria colonies in your filter. A heavily planted tank still needs to be cycled. The plants can help *after* the cycle is established and during maintenance, but they are not a substitute for the bacterial cycle itself. Think of them as helpful roommates, not the plumber.
Step-by-Step: How to Perform a Fishless Cycle for Your Betta Tank
Ready to get started? Here is a detailed, chronological guide to fishless cycling your betta’s new home.
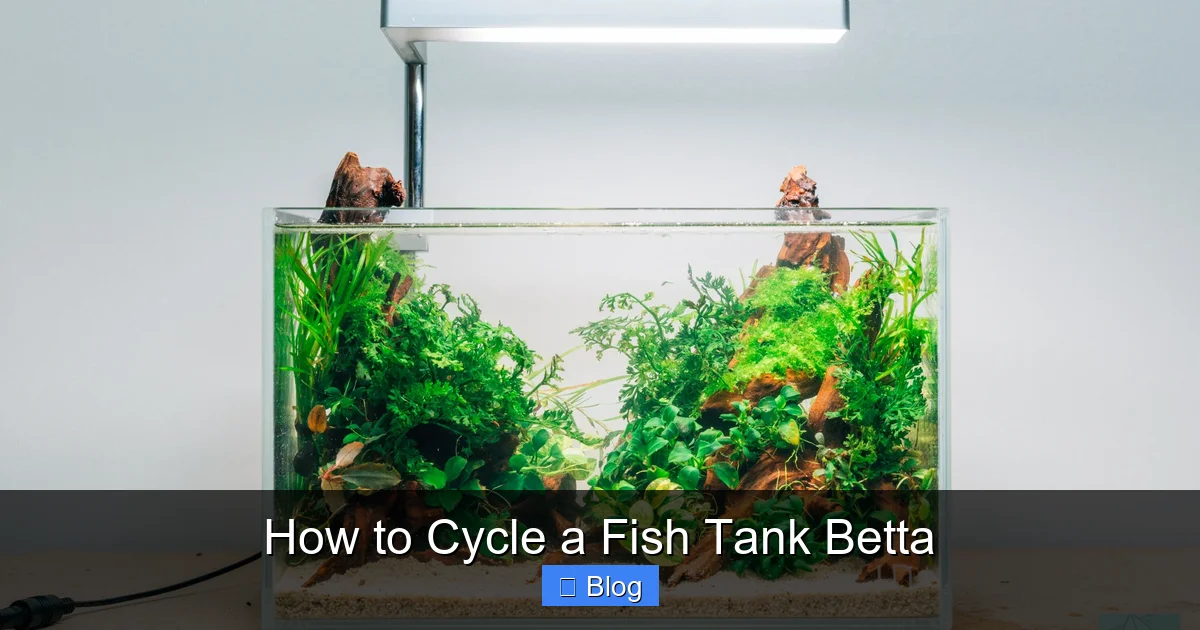
Visual guide about How to Cycle a Fish Tank Betta
Image source: cdn.shopify.com
Step 1: Setup and Preparation
Before you add a single drop of ammonia, your tank must be fully set up and running. This includes:
- Tank & Water: Fill your tank with dechlorinated water (use a water conditioner like Seachem Prime). Never use untreated tap water.
- Heater: Install and set your heater to a stable 78-80°F (25-27°C). Bacterial growth is temperature-dependent; warmer (within safe limits) speeds up the cycle.
- Filter: Install your filter. Use a filter media that provides lots of surface area for bacteria, like a sponge, ceramic rings, or bio-balls. Do not use filter cartridges that need replacing monthly—they throw away your bacteria. Rinse the media in old tank water (from a different, established tank if you have one) or just set it in the new tank. If it’s brand new, it’s fine.
- Decor & Substrate: Add your gravel, plants (live or silk), and decorations. Everything provides surface area.
- Let it Run: Turn everything on and let the tank run for 24-48 hours. This ensures temperature stability and allows any dust or particles to settle.
Step 2: Introduce the Ammonia Source
This is the “food” for your future bacteria. You have a few options:
- Pure Ammonia (Best Option): Buy 100% pure, clear ammonia (like from a hardware store). It must have no additives, dyes, or surfactants. Shake the bottle—if it suds up, it has soap and is useless. Dose to achieve 2-4 ppm ammonia. For a 5-gallon tank, this is usually 1-2 mL. Start with 2-3 ppm to avoid overwhelming the cycle later.
- Betta Food/Fish Flakes: You can add a pinch of food daily. It will decay and produce ammonia. This is less precise and can cloud the water, but it works.
- Pure Ammonium Chloride (For Experts): Used by scientists for precise dosing.
Add your chosen ammonia source to the tank. Stir well. Immediately test your water. You should see a reading of 2-4 ppm ammonia. If it’s lower, add a bit more. If it’s higher, do a partial water change to dilute.
Step 3: The Waiting Game & Daily Monitoring
Now, the patience test begins. For the next few weeks:
- Test Daily (or Every Other Day): Use your liquid test kit. Record your readings for Ammonia (NH3/NH4+), Nitrite (NO2-), and Nitrate (NO3-).
- Maintain Ammonia: As the bacteria (Nitrosomonas) grow, they will consume the ammonia. When your ammonia test drops to 0.5 ppm or lower, it’s time to add more ammonia to keep the bacteria fed. Your goal is to keep a low, steady supply (1-2 ppm) until the cycle is complete. Don’t let ammonia hit 0, or the bacteria will starve.
- Watch for the Nitrite Spike: This is your first sign of success! After a week or two, you will see your ammonia drop and your nitrite level rise sharply. This means the first bacteria are working and producing food for the second group. Nitrite will spike high, often to 5 ppm or more.
- Watch for the Nitrate Rise: As the second bacteria (Nitrospira) establish, they will consume the nitrite. You will see your nitrite level start to fall, and your nitrate level will begin to rise steadily. This is the final stage.
Step 4: The Final Confirmation
The cycle is complete when:
- You add ammonia, and within 24 hours, both ammonia and nitrite test at 0 ppm.
- Your nitrate level is rising (e.g., 20-40 ppm or higher).
This means your bacterial colonies are fully established and processing waste as fast as you add it. The moment you see 0 ppm ammonia and 0 ppm nitrite 24 hours after a dose, your tank is cycled! Do a final test the next day to confirm. The entire process usually takes 4-6 weeks, sometimes longer in colder water.
Step 5: The Pre-Fish Water Change
Before you add your betta, you must do a massive water change. Your nitrate level is likely very high from the cycling process (100+ ppm). High nitrate is stressful. Perform a 50-75% water change with freshly conditioned water to bring nitrates down to a safe level (below 20 ppm). After this change, test your water again. You should have 0 ammonia, 0 nitrite, and low/moderate nitrate. Now, and only now, is it safe to acclimate and introduce your betta to its new home.
Using Bottled Bacteria Products: Helpful Boost or Waste of Money?
You’ll see products like Seachem Stability, Tetra SafeStart, or Dr. Tim’s One and Only on the shelf. They claim to “instantly cycle” your tank. The truth is more nuanced.
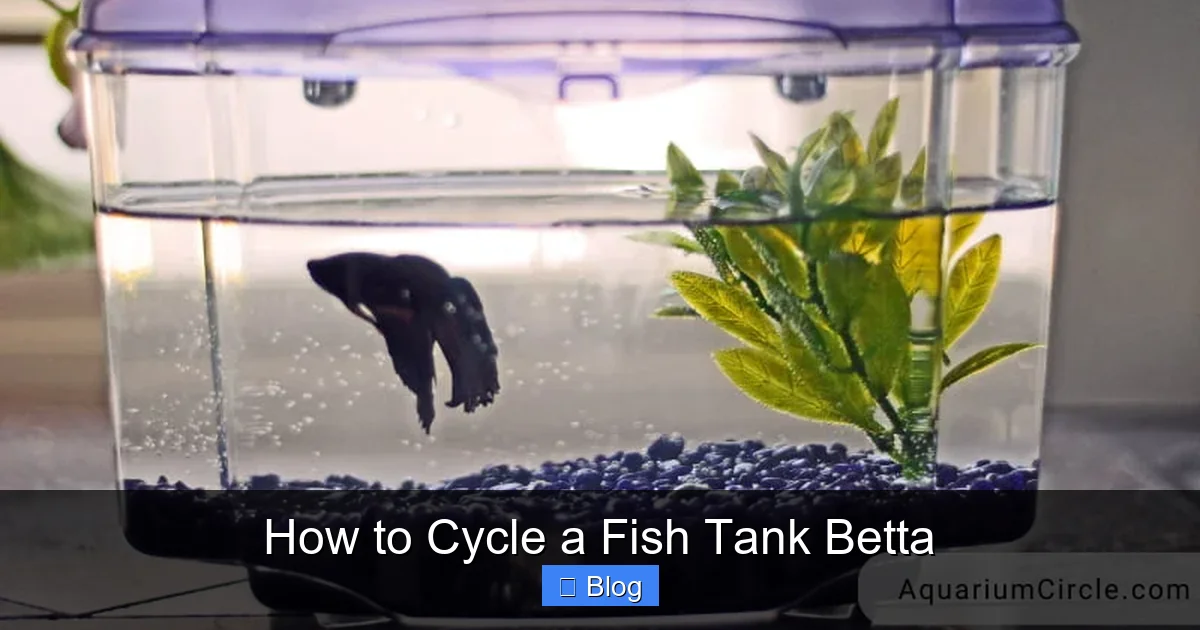
Visual guide about How to Cycle a Fish Tank Betta
Image source: aquariumcircle.com
How They Work (The Theory)
These products contain live, dormant strains of nitrifying bacteria (the same Nitrosomonas and Nitrospira). When added to a tank with an ammonia source, they are supposed to “jump-start” the cycle by providing the initial bacterial population, theoretically shortening the 4-6 week wait to a few days.
The Reality and Best Practices for Using Them
In practice, these products are inconsistent. The bacteria are fragile and their viability depends on storage conditions and age. They often work best as a supplement to a fishless cycle, not a replacement. Here’s how to use them effectively:
- Use them on Day 1: Add the entire bottle’s dose to your freshly set up tank with your initial ammonia dose.
- Provide a Home: Bacteria need surface area. Ensure your filter has plenty of bio-media (ceramic rings, sponge). The bacteria will colonize this media.
- Continue to Dose Ammonia: You still need to maintain an ammonia source. The bottled bacteria will help, but you must still feed the cycle manually until it’s complete.
- Manage Expectations: Do not expect a 1-week cycle. It may still take 3-4 weeks. Use the test kit as your guide, not the product label.
For a betta, using a bottle of bacteria is a good “insurance policy” and can help, but it does not eliminate the need for patient testing and ammonia management.
Common Cycling Mistakes (And How to Avoid Them)
Even with the best intentions, it’s easy to mess up the cycling process. Here are the most frequent pitfalls:
Mistake 1: Not Using a Test Kit
This is the #1 mistake. You are flying blind. Guessing based on water clarity or fish behavior is a recipe for disaster. A liquid test kit (API is the standard) is a one-time investment that saves your fish’s life. Test strips are notoriously inaccurate, especially for ammonia and nitrite. You must have a liquid test kit.
Mistake 2: Cleaning the Filter or Gravel Too Early
During the cycle, your filter media and gravel are becoming covered in the precious bacteria you’re trying to grow. If you rinse them in tap water (which kills bacteria with chlorine) or replace the filter cartridge, you wipe out your progress and have to start over. Never clean filter media in tap water during the cycle. If it gets clogged, gently swish it in a bucket of old tank water (from a water change) to remove debris. Leave the bacteria intact.
Mistake 3: Over-Cleaning the Tank
Same principle. Don’t vacuum all the gravel thoroughly during the cycle. You’re removing the bacteria colonizing it. Light surface cleaning is fine if there’s visible debris, but avoid deep cleaning until the tank is fully established (months later).
Mistake 4: Using “Cycle Starters” with Chlorine
If your tap water contains chlorine (most do), and you add a bacteria product, the chlorine will kill the bacteria immediately. Always use a water conditioner to neutralize chlorine and chloramines before adding any bacteria or ammonia to the tank.
Mistake 5: Adding Fish Too Soon
The single most common and fatal error. You see nitrates and think, “It must be done!” But if ammonia or nitrite are still present (even at 0.25 ppm), it’s lethal over time. Wait until you have two consecutive 0 ppm readings for both ammonia and nitrite, 24 hours apart, after a ammonia dose. Be patient.
After the Cycle: The Real Beginning of Betta Care
Congratulations! Your tank is cycled. But your work is not over; it’s just changing focus. Now you maintain the cycle you built.
Introducing Your Betta
Do not just dump your betta in. Acclimate it properly. Float the bag or cup in the tank for 15-30 minutes to equalize temperature. Then, slowly add small amounts of tank water to the bag over 30-60 minutes. Finally, net your betta (don’t pour store water into your clean tank) and place it in the tank. Discard the bag water.
The New Weekly Routine
Your cycled tank now has a biological load. Your betta produces ammonia daily, which the bacteria instantly convert to nitrite and then nitrate. Nitrate accumulates. Your new weekly maintenance routine is simple and vital:
- Test Your Water: Once a week, test for ammonia, nitrite, and nitrate. In a healthy, cycled tank with a single betta, these should always read 0, 0, and then whatever number (ideally under 20-40 ppm). Any reading of ammonia or nitrite means something is wrong (overfeeding, dead organism, filter failure).
- Water Change: Once a week, change 25-50% of the water. Use a gravel vacuum to clean debris from the substrate. This removes the built-up nitrate and any solid waste. Always treat the new water with conditioner before adding it.
- Filter Maintenance: Once a month, or if flow slows, gently rinse your filter media in old tank water (from the bucket you just siphoned). Never use tap water.
Troubleshooting a Stalled Cycle
If your cycle seems stuck—ammonia won’t drop, or nitrite won’t convert—here’s what to do:
- Is the tank warm enough? colder water slows bacteria. Ensure it’s 78-80°F.
- Is there enough surface area? Add more porous bio-media to your filter.
- Is the filter running? Bacteria need oxygenated water. Ensure the filter is providing good flow and aeration.
- Are you over-dosing ammonia? Very high ammonia (above 5-6 ppm) can inhibit bacterial growth. Do a partial water change to bring it down to 2-4 ppm.
- Did you use chlorinated water? If you added tap water without conditioner, you may have killed your bacteria. You may need to start over.
- Add a bacterial supplement. A dose of a bottled bacteria product can sometimes give a stalled cycle a boost.
Frequently Asked Questions
How long does it take to cycle a betta tank?
Typically 4-6 weeks using the fishless cycling method. This timeframe can be shorter with bottled bacteria and warmer temperatures (78-80°F), or longer if the tank is cool. You must rely on your test kit results, not the calendar, to determine completion.
Can I use my betta to cycle the tank?
No. Cycling with a fish, especially a sensitive betta, subjects it to dangerous levels of ammonia and nitrite, causing chemical burns, fin rot, and often death. It is inhumane and unnecessary. Always use the fishless cycling method.
Do I need a filter to cycle a betta tank?
Yes, a filter is essential for proper cycling. It provides the flow and surface area (on its media) where beneficial bacteria colonize. While a cycle can start in still water, a filter significantly increases bacterial capacity and oxygenates the water, making the process more efficient and stable for your betta.
Can live plants cycle my tank for my betta?
No. Live plants consume some ammonia and nitrates, but they do not establish the colonies of nitrifying bacteria (Nitrosomonas and Nitrospira) that are required to process fish waste quickly and completely. A heavily planted tank still needs to be cycled. Plants are a beneficial addition after the cycle is complete.
What happens if I add my betta before the tank is cycled?
Your betta will be exposed to rising levels of toxic ammonia and nitrite. This will burn its gills and fins, cause extreme stress, suppress its immune system, and almost certainly lead to illnesses like fin rot or dropsy. Many fish will die within days or weeks from “new tank syndrome.”
How do I know when my betta tank is fully cycled and safe?
Your tank is cycled and safe when your liquid test kit shows: 1) You add ammonia to reach 2-4 ppm, and 2) Within 24 hours, both ammonia and nitrite read 0 ppm, while nitrates are present and rising. You must see this result consistently (e.g., two days in a row) before adding your betta.