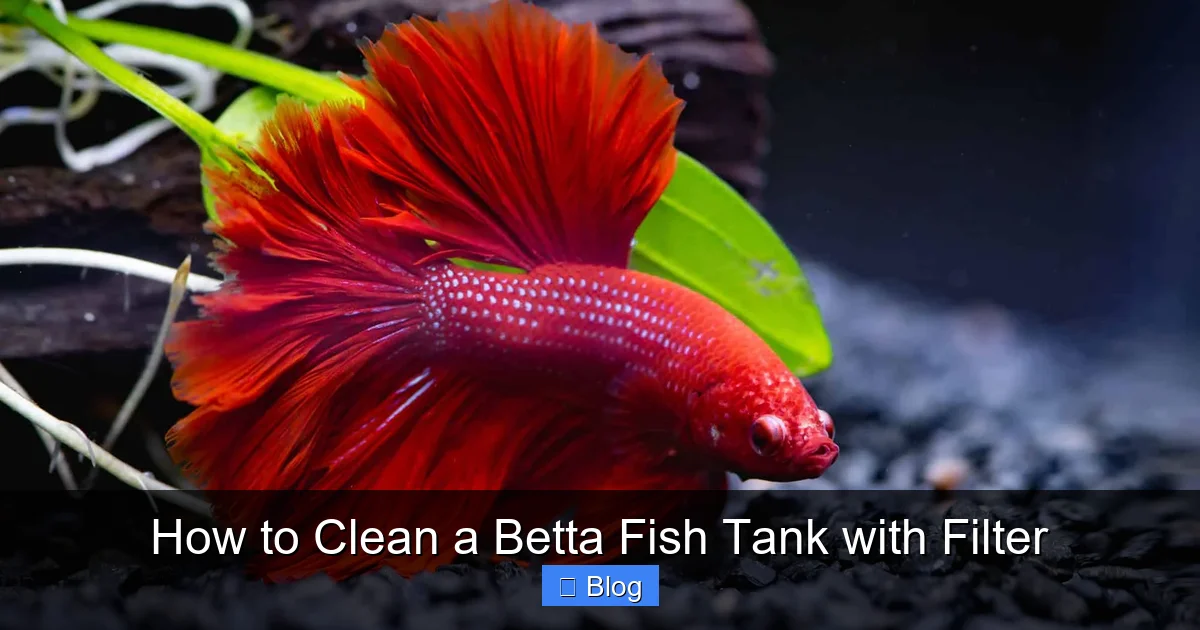
How to Clean a Betta Fish Tank with Filter
Cleaning a betta tank with a filter isn’t about scrubbing everything away—it’s about maintaining a balanced ecosystem. The key is performing regular partial water changes while carefully preserving the beneficial bacteria living in your filter media. Never replace all the water or wash filter media with tap water, as this destroys the bacterial colonies that process harmful toxins. By following a gentle, methodical process, you ensure a stable, healthy environment where your betta can thrive.
Key Takeaways
- Never replace 100% of the water: A full water change eliminates beneficial bacteria and causes dangerous chemical spikes, severely stressing your betta.
- Clean filter media in old tank water only: Tap water chlorine kills the essential bacteria colonized on your filter sponges and cartridges. Gently rinse them in a bucket of water you just removed from the tank.
- Match water temperature and dechlorinate: New water must be the same temperature as the tank to prevent thermal shock. Always use a water conditioner to neutralize chlorine and heavy metals.
- Vacuum the substrate during every water change: This removes fish waste and uneaten food from the gravel, preventing ammonia spikes and sludge buildup.
- Limit cleaning to 25-30% of the water volume per session: Frequent, small water changes are far less disruptive than occasional large ones, maintaining stable water parameters.
- Your filter is a living component: Its primary job is to house bacteria that convert toxic fish waste. Cleaning it too thoroughly or too often resets the nitrogen cycle and puts your betta at risk.
📑 Table of Contents
- Understanding Your Betta’s Mini-Ecosystem: The Filter’s Crucial Role
- Your Essential Cleaning Toolkit: Prep for Success
- The Step-by-Step Partial Water Change: The Core of Your Cleaning Routine
- Filter-Specific Maintenance: One Size Does Not Fit All
- Common Mistakes That Turn Cleaning Into a Disaster
- Troubleshooting: When the Tank Looks Worse After Cleaning
- Building a Long-Term Care Routine for a Thriving Betta
Understanding Your Betta’s Mini-Ecosystem: The Filter’s Crucial Role
Before we grab a scrub brush, we need to shift our mindset. A betta fish tank is not a glass box with water; it’s a complex, living ecosystem. At the heart of this ecosystem is a invisible army of beneficial bacteria. These microscopic helpers live primarily on the porous surfaces inside your filter—on the sponge, ceramic rings, or bio-media. Their job is monumental: they perform the nitrogen cycle, converting your betta’s toxic waste (ammonia) into less harmful nitrites, and finally into much safer nitrates.
When you set out to how to clean a betta fish tank with filter, your primary goal is to remove physical gunk (sludge, algae, debris) while protecting this bacterial colony. A common and fatal mistake is over-cleaning—washing everything in hot water or replacing all the filter media. This is like tearing down the sewage treatment plant for your betta’s home. The result is a rapid, invisible buildup of ammonia that can poison and kill your fish within days. The filter isn’t just for mechanical filtration (trapping particles); it’s the engine of biological filtration. This guide will teach you to clean with respect for that engine.
The Two Types of ‘Dirt’ in Your Tank
It helps to separate what we’re cleaning into two categories: visible waste and bacterial waste. Visible waste is the uneaten food pellets, fish feces, and decaying plant matter you can see on the gravel or clouding the water. This is what we remove with a gravel vacuum. Bacterial waste refers to the dissolved toxins (ammonia, nitrite) that are invisible but deadly. The beneficial bacteria in your filter consume this type of waste. Our cleaning process must target the first without destroying the second.
Your Essential Cleaning Toolkit: Prep for Success
Having everything ready before you start makes the process smooth and quick, minimizing the time your betta is stressed by the disturbance. Rummaging for tools mid-clean is a surefire way to extend the process unnecessarily.
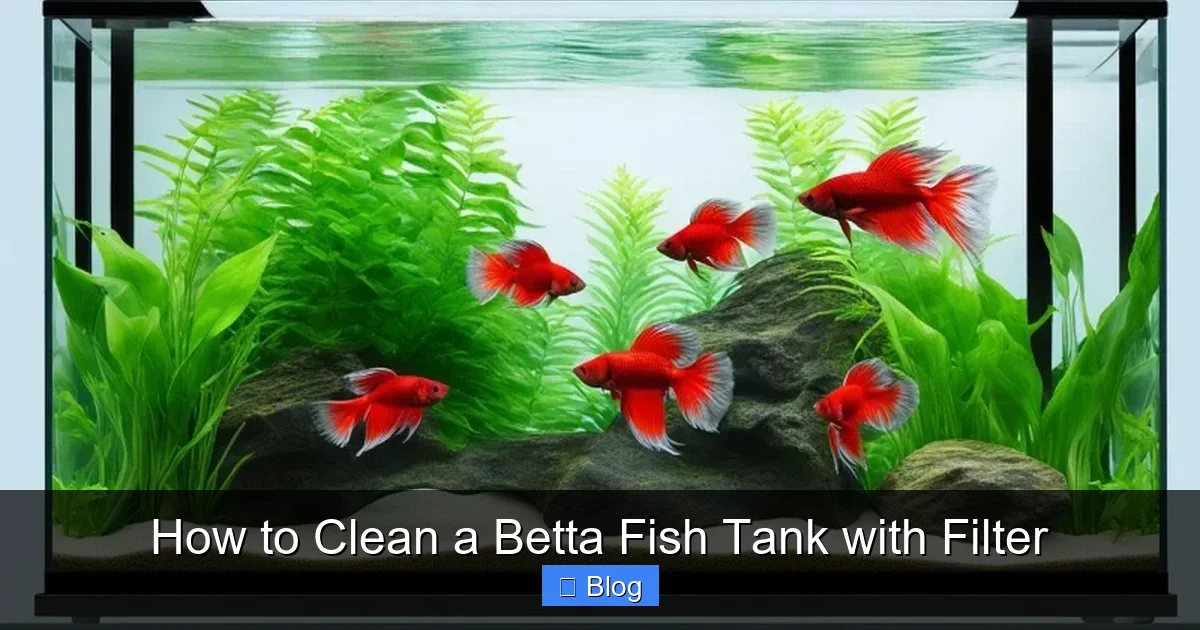
Visual guide about How to Clean a Betta Fish Tank with Filter
Image source: qwikbetta.com
- Bucket(s) Dedicated to Aquarium Use: Have at least one, preferably two, buckets that are used only for your aquarium. Never use a bucket that has held soap, chemicals, or has been used for cleaning floors. Residues are lethal to fish.
- Gravel Vacuum/Siphon: This is your #1 tool. A simple, plastic siphon with a wide, straight tube is perfect for a betta tank. It allows you to clean the gravel while simultaneously removing water.
- Water Conditioner (Dechlorinator): Non-negotiable. Tap water contains chlorine and chloramines that will kill your fish and your beneficial bacteria. You must treat every drop of new water.
- Thermometer: To ensure the new water temperature matches the tank water exactly (within 1-2 degrees).
- Algae Scraper/Pad: For the inside glass. Use a non-scratch pad for acrylic tanks. A magnetic cleaner is also a great investment.
- Clean Cloth or Paper Towels: For wiping the outside glass and any spills. Keep these separate from household cleaners.
- Old Towel or Mat: To place under your tank workspace to catch drips and spills.
- Filter Media Cleaning Container: This can be your second clean bucket. It will hold the old tank water you use to rinse your filter.
Setting Up Your Station
Place your clean buckets, tools, and water conditioner on a towel near the aquarium. If your tank has an electrical filter, unplug it before you start removing water to prevent it from running dry and burning out. Have your designated “old tank water” bucket ready. This is simply the first 2-3 gallons of water you siphon out during the gravel vacuuming process. This water will be cloudy with debris but will contain the precious beneficial bacteria from your tank. You will use it to rinse your filter media.
The Step-by-Step Partial Water Change: The Core of Your Cleaning Routine
This is the main event. A partial water change (PWC) is the single most important maintenance task you will perform. For a betta tank (5 gallons or more), changing 25-30% of the water weekly is the gold standard. This dilutes nitrates, removes solid waste, and refreshes minerals without upsetting the biological balance. Here is the precise, safe method.
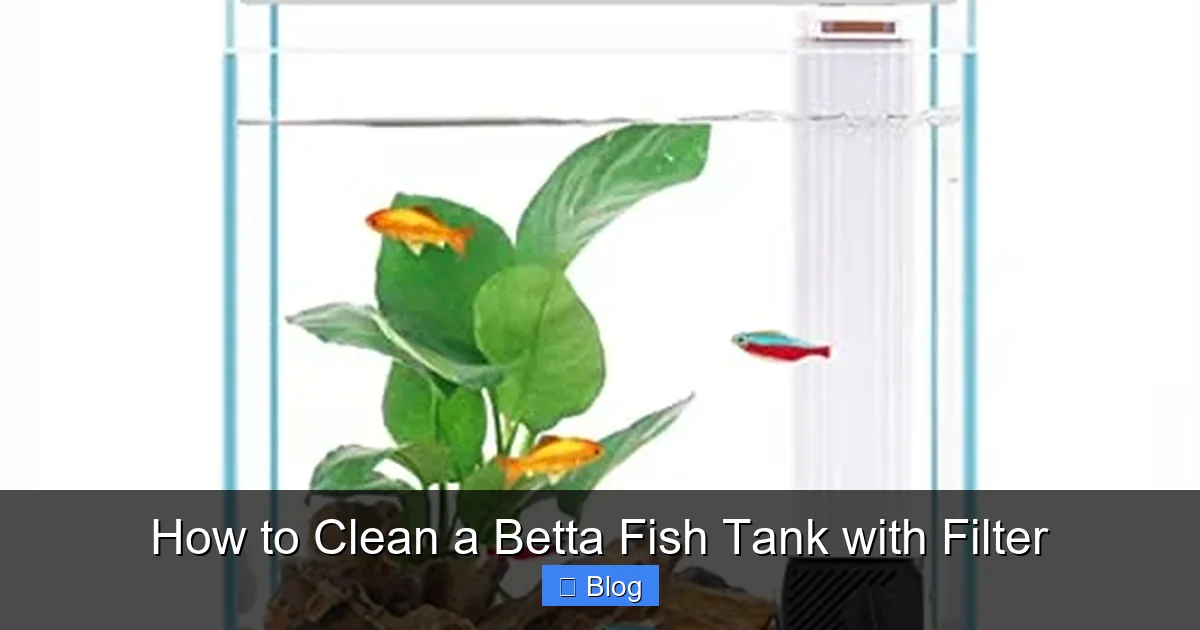
Visual guide about How to Clean a Betta Fish Tank with Filter
Image source: m.media-amazon.com
Step 1: Prepare Your Replacement Water
Fill your clean “new water” bucket with fresh tap water. Add the correct dose of water conditioner as per the product instructions. Stir gently. Use your thermometer to check the temperature. Adjust by adding a little warm or cold water until it matches your aquarium’s temperature perfectly. This is critical to prevent thermal shock to your betta, which can suppress its immune system.
Step 2: The Gravel Vacuum—Removing Solid Waste
Insert the wide end of your gravel vacuum into the substrate. Push it down about an inch. Start the siphon by sucking on the tubing (or using a priming bulb). Once water is flowing, move the vacuum in a slow, deliberate pattern over the gravel. The suction will lift debris and fish waste into the tube while the gravel falls back down. Focus on areas where waste accumulates, like under the filter outflow or in corners. Continue until you have removed the desired amount of water (e.g., 2.5 gallons from a 10-gallon tank). As you do this, you are collecting the “old tank water” in the bucket below—this is your future filter-rinse water.
Step 3: Algae Scraping (Optional but Recommended)
With the water level slightly lowered, it’s easier to reach the upper parts of the glass. Use your algae pad to gently scrape any algae from the viewing panels. Do this before you add the new water. Avoid using your hands or nails, as you can scratch the glass or acrylic and introduce contaminants.
Step 4: The Gentle Filter Cleaning
This is the most delicate step. Do not replace your filter cartridges or media unless they are physically disintegrating. The goal is to rinse, not replace.
- Unplug the filter and carefully remove it from the tank.
- Take it to your “old tank water” bucket. Disassemble it according to the manufacturer’s instructions.
- Gently squeeze and swirl the sponge or bio-media in the old tank water. You will see a cloud of brown debris come off. Continue until the water runs relatively clear. Do not use tap water, and do not scrub it with a brush. You are merely removing the large particles that are clogging the pores; you are not sterilizing it.
- If your filter has a mechanical pre-filter sponge on the intake, clean this more thoroughly, as its sole job is to catch debris and it can be cleaned more frequently.
- Reassemble the filter. If the impeller (the small propeller inside) has debris, gently wipe it with a cotton swab. Never force anything.
- Place the filter back in the tank. If it’s a hang-on-back (HOB) filter, you may need to prime it by filling the reservoir with water before plugging it in.
Step 5: The Final Top-Off
Slowly pour the conditioned, temperature-matched new water into the tank. To avoid disturbing the substrate and stressing your betta, you can:
- Pour the water onto a clean plate or saucer placed on the gravel.
- Use a jug and let the water stream hit the glass wall.
- Use a siphon hose to trickle the new water in slowly.
Fill until the water level is restored to its original height. Wipe away any water spots on the outside glass with your dedicated cloth.
Step 6: Restart and Observe
Plug the filter back in. Ensure it is flowing properly and not making unusual noises (air bubbles in the intake are normal at first). Turn on any heaters or lights. Give your betta a few minutes to adjust to the subtle water movement change. Observe it for a few minutes to ensure it is swimming normally and not gasping at the surface. The process is complete.
Filter-Specific Maintenance: One Size Does Not Fit All
The cleaning technique varies slightly depending on your filter type. Using the wrong method can damage the unit or your ecosystem.
Sponge Filters (Internal)
These are excellent for bettas due to their gentle flow. The sponge itself is the bio-media. To clean: Unplug the air pump. Remove the sponge from the tank. Wring it out gently in your bucket of old tank water. You will be amazed at how much brown water comes out. Squeeze it 3-4 times until the water runs clearer. Reinstall and plug the air pump back in. Because the entire sponge is bacteria, you never replace it unless it’s falling apart. You can cut a new sponge to size and add it alongside the old one for a few weeks to “seed” it before removing the old one.
Hang-On-Back (HOB) Filters
These typically have a plastic cartridge that contains a floss pad (mechanical) and often a carbon bag (chemical). The bio-media is usually in a separate chamber or on the impeller shaft.
- Floss/Carbon: These are the “sacrificial” mechanical parts. Rinse the floss pad in old tank water. Carbon loses its potency after 3-4 weeks, so it should be replaced monthly. Never replace both the floss and carbon at the same time, as you would lose too much bacteria. Alternate them: one week replace carbon, two weeks later replace floss.
- Bio-Wheels or Bio-Rings: These are your precious bacterial homes. Rinse them very gently in old tank water. Never use tap water. If they are very clogged, just give them a light swirl. Their job is to be dirty with bacteria.
Internal Canister or Power Filters
These follow the same principles as HOB filters but are submerged. Disassemble the media trays. Rinse mechanical media (foam, floss) in old tank water. Replace chemical media (carbon, phosphate removers) on schedule. Gently rinse bio-media (ceramic rings, porous blocks). Pay special attention to cleaning the impeller well, as debris often accumulates there and reduces flow.
Common Mistakes That Turn Cleaning Into a Disaster
Even with the best intentions, it’s easy to make errors that can crash your tank cycle or harm your betta. Here are the pitfalls to avoid at all costs.
Mistake 1: The “Spring Cleaning” Approach
This is the cardinal sin. Removing all the water, scrubbing every surface with soap (even “fish-safe” soap leaves residues), and replacing all the filter media is a guaranteed way to cause “New Tank Syndrome” in an established tank. The ammonia-producing bacteria are gone, but the fish are still producing waste. You will see a toxic spike within 48 hours. Remember: clean, don’t sterilize.
Mistake 2: Using Tap Water on Filter Media
Chlorine and chloramines in tap water are not just harmful to fish; they are instantly lethal to the beneficial bacteria you are trying to protect. Always, always use the old tank water you just siphoned out. This is non-negotiable.
Mistake 3: Neglecting the Gravel Vacuum
Some owners only top off evaporated water. This is a mistake. Evaporation leaves behind minerals but does not remove solid waste. Fish poop and uneaten food settle into the gravel, decomposing and producing ammonia. If you only top off, you are constantly concentrating these pollutants. You must vacuum the gravel during water changes to physically remove this waste.
Mistake 4: Inconsistent Water Parameters
Letting water changes slide for weeks leads to high nitrates, which stress your betta and promote algae. Conversely, changing water too frequently or in large volumes causes pH and temperature swings. Stick to a consistent schedule (weekly for 25-30%) and use a liquid water test kit (for Ammonia, Nitrite, Nitrate, pH) monthly to confirm your cycle is stable and your cleaning routine is effective.
Troubleshooting: When the Tank Looks Worse After Cleaning
Sometimes, despite your best efforts, you might encounter issues post-cleaning. Here’s what to do.
The Water is Cloudy
A mild, white cloudiness for 24-48 hours after a water change is usually a bacterial bloom. It’s caused by the sudden increase in available nutrients (clean water) and the disturbance of sediment. The bacterial population will explode to consume it and then settle. Do not panic and do another water change. Just wait it out. Ensure you are not overfeeding, as this fuels persistent cloudiness.
The Filter Flow is Weak or Loud
This almost always means the impeller or intake is clogged with debris that wasn’t removed during cleaning. Unplug the filter, disassemble it again, and thoroughly clean the impeller well and the intake tube with a cotton swab or old toothbrush (used only for the aquarium). Reassemble correctly.
My Betta is Hiding or Lethargic
Some temporary stress is normal after a tank cleaning due to the movement and water changes. However, if your betta is severely clamped, not eating, or hiding at the bottom for more than 24 hours, test your water immediately. You likely have an ammonia or nitrite spike from over-cleaning the filter or from a large temperature/pH swing in the new water. Perform an emergency 25% water change with properly conditioned water to dilute toxins and be extra careful with your next maintenance cycle.
Building a Long-Term Care Routine for a Thriving Betta
Cleaning should be a predictable, manageable ritual, not a frantic scramble. Integrate these habits into your calendar.
- Daily (1 minute): Check your betta. Is it eating? Is it swimming normally? Look for any signs of illness (spots, torn fins, scratching). Check that the filter is running smoothly.
- Weekly (30 minutes): Perform your partial water change and gravel vacuum as described. Scrape front glass if needed. Wipe down the outside. Test your water parameters (nitrate) with a test strip or liquid kit to confirm your routine is working.
- Monthly (15 minutes): Inspect and clean the filter more thoroughly. Check the impeller. Replace chemical media (carbon) if you use it. Clean the outside of the tank and the heater glass. Trim any dead leaves from live plants.
- Every 6 Months: Consider a deep inspection of all equipment. Check airline tubing for sponge filters, examine power cords, and ensure your heater is functioning accurately with a separate thermometer.
By following this structured, gentle approach to how to clean a betta fish tank with filter, you are not just maintaining a clean tank—you are curating a stable, healthy home. Your betta will reward you with vibrant colors, active curiosity, and a long, healthy life. The goal is never a sterile laboratory, but a balanced, thriving slice of nature on your desk.
Frequently Asked Questions
Can I use soap or aquarium-safe cleaners on my betta tank?
No. Even cleaners labeled “aquarium-safe” can leave residues that are toxic to fish. For the inside glass, use only an algae pad and water. For the outside, use a separate cloth with a vinegar-water solution (1:1) for hard water stains, rinsing thoroughly with a damp cloth afterwards. Never introduce household cleaners inside the tank.
My filter has a carbon cartridge. Should I replace it every time I clean?
No. Carbon adsorbs impurities and loses its effectiveness after about 3-4 weeks. Replace it on a monthly schedule, but never at the same time as you clean your bio-media. Stagger the replacements to preserve your bacterial colony. If you don’t have nitrate issues, you can often run without carbon altogether and just rely on your bio-media and regular water changes.
What if my tank isn’t fully cycled yet? Can I still clean it?
A tank that is still cycling (you are waiting for beneficial bacteria to establish) requires even more caution. Perform smaller, more frequent water changes (15-20% every other day) to control ammonia spikes until the cycle completes. When cleaning the filter during cycling, rinse the media extremely gently in the old tank water, as the bacterial population is still fragile and building.
How do I know if my filter flow is too strong for my betta?
Betta fins are delicate and they prefer calm water. Signs of a strong flow include your betta constantly struggling to stay in one place, fins being pushed back, hiding behind decorations, or appearing exhausted. You can reduce flow by adding a pre-filter sponge over the intake, baffling the output with a sponge or decorative item, or using an adjustable filter and turning it down.
Is it okay to remove my betta from the tank during cleaning?
It is almost always better to leave your betta in the tank during a partial water change and filter cleaning. Removing them causes unnecessary stress and risk of injury. The disturbances are minimal and temporary. Only remove your betta if you are performing a major medical treatment or a full tank overhaul that requires completely emptying the tank.
Why is my tank water cloudy again right after I cleaned it?
This is likely a bacterial bloom, which is normal after a water change. The clean water triggers rapid bacterial growth to consume organic matter. It should clear within 1-2 days. If it persists, check for overfeeding, ensure you are vacuuming the gravel adequately to remove solid waste, and verify your filter is running properly. Persistent cloudiness can also indicate a bacterial imbalance if you over-cleaned the filter.