How to Change Betta Fish Water Without Siphon
Changing your betta’s water without a siphon is not only possible but often preferable for these sensitive fish. By using the “cup method” with clean, dechlorinated water and careful temperature matching, you can perform a partial water change that is less stressful and equally effective. The key is gentleness, consistency, and never removing more than 30-50% of the water at once. This simple, equipment-light approach keeps your betta’s environment pristine without the noise and suction of a traditional siphon.
Key Takeaways
- Gentle is Best: Bettas are labyrinth fish with delicate fins; a slow, cup-based water change minimizes stress and physical harm compared to a powerful siphon.
- Prepare Everything First: Have your new water (dechlorinated & temperature-matched) ready in clean containers *before* you touch the tank to avoid rushing and mistakes.
- The 30-50% Rule is Sacred: Never change more than half the water at once. This preserves beneficial bacteria and prevents dangerous pH or temperature shock.
- Clean, Not Sterile: Use only dedicated aquarium buckets or containers. Never use soap, chemicals, or abrasive scrubbers that leave toxic residues.
- Acclimation is a Myth Here: Because you are replacing old water with new water of identical parameters, you do not need to acclimate the new water to the tank—just match temperature and treat for chlorine.
- Substrate Care is Key: Gently swirl or hover your cup above the gravel to remove debris without sucking up the substrate itself, which can stir up harmful ammonia pockets.
📑 Table of Contents
- Why a Siphon Isn’t Always the Best Tool for Your Betta
- Essential Preparation: Setting Yourself Up for Success
- The Cup Method: Your Step-by-Step Siphon-Free Water Change
- Advanced Tips & Common Pitfalls to Avoid
- When a Siphon *Might* Still Be Necessary
- The Long-Term Payoff: A Healthier, More Vibrant Betta
- Conclusion: Simplicity and Care, Hand in Hand
Why a Siphon Isn’t Always the Best Tool for Your Betta
Let’s be honest: the classic gravel vacuum siphon is the go-to tool for most aquarium hobbyists. It’s efficient, it gets the debris, and it’s what we see in every tutorial. But when it comes to the betta fish—that beautiful, flowing-finned, labyrinth-breathing diva of the freshwater world—that powerful suction can be a real problem. The loud gurgling, the strong current, the need to get uncomfortably close to the fish’s hiding spot… it can spike their stress levels dramatically. A stressed betta is a susceptible betta, prone to illness, faded colors, and lethargy. Learning how to change betta fish water without siphon isn’t a compromise; for many betta keepers, it’s a superior, calmer, and more controlled method that prioritizes the fish’s well-being. This guide will walk you through a peaceful, step-by-step process that requires nothing more than clean buckets, your hands, and a little patience.
The Betta’s Unique Sensitivity: A Case for the Gentle Approach
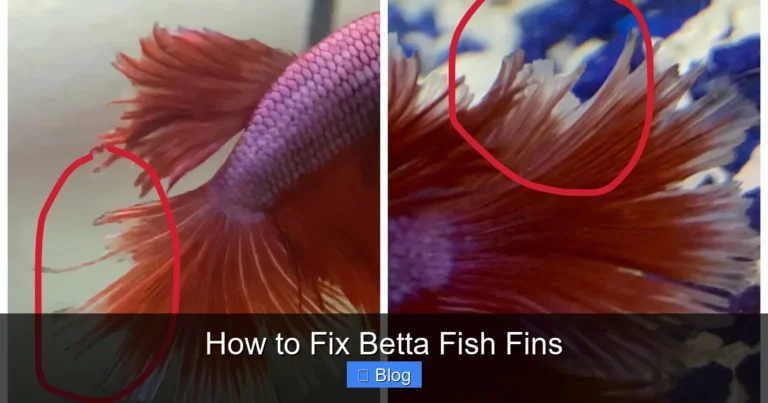
Bettas (Betta splendens) evolved in the shallow, stagnant rice paddies and slow-moving streams of Southeast Asia. Their physiology is built for stillness. Their famous labyrinth organ allows them to gulp air from the surface, meaning they are less dependent on strong water flow for oxygen. However, this also makes them incredibly sensitive to sudden changes in their environment. The rush of water from a siphon can feel like a predator attack or a flash flood. Furthermore, their long, flowing fins are easily torn or damaged by even mild suction. By using a simple cup or bowl to remove and replace water, you eliminate these stressors entirely. The water movement is zero. The sound is nonexistent. You can perform the entire process while your betta floats calmly a few inches away, curious but unafraid. This method is especially crucial for fancy betta varieties like Halfmoons or Rosepetals, whose massive finnage is a liability in strong currents.
Essential Preparation: Setting Yourself Up for Success
The golden rule of any water change is this: preparation prevents panic. Rushing into a water change with half your supplies ready is the #1 way to make mistakes that can harm your fish. This is doubly true when you’re doing it without the “automation” of a siphon. You are now the manual laborer, and you need your tools ready.
Visual guide about How to Change Betta Fish Water Without Siphon
Image source: images.nexusapp.co
Gathering Your Non-Siphon Toolkit
You don’t need a fancy kit. You need clean, dedicated containers. Here’s your checklist:
- Two Clean Buckets or Large Containers: One is strictly for removing old tank water. The other is strictly for holding and treating the new water. They must be never used for household cleaning, as soap and chemical residues are lethal to fish. Plastic food-safe buckets or large, clean pitcher-style containers work perfectly.
- A Water Conditioner/Dechlorinator: This is non-negotiable. Tap water contains chlorine and chloramines, which are fatal to fish. You must treat all new water before it touches your betta. Seachem Prime is a popular, effective choice.
- A Reliable Thermometer: Bettas are tropical fish, preferring 76-82°F (24-28°C). A 1-2 degree temperature difference between old and new water is acceptable, but a larger shock can be deadly. A simple floating or stick-on aquarium thermometer is essential.
- Paper Towels or a Clean, Lint-Free Cloth: For wiping up spills on the outside of the tank and the rim. This keeps the area tidy and prevents you from slipping or accidentally knocking something into the tank.
- Your Betta’s Favorite Food: A small pinch of food can be used as a distraction if your betta gets overly curious during the process, or simply as a positive reinforcement after.
The Critical Step: Preparing the New Water
This is the most important phase of how to change betta fish water without siphon. Do this before you touch the tank.
- Fill Your “New Water” Bucket: Use the same source water you always use (e.g., your tap, filtered, or RODI system). Fill it to the volume you plan to replace (e.g., 5 gallons for a 10-gallon tank’s 50% change).
- Add Dechlorinator Immediately: Following the product’s dosage instructions (usually 1-2 drops per gallon), add the conditioner to the bucket of new water. Stir gently. This starts neutralizing chlorine/chloramines instantly.
- Temperature Match: Place your thermometer in the new water bucket. If the temperature is more than 1-2 degrees off from your tank’s current temperature, you must adjust it. Add a little warm (not hot!) tap water to raise it, or a little cold to lower it. The goal is a perfect or near-perfect match. Do not pour boiling water in—it can create dangerous hot spots and damage your bucket.
- Let It Sit: Allow the treated new water to sit for 5-10 minutes. This ensures the dechlorinator has fully worked and the water temperature has stabilized. This is your final check before proceeding.
The Cup Method: Your Step-by-Step Siphon-Free Water Change
Now, the main event. This method is slow, deliberate, and peaceful. Think of it as a water ballet, not a flood evacuation.
Visual guide about How to Change Betta Fish Water Without Siphon
Image source: i.ytimg.com
Step 1: The Initial Clean-Up (Before Removing Water)
With your prepared new water waiting, put on your “calm hands.” If you have an algae scrubber or a clean algae pad (never used on kitchen surfaces!), now is the time to gently wipe down the inside glass walls of the tank. Do this before you remove any water. This prevents you from accidentally dumping algae and debris back into the clean water column later. Work from the top down. If you have a betta leaf hammock or other decor, give it a quick wipe with your clean, wet hands to slough off any visible gunk. The goal is to get the bulk of the surface debris off the tank walls and decor so that when you remove water, you’re primarily pulling out the suspended particles and waste from the water column itself.
Step 2: Removing the Old Water (The Gentle Extraction)
Take your designated “old water” bucket and your clean cup, bowl, or small pitcher. A 16-24oz cup is ideal.
- Do Not Disturb: Approach the tank slowly. If your betta is near the surface, gently encourage it to a different area with a slow hand wave or by offering a food distraction.
- The Technique: Submerge your cup fully, open end down. Gently push it into the water column, aiming for areas where you see floating waste, uneaten food, or debris. You can also hover it just above the gravel surface. Slowly tilt the cup to fill it, then lift it straight up. Do not plunge it rapidly into the substrate. The goal is to remove the dirty water, not to vacuum the gravel deeply. By hovering, you’ll suck up loose debris on top of the gravel without disturbing the deeper layers where beneficial bacteria live and where harmful gas pockets can form.
- Work Systematically: Move around the tank, cup by cup, removing water from different sections. Focus on the corners and behind decorations where waste tends to accumulate. Continue until you have removed your target volume (e.g., 5 gallons from a 10-gallon tank). Pour each cupful directly into your “old water” bucket. You’ll be surprised how many cups this takes—it’s a workout, but it’s controlled.
Step 3: Adding the New Water (The Calm Refill)
This is the easiest part and the most rewarding.
- Slow and Steady: Take your prepared “new water” bucket. Place the spout of your cup or pitcher against the inside glass of the tank, near the top.
- Create a Buffer: Gently pour the new water down the glass wall. This breaks the force of the water and prevents it from splashing directly onto your betta or disturbing the substrate. If you’re pouring from a height, do it slowly. The sound should be a quiet trickle, not a pour.
- Fill to the Brim: Continue until the water level is exactly where it was before (accounting for evaporation over time, but for a true water change, match the original fill line).
- Check the Temperature Again: Just before the final pour, dip your thermometer in the tank water to confirm the temperature is still within the safe range of your new water. If it’s dropped slightly during the process, your matched new water will bring it back up.
Step 4: The Final Touches and Observation
Once filled, use your paper towel to wipe any water spots from the outside glass and the tank rim. This is mostly aesthetic, but it also helps you see your fish clearly to check on its status. Now, the most important part: observe your betta for 10-15 minutes. Is it swimming normally? Is its color vibrant? Is it breathing calmly at the surface? Any frantic darting, clamped fins, or gasping is a sign of stress or a problem with the water parameters. If everything looks good, you’ve succeeded! Reward your betta with a tiny pinch of food. Dispose of the old water down a drain (it’s fine for plants if you don’t use chemical medications). Rinse your buckets and cups with plain water (no soap!) and let them air dry for next time.
Advanced Tips & Common Pitfalls to Avoid
Mastering the basic cup method is straightforward, but these pro-tips will elevate your water change game and keep your betta thriving for years.
Visual guide about How to Change Betta Fish Water Without Siphon
Image source: images.nexusapp.co
Timing and Frequency: The Unbreakable Schedule
How often you perform this how to change betta fish water without siphon routine depends entirely on your tank setup. A common mistake is assuming a small tank needs less maintenance—it’s the opposite. A 2.5-gallon unfiltered bowl may need a 50% change every other day. A 10-gallon filtered, planted tank might only need 25% weekly. The rule of thumb: test your water. Use a liquid test kit (API Freshwater Master Test Kit is the gold standard) to check for ammonia, nitrite, and nitrate. If nitrate is consistently above 10-20 ppm before your scheduled change, you’re not changing often enough. For most filtered betta tanks, a 25-30% weekly change is the sweet spot. Unfiltered or very small containers require more frequent, smaller changes. Consistency is more important than volume.
The Substrate Conundrum: To Vacuum or Not to Vacuum?
This is the biggest debate in betta care. In a filtered tank, the substrate is home to beneficial bacteria that process waste (the nitrogen cycle). Deeply vacuuming it with a siphon every week can disrupt these colonies. With the cup method, you are inherently being much gentler. The advice: light disturbance only. As you hover your cup above the gravel, you’ll naturally pick up some loose debris on top. Occasionally, maybe once a month, you can gently stir the very top 1/4 inch of substrate with your clean finger or the cup’s edge to release trapped waste, then immediately cup out that suspended debris. But for weekly changes, just removing the water column debris is sufficient. Never dig deep.
Dealing with Algae and Stubborn Grime
Sometimes, you need to clean more than just the water. For algae on the glass, use a dedicated algae scraper or a clean, unused kitchen sponge (the non-scratch kind). For hard water spots on the glass above the water line, use a 50/50 solution of white vinegar and water on a paper towel. Rinse thoroughly with tank water or dechlorinated water afterward to ensure no vinegar residue drips in. For decor, remove it and scrub it with your dedicated bucket of old tank water (never tap water—the chlorine shock can kill beneficial bacteria on the decor). Never use soap. The “old tank water” you just removed is perfect for this rinse.
What If My Betta Jumps? The Lid Question
Betta fish are notorious jumpers. If your tank does not have a lid, you are playing with fire during a water change when the water level drops. A curious betta might see its reflection or a bug and launch itself out. Always keep the water level high enough that your betta cannot jump out. If you have a lid, remove it carefully and set it aside *before* you start, so you don’t fumble with it while holding a cup of dirty water. If you must remove a lid, do it at the very start and have a hand ready to gently guide the betta back in if it leaps. Some keepers use a floating betta trap (a small cup with air bubbles) during changes, but this is usually overkill if you’re calm and deliberate.
When a Siphon *Might* Still Be Necessary
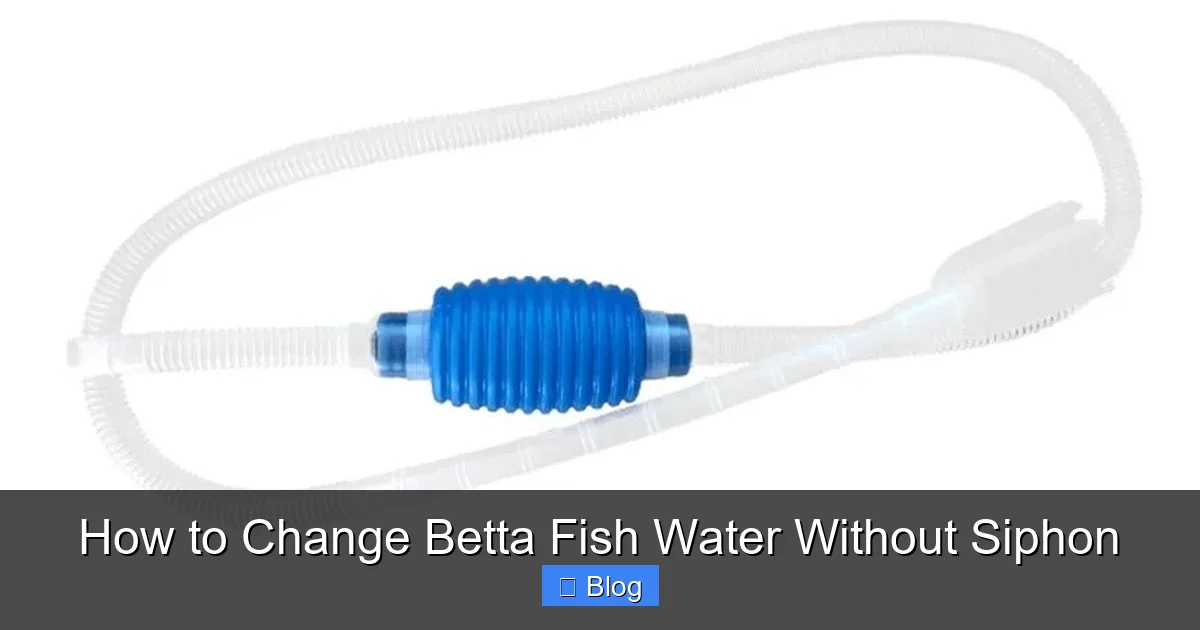
While the cup method is ideal for routine weekly maintenance, there are a couple of scenarios where a gentle, small-diameter siphon can be a useful tool in a betta keeper’s kit, used with extreme care.
The Deep Clean Dilemma
If you’ve neglected your tank for a long time (we’re talking months) and the substrate is visibly packed with decaying matter, a shallow, careful siphon might be needed for a one-time deep clean. If you choose this route:
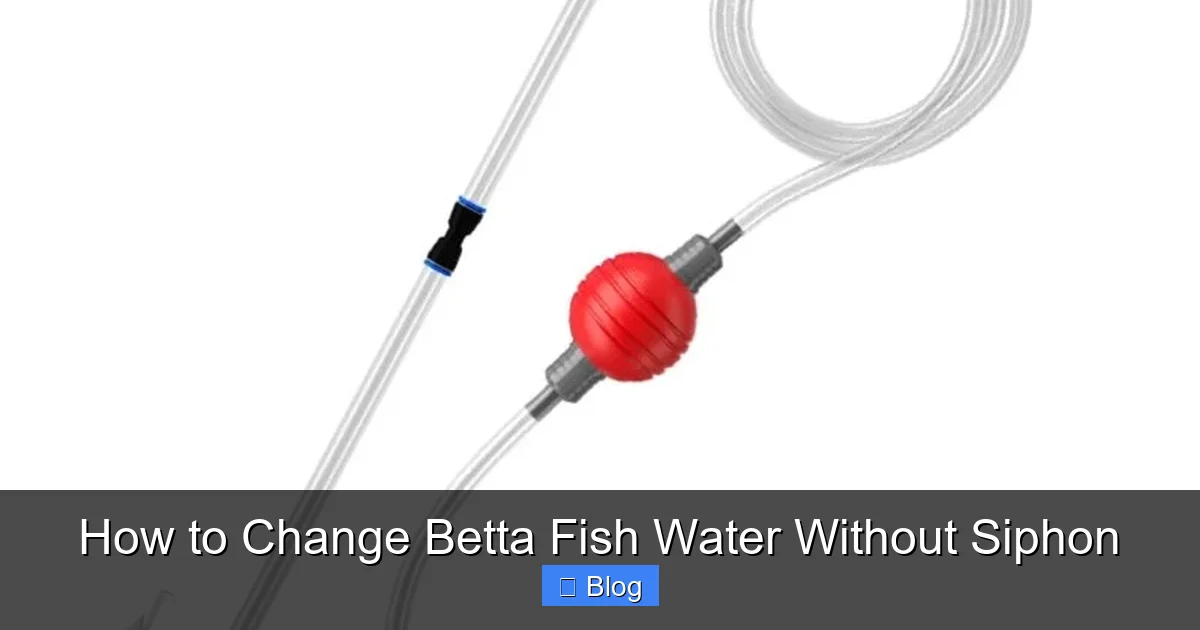
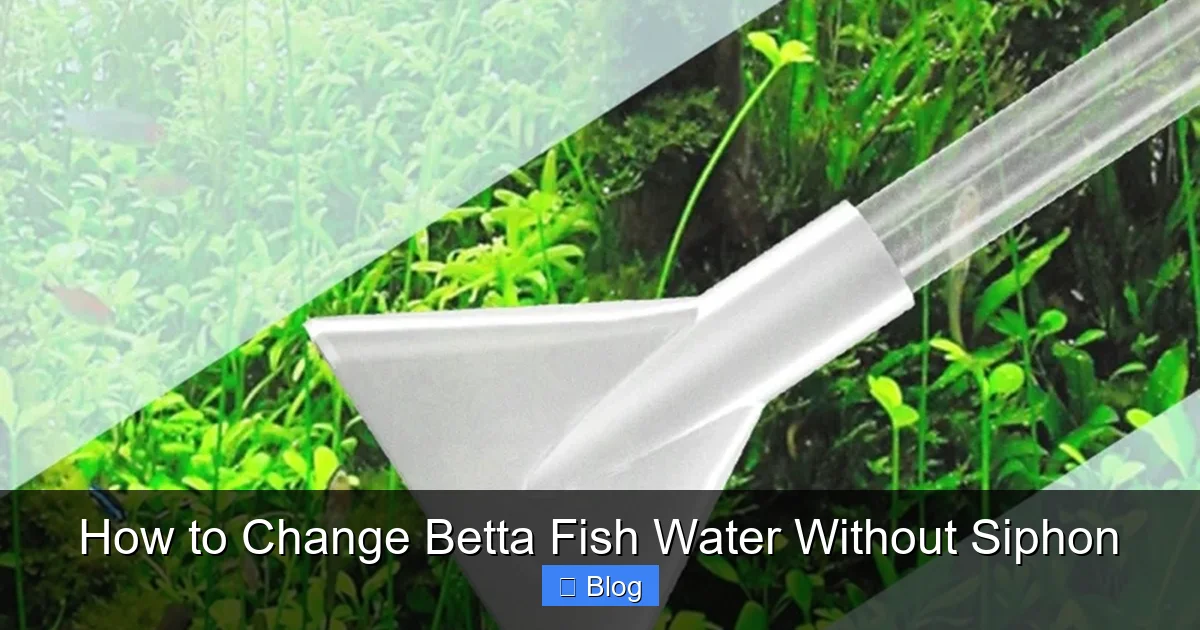
- Use a tiny, narrow-tipped siphon. The smaller the diameter, the weaker the suction. You can even pinch the tubing with your fingers to control flow.
- Never bury the tip. Hover it just above the gravel surface, skimming only the loose, visible debris.
- Go slow. Move the siphon tip meticulously, like a surgeon, not a plough.
- Combine with the cup method. Use the siphon for targeted debris removal in the worst spots, then use cups for the bulk of the water removal and refill.
Remember, the goal is to clean the tank, not to sterilize it. You want to remove the *excess* waste, not all the beneficial bacteria.
Filter Media Rinsing
This isn’t a water change per se, but it’s part of tank maintenance. When you rinse your filter media (sponges, bio-balls), you must use the *old tank water* you just removed. Tap water will kill the beneficial bacteria colony. Swirl and squeeze the media in the bucket of old water until it runs relatively clear. Do not over-rinse. Then, place it back in the filter immediately. This should be done during your water change to capture the dirty rinse water.
The Long-Term Payoff: A Healthier, More Vibrant Betta
Sticking with this gentle, siphon-free water change routine does more than just keep the water clear. It’s a foundational part of proactive betta healthcare. Clean, stable water parameters are the single biggest factor in preventing common betta ailments like fin rot, velvet, and dropsy. A betta living in pristine water will have:
- Brighter, more intense colors that pop against its tank background.
- Longer, fuller fins that flow gracefully without tears or splits.
- Increased activity and curiosity, actively exploring its environment and building bubble nests.
- A stronger immune system, better able to resist parasites and bacterial infections.
- A longer lifespan. Well-maintained bettas routinely live 3-5 years, sometimes more.
By choosing a method that respects your betta’s natural temperament—the calm, the still, the deliberate—you are not just performing a chore. You are actively participating in your fish’s wellness. You build a relationship of trust. Your betta learns that human intervention near the tank is not a threat, but a routine part of its peaceful world. You’ll find yourself looking forward to these quiet, meditative water changes, using them as a moment to inspect your fish closely, appreciate its beauty, and feel the satisfaction of providing optimal care with minimal fuss and zero specialized equipment.
Conclusion: Simplicity and Care, Hand in Hand
Changing your betta’s water without a siphon boils down to a powerful philosophy: slow and steady wins the race. It’s about replacing the daunting, noisy task with a serene, hands-on ritual. You now have the knowledge—prepare your water meticulously, remove old water gently with a cup, refill slowly against the glass, and maintain a unwavering schedule. This method empowers every betta owner, regardless of budget or experience, to provide gold-standard water quality. It strips away the complexity and gets back to the core of fishkeeping: clean water and a stress-free environment. Your betta doesn’t care if you own a $30 siphon or a $2 plastic cup. It only cares that its home is clean, its water is pure, and its human is gentle. By mastering this simple technique, you give your fish exactly what it needs to thrive, displaying its magnificent fins and vibrant personality for years to come.
Frequently Asked Questions
How often should I change my betta fish water without a siphon?
For a filtered tank of 5 gallons or more, a 25-30% water change once a week is ideal. For a smaller, unfiltered tank (under 5 gallons), you should perform a 50% water change every other day to maintain safe ammonia and nitrate levels. Always use a water test kit to guide your schedule.
Can I use bottled spring water instead of tap water?
You can, but it’s not recommended as a regular practice. Bottled water often lacks essential minerals that bettas need for osmoregulation and can be too soft. If you must use it, you need to add a proper mineral supplement. Tap water, properly dechlorinated, is almost always the best and most consistent choice.
What if I accidentally remove more than 50% of the water?
Don’t panic. Immediately stop and finish the refill with your prepared, temperature-matched, dechlorinated water. The primary risk is a significant shift in water parameters (pH, temperature, mineral content). Monitor your betta closely for signs of stress (gasping, lethargy) for the next few hours. For future changes, set a visual marker on your tank glass for your target water level.
Do I need to remove my betta from the tank during the water change?
No. Removing your betta is highly stressful and unnecessary for a partial water change. The entire point of the cup method is to perform the change with the fish safely in the tank. Only remove your betta if you are doing a full, 100% water change or a deep clean of the entire tank, which is a much rarer and more involved procedure.
My betta flares at me when I use the cup—is this method wrong?
Flaring is a natural territorial or defensive response, not necessarily a sign of extreme distress. If your betta flares but then calms down and swims normally, it’s likely just annoyed. To minimize this, move slowly, avoid direct eye contact (use your peripheral vision), and consider using a food distraction the first few times. The goal is to be so gentle and non-threatening that the flaring stops over time.
How do I clean the gravel without a siphon if there’s a lot of waste?
Focus on the water column first. As you cup out the dirty water, you’ll naturally remove a lot of suspended debris. For gravel surface waste, you can gently hover your cup just above the substrate and slowly move it to suck up loose particles. For a deeper clean, once a month, you can very lightly stir the top layer of gravel with your clean finger to release trapped debris, then immediately cup out the now-suspended cloud before it settles again.