How to Change Water for Betta Fish
Changing your betta fish’s water correctly is the single most important thing you can do for its health. Unlike many fish, bettas are sensitive to poor water quality, which can lead to stress, disease, and a shortened lifespan. The process isn’t complicated but requires consistency, the right supplies, and attention to detail. You must always treat tap water with a dechlorinator, match the temperature perfectly, and avoid over-cleaning the filter. By following a simple, regular schedule—typically 25-50% weekly—you create a clean, stable environment where your betta can truly thrive, displaying its brilliant colors and active personality.
Key Takeaways
- Frequency is Key: Perform partial water changes of 25-50% once a week, regardless of tank size or filter presence, to maintain optimal water quality.
- Dechlorinate Absolutely: Never add untreated tap water. Always use a reliable water conditioner/dechlorinator to neutralize chlorine, chloramines, and heavy metals.
- Match Temperature Precisely: The new water must be within 1-2°F (0.5-1°C) of the tank’s existing water to prevent dangerous thermal shock.
- Clean, Don’t Sterilize: Gently rinse filter media and decorations in the *old* tank water you’ve removed, never under the tap, to preserve beneficial bacteria.
- Avoid Overcleaning: Never perform a 100% water change or use soap/detergents. This destroys the essential biological filter and harms your fish.
- Observe and Adjust: Watch your betta’s behavior after water changes. Lethargy or gasping indicates a problem with temperature, dechlorination, or water parameters.
📑 Table of Contents
- Why Water Changes Are Non-Negotiable for Betta Health
- Gathering Your Supplies: The Essential Toolkit
- The Step-by-Step: How to Change Water for Betta Fish (The Right Way)
- Common Mistakes That Harm Bettas (And How to Avoid Them)
- Troubleshooting: When Things Go Wrong
- Creating a Sustainable Maintenance Schedule
- Conclusion: The Simple Secret to a Thriving Betta
Why Water Changes Are Non-Negotiable for Betta Health
Let’s be honest for a moment. When you first bring home that stunning, flowing-finned betta in its little cup, the primary advice you get is “just put him in a bowl and change the water sometimes.” This outdated myth is the number one reason bettas suffer and die prematurely. Understanding how to change water for betta fish correctly isn’t just a chore; it’s the cornerstone of responsible ownership.
Think of your betta’s tank as a tiny, enclosed ecosystem. Your fish eats, breathes, and excretes within this closed space. Waste products (ammonia) from urine and feces, along with decaying uneaten food, quickly break down into toxic substances. Ammonia burns your betta’s gills and skin. It then converts to nitrite, which prevents blood from carrying oxygen, and finally to nitrate, which causes stress and encourages algae growth. In a small, unfiltered bowl, these toxins can reach lethal levels in a matter of days.
Even with a filter, which helps process toxins biologically, physical waste and nitrate accumulate. A filter moves water; it does not remove dissolved toxins or solid waste. That’s where you come in. Regular, partial water changes dilute these toxins, reset the water chemistry, remove solid debris, and replenish essential minerals. A clean, stable environment reduces stress, boosts your betta’s immune system, enhances its colors, and allows for that beautiful, curious personality to shine. Mastering this simple routine directly translates to a happier, healthier fish that could live for 3-5 years or more.
Gathering Your Supplies: The Essential Toolkit
Before you even touch the tank, having everything within arm’s reach makes the process smooth, quick, and less stressful for you and your betta. Scrambling for supplies mid-change risks spills or temperature mismatches. Here’s your definitive checklist.
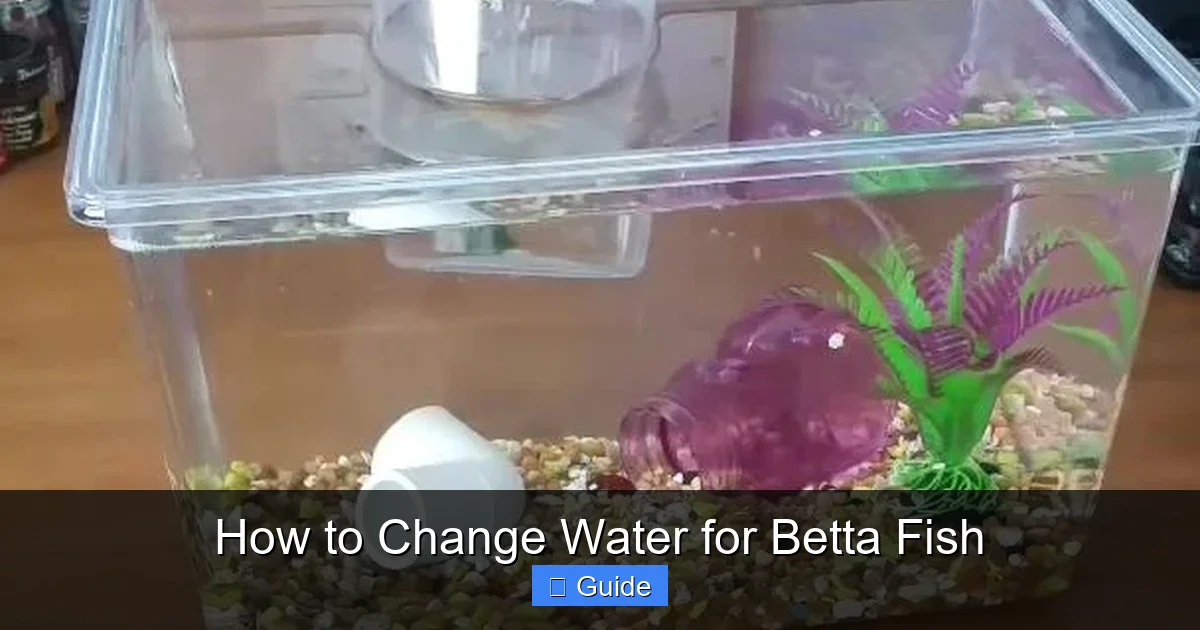
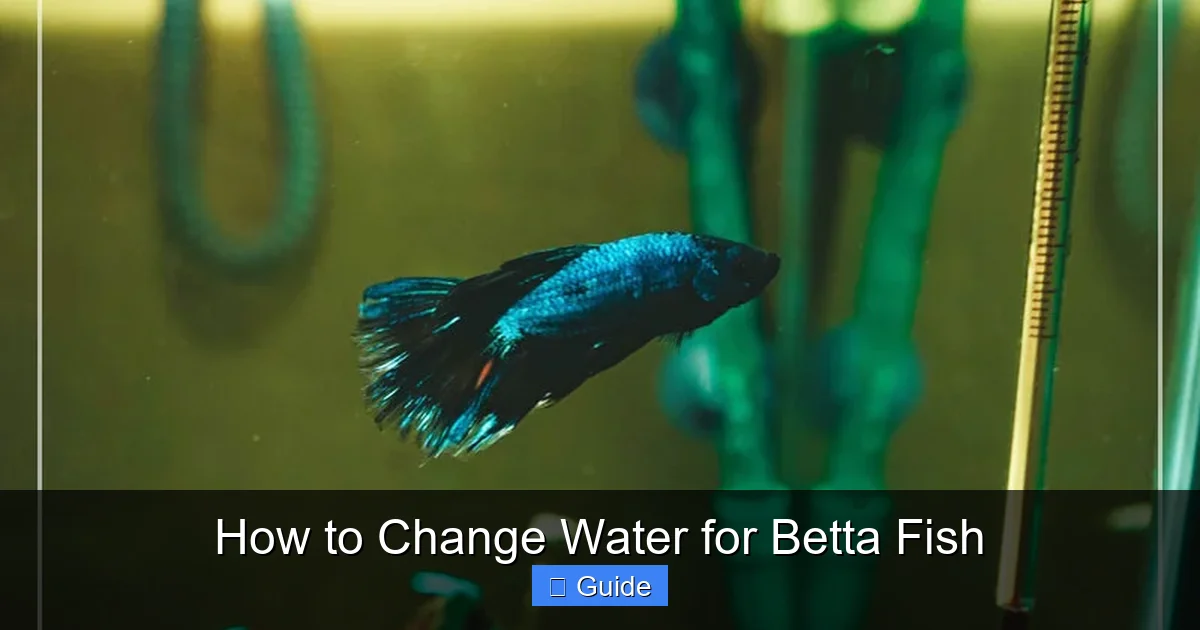
Visual guide about How to Change Water for Betta Fish
Image source: animalslog.com
The Non-Negotiables
- Water Conditioner/Dechlorinator: This is your most critical tool. Brands like Seachem Prime, API Stress Coat+, or Tetra AquaSafe are industry standards. They instantly neutralize chlorine, chloramines (a more stubborn chemical used in many municipal water supplies), and heavy metals. Never skip this step.
- A dedicated bucket or container (5-10 gallons): This must be used only for aquarium water changes. Never use a bucket that has held cleaning chemicals, even if you think it’s clean. Residual soap or chemicals are fatal. A clean, food-grade plastic bucket is perfect.
- A gravel vacuum/siphon: This is a flexible plastic tube with a wide, angled end. It uses the force of gravity to suck water (and debris) from the substrate while you stir it. The Python brand is popular, but any simple suction starter model works. For very small tanks (under 2.5 gallons), a simple cup can suffice for scooping water, but a mini-siphon is still ideal.
- A thermometer: Do not guess. A simple, floating aquarium thermometer or a digital instant-read thermometer is essential for matching temperatures. Your betta’s health depends on it.
Helpful Extras (Not Required, But Nice)
- Algae scrubber or pad: For cleaning the glass during the water change.
- A small net: To gently corral your betta if you need to remove it (usually not necessary for a simple partial change).
- A towel: Placed under the bucket to catch drips or splashes.
- A dedicated scrub brush for decorations: An old, clean toothbrush works wonders for scrubbing décor in old tank water.
The Step-by-Step: How to Change Water for Betta Fish (The Right Way)
Now, let’s walk through the actual process. We’ll assume a standard 5-gallon filtered tank with a betta inside. The principles scale up or down.

Visual guide about How to Change Water for Betta Fish
Image source: quickanswer.org
Preparation: Setting the Stage
First, unplug all electrical equipment—heater, filter, lights. This is a crucial safety step. Next, rinse your gravel vacuum in the clean bucket you’ve set aside. Then, fill this same bucket with the amount of new water you’ll need (e.g., 2.5 gallons for a 50% change in a 5-gallon tank). Place the bucket somewhere convenient, like next to the tank.
Treat the new water immediately. Add the correct dosage of water conditioner to the bucket of fresh tap water according to the product label. Stir it gently. Let it sit for a minute while you set up the siphon. This ensures the dechlorinator has worked. Do not add conditioner directly to the tank.
Check and adjust the temperature. Use your thermometer to check the temperature of the new water in the bucket. Then check the current tank water. Your goal is to have them match within 1-2°F (0.5-1°C). If the new water is too cold, add a little warm tap water (mix thoroughly!). If it’s too warm, add a little cold. A small space heater near the bucket can help, but always re-check the temperature. This temperature matching is paramount to prevent thermal shock, which can be fatal.
Execution: The Siphon and Substrate Cleaning
Now, the main event. Place the wide end of your gravel vacuum into the substrate at the bottom of the tank. Hold your thumb over the free end of the siphon tubing to create suction, then lower the tubing end into your empty bucket and remove your thumb. Water should flow. If it doesn’t, you may need to prime the siphon by sucking gently on the tubing (be careful not to ingest water!).
Once flowing, push the vacuum end into the gravel. You’ll see debris and fish waste get sucked up. Gently move the vacuum through the substrate in a slow, deliberate pattern, lifting it slightly and moving to a new spot. Do not dig too deep and compact the gravel; just agitate the top 1-2 inches. The goal is to remove detritus, not to “sterilize” the tank. You should see brownish, crumbly waste in the tubing as it enters the bucket. Continue until you’ve removed the desired amount of water (e.g., 2.5 gallons). The debris you remove is exactly what the water change is for!
Care for Your Filter & Decor
With old tank water now in your bucket, this is your chance to maintain your filter. Never rinse filter media under the cold, chlorinated tap water. The good bacteria that process ammonia live on the filter pads and bio-media. Chlorine will kill them, crashing your nitrogen cycle. Instead, take the filter cartridge or media out and gently squeeze/swish it in the bucket of old tank water you just removed. You’re rinsing off the large debris, not making it pristine. A little brown gunk is good—it’s the bacteria! If your filter has a sponge pre-filter, rinse it thoroughly in the old water.
Do the same for any decorations or the tank walls if algae is present. Use your algae scrubber or the old toothbrush in the bucket of old water. Never use soap. For stubborn algae on decorations, a 10-minute soak in a 1:10 vinegar-water solution (rinsed extremely well afterward) is safe, but usually unnecessary.
The Finale: Adding the New Water
Now, with the tank water level lowered, debris removed, and filter cleaned, it’s time for the fresh water. Do not dump the new water in forcefully. This can stress your betta and disturb the substrate. Place a clean plate or your hand in the tank and gently pour the conditioned, temperature-matched new water onto it. The flow will be diffused. Alternatively, use a pitcher with a narrow spout and pour slowly along the tank glass.
Fill the tank back to its normal operating level. Once full, wipe down the outside of the glass with a clean, dry cloth (no paper towels, as they can scratch acrylic). Reconnect and turn on your filter and heater. Wait 15-30 minutes for the temperature to fully stabilize before plugging in the heater, then restore power to everything. Your betta might dart around initially due to the water movement—this is normal. Let it settle.
Common Mistakes That Harm Bettas (And How to Avoid Them)
Even with the best intentions, it’s easy to make errors. Here are the most frequent pitfalls and how to sidestep them.

Visual guide about How to Change Water for Betta Fish
Image source: i.ytimg.com
Mistake 1: Using Untreated Tap Water
This is the fatal, instant-kill error. Chlorine and chloramines in tap water are designed to kill microorganisms—your betta’s gills and skin are full of them. Even a tiny amount is catastrophic. The Fix: Make treating new water with a quality conditioner the first, non-negotiable step. Keep your conditioner bottle next to your water change bucket as a reminder.
Mistake 2: Temperature Shock from Cold Water
Adding water that’s even a few degrees colder than the tank causes immense stress. Your betta’s metabolism slows, its immune system plummets, and it can go into shock, lying listlessly at the bottom. The Fix: Always, always use a thermometer. Don’t rely on “room temperature” guesses. In winter, you may need to warm the new water with a small aquarium heater placed in the bucket (monitor closely!). In summer, you may need to add a bit of cool water. Matching is everything.
Mistake 3: Overcleaning the Filter
Seeing a clogged filter, you might be tempted to scrub it spotless under the tap. This is a classic beginner error that resets your biological filter, causing toxic ammonia and nitrite spikes that can kill your fish days later. The Fix: Remember the mantra: rinse in old tank water. Only clean one part of the filter media at a time (e.g., only the sponge, not the bio-balls and sponge together) to ensure some bacteria colony remains intact.
Mistake 4: Changing Too Much Water, Too Often
While a 100% water change seems thorough, it’s devastating. It removes all beneficial bacteria from the substrate and surfaces, causes massive swings in pH and temperature, and removes any trace minerals that help buffer the water. The Fix: Stick to the 25-50% weekly rule. This safely dilutes toxins without destabilizing the ecosystem. For a very small, unfiltered bowl (which we don’t recommend), you might need 50% changes twice a week, but upgrading to a filtered 2.5+ gallon tank is a far better solution.
Mistake 5: Forgetting to Dechlorinate the Top-Off Water
If your tank is evaporating water between changes, you might be tempted to add a little fresh tap water to top it off. If you forget the conditioner, you’re slowly poisoning your fish. The Fix: It’s simpler and safer to just do your scheduled partial change. If you must top off, always treat that small amount of water first.
Troubleshooting: When Things Go Wrong
Despite your best efforts, you might notice something off after a water change. Here’s how to diagnose and fix it.
Symptom: Your Betta is Hiding, Lethargic, or Gasping at the Surface
Possible Causes: Temperature shock (most likely), chlorine exposure, or a sudden pH swing.
Action: First, immediately check the tank temperature with your thermometer. If it’s off, adjust the heater setting gradually. If you suspect chlorine (new, strong chemical smell, fish flailing), add a double dose of water conditioner immediately. Ensure you didn’t use water from a different source (like bottled water with unknown minerals) that drastically altered pH. Perform another 25% water change with perfectly conditioned, temperature-matched water as a rescue measure. Monitor closely for 24 hours.
Symptom: Cloudy Water After the Change
Possible Causes: This is often a “bacterial bloom.” Disturbing the substrate during cleaning can release a cloud of harmless bacteria that feed on excess nutrients. It’s usually not toxic and clears on its own in 1-2 days.
Action: Do nothing drastic. Ensure you aren’t overfeeding. Let your filter run. Do not perform another water change to “fix” it, as this will just feed the cycle again. It will settle. If the cloudiness is white/cloudy and lasts more than a week, check your filter is running properly and consider reducing feed.
Symptom: Algae Blooms Immediately After
Possible Causes: You may have introduced excess phosphates from the new tap water, or the water change stirred up nutrients. Overfeeding is also a culprit.
Action: Scrape the glass. Check your feeding—any uneaten food after 2-3 minutes is too much. Ensure your tank isn’t in direct, unfiltered sunlight. Consistent weekly water changes will eventually outcompete the algae. Consider adding live plants to consume nutrients.
Creating a Sustainable Maintenance Schedule
Consistency is what separates a thriving betta from a surviving one. The best way to ensure you never forget is to tie your water change to a weekly routine. Here is a sample schedule for a 5-gallon filtered betta tank.
- Daily (1-2 minutes): Check filter output (is it flowing normally?). Observe your betta—is it active, eating, and visually healthy? Feed only what it can consume in 2-3 minutes (1-2 pellets or a few brine shrimp). Remove any obvious uneaten food with a pipette or turkey baster.
- Weekly (30 minutes): This is your water change day. Follow the full step-by-step process: unplug, vacuum substrate, rinse filter media in old water, clean glass, condition new water, match temperature, add new water, plug back in.
- Monthly (10 minutes): During your weekly change, do a more thorough inspection. Check filter media for excessive clogging—if it’s falling apart, replace only half of it at a time. Inspect the heater for scale buildup. Trim any live plants. Test your water parameters (ammonia, nitrite, nitrate, pH) with a liquid test kit. Nitrate should ideally be below 20 ppm before your change.
Important Note on Tank Size: The above schedule is for a minimum recommended 2.5-5 gallon tank. If you have a smaller, unfiltered “bowl,” you must perform 50% water changes every other day to keep toxins at bay. This is incredibly labor-intensive and stressful for the fish. The most impactful upgrade you can make for your betta is moving it to a filtered 5-gallon (or larger) tank. This provides stable water chemistry, reduces the frequency of changes, and gives your fish room to swim.
Conclusion: The Simple Secret to a Thriving Betta
Learning how to change water for betta fish properly is an investment in your pet’s future. It’s not a glamorous task, but it’s a profoundly loving one. By committing to a weekly routine of partial water changes with dechlorinated, temperature-matched water, you are directly controlling the toxin levels in your betta’s world. You are mimicking the constant refresh of a natural stream within the confines of a glass box. You are preventing the silent suffering caused by ammonia burns and nitrate stress. You are giving your betta the clean, stable aquatic home it deserves.
Remember the golden rules: treat all new water, match the temperature, clean the gravel, rinse filter media in old tank water, and never overdo it. Watch your betta flourish—its colors will deepen, its fins will spread, and its curious, personality-filled behaviors will become a daily joy. The time you spend on this simple maintenance is paid back tenfold in the vibrant life of your aquatic companion. Now, go grab your bucket and siphon. Your betta is waiting for its fresh start.
Frequently Asked Questions
How often should I change my betta fish’s water?
For a filtered tank of 2.5 gallons or larger, perform a 25-50% partial water change once a week. For a small, unfiltered bowl under 2.5 gallons, you must change 50% of the water every other day to prevent toxic buildup.
Can I use regular tap water for my betta tank?
You can use tap water, but you must treat it first with a water conditioner/dechlorinator. Tap water contains chlorine and chloramines that are lethal to fish. Never add untreated tap water to your aquarium.
Do I need to take my betta out of the tank during a water change?
No, for a standard partial water change (25-50%), you do not need to remove your betta. The process of siphoning and adding new water is quick and causes minimal stress if done correctly. Only remove your betta if you are performing a major medical treatment or a full tank overhaul.
Can I use bottled spring water for my betta instead of tap water?
You can, but it’s generally not recommended and is expensive. Some bottled waters lack essential minerals and can have an unstable pH. If you must use it, you still need to condition it and, most importantly, ensure its temperature matches the tank water exactly.
Why is matching the water temperature so important?
Betta fish are tropical fish from warm, stable waters. Adding water that is even a few degrees colder or warmer than the tank causes thermal shock. This severely stresses the fish, weakening its immune system and potentially leading to disease or death. Always use a thermometer to ensure a match within 1-2°F.
Should I clean the gravel completely during a water change?
No. You should vacuum the gravel to remove solid waste (fish poop, uneaten food) from the substrate, but you should not try to make it perfectly sterile. Beneficial bacteria that support your tank’s biological filter live in the gravel. Vigorous, deep cleaning destroys these colonies and can lead to dangerous ammonia spikes. Lightly stir the top layer as you siphon.