How to Change the Water in a Betta Fish Tank
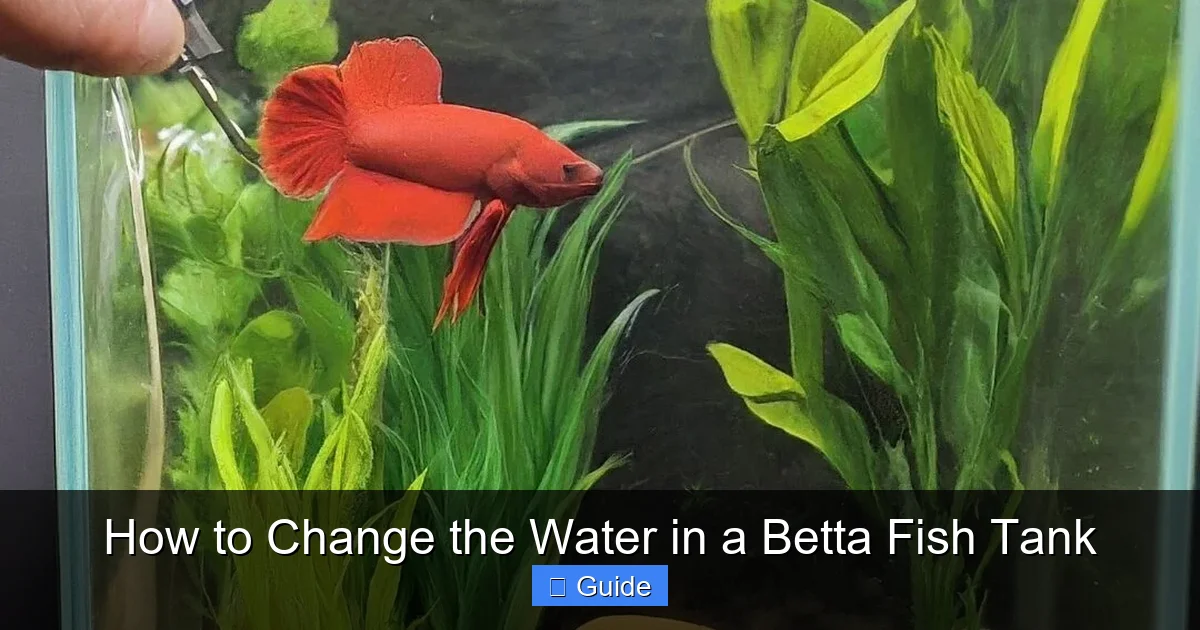
Changing your betta’s water correctly is the single most important task for its health and longevity. Unlike many fish, bettas are sensitive to poor water quality, making regular, partial water changes non-negotiable. This process isn’t just about removing old water; it’s about safely replenishing essential minerals, diluting toxins like ammonia, and maintaining a stable, clean environment. By following a consistent routine with the right tools—a gravel vacuum, water conditioner, and matching temperature—you prevent stress, disease, and drastically improve your betta’s quality of life. It’s a simple, 15-minute habit that makes all the difference.
Welcome to the wonderful, rewarding world of betta fish keeping! You’ve got your beautiful, flowing fins in a lovely tank, and you’re committed to being a great betta parent. But here’s the secret that separates betta enthusiasts from true betta experts: mastering the art and science of the water change. If you’ve ever wondered how to change the water in a betta fish tank the right way, you’re in the right place. This isn’t a messy chore; it’s the foundational ritual of betta care.
Think of your betta’s tank not as a static bowl of water, but as a living, breathing ecosystem—a miniature version of the rice paddies and slow-moving streams where bettas evolved. In that closed system, your betta breathes, eats, and excretes. Waste products like ammonia build up quickly, even in a filtered tank, and can burn your betta’s gills and stress its immune system. A proper water change is like giving your betta a fresh, clean home while preserving the beneficial bacteria that keep the nitrogen cycle running. It’s the #1 thing you can do to prevent fin rot, velvet, dropsy, and a host of other common ailments. Let’s dive in, step-by-step.
Key Takeaways
- Consistency is Critical: Small, frequent water changes (25-50% weekly) are far better than large, infrequent ones for maintaining a stable, healthy environment for your betta.
- Conditioner is Non-Negotiable: Always treat tap water with a complete water conditioner to neutralize chlorine, chloramines, and heavy metals before it touches your betta.
- Match Temperature Precisely: The new water must be within 1-2°F (0.5-1°C) of the tank’s existing temperature to prevent dangerous thermal shock.
- Clean the Substrate, Don’t Disturb the Filter: Use a gravel vacuum to remove debris from the bottom but never rinse or change your filter media in tap water, as this kills beneficial bacteria.
- Acclimate Slowly & Gently: Introduce the new water slowly by pouring it over a floating plant or the glass to avoid startling your betta and disrupting the tank’s layout.
- Observe Your Betta: The best indicator of success is your fish’s behavior. A healthy betta is active, curious, and displays vibrant colors post-water change.
📑 Table of Contents
Why Water Changes Are Your Betta’s Lifeline
Before we get to the “how,” we must firmly establish the “why.” Understanding the purpose transforms a mundane task into a meaningful act of care. Many new betta owners think, “My tank has a filter, so why do I need to change the water?” The filter is a helper, not a replacement. It houses beneficial bacteria that convert toxic ammonia to less toxic nitrite, and then to nitrate. Nitrate is the final byproduct, and while less immediately deadly, it accumulates and causes chronic stress, leading to a suppressed immune system and a dull, lethargic betta.
The Invisible Toxins: Ammonia & Nitrate
Your betta’s gills are incredibly sensitive. Even tiny, invisible amounts of ammonia (from fish waste and decaying food) can cause severe irritation, making it gasp for air at the surface. Nitrate, at levels above 20 ppm, is a long-term stressor. In the wild, betta’s water is constantly refreshed by rain and flow. In your tank, you are the rain and the flow. Regular water changes physically remove these dissolved toxins. It’s the only way to keep nitrate levels consistently low.
Replenishing Essential Minerals
Water isn’t just H2O. It contains a delicate balance of minerals and electrolytes (like calcium, magnesium, and potassium) that are vital for your betta’s osmoregulation—the process its body uses to balance fluids and salts. As your betta lives and breathes, it uses up these trace elements. Conditioner adds some back, but a portion of fresh, dechlorinated water introduces a natural mineral boost, supporting your betta’s overall health, scale integrity, and vibrant coloration.
Removing Physical Debris
Food that sinks and isn’t eaten, shed scales, and digestive waste all settle into the substrate. This organic matter decays, consuming oxygen and producing ammonia spikes. A gravel vacuum during your water change is like a microscopic cleanup crew, sucking out this debris before it can break down and foul the water. A clean substrate means cleaner water and a healthier biofilter.
Essential Tools: Your Betta Water Change Kit
Having the right tools on hand makes the process smooth, fast, and stress-free for both you and your fish. Scrambling for supplies mid-change is a recipe for mistakes. Gather these items before you start. You likely have most already.

Visual guide about How to Change the Water in a Betta Fish Tank
Image source: fishkeepertank.com
The Gravel Vacuum/Siphon: Your #1 Tool
This is a long, flexible tube, usually with a wide, angled end and a squeezable bulb. It uses gravity and your breath (or a priming bulb) to start a flow. When you insert the wide end into the gravel and squeeze the bulb, it dislodges debris and sucks it up into a bucket. You do not need an expensive electric model. A simple, manual Python or Aquarium Plus brand gravel vac is perfect. For a 5-gallon betta tank, a 6-foot length of 3/8-inch ID vinyl tubing with a 1.5-inch wide siphon end works brilliantly and costs pennies.
Two Clean Buckets: Dedicate Them!
You need at least two buckets. One is for the old tank water you are removing. The other is for the fresh, conditioned water you will be adding. **Crucially, these buckets must be used for aquarium purposes ONLY.** Never use a bucket that has held household cleaners, as even trace residues are lethal to fish. Label them clearly with a permanent marker: “AQUARIUM WATER ONLY.” A 5-gallon bucket is ideal for most betta tanks.
Water Conditioner: Your Safety Net
This is a liquid additive that makes tap water safe for fish instantly. It neutralizes chlorine (which burns gills) and chloramines (which are even more persistent and toxic). It also often detoxifies ammonia and heavy metals. Popular, reliable brands include Seachem Prime, API Stress Coat+, and Tetra AquaSafe. Keep the bottle next to your tank for easy access. Do not skip this step—ever.
Thermometer: For Precision
Do not guess the temperature. A cheap, stick-on aquarium thermometer or a digital thermometer is essential. You must match the new water temperature to the tank’s existing water within 1-2°F (0.5-1°C) to prevent thermal shock, which can be fatal.
Optional but Helpful: A Floating Cup or Bowl
For very shy or skittish bettas, having a small, clean cup or bowl you can float in the tank during the change gives your fish a temporary hiding spot, reducing stress.
The Step-by-Step Guide: How to Change Betta Tank Water
Now, the main event. This process should take 15-20 minutes. The key is to go slow, be gentle, and follow the order precisely. We’ll assume a standard 5-gallon tank with a gentle filter and no tank mates.
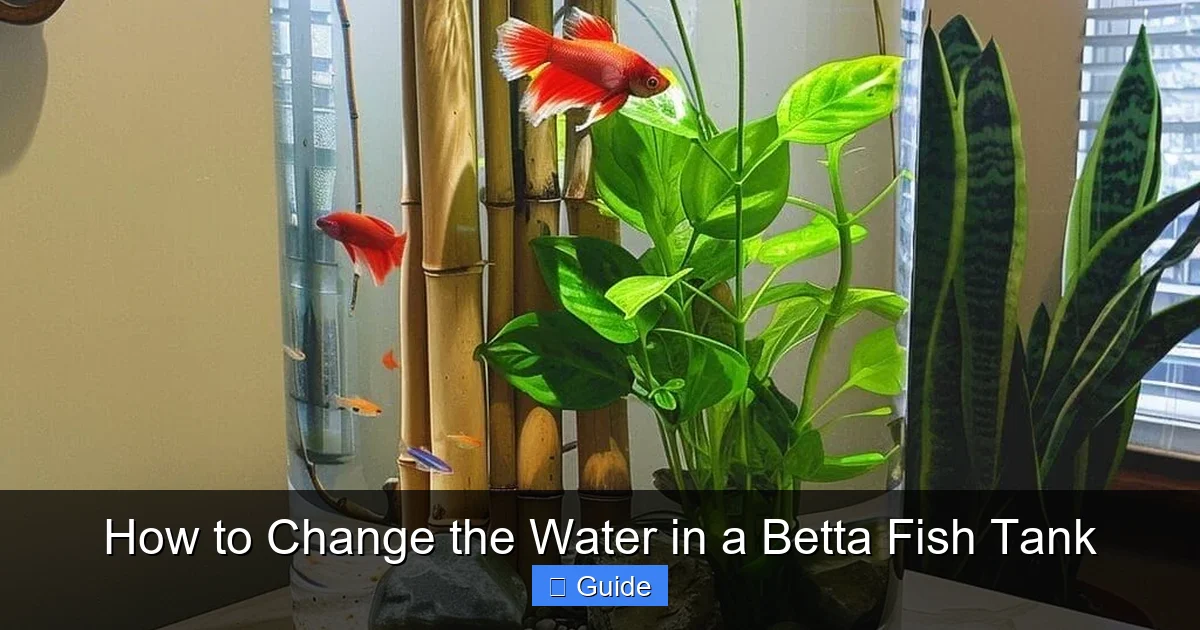
Visual guide about How to Change the Water in a Betta Fish Tank
Image source: i.pinimg.com
Step 1: Preparation & Power Down
First, gather your tools: both buckets, gravel vacuum, water conditioner, thermometer. Place the “old water” bucket next to the tank. If you have an internal filter, you may gently turn it off for the duration of the water change to prevent it from sucking up air or being damaged. This is optional for hang-on-back (HOB) filters, but turning them off is safer. Do not unplug any heaters yet—we want the water to stay warm.
Step 2: Dechlorinate the Fresh Water FIRST
This is a critical order of operations. Take your “fresh water” bucket to the sink. Fill it with the amount of tap water you plan to replace (e.g., 2.5 gallons for a 50% change in a 5-gallon tank). Immediately add the correct dosage of water conditioner (check the bottle—usually 1 ml per 5-10 gallons). Stir gently. Let this bucket sit while you do the rest. This gives the conditioner time to work and allows the water to reach room temperature, which helps with temperature matching later.
Step 3: Remove Old Water & Clean the Gravel
Now, insert the wide end of your gravel vacuum into the substrate. Start the siphon by squeezing the bulb vigorously or sucking on the tubing (be careful not to inhale!). Once water flows, place the tube end into your “old water” bucket. Gently push the vacuum into the gravel, moving it in small circles. You’ll see debris and fish waste get sucked up. Continue this across the entire bottom of the tank, focusing on areas with visible waste. Your goal is to remove 25-50% of the tank’s volume. As the bucket fills, you’ll see it’s full of dirty water and debris—this is the goal! Stop siphoning when you’ve removed the target amount. If you disturb your betta, give it a moment to settle.
Step 4: Check & Adjust Temperature
Now, check the temperature of the water in your tank with your thermometer. Then, check the temperature of the conditioned fresh water in the bucket. They must match. If the fresh water is cooler, you can add a small amount of warm (not hot!) tap water to the bucket, stirring and rechecking. If it’s warmer, you may need to let it sit longer or add a small amount of cool conditioned water. The goal is a perfect match. This step prevents thermal shock, which is as dangerous as chemical shock.
Step 5: The Gentle Refill
This is the moment of truth. Do not dump the new water in! Hold your bucket above the tank and slowly pour the conditioned water over a floating plant, a decoration, or directly onto the glass. This breaks the force of the water, preventing it from blasting your betta, stirring up the substrate, or knocking over tank decor. Pour slowly until the water level is restored to your original mark (usually about 1 inch from the top). Take your time. A slow pour is a safe pour.
Step 6: Final Checks & Restart
Once filled, check for any spills. Now, if you turned off your filter, restart it. Check that the heater is still fully submerged and turn it back on if you unplugged it. Observe your betta for a minute. It might be curious, checking out the new water flow. This is normal. If it’s hiding, give it space. Do not feed for at least an hour after the change to avoid adding immediate waste to the clean water.
Common Mistakes & How to Avoid Them
Even with the best intentions, it’s easy to make errors that can harm your betta. Let’s troubleshoot the most frequent pitfalls.
Visual guide about How to Change the Water in a Betta Fish Tank
Image source: images.nexusapp.co
Mistake 1: Changing 100% of the Water
The Error: Completely emptying and refilling the tank. This is catastrophic. It destroys the beneficial bacteria colony in your filter and substrate, causing a “new tank syndrome” ammonia spike. It also causes extreme shifts in water chemistry and temperature.
The Fix: Never change more than 50% in a single session. A weekly 25-30% change is ideal and safer. You are maintaining stability, not resetting the tank.
Mistake 2: Using Untreated Tap Water
The Error: Pouring straight tap water into the tank because “it looks clean.” Chlorine and chloramines are invisible killers that will burn your betta’s gills and damage its slime coat.
The Fix: Conditioner is mandatory. Always add it to the fresh water before it enters the tank. There is no exception.
Mistake 3: Ignoring Temperature
The Error: Adding cold or hot tap water because it’s “close enough.” A 5-degree temperature drop or rise can send your betta into shock, leading to clamped fins, lethargy, and susceptibility to disease.
The Fix: Use a thermometer. Match temperatures within 1-2°F. If your hot water heater is set too high, use only cold tap water and conditioner, and let it sit to reach room temp.
Mistake 4: Cleaning the Filter Media in Tap Water
The Error: During a water change, rinsing the filter sponge or cartridge under the tap to “clean it.” This washes away the precious beneficial bacteria that process ammonia, crashing your cycle.
The Fix: Never rinse filter media in untreated tap water. If it’s getting clogged, gently squeeze it in a bucket of old tank water you just removed (not fresh water). This rinses out debris while preserving the bacteria. Only replace filter media when it’s literally falling apart, and do it a piece at a time over several weeks.
Mistake 5: Overfeeding Before or After
The Error: Using the water change as an opportunity to give your betta a big meal. Excess food will decay immediately in the clean water, polluting it rapidly.
The Fix: Feed your betta its normal meal at least an hour before you start the water change, or wait at least an hour after the change is complete. This ensures waste is processed before the clean-up, or added to a stable system.
Advanced Tips & Troubleshooting
Once you have the basics down, these pro-tips will refine your process and help you adapt to different situations.
For a Very Stressed or Sick Betta
If your betta is already ill (e.g., with fin rot), you may need to increase water changes to 25% every other day to keep toxin levels ultra-low and aid healing. However, be extra gentle during these changes. Use an even slower pour, and consider adding a stress-reducing water conditioner like API Stress Coat+ to every bucket. The goal is to improve water quality without adding additional stress.
Managing a Planted Betta Tank
Live plants are fantastic for absorbing nitrates, but they can complicate siphoning. Be careful not to uproot plants with your vacuum. Work around them, siphoning the open gravel areas. For rooted plants, hold the plant steady with one hand while you gently vacuum the gravel immediately around its base. Floating plants like frogbit or water lettuce should be gently pushed aside during the siphon and refill process.
What if I Don’t Have a Gravel Vacuum?
In a pinch, you can use a clean, narrow-mouthed bottle or even a large, clean turkey baster. Insert it into the gravel, squeeze to create suction, and release to draw up debris and water. It’s less efficient but better than nothing. For the future, invest in a proper gravel vac—it’s the most effective tool for the job.
Signs Your Water Change Was Successful
In the 24 hours after a proper water change, you should notice: your betta is more active and curious, its colors may appear brighter, its fins are held more openly (not clamped), and you see no gasping at the surface. This is your confirmation that you’ve improved its environment. If your betta seems more stressed, re-evaluate your temperature matching and pouring technique.
Creating a Sustainable Maintenance Schedule
The final piece of the puzzle is consistency. A sporadic water change is like occasionally brushing your teeth—it’s better than nothing, but it won’t prevent long-term problems. A schedule makes it a habit.
The Gold Standard: Weekly 25-30%
For a filtered 5-gallon betta tank, a 25-30% water change once a week is the absolute gold standard. This is enough to keep nitrate levels near zero, remove debris, and replenish minerals without causing significant swings in water chemistry. Put it on your calendar. Sunday morning water changes work for many people.
Factors That May Require More Frequent Changes
You may need to up this to 30-40% twice a week if: you are not using a filter, you are overfeeding (be honest!), you have live plants that are dying and decomposing, your tank is overstocked (remember, bettas should be alone or in very specific sorority setups), or your tap water has a high nitrate level to begin with (test your source water!).
The Unfiltered Betta “Tank” (Bowl)
If you are keeping a betta in a small, unfiltered vessel (a “bowl”), the rules change dramatically. You must perform a 50% water change every other day to keep ammonia and nitrates from reaching lethal levels. This is why a filtered tank of at least 5 gallons is strongly recommended by every serious betta expert. It provides stability and drastically reduces maintenance.
Testing: Your Objective Guide
While not strictly necessary for a healthy betta in a stable setup, a liquid test kit (like the API Freshwater Master Test Kit) is the ultimate tool for precision. Test your water before and after a change. Your goal is to keep ammonia and nitrite at 0 ppm, and nitrate below 10-20 ppm. Testing removes the guesswork and confirms your routine is effective.
Conclusion: The Ritual of Care
Learning how to change the water in a betta fish tank is more than a technical skill; it’s the cornerstone of the bond you share with your aquatic companion. It’s a direct, tangible way you provide for its wellbeing. That 15 minutes each week, spent carefully siphoning debris, matching temperatures, and gently replenishing its world, translates directly into a longer, healthier, and more vibrant life for your betta. You’ll see it in the flare of its fins, the curiosity in its gaze, and the peaceful contentment as it explores its clean, stable home. Start with the simple routine outlined here, observe the positive results, and you’ll understand why seasoned betta keepers call the water change the most important part of their hobby. Your betta can’t thank you with words, but its thriving health is the loudest thank you of all.
Frequently Asked Questions
How often should I change the water in my betta tank?
For a filtered 5-gallon tank, perform a 25-30% water change once a week. Unfiltered containers require a 50% change every other day. More frequent changes may be needed if you overfeed, have decaying plants, or your tap water has high nitrate levels.
Can I use just any tap water conditioner for my betta?
Yes, but choose a reputable brand that detoxifies chlorine, chloramines, and heavy metals. Seachem Prime is a top-tier choice because it also detoxifies ammonia for 48 hours, providing extra safety during the change.
What happens if the new water is a different temperature than the tank?
A significant temperature difference (more than 1-2°F) causes thermal shock. This stresses your betta severely, leading to clamped fins, lethargy, and a suppressed immune system, making it prone to diseases like ich. Always match temperatures precisely.
Do I need to take my betta out of the tank during the water change?
No. Removing your betta causes unnecessary stress and risks injury. The water change process, when done correctly with a gentle pour, is perfectly safe for your fish to remain in the tank. Only remove it if you are performing a deep clean of all decorations.
Can I clean the gravel and decorations with soap?
Never. Soap and cleaning agents leave a toxic residue that is fatal to fish. Use only the gravel vacuum to remove debris from the substrate. Decorations can be scrubbed with a clean toothbrush in old tank water (not tap water) if they become overly algae-covered.
How do I know if my water changes are working?
The best indicator is your betta’s behavior. A healthy betta is active, curious, flares at its reflection, and has vibrant, unclamped fins. For objective proof, use a freshwater test kit. After a change, nitrate should be significantly lower, and ammonia/nitrite should remain at 0 ppm.