How Do I Clean My Betta Fish Tank
Cleaning your betta fish tank correctly is crucial for your fish’s health and longevity. Unlike common belief, you should never remove your betta or fully empty the tank during a clean. The process involves partial water changes, gentle substrate vacuuming, and careful algae scrubbing using only dechlorinated water. Establishing a consistent weekly maintenance routine with the right tools prevents toxic ammonia buildup and keeps your aquatic environment pristine.
Key Takeaways
- Never fully empty the tank: Removing all water destroys beneficial bacteria and stresses your betta. Always perform partial water changes (25-50%).
- Dechlorinate all new water: Tap water contains chlorine and heavy metals lethal to fish. Always use a reliable water conditioner before adding it to the tank.
- Clean the filter media correctly: Never wash filter sponges or cartridges in tap water. Gently rinse them in the old tank water you’ve removed to preserve beneficial bacteria.
- Use a dedicated gravel vacuum: A siphon gravel vacuum is the most effective tool for removing waste from the substrate without disturbing your betta.
- Algae is normal, but control it: Use an algae pad or magnetic cleaner on the glass during water changes. Limit light exposure to prevent excessive growth.
- Temperature matching is critical: The new replacement water must be within 1-2°F (0.5-1°C) of the tank’s temperature to prevent thermal shock.
- Consistency is key: A small, weekly cleaning is far better for your betta than a large, infrequent deep clean that disrupts the tank’s ecosystem.
📑 Table of Contents
- Why Proper Tank Cleaning is Non-Negotiable for Your Betta
- Gathering Your Betta Tank Cleaning Arsenal: Essential Supplies
- The Step-by-Step: How to Clean Your Betta Tank Safely
- Common Cleaning Catastrophes: Mistakes to Avoid at All Costs
- Advanced Considerations: Optimizing for a Thriving Betta
- Establishing Your Betta’s Perfect Maintenance Schedule
- Conclusion: A Clean Tank is a Happy Home
Why Proper Tank Cleaning is Non-Negotiable for Your Betta
You’ve likely been captivated by the flowing fins and vibrant colors of your betta fish. That stunning display is only possible in a clean, stable environment. A dirty betta tank isn’t just an eyesore; it’s a direct threat to your fish’s health. Fish waste, uneaten food, and decaying plant matter break down into toxic ammonia. Beneficial bacteria in your filter and substrate work to convert this ammonia into less harmful substances, but in a small betta tank (which are often too small to begin with), this process can be quickly overwhelmed. A proper cleaning routine maintains this delicate nitrogen cycle, prevents harmful spikes in ammonia, nitrite, and nitrate, and provides your betta with the clean, oxygen-rich water it needs to thrive. Think of it not as a chore, but as a fundamental part of your commitment to your aquatic pet’s welfare.
The Dangers of a Dirty Tank
Ignoring tank cleanliness leads to a cascade of problems. High ammonia and nitrite levels burn a fish’s gills, making it difficult to breathe and causing lethargy and loss of appetite. Elevated nitrate, while less immediately toxic, stresses fish over time and can contribute to diseases like fin rot. Cloudy water (bacterial bloom) indicates an imbalance, while slimy algae coats on the glass and decorations rob the tank of oxygen and aesthetics. For a betta, with its famous labyrinth organ that allows it to breathe air, poor water quality can still lead to dropsy, fin rot, and a severely compromised immune system. A clean tank is the single most effective disease prevention method you have.
Gathering Your Betta Tank Cleaning Arsenal: Essential Supplies
Walking into the cleaning process unprepared is a recipe for mistakes. Having the right tools on hand makes the job quick, efficient, and safe for your fish. You don’t need expensive, specialized equipment, but you do need specific items that are dedicated only to your aquarium. Cross-contamination from household cleaners is a fatal error.
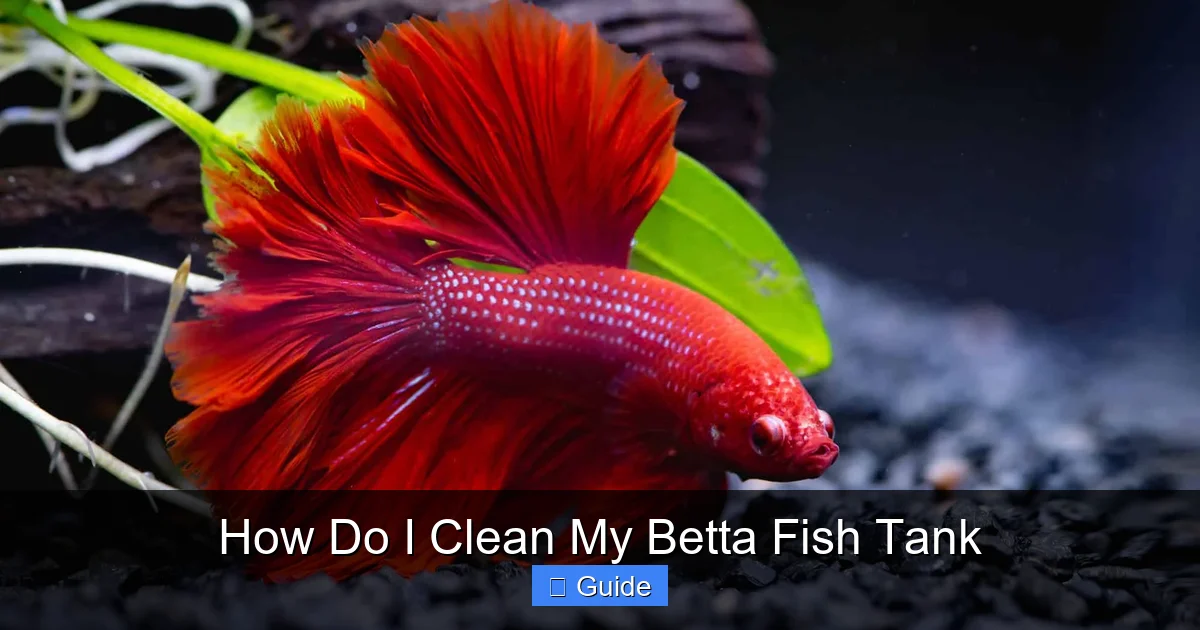
Visual guide about How Do I Clean My Betta Fish Tank
Image source: fishtankreport.com
The Core Cleaning Kit
Your basic kit should include: a gravel vacuum/siphon (a simple, plastic, squeeze-bulb type is perfect for a betta tank), a dedicated plastic bucket (5-gallon size is ideal, never use a bucket that has held soap or chemicals), an algae pad or scraper (magnetic cleaners are excellent for acrylic tanks), a dedicated sponge or cloth for wiping the glass (again, never used for anything else), and a reliable water conditioner/dechlorinator. Optional but helpful items include a dedicated towel for spills, a small net to gently move decorations if needed, and a thermometer to verify water temperatures.
What You Should NEVER Use
This is critical: No soap, no detergents, no household cleaners, no paper towels. Even a tiny residue of dish soap on a sponge can coat your fish’s gills and kill it. Paper towels can shed fibers into the water. Your cleaning tools must be aquarium-only. If you’re unsure whether a sponge is clean enough, replace it. The cost of a new sponge is trivial compared to the life of your betta.
The Step-by-Step: How to Clean Your Betta Tank Safely
Now, let’s get into the actual process. The golden rule: do not remove your betta from the tank unless absolutely necessary. The stress of netting and being placed in a temporary container can be severe. Cleaning can and should be done with your fish swimming happily in its home. This process assumes a standard weekly or bi-weekly maintenance for a 5-10 gallon tank.
Visual guide about How Do I Clean My Betta Fish Tank
Image source: wikihow.com
Step 1: Preparation and Power Down
First, gather all your supplies within arm’s reach of the tank. If you have a heater, turn it off and unplug it at least 30 minutes before you start. Removing a heater from hot water can cause it to crack. If you have an air pump or filter, you can leave them on for now, but be prepared for water splashes. Fill your clean bucket with the amount of water you plan to replace (e.g., 2-3 gallons for a 5-gallon tank). Add the correct dosage of water conditioner to this new water and set it aside to come to room temperature. This is a crucial time-saver.
Step 2: The Gentle Water Change with the Gravel Vacuum
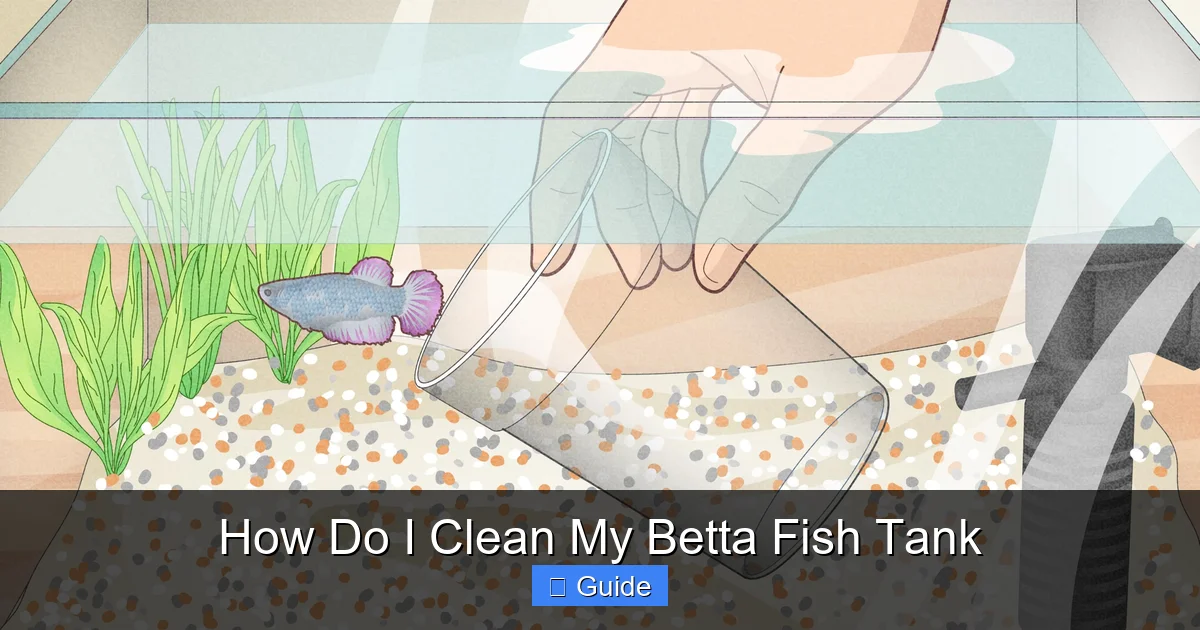
This is the heart of the cleaning. Insert the gravel vacuum tube into the substrate. You want to stir the gravel very gently with the tube to dislodge any trapped waste (fish poop, old food) and then immediately siphon it out. The goal is to clean about 1/3 to 1/2 of the substrate during each session, rotating the areas you clean each week. Do not aggressively dig up all the gravel at once. As you siphon, the old, dirty water will flow into your bucket. This removed water contains the waste and is perfectly fine to use for the next step.
Step 3: Smart Filter Maintenance
Now, take the bucket of dirty water you just siphoned. Use this water to rinse your filter media. This is the secret to preserving your beneficial bacteria colony. Take out the filter sponge or cartridge and gently squeeze and swirl it in the old tank water. You’ll see the brown, gunk-filled water rinse out. Your goal is to remove the large debris that’s clogging it, not to make it pristine and white. A slightly dirty filter is a healthy filter. Once it’s mostly clear, you can place it back in the filter. If your filter has multiple media types (ceramic rings, bio-balls), only rinse the mechanical (sponge) part. Never replace all your filter media at once; stagger replacements over months.
Step 4: Algae Attack and Decor Wipe-Down
While the water level is lower, it’s the perfect time to clean the glass. Use your algae pad to scrape the inside of the tank walls. For tough spots, you can use the edge of a dedicated plastic razor blade (for glass only). If you have plastic plants or decorations, use your dedicated sponge (dipped in the old tank water) to wipe off any algae or slime. Avoid using your hands if they have lotions or residues. Do not use any cleaning agents. Simply wipe and rinse with the old tank water.
Step 5: The Final Top-Off
Check the temperature of your new, conditioned water. It must match the tank’s temperature as closely as possible. Use your thermometer. Once matched, slowly and gently pour the new water back into the tank. Try to avoid pouring directly onto your betta or disturbing the substrate too much. You can pour it against the glass wall or over a clean decoration to diffuse the flow. Fill the tank to its original level. Now, you can plug your heater and filter back in. Wipe down the outside of the tank with a dry, clean cloth or paper towel (used only for the tank exterior).
Common Cleaning Catastrophes: Mistakes to Avoid at All Costs
Even with the best intentions, it’s easy to make a mistake that can harm your betta. Awareness is the first step to prevention. Let’s debunk some common myths and highlight dangerous practices.
Visual guide about How Do I Clean My Betta Fish Tank
Image source: 2.bp.blogspot.com
Myth: I Need to Scrub Everything Completely Clean
This is the most widespread and harmful error. Your aquarium is a living ecosystem, not a sterile laboratory. That brown, “dirty” film on your filter sponge is a thriving colony of beneficial bacteria—the good guys that process toxins. Sterilizing everything with tap water or soap wipes out this bacteria, causing a “new tank syndrome” crash where ammonia instantly poisons your fish. The goal is to remove excess waste, not to sterilize. Your substrate should smell earthy, not like a chemical cleaner.
Myth: I Should Take My Betta Out During Cleaning
Netting your betta is incredibly stressful. It can damage their delicate fins and slime coat. Furthermore, where do you put him? A simple bowl with untreated tap water is a death trap. Unless you are performing a major medical quarantine or moving tanks, leave your betta in the tank. The gentle siphoning and water replacement will not harm him if done correctly. He will often swim curiously around the vacuum tube.
Using Untreated Tap Water
This cannot be stressed enough. Chlorine and chloramine in municipal water are designed to kill microorganisms—that includes your fish and the beneficial bacteria in your filter. Always, always, always use a water conditioner that neutralizes both. Follow the dosage instructions on the bottle based on the volume of water you are adding.
Advanced Considerations: Optimizing for a Thriving Betta
Once you’ve mastered the basics, you can fine-tune your routine for an even healthier tank. This involves understanding water parameters, plant care, and equipment.
Testing Your Water: The Only Way to Know for Sure
Your eyes and nose are poor indicators of water quality. A clear tank can still have dangerous levels of invisible ammonia. Invest in a liquid test kit (like API Freshwater Master Test Kit) or high-quality test strips. Test your water before and after a water change. Your goal parameters for a cycled betta tank are: Ammonia: 0 ppm, Nitrite: 0 ppm, Nitrate: <20 ppm (ideally under 10). If you see ammonia or nitrite after a clean, you likely washed your filter media too aggressively or over-cleaned. Testing empowers you to adjust your cleaning frequency and technique.
Live Plants as Natural Cleaners
If you have live plants (like Java fern, Anubias, or Marimo moss balls), they are fantastic assets. They absorb ammonia and nitrate as fertilizer, competing with algae. During your clean, gently wipe any algae off the broad leaves with your fingers or a soft sponge. Prune any dead or decaying leaves at the base with aquascaping scissors. Do not uproot or heavily disturb the plant’s roots unless necessary. A thriving plant makes your cleaning job easier.
Heater and Filter Placement During Cleaning
When you lower the water level, ensure your heater remains fully submerged or is turned off and removed. A heater exposed to air can overheat and crack. For hang-on-back (HOB) filters, the impeller is designed to run with some water in the chamber, but if you’re doing a very large water change, you might need to briefly unplug it to prevent it from running dry. A canister filter should never be run without water in its housing.
Establishing Your Betta’s Perfect Maintenance Schedule
Consistency is the cornerstone of successful aquarium husbandry. A predictable, small weekly routine is vastly superior to sporadic, massive cleanings that shock the system. Your specific schedule depends on tank size, filtration, and feeding.
The Gold Standard: Weekly 25-30% Water Change
For a properly filtered betta tank of 5 gallons or more, a weekly 25-30% water change is the ideal standard. This removes a significant portion of accumulating nitrates, cleans the substrate in a rotating pattern, and refreshes trace minerals. It’s a quick, 20-minute job that maintains stability. If your tank is a smaller 2.5-gallon unfiltered “bowl,” you may need to do 50% changes twice a week, but a filtered 5+ gallon tank is always the recommended setup.
Monthly Deep-Clean Tasks
Once a month, you can incorporate a couple of extra tasks: thoroughly clean the glass (inside and out) with your algae pad and a vinegar-water solution (1:1) for hard water stains, then rinse thoroughly with dechlorinated water. Inspect and clean the heater by gently wiping its glass surface. Prune and rearrange plants if needed. Check all equipment (heater, filter, cords) for wear and tear. These tasks complement your weekly routine, not replace it.
Signs You Need to Clean *Now*
Don’t rigidly stick to a schedule if your tank needs immediate attention. Signs that an unscheduled clean is necessary include: visibly cloudy or smelly water, a thick layer of waste on the substrate, algae covering more than 20% of the glass, your betta acting lethargic or gasping at the surface, or if your nitrate test reads above 40 ppm. When in doubt, test your water.
Conclusion: A Clean Tank is a Happy Home
Cleaning your betta’s tank is not a burden; it’s the primary expression of your care. By following this structured, gentle approach—using dechlorinated water, preserving beneficial bacteria, performing regular partial changes, and avoiding destructive sterilization—you create a stable, healthy aquatic world. Your betta will reward you with brighter colors, more active exploration, and a longer, healthier life. Remember, you are not just changing water; you are maintaining a delicate balance. A consistent, informed routine transforms tank maintenance from a dreaded chore into a simple, rewarding ritual that directly contributes to the well-being of your beautiful, personality-filled fish. Your betta deserves nothing less.
Frequently Asked Questions
Can I use tap water directly for my betta tank?
No, you must always treat tap water with a water conditioner/dechlorinator before adding it to your betta tank. Tap water contains chlorine, chloramine, and heavy metals that are toxic to fish and will kill the beneficial bacteria in your filter.
How often should I clean my betta fish tank?
For a filtered 5-gallon or larger tank, a 25-30% water change with substrate vacuuming once a week is the recommended standard. Smaller or unfiltered setups may require more frequent changes. Always test your water to determine the perfect schedule for your specific tank.
Should I remove my betta fish when cleaning the tank?
No, you should never remove your betta for a routine water change. The stress of netting and transferring is harmful. The cleaning process is designed to be done with the fish in the tank. Only remove your betta for a medical quarantine or in an emergency.
Is it okay to wash my filter cartridge in tap water?
Absolutely not. Washing filter media in untreated tap water will kill the essential beneficial bacteria living on it. Always rinse mechanical filter sponges or cartridges in a bucket of the old tank water you’ve just removed during the water change.
Why is my tank getting so much algae?
Excessive algae is usually caused by too much light (either duration or intensity) and/or an imbalance of nutrients (nitrates/phosphates) from overfeeding or insufficient water changes. Reduce light to 8 hours a day, ensure you’re not overfeeding, and maintain a consistent water change schedule.
What temperature should the new water be when I add it?
The new replacement water must be within 1-2°F (0.5-1°C) of your existing tank water temperature. A significant temperature difference causes thermal shock, which can be fatal. Always use a thermometer to check before adding new water to your betta tank.