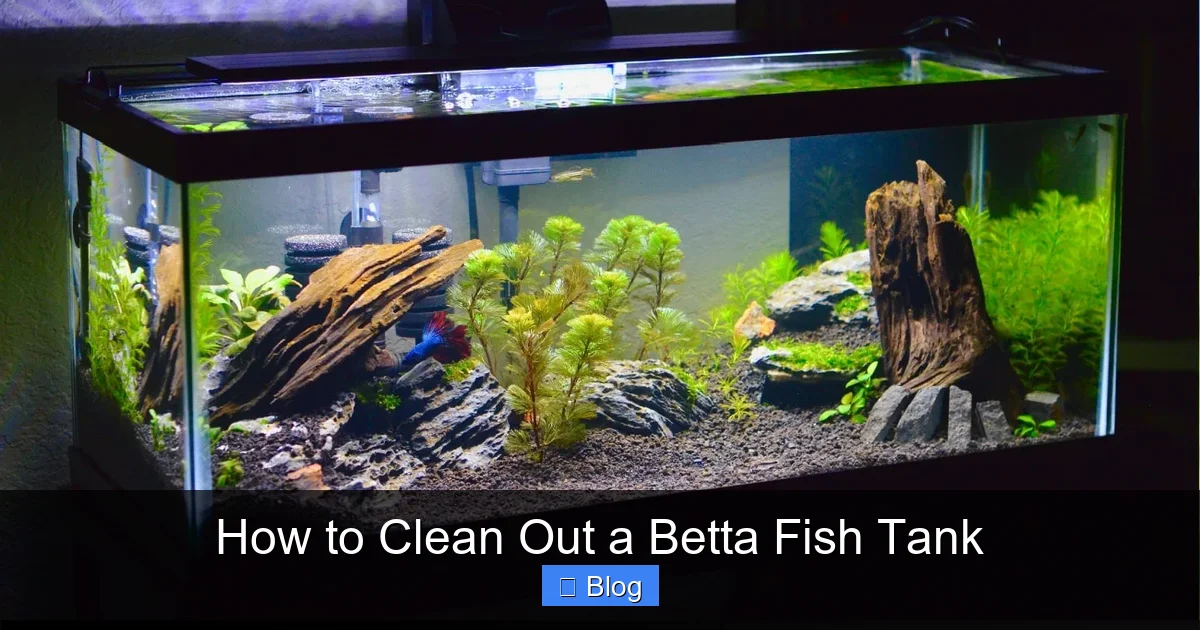
How to Clean Out a Betta Fish Tank
Cleaning a betta tank isn’t about scrubbing everything sterile; it’s about maintaining a stable, healthy ecosystem. You must preserve beneficial bacteria, match water temperature and chemistry, and never fully empty the tank. This guide provides the precise, gentle method to clean your betta’s home safely, ensuring your vibrant companion thrives for years.
Congratulations on becoming a betta parent! Those flowing fins and curious personality quickly capture our hearts. But keeping your Siamese fighting fish happy and healthy starts with one fundamental task: mastering the art of the tank clean. Let’s be honest—the internet is full of conflicting advice, from “change all the water every week!” to “never touch anything!” This confusion is why many well-meaning betta owners accidentally stress or even harm their fish during cleaning.
The secret? Understanding that your betta’s tank is not a glass bowl of water; it’s a living, balanced ecosystem. Your goal is not to create a sterile laboratory, but to mimic the gentle, natural rhythms of a clean, stable environment. This comprehensive guide will walk you through every single step, from gathering your supplies to the final water top-off. We’ll debunk myths, explain the “why” behind each action, and give you the confidence to clean your betta’s tank correctly, keeping your precious fish thriving.
Key Takeaways
- Never use soap or chemicals: Even a trace of detergent is lethal to fish. Use only water and designated aquarium tools.
- Preserve the filter media: The brown gunk in your filter is good bacteria. Rinse it gently in *old tank water* only when necessary.
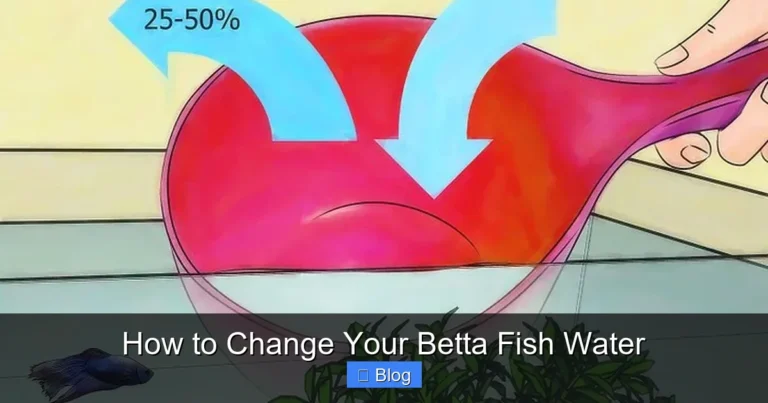
- Partial water changes are mandatory: Replace 25-50% of the water weekly to remove toxins without crashing the nitrogen cycle.
- Temperature and dechlorinator are non-negotiable: New water must be the exact temperature as the tank and treated with a water conditioner to neutralize chlorine.
- Algae is not the enemy: A thin layer on the glass is normal. Scrape it during water changes, but don’t obsess over a perfectly clear tank.
- Your betta’s health depends on stability: Rapid changes in water parameters are more stressful than minor, gradual fluctuations.
📑 Table of Contents
- Understanding Your Betta’s Aquatic World: The Nitrogen Cycle
- Gathering Your Supplies: The Essential Toolkit
- The Step-by-Step Cleaning Process: A Gentle Routine
- Water Parameters: The Invisible Guardians of Health
- Common Mistakes & How to Avoid Them
- Establishing a Sustainable Cleaning Schedule
- Conclusion: A Clean Tank is a Happy Home
Understanding Your Betta’s Aquatic World: The Nitrogen Cycle
Before you even pick up a scrubber, you need to grasp the most critical concept in fishkeeping: the nitrogen cycle. This invisible biological process is what keeps your betta alive. Fish waste, uneaten food, and decaying plant matter produce ammonia (NH3/NH4+), which is highly toxic. Special bacteria (Nitrosomonas) convert this ammonia into nitrite (NO2-), which is also toxic. A second set of bacteria (Nitrospira) then converts nitrite into nitrate (NO3-), which is far less harmful and can be removed by water changes.
The “Good Bacteria” Hideout
These beneficial bacteria don’t float freely; they colonize surfaces—especially your filter media (sponges, ceramic rings, bio-balls), gravel, and decorations. This colony is fragile. If you destroy it by washing filter media in chlorinated tap water or by stripping all surfaces clean, you crash the cycle. Ammonia and nitrite will spike, poisoning your betta. This is why the #1 rule of tank cleaning is: protect the bacteria.
Why Betta Tanks Need Special Care
Betta fish (Betta splendens) are anabantoids, meaning they have a labyrinth organ that allows them to breathe atmospheric air. This adaptation makes them somewhat tolerant of poor water quality compared to other fish, but it does not make them immune. They are still susceptible to ammonia burns, fin rot from poor water, and stress from parameter swings. Furthermore, their long, flowing fins make them slower and more prone to injury from rough surfaces or strong currents. Our cleaning method must be gentle, stable, and bacteria-friendly.
Gathering Your Supplies: The Essential Toolkit
Having the right tools on hand makes the job quick, efficient, and safe. Never use household cleaning supplies on anything that goes into your aquarium.
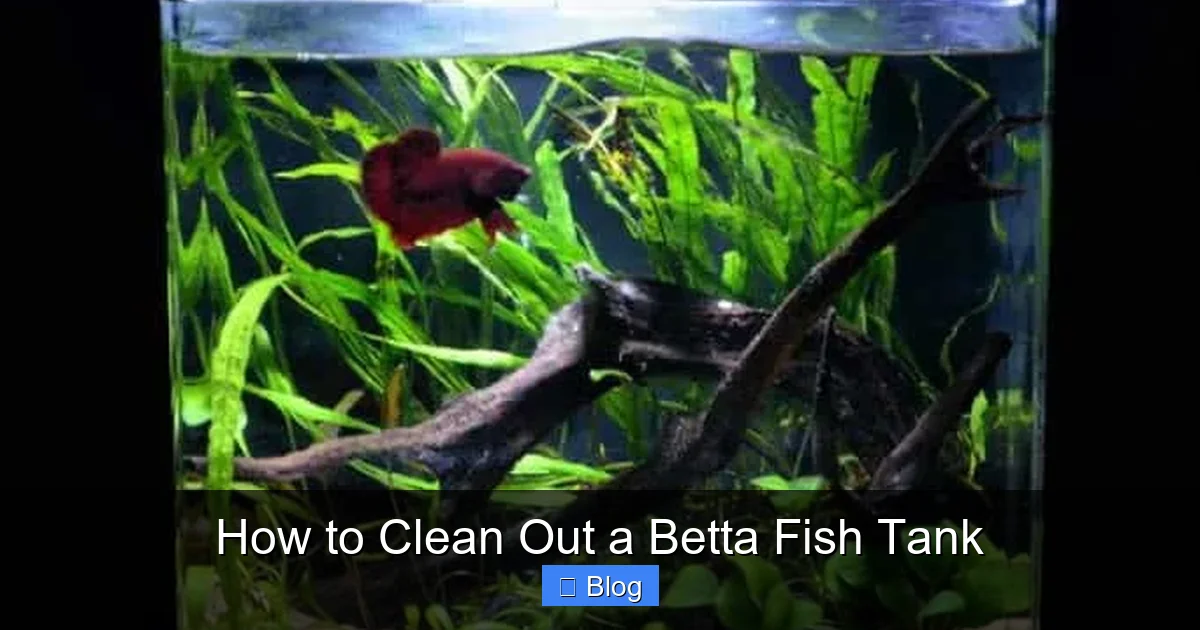
Visual guide about How to Clean Out a Betta Fish Tank
Image source: tankarium.com
- Two Clean Buckets or Containers (Dedicated): One is for removing old tank water (to be discarded), and the other is for holding new, treated water before it goes into the tank. These buckets must never be used for any other purpose (like cleaning with soap), as residue is deadly.
- Gravel Vacuum/Siphon: This is your most important tool. A simple python-style or bulb-start siphon with a wide, rigid tube head lets you clean the substrate and remove debris without disturbing the sand or gravel too much.
- Algae Scraper/Pad: Use a non-scratch pad for acrylic tanks or a scraper with a replaceable blade for glass. Never use a metal scraper on an acrylic tank.
- Soft, Lint-Free Cloths or Paper Towels: Dedicated for aquarium use only. Used for wiping the inside glass (after scraping) and the outside.
- Water Conditioner/Dechlorinator: Non-negotiable. This neutralizes chlorine, chloramine, and heavy metals in tap water. Seachem Prime is a popular, effective choice.
- Aquarium-Safe Thermometer: To ensure your new water matches the tank temperature perfectly.
- Bucket for Filter Rinse (Optional but Recommended): A third small container can be handy for rinsing filter media in old tank water.
- Net: A soft, fine-mesh net to temporarily move your betta if necessary.
What You Should NOT Use
Soap, dish detergent, bleach (unless for a separate, extreme disinfection of *non-porous* items, followed by extensive rinsing), window cleaners, or any household chemicals. Even tiny residues are fatal. Avoid abrasive scrubbers like steel wool or rough sponges that can scratch acrylic and create hiding spots for bacteria.
The Step-by-Step Cleaning Process: A Gentle Routine
Now, let’s put it all together. The frequency depends on your tank size and bioload, but for a standard 5-gallon betta tank, this full cleaning routine (including filter rinse) should be done once every 2-4 weeks, accompanied by a 25-30% water change weekly. Never do a full clean and a full filter rinse at the same time, as this could shock the cycle.
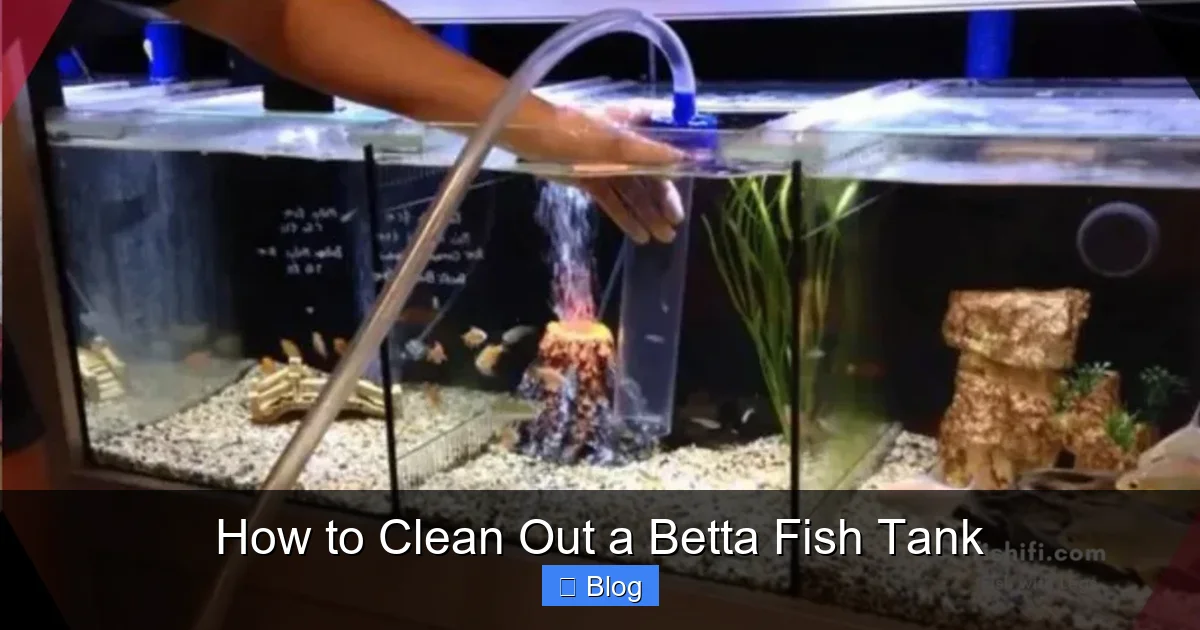
Visual guide about How to Clean Out a Betta Fish Tank
Image source: fishifi.com
Step 1: Preparation & Safety First
Unplug all equipment (heater, filter, light). This is for your safety and to prevent the heater from burning out if exposed to air. Have your clean, dedicated buckets ready. Fill your “new water” bucket with the amount you plan to replace (e.g., 3 gallons for a 5-gallon tank). Add the correct dosage of water conditioner to this new water before it touches the tank. Stir well. Let it sit so it can adjust to room temperature.
Step 2: The Gravel Vacuum & Water Change (The Core Task)
This is the most important part. Place the end of your gravel vacuum into the substrate. Use your thumb to control the flow. Gently push the vacuum tube into the gravel, swirling it slightly to dislodge debris (fish poop, uneaten food). The debris will be sucked up into the tube and into your “old water” bucket. The clean gravel will fall back down.
Key Technique: Work in a grid pattern across the entire tank floor. Don’t just hover over one spot. You are removing solid waste and the nitrate-laden water trapped in the substrate. Continue until you have removed the desired amount of water (25-50%) into the old water bucket. You’ll be amazed at how much gunk you pull out!
Step 3: Algae Management (If Needed)
With the water level lowered, it’s easier to see and reach the glass. Use your algae scraper or pad. For stubborn algae on the front glass, hold the scraper at a 45-degree angle and use gentle, even pressure. For the side and back glass, you can leave a thin layer; it’s a natural part of the ecosystem and provides some grazing for microfauna. Never use your hands or nails to scrape; you can scratch the glass and introduce oils.
Step 4: Decor & Plant Care (Minimal Intervention)
If you have artificial plants or decorations, give them a gentle rinse in the bucket of old tank water you just removed (which contains beneficial bacteria). Swirl them around to dislodge any attached debris. Do not use a brush under the tap. For live plants, you can gently rinse the leaves in old tank water as well. Avoid uprooting and replanting unless absolutely necessary, as this disturbs the substrate and releases trapped gases.
Step 5: Filter Maintenance (The Most Delicate Step)
This is where most cycles are broken. Your filter media (sponge, ceramic rings, etc.) is the heart of your bacteria colony. You should only rinse it when it becomes visibly clogged and water flow is restricted—typically every 4-8 weeks, and never at the same time as a large water change.
Take the media out and place it in your bucket of old tank water (from Step 2). Gently squeeze and swirl the sponge (or swish the ceramic media) to remove the solid debris. The brown, soupy water you rinse out is the beneficial bacteria. You want to rinse out the *gunk*, not sterilize it. If the water runs clear after one or two gentle squeezes, you’re done. Never use tap water, as the chlorine will kill the bacteria on contact.
Step 6: The Refill & Final Checks
Now, it’s time to refill. Use a clean cup, pitcher, or the end of your siphon to slowly pour the conditioned, temperature-matched new water back into the tank. Pouring it onto a rock, decor, or against the glass helps disperse the flow and prevents disturbing the substrate too much. Fill to the desired level, leaving an inch or two below the rim to account for evaporation and prevent splash-out.
Before plugging anything back in, double-check: Is the water temperature correct? (Use your thermometer). Is the heater fully submerged? Reassemble and plug in your filter and heater. Wipe down the outside glass with your dedicated cloth. Add any water top-up conditioner if your water source is particularly harsh (check product instructions).
Step 7: The Reintroduction & Observation
If you removed your betta, gently net him from his temporary holding container (which should have been filled with his old tank water) and acclimate him by floating the cup in the tank for 15-20 minutes to equalize temperature, then adding a little tank water to the cup before releasing him. If you left him in during the clean (most common and less stressful), simply ensure he wasn’t startled by the process and is swimming normally.
For the next hour, observe him closely. Is he darting? Hiding? Gasping? These could indicate a problem with water parameters or temperature. Then, enjoy your sparkling, healthy betta tank!
Water Parameters: The Invisible Guardians of Health
Cleaning is the physical act, but it’s all in service of maintaining stable water parameters. You should test your water regularly with a liquid test kit (like API Freshwater Master Test Kit). Test strips are often inaccurate.
Visual guide about How to Clean Out a Betta Fish Tank
Image source: buildyouraquarium.com
The Big Three: Ammonia, Nitrite, Nitrate
- Ammonia (NH3/NH4+): Should be 0 ppm at all times. Any detectable amount is toxic.
- Nitrite (NO2-): Should be 0 ppm. Also highly toxic.
- Nitrate (NO3-): Should be kept below 20 ppm for bettas. Regular water changes are the only way to control this.
Temperature & pH
Temperature: Bettas are tropical fish. Maintain a stable 78-80°F (25.5-26.5°C) using an adjustable heater. Never use a heater without a thermostat. Temperature swings of more than 2 degrees in a day are dangerous.
pH: Bettas are adaptable but prefer slightly acidic to neutral water, 6.5-7.5. The key is stability. Do not chase a specific number with chemicals; let the water changes and natural processes stabilize it.
The “Two-Bucket Method” for Perfect Water Matching
To guarantee your new water is the perfect temperature, fill your “new water” bucket from the tap. Measure its temperature. Then, adjust it using hot or cold tap water until it matches your tank’s temperature exactly (as shown on your in-tank thermometer). Only then add your conditioner. This simple step prevents thermal shock, one of the biggest cleaning mistakes.
Common Mistakes & How to Avoid Them
Even with the best intentions, it’s easy to slip up. Here are the most frequent errors and how to sidestep them.
Mistake 1: Over-Cleaning the Filter
Symptom: Cloudy water after cleaning, followed by fish stress or death a few days later.
Fix: Follow the “rinse in old tank water, only when clogged” rule. If you have a sponge filter, you can often just squeeze it out in a bucket of tank water during your weekly water change. For hang-on-back (HOB) or canister filters, only rinse the mechanical media (sponges, floss). Leave the biological media (ceramic rings, bio-balls) alone unless flow is severely restricted.
Mistake 2: Using Chlorinated Water for Rinses
Symptom: Sudden, unexplained fish illness or death shortly after a clean.
Fix: Never, under any circumstance, take filter media or decorations to the sink. The chlorine in tap water will instantly kill the beneficial bacteria coating them. Always have a dedicated bucket of old tank water for this purpose.
Mistake 3: Changing Too Much Water
Symptom: Algae blooms, cloudy water, stressed fish hiding or lethargic.
Fix: Stick to 25-50% weekly changes. A 100% water change is a massive shock to the system, removing most of your beneficial bacteria from the substrate and glass, and causing extreme parameter swings. Only do a 100% change in a true emergency (like severe ammonia spike or contamination).
Mistake 4: Ignoring the Heater
Symptom: Heater cracks or burns out, causing sudden temperature drop.
Fix: Always unplug the heater before starting. Ensure it is completely submerged before plugging it back in. A heater exposed to air can overheat and shatter.
Establishing a Sustainable Cleaning Schedule
Consistency is more important than perfection. A simple, repeatable schedule is the key to long-term success.
The Weekly Routine (10-15 minutes)
- Test water (especially if new tank).
- Visual inspection: Check for uneaten food, excess waste on substrate, algae growth.
- Perform a 25-30% water change using the gravel vacuum method.
- Scrape front glass if algae is visible.
- Wipe down outside glass.
- Check filter flow rate. If it’s still strong, no need to rinse media.
The Monthly/Bi-Weekly Deeper Clean (20-30 minutes)
Follow the weekly routine, plus:
- Rinse filter media in old tank water (only if flow is reduced).
- Clean decor more thoroughly in old tank water.
- Prune live plants and remove dead leaves.
- Deep clean the gravel in a more systematic pattern.
Signs You Need to Adjust Your Schedule
If you see persistent algae on the glass, high nitrate readings (40+ ppm), or a noticeable layer of sludge on the substrate between cleanings, increase the frequency or volume of your water changes. If your water is consistently clear and parameters are stable, your schedule is working.
Conclusion: A Clean Tank is a Happy Home
Cleaning your betta’s tank doesn’t have to be a daunting chore. By shifting your mindset from “sterilization” to “ecosystem maintenance,” you protect the delicate biological balance that is your fish’s lifeline. Remember the golden rules: preserve the bacteria, change only part of the water, and match the new water perfectly. With the right tools, a gentle touch, and a consistent weekly routine, you will create a crystal-clear, stable aquatic environment where your betta can display his stunning colors and charming personality to the fullest. You’re not just cleaning a tank; you’re nurturing a living world. Now, grab your siphon and enjoy the satisfaction of a job well done for your finned friend.
Frequently Asked Questions
Can I use tap water directly in my betta tank?
No. Tap water contains chlorine and chloramine, which are lethal to fish and will destroy your beneficial bacteria colony. You must always treat tap water with a complete water conditioner/dechlorinator before it enters the tank.
How often should I completely clean my betta tank?
A full “strip-down” clean (removing all fish, all water, cleaning everything) should be a rare emergency procedure only. For routine maintenance, perform a 25-50% partial water change with gravel vacuuming weekly, and rinse filter media only when necessary (every 4-8 weeks). Never do both a large water change and a filter rinse on the same day.
What if my betta jumps out during cleaning?
Always keep a lid or mesh cover on your betta tank, as they are notorious jumpers. If he does jump, immediately place him in a clean, temperature-matched quarantine tank or container with conditioned water. Keep the water level very shallow at first to reduce stress and monitor him closely for signs of injury or distress.
Is it okay to use a toothbrush to clean decorations?
Only if the toothbrush is brand new and has never had toothpaste on it. It’s better to use a dedicated, soft-bristled aquarium brush or simply rinse decorations in a bucket of old tank water. The risk of soap residue from a used toothbrush is too high.
My tank water is still cloudy after cleaning. Why?
Cloudiness after a water change is usually a bacterial bloom. It’s caused by disturbing the substrate, releasing a large amount of organic debris that the bacteria are now feasting on. This is usually harmless and will clear on its own within 24-48 hours as the bacteria process the particles. Ensure you are vacuuming thoroughly but gently.
Can I clean the tank with my betta inside?
Yes, and it’s often less stressful than netting and re-acclimating him. Work slowly and carefully. Use the gravel vacuum on the opposite side of the tank from where he is. Be mindful not to suck him up. Keep the water temperature stable, and he will likely remain curious or slightly annoyed but safe.