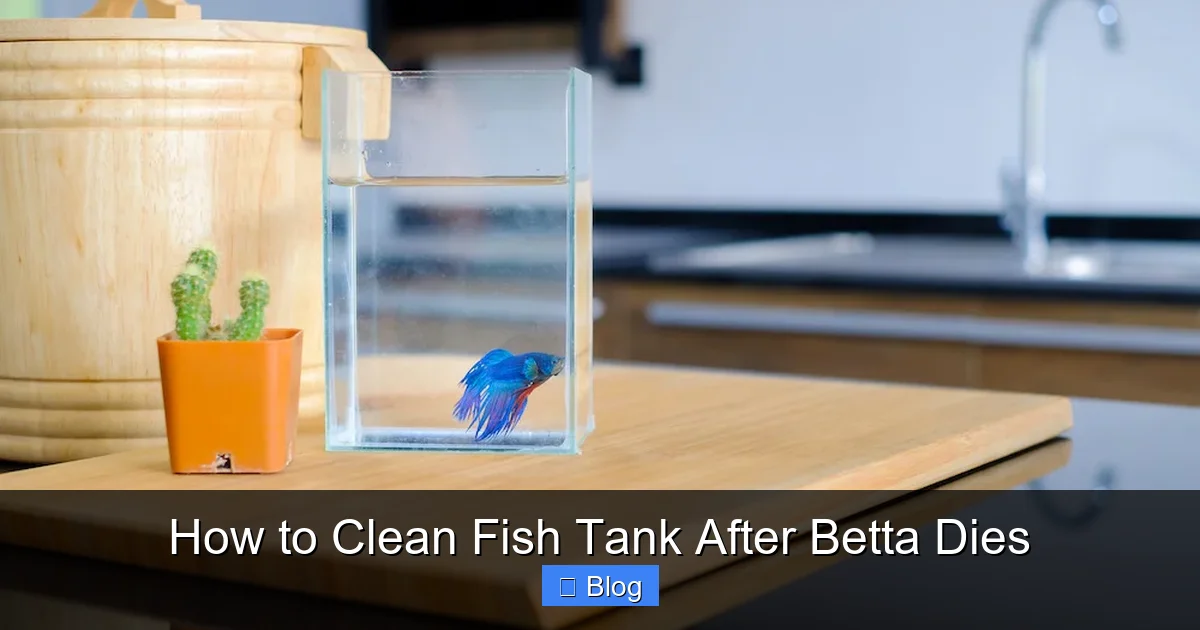
How to Clean Fish Tank After Betta Dies
Losing a betta fish is difficult, but properly cleaning its tank is a crucial step for the health of any future aquatic pets. You must act promptly but respectfully, removing the deceased fish and performing a thorough, safe sanitation of the entire aquarium ecosystem. This involves a partial water change, cleaning all decorations and substrate with tank water (never soap), and carefully maintaining the beneficial bacteria in your filter. Skipping this process risks exposing new fish to harmful bacteria, parasites, or poor water conditions that contributed to the original loss.
Key Takeaways
- Wait a few hours: Confirm the betta has passed and allow yourself a moment of grief before beginning the cleaning process.
- Dispose of the fish respectfully: Do not flush the betta. Wrap it in paper towel and dispose of it in the household trash or consider a small burial.
- Never use soap or chemicals: Even a trace of detergent is lethal to fish. Use only water from the tank, dechlorinated tap water, or a dedicated aquarium-safe vinegar solution for tough algae.
- Preserve your filter media: The filter sponge or cartridge houses essential good bacteria. Rinse it gently in the old tank water you remove, never under tap water.
- Perform a partial, not full, clean: A 50-75% water change with substrate vacuuming is sufficient. Over-cleaning disrupts the nitrogen cycle and sets the tank back.
- Test water parameters before restocking: Use a liquid test kit to ensure ammonia and nitrite are at 0 ppm and nitrate is low (<20 ppm) before adding a new fish.
- Reflect on the cause: Use this time to review water quality history, tank size, diet, and tank mates to prevent a repeat loss.
📑 Table of Contents
- How to Clean Fish Tank After Betta Dies: A Compassionate & Complete Guide
- Why Prompt and Proper Cleaning Is Non-Negotiable
- Immediate Actions: The First 24 Hours After Loss
- Gathering Your Supplies: The Right Tools for the Job
- The Step-by-Step Deep Cleaning Process
- Refilling and Restarting the Tank
- Before You Add a New Betta: The Critical Wait & Test
- Prevention and Reflection: Learning From the Loss
- Conclusion
How to Clean Fish Tank After Betta Dies: A Compassionate & Complete Guide
It’s a quiet, sinking feeling. You go to say good morning to your betta, and he isn’t swimming up to greet you. After the initial wave of sadness, a practical and important question arises: how do you clean the fish tank after your betta dies? This isn’t just about tidying up; it’s about responsible pet ownership, honoring your fish’s memory by ensuring its former home is safe and healthy, and preparing a stable environment for whatever comes next—whether that’s a new companion or a period of rest for the tank.
Cleaning a tank after a death follows the same core principles as any deep clean, but with added emotional weight and a critical need for precision. A improper clean can wipe out the beneficial bacteria cycle, leaving the tank in a toxic state. A thorough, correct clean, however, resets the ecosystem and gives you a fresh start. This guide will walk you through every step, from the immediate actions to the final water test, ensuring you handle this task with both care and competence.
Why Prompt and Proper Cleaning Is Non-Negotiable
The Hidden Dangers in a Deceased Betta’s Tank
When a fish dies, its body begins to decompose rapidly in the warm aquarium water. This decomposition process releases significant amounts of ammonia—a highly toxic compound—into the water column. Even if you removed the body quickly, trace amounts of ammonia and the potential for underlying pathogens (bacteria, parasites) that may have contributed to the death remain in the system. Simply adding a new betta to this environment is a recipe for disaster. The new fish would be exposed to a toxic ammonia spike and any infectious agents present, dramatically increasing the risk of it falling ill.
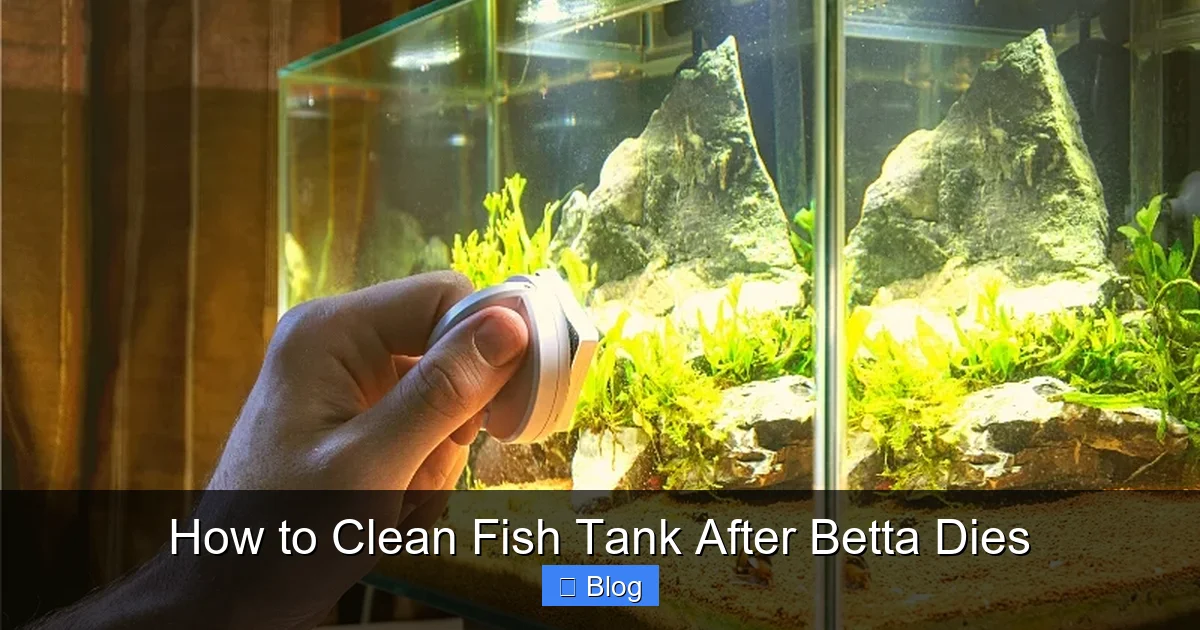
Visual guide about How to Clean Fish Tank After Betta Dies
Image source: infishtank.com
Honoring Your Pet Through Responsible Action
Cleaning the tank properly is the final act of care you can provide for your betta. It ensures that the water parameters are restored to a stable, safe baseline. This process respects the life that was lived there by preventing the tank from becoming a hazardous zone. It also gives you, the caregiver, a tangible, constructive way to process your loss and move forward with confidence, knowing you’ve created a clean slate.
Immediate Actions: The First 24 Hours After Loss
Step 1: Confirmation and Calm
Before you touch anything, be absolutely certain. Gently tap the glass. Is there any response? Check for gill movement. If there is no movement for several minutes and the body is stiff (rigor mortis has set in), it is confirmed. Take a few deep breaths. It’s okay to be sad. Gather your cleaning supplies so you can work efficiently without scrambling.
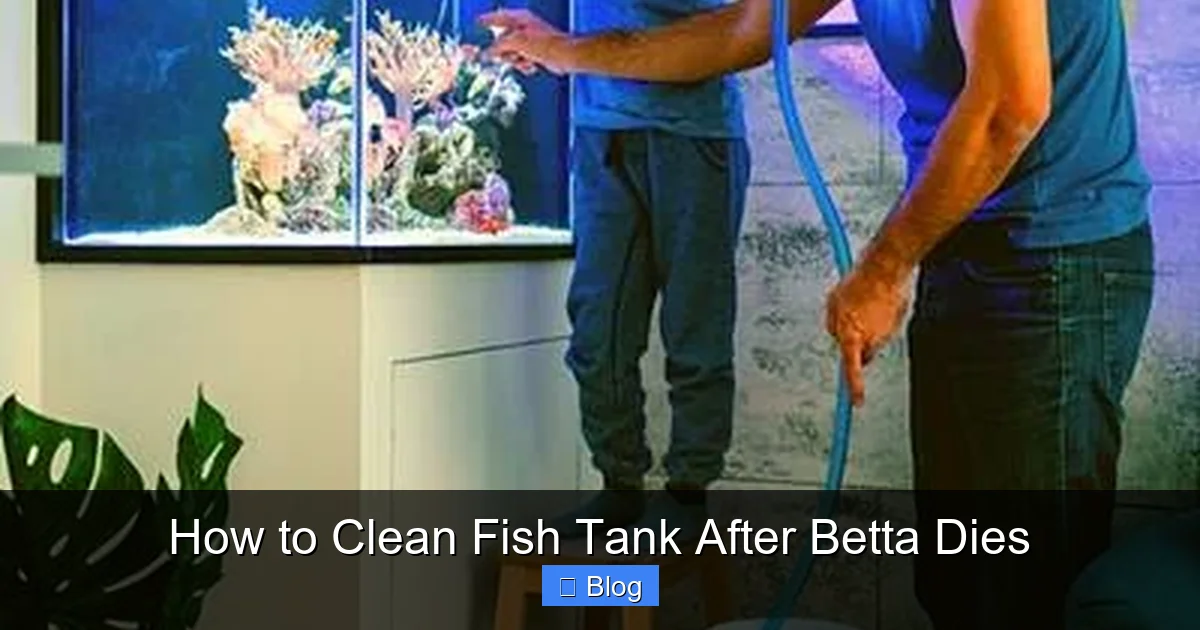
Visual guide about How to Clean Fish Tank After Betta Dies
Image source: petshun.com
Step 2: The Respectful Removal
Using a net, carefully remove your betta’s body from the tank. Do not flush it down the toilet. Flushing fish can introduce diseases into local waterways and is disrespectful to your pet. A dignified method is to wrap the fish in a small piece of paper towel and place it in your household trash. Some people choose a small burial in a potted plant or garden as a final gesture. Choose what feels right for you and your family.
Step 3: The Initial Water Assessment
With the body removed, take a moment to look at the water. Is it cloudy? Does it have a foul, decaying odor? These are signs of an ammonia spike and bacterial bloom. This visual and olfactory assessment tells you the tank needs a serious clean. Now, immediately begin the preparation for the full cleaning process. Do not delay, as the breakdown products will continue to accumulate.
Gathering Your Supplies: The Right Tools for the Job
Having everything ready before you start will make the process smooth and prevent you from making rushed mistakes. Here is your essential checklist:
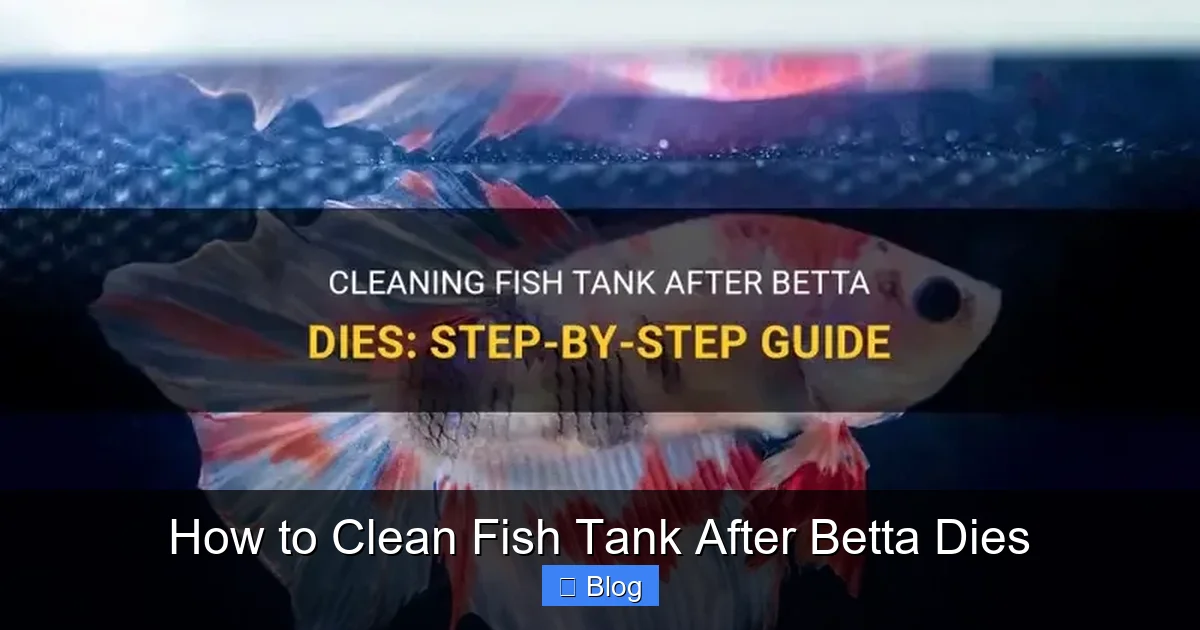
Visual guide about How to Clean Fish Tank After Betta Dies
Image source: marinelifetank.com
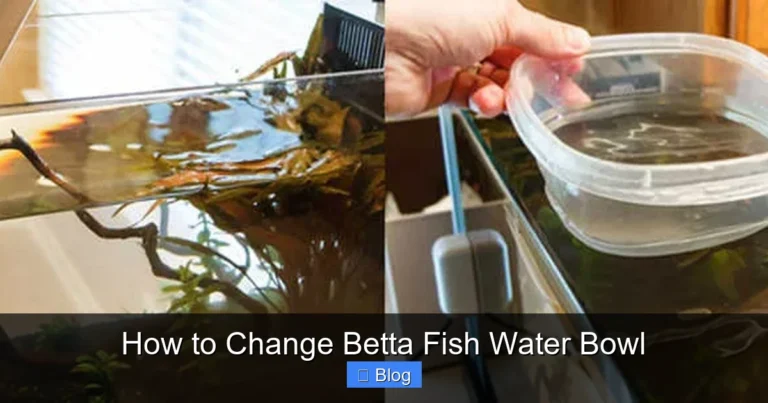
- Two Clean Buckets or Containers: One will hold the dirty tank water you siphon out (this is gold for your filter and fish!), and the other will hold clean, dechlorinated water for rinsing and refilling. These buckets must be dedicated solely to aquarium use. Never use a bucket that has held household cleaners, as even microscopic residues are fatal.
- Gravel Vacuum/Siphon: The most critical tool. This allows you to remove debris from the substrate while simultaneously changing the water. A simple hand-pump style is perfect for a betta tank.
- Algae Scraper or Pad: For the glass walls. Use a plastic scraper for acrylic tanks to avoid scratches. A dedicated, unused kitchen scrub pad (the non-soapy kind) also works well.
- Clean Cloths or Paper Towels: For wiping down the outside of the tank and any surfaces. Use a separate, clean cloth for the inside.
- Container for Decorations: A bowl or small bucket to hold rocks, plants, and ornaments as you clean them.
- Water Conditioner (Dechlorinator):strong> You cannot use straight tap water. It contains chlorine and chloramines that will kill your fish and beneficial bacteria.
- Optional but Helpful: A dedicated toothbrush for scrubbing decorations, a pitcher for pouring water gently, and a liquid water test kit.
The Step-by-Step Deep Cleaning Process
Phase 1: The Partial Water Change & Substrate Vacuuming
This is the core of your cleaning. The goal is to remove solid waste, decaying matter, and a significant portion of the contaminated water while preserving the beneficial bacteria that live in the filter media and on the substrate.
1. Set Up Your Siphon: Assemble your gravel vacuum. If using a hand pump, prime it by squeezing the bulb until water flows. Place the end of the vacuum into the tank and the other end into your “dirty water” bucket.
2. Vacuum the Substrate: Push the vacuum tube into the gravel. Stir it gently in a circular motion. The suction will pull out the debris (fish waste, uneaten food, decaying plant matter) that has settled between the grains. Work your way around the entire tank floor. For a betta tank, you don’t need to dig too deep; the top 1-2 inches is sufficient. This physical removal is far more effective than just pouring out water.
3. Remove 50-75% of the Water: As you vacuum, the water level will drop. Continue until you have removed between half and three-quarters of the tank’s total water volume. For a standard 5-gallon betta tank, this means siphoning out 2.5 to 3.75 gallons. The exact amount depends on how dirty the tank was. If the water was very cloudy or smelly, lean toward the 75% removal.
Phase 2: Cleaning Decorations and Tank Walls
Now, with the water level lowered, it’s easy to access and clean everything else.
1. Remove All Decor: Take out all rocks, silk/plastic plants, caves, and ornaments. Place them in your clean “decor” container.
2. Scrub the Glass: Using your algae scraper or pad (and the lowered water level to your advantage), scrub the inside of the glass thoroughly. Work from the top down. Rinse the scraper frequently in the old tank water you’re removing. Avoid getting debris back into the tank.
3. Clean the Decorations: For each decoration, use your dedicated algae pad or a clean toothbrush. Do not use soap. Gently scrub off any algae, slime, or debris. For stubborn mineral deposits (white crust), you can soak the item in a 1:1 solution of white vinegar and water for 10-15 minutes, then scrub and rinse extremely thoroughly with dechlorinated water. The vinegar smell must be completely gone. Rinse all decor in the old tank water you’ve siphoned out or in a separate container of dechlorinated water.
Phase 3: Handling the Filter—The Most Important Step
Your filter is the heart of the biological filtration system. It houses the colonies of beneficial bacteria (Nitrosomonas and Nitrobacter) that convert toxic fish waste (ammonia -> nitrite -> less toxic nitrate). Destroying this bacteria colony is the single biggest mistake you can make.
1. Do NOT Replace Filter Media: Unless the media is disintegrating or falling apart, do not throw it away. That media is now your bacterial colony.
2. Rinse Gently in Old Tank Water: Unplug the filter. Disassemble it according to the manufacturer’s instructions. Take the sponge, ceramic rings, or cartridge and gently squeeze and rinse it in the bucket of dirty tank water you just siphoned out. The old tank water contains the bacteria you’re trying to save. Swish it around until the gross debris is removed and the water runs clearer. Do not wring it out completely; you want it to remain saturated with bacteria-laden water.
3. Clean the Filter Housing and Tubes: Rinse the filter case, impeller, and intake tubes in the old tank water. Use a pipe cleaner or a dedicated brush for the tubes if needed.
4. Reassemble and Position: Put the filter back together. You can leave it off for a short period (30-60 minutes) while you finish the rest of the clean, but do not let the bacteria in the media dry out. When you refill the tank, turn the filter back on immediately.
Refilling and Restarting the Tank
Preparing the New Water
Fill your second clean bucket with the appropriate amount of fresh tap water to top off the tank. You must treat this water with a water conditioner/dechlorinator. Follow the dosage instructions on the bottle precisely. Chlorine and chloramines in tap water will kill your fish and your beneficial bacteria. For a betta, water temperature is also crucial. The new water should be within 1-2 degrees Fahrenheit of the old tank water to avoid temperature shock. You may need to let the treated water sit for a while to reach room temperature, or use a heater to warm it slightly.
The Gentle Refill
With the clean decorations back in the empty tank and the filter reassembled (but not yet running), begin pouring the conditioned, temperature-matched water back into the tank. Do this slowly to avoid disturbing the substrate you just vacuumed. You can pour the water over a plate or your clean hand to diffuse the flow. Fill the tank to about 1 inch from the top (the “rim”).
Final Touches and Restart
Once filled, wipe down the outside of the tank with a clean, dry cloth. Turn your heater and filter back on. Check for any leaks. At this point, your tank is physically clean and running with a preserved bacterial colony. However, it is not yet ready for a new fish.
Before You Add a New Betta: The Critical Wait & Test
The Nitrogen Cycle is Your New Best Friend
You have just performed a major disturbance to your aquarium’s ecosystem. While you saved the bacteria in your filter, the beneficial bacteria populations on the substrate and decorations were reduced. The “cycle” (ammonia -> nitrite -> nitrate) will re-establish, but it needs a short time to stabilize.
Do not add a new betta immediately. You must wait and test the water.
Testing for Safety
After 24-48 hours of the tank running with the clean water and filter, use a liquid water test kit (like the API Freshwater Master Test Kit). Test strips are less accurate. You need to see:
- Ammonia (NH3/NH4+): Must be 0 ppm.
- Nitrite (NO2-): Must be 0 ppm.
- Nitrate (NO3-): Should be below 20 ppm, ideally under 10 ppm.
If you see any ammonia or nitrite, the cycle is not yet safe. Perform another 25% water change with conditioned water and test again in 24 hours. This process, called “cycling,” can take a few days to a week after a deep clean. Only when all parameters are safe should you consider acclimating a new betta.
Proper Acclimation
When you do get a new betta, do not just dump it in. Float the sealed bag in the tank for 15-20 minutes to equalize temperature. Then, slowly add a small cup of tank water to the bag every 10 minutes for an hour. Finally, net the betta from the bag and release it into the tank. Discard the bag water. This drip acclimation helps the fish adjust to your tank’s specific water chemistry (pH, hardness) gradually.
Prevention and Reflection: Learning From the Loss
Reviewing the Likely Causes
A betta’s death is often the result of accumulated stress or poor conditions, not a single event. Use this cleaning process as a time for honest reflection. Ask yourself:
- Water Quality: Were you performing regular 25% weekly water changes? Did you test parameters (ammonia, nitrite, nitrate, pH) regularly? A lack of maintenance is the #1 cause of betta death.
- Tank Size: Was your betta in a proper-sized tank? A single betta needs a minimum of 5 gallons. Small “bowls” are not suitable and lead to rapid toxin buildup.
- Heating: Bettas are tropical fish requiring a stable temperature of 78-80°F (25.5-26.5°C). Was there a reliable aquarium heater? Temperature fluctuations are stressful.
- Diet: Were you overfeeding? Uneaten food decays and fouls the water. Were you providing a high-quality, varied diet?
- Tank Mates: Were there any other fish? Bettas, especially males, are often aggressive. Incompatible tank mates can cause fatal stress or injury.
- Signs of Illness: Were there earlier signs like lethargy, faded colors, clamped fins, or spots? Early intervention is key.
Setting Up for Future Success
With your tank now spotless and stable, you are in the perfect position to set up for long-term success. Establish a strict maintenance schedule: weekly 25% water changes with a gravel vacuum, monthly filter rinses (in old tank water), and regular water testing. Invest in a reliable heater and thermometer. Ensure your new betta has plenty of hiding spots (plants, caves) to reduce stress. By learning from this loss, you honor your pet’s memory by becoming a better, more knowledgeable fish keeper.
Conclusion
Cleaning a fish tank after your betta dies is a process that blends practical necessity with emotional closure. It’s a multi-step procedure that prioritizes safety—for any future fish—by meticulously removing contaminants while preserving the life-sustaining bacterial colonies in your filter. Remember the golden rules: no soap, rinse filter media in old tank water, perform a large partial water change with substrate vacuuming, and always, always test the water before restocking. This careful approach transforms a moment of loss into an act of responsible stewardship. You are not just cleaning glass and gravel; you are rebuilding a healthy aquatic world, ready to welcome new life when the time is right. Take your time, be thorough, and know that doing this correctly is the highest form of respect for the pet you loved.
Frequently Asked Questions
How long should I wait to clean the tank after my betta dies?
You should remove the body as soon as you discover it. Then, begin the deep cleaning process within a few hours. The decomposition starts immediately, so prompt action is best to prevent a severe ammonia spike.
Can I use tap water to rinse my decorations and filter?
No. Tap water contains chlorine and chloramines that will kill the beneficial bacteria on your filter media and decorations. Always use the old tank water you’ve siphoned out for rinsing, or water that has been treated with a dechlorinator.
Do I need to completely empty and scrub the entire tank?
No, a full tear-down is not necessary and is often harmful. A 50-75% water change combined with scrubbing the glass and decorations while the tank is partially drained is sufficient. Over-cleaning by stripping everything down and starting from scratch resets your nitrogen cycle and makes the tank unsafe for weeks.
Can I reuse the old substrate (gravel)?
Yes, you can and should reuse it. The substrate houses beneficial bacteria. Simply vacuum it thoroughly during the water change to remove all solid waste and debris. Do not replace it unless it is severely contaminated or you are changing the tank’s entire setup.
How will I know the tank is safe for a new betta?
The only way to know is to test the water with a liquid test kit 24-48 hours after cleaning and restarting the filter. The tank is safe only when ammonia and nitrite read 0 ppm and nitrate is low (ideally under 20 ppm). Do not rely on visual clarity alone.
Should I get the same type of betta or a different fish?
This is a personal choice. However, it’s an excellent opportunity to research and ensure you provide the absolute best setup. If your previous betta had specific health issues, you might consider a different, hardy species for a community tank. If you loved bettas, commit to providing a spacious, heated, filtered 5+ gallon tank with regular maintenance for your new one.