How to Clean a Betta Fish Tank
Cleaning a betta fish tank correctly is crucial for your fish’s health and involves regular partial water changes, careful gravel cleaning, and never using soap. Always dechlorinate tap water before adding it, and clean the tank walls and decorations gently to preserve beneficial bacteria. Avoid overcleaning—focus on consistency rather than stripping the tank bare to maintain a stable, healthy environment for your betta.
Key Takeaways
- Never use soap or household cleaners: Even a tiny residue is toxic to fish. Use only water or designated aquarium-safe cleaners for decorations.
- Partial water changes are non-negotiable: Replace 25-50% of the water weekly with conditioned, temperature-matched water to remove toxins.
- Clean the gravel, but don’t over-vacuum: Gently stir the substrate during each water change to remove debris without deeply disturbing the beneficial bacteria bed.
- Match water temperature and parameters: New water must be within 1-2°F of tank water and treated with a dechlorinator to prevent shock.
- Clean filters less often than you think: Rinse filter media in old tank water (never tap water) once a month or when flow significantly slows to preserve bacterial colonies.
- Algae is managed, not eradicated: Scrape glass carefully and control light exposure; a little algae is normal and can be part of the ecosystem.
- Consistency over deep cleans: A regular, gentle cleaning routine is far better for your betta than infrequent, drastic tank overhauls.
📑 Table of Contents
- Why Proper Tank Cleaning is a Betta’s Lifeline
- Gathering Your Cleaning Arsenal: The Right Tools for the Job
- The Step-by-Step Guide to a Safe, Effective Water Change
- Water Conditioning 101: The Chemistry of Safety
- Navigating Common Cleaning Catastrophes (And How to Avoid Them)
- Establishing a Sustainable Maintenance Rhythm
- Beyond the Chore: Observing Your Betta During Cleanup
Why Proper Tank Cleaning is a Betta’s Lifeline
Let’s be honest: the sight of a slightly murky betta tank can make any caring owner feel a pang of guilt. We want our vibrant, finned friends to live in pristine palaces. But here’s the crucial secret many new betta keepers miss: cleaning a betta fish tank isn’t about achieving a sterile, spotless environment. It’s about maintaining a balanced, stable aquatic ecosystem. Bettas are tough, but they’re sensitive to sudden changes in water chemistry caused by improper cleaning. Your goal isn’t to scrub every surface until it gleams; it’s to remove harmful waste products like ammonia and nitrites while preserving the population of “good” bacteria that make the tank safe. Think of it less like cleaning a kitchen counter and more like tending a delicate garden—you’re managing the environment, not resetting it completely. A proper cleaning routine directly translates to clearer water, healthier fins, a stronger immune system for your betta, and a longer, happier life. Getting this right is the single most important thing you can do for its welfare.
Gathering Your Cleaning Arsenal: The Right Tools for the Job
Before you even think about touching the tank, having the correct tools on hand makes the process smooth, fast, and safe. Using the wrong items—like a regular kitchen sponge or your bare hands—can introduce contaminants or harm your fish. Here’s your essential checklist.
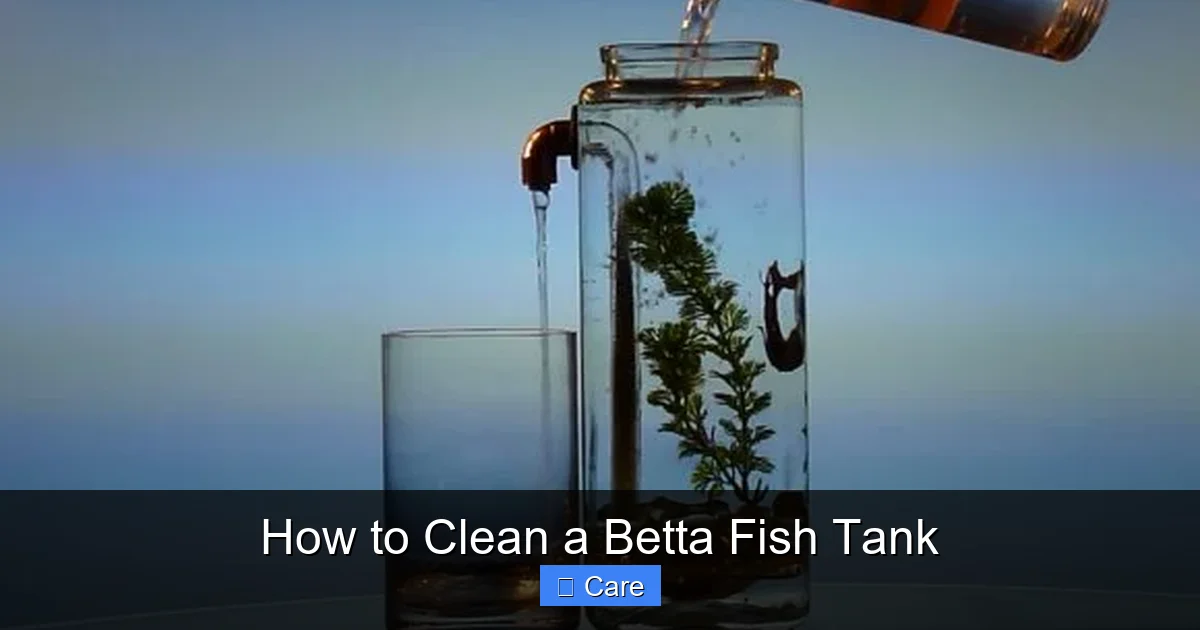
Visual guide about How to Clean a Betta Fish Tank
Image source: fishtankmaster.com
The Non-Negotiable Toolkit
First, you need a dedicated gravel vacuum (or siphon). This is your #1 tool. It’s a plastic tube with a wide mouth that creates suction to pull debris from the substrate without removing all the water. Get one sized appropriately for your tank. Next, a set of clean, dedicated buckets is vital. You’ll need at least two: one for removing old tank water and one for holding fresh, conditioned water. These buckets must never be used for any other household purpose to avoid chemical residue. For algae, have a magnetic algae scraper or a clean, plastic razor blade (for glass only, never acrylic). A pack of paper towels or a designated, lint-free microfiber cloth is for wiping the outside glass. Finally, a water conditioner/dechlorinator is absolutely mandatory for every single water top-off or change.
What to Absolutely Avoid
This is critical. Never use soap, detergent, or any household cleaning agent inside your betta’s tank. The molecules are toxic and lethal even in microscopic traces. Avoid abrasive scrubbers that can scratch glass or acrylic. Don’t use your fingers to clean; human skin has oils and microbes that can disrupt the tank’s balance. And please, do not use the same bucket you use for cleaning toilets or floors—this is a common and tragic mistake that introduces deadly pathogens.
The Step-by-Step Guide to a Safe, Effective Water Change
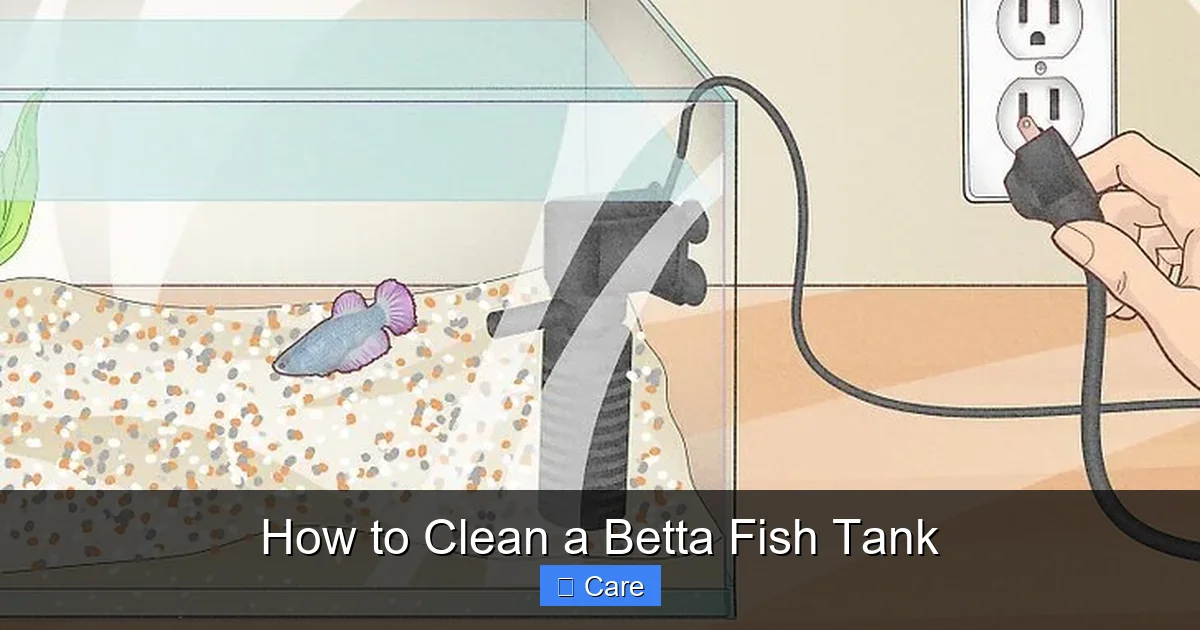
This is the heart of tank maintenance. A partial water change (PWC) is your primary cleaning action. We’re going to walk through a 25-30% change, which is ideal for a weekly routine for a single betta in a 5+ gallon tank. For smaller, unfiltered bowls, you may need 50% changes 2-3 times a week. Always prioritize consistency.
Visual guide about How to Clean a Betta Fish Tank
Image source: wikihow.com
Preparation is Everything: The 30-Minute Rule
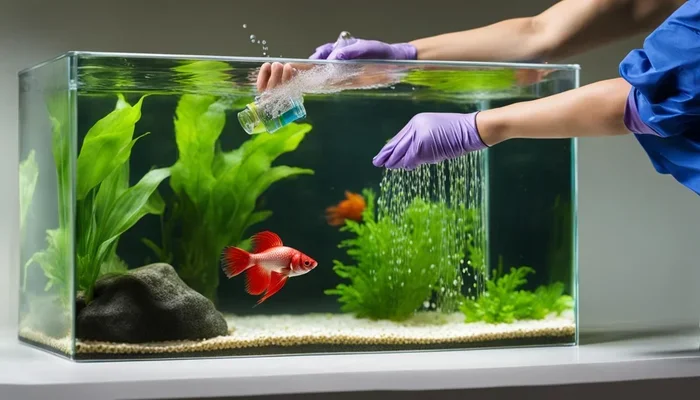
Start by preparing your fresh water at least 30 minutes before you begin. Fill your clean “fresh water” bucket with tap water. Add the correct dose of water conditioner as per the bottle instructions. This product neutralizes chlorine, chloramines, and heavy metals instantly. Place the bucket near the tank so the water can come to room temperature. Never add cold or hot water directly to the tank—temperature shock is a major killer. The new water should be within 1-2°F (about 0.5-1°C) of your tank’s existing temperature. Use a reliable aquarium thermometer to check. This waiting period also lets any bubbles from the conditioner dissipate.
The Gentle Art of the Gravel Vacuum
Now, with your gravel vacuum and “old water” bucket ready, gently insert the wide end of the vacuum into the substrate. Don’t plunge it in aggressively. Hold your thumb over the exit tube to start the siphon, then release it into the bucket. Gently move the vacuum in small circles over the gravel. You’ll see debris—fish waste, uneaten food, decaying plant matter—get sucked up into the tube while the gravel falls back down. The key is to only vacuum the top 1-2 inches of substrate. You are removing the loose detritus sitting on top, not deep-cleaning every inch of the tank floor. Deep cleaning disturbs the deep bacterial bed. Focus on areas where waste accumulates, like under the filter outflow or your betta’s favorite hangout spot. Continue until you’ve removed the desired amount of old water (e.g., 5 gallons from a 20-gallon tank for a 25% change).
Cleaning Decor and Glass Without Harm
With the water level down, it’s easier to clean. Use your dedicated, clean cloth or sponge (never used for anything else) to gently wipe the inside glass. For stubborn algae, use the plastic scraper or magnetic cleaner. For plastic plants and decorations, take them out and rinse them thoroughly in the bucket of old tank water you just removed. Do not use tap water—the chlorine will kill beneficial bacteria living on their surfaces. A gentle rub with your fingers or a soft cloth in old tank water is usually sufficient. If you have live plants, you can gently rinse their roots in the old water bucket as well. Never use a toothbrush or any soap.
Water Conditioning 101: The Chemistry of Safety
You cannot skip this step. Tap water is a chemical cocktail for your betta. It contains chlorine, which is added to kill bacteria (including the good kind in your tank), and often chloramine, a more stable compound that is even harder to remove. It also contains heavy metals like copper and fluctuating pH levels. Water conditioner is not optional; it is the first line of defense for your fish.
Visual guide about How to Clean a Betta Fish Tank
Image source: fishlab.com
How Conditioners Work
Products like Seachem Prime, API Stress Coat, or any standard dechlorinator work by chemically binding to chlorine and chloramine, neutralizing them instantly. Some premium brands, like Prime, also detoxify ammonia, nitrite, and nitrate for a short period (24-48 hours), which is a huge help during a stressful water change. Always read the label for dosage based on the amount of water you’re treating. For a full tank change, dose for the entire tank volume. For a partial change, dose only for the amount of new water you’re adding. It’s better to slightly overdose than underdose.
Temperature Matching: The Feel Test
After treating your fresh water, you must match its temperature to the tank. The best way is to use a thermometer. A reliable, quick method is to hold your clean, dry hand under the stream of new water from the faucet (before it hits the bucket) and compare it to the feel of tank water on your other hand. They should feel indistinguishable. If your new water is cooler, you can let the bucket sit to warm up or mix in a small amount of warm (not hot) conditioned water. If it’s too warm, add a little cool conditioned water. The goal is zero thermal shock.
Navigating Common Cleaning Catastrophes (And How to Avoid Them)
Even with the best intentions, it’s easy to make a mistake that can send your betta into a dangerous spiral. Let’s troubleshoot the most frequent errors.
The “Full Tank Scrub” Disaster
This is the #1 mistake. New owners, wanting to do a “good job,” will completely empty the tank, scrub every surface with (gasp) soap, rinse all gravel under the tap, and sterilize everything. This wipes out the entire colony of beneficial bacteria that process your betta’s waste. The result is an immediate “new tank syndrome” where toxic ammonia and nitrite spike uncontrollably, often leading to rapid illness or death. Never perform a full, deep clean. Stick to partial changes and only clean what’s visibly dirty during the routine.
Filter Follies
Your filter is home to a massive amount of beneficial bacteria. If you rinse the filter media under the cold tap every week, you’re killing these bacteria and causing a cycle crash. The correct method: once a month, or when you notice a significant drop in water flow, take the filter media (sponges, ceramic rings, bio-balls) and gently squeeze/rince them in the bucket of old tank water you just removed. This cleans out the large debris while preserving the bacterial film. Never replace all filter media at once; if you must, replace only half at a time, several weeks apart.
Temperature and Chemical Shock
Adding water that is too cold, too hot, or has a drastically different pH can cause osmotic shock and severe stress. This manifests as lethargy, loss of color, clamped fins, and can lead to disease. Always, always match temperature. For pH, if your tap water is extremely different from your tank’s stable pH (which should be around 7.0-7.5 for bettas), you may need to use a pH stabilizer, but it’s better to let your betta adapt to a stable, conditioned tap water pH than to constantly chase a number. Sudden changes are the enemy.
Establishing a Sustainable Maintenance Rhythm
Cleaning shouldn’t be a dreaded, sporadic chore. It should be a predictable, 20-minute weekly ritual. The frequency and volume depend on your setup.
The Standard Weekly Routine (Filtered 5+ Gallon Tank)
- Day/Time: Pick a consistent day, like every Sunday morning.
- Task: Perform a 25-30% partial water change using the gravel vacuum method.
- Additional: Wipe the glass, clean algae off the front pane, rinse decorations in old water if visibly slimy, and check filter flow. Rinse filter media in old tank water only if flow is reduced (often monthly).
Adjusting for Smaller or Unfiltered Tanks
If your betta is in a 2.5-gallon unfiltered “bowl” (please consider upgrading!), waste builds up much faster. You should be doing 50% water changes 2-3 times per week. The process is the same, but the frequency is higher. There is no filter media to worry about. For a filtered 10-gallon community tank, a 20-25% weekly change is usually sufficient. The key metric is your water test kit. If you test and see ammonia or nitrite above 0 ppm, or nitrate consistently above 20 ppm before a change, you need to increase the change volume or frequency.
The Role of Live Plants
If you have live plants (like hardy Anubias or Java Fern), they actually help absorb nitrates, reducing the bioload. However, they still need care. During your water change, you can gently rinse their leaves in old tank water to remove detritus. Trim any dead or decaying leaves. Live plants make maintenance a bit easier but do not eliminate the need for regular water changes.
Beyond the Chore: Observing Your Betta During Cleanup
The cleaning process is also a vital health check. While you’re working, gently observe your betta. Is it swimming actively? Are its fins fully extended and flowing? Is its color vibrant? Or is it hiding, clamped, lethargic, or has it developed spots, frayed fins, or bloating? Note any changes. Sometimes, the stress of cleaning can temporarily affect behavior, but it should resume normal activity within an hour of the clean water being added. If it seems ill, check your water parameters immediately with a liquid test kit (the most accurate tool you can own). Many betta ailments are direct results of poor water quality. Your cleaning routine is your primary prevention medicine.
Conclusion: Cleaning a betta fish tank is a simple, predictable science when you have the right tools and mindset. It’s about gentle, consistent management—not brutal sterilization. By performing weekly partial water changes with properly conditioned, temperature-matched water, cleaning the gravel and glass carefully, and preserving your filter’s bacterial colony, you create a stable, thriving home. You are not just cleaning a tank; you are curating a tiny, balanced world. This routine is your direct line of communication with your betta’s health. Stick to it, and you’ll be rewarded with a vibrant, active, and long-lived companion. The time you spend on this simple ritual is the greatest investment you can make in its wellbeing.
Frequently Asked Questions
Can I use bottled spring water instead of tap water?
You can, but it’s generally not recommended and is more expensive. Spring water lacks essential minerals that help stabilize pH and is not consistent in its composition. It also still requires a water conditioner to remove any residual chlorine. For reliability and cost, properly conditioned tap water is the standard and best choice for bettas.
How do I know if my betta is stressed from the cleaning process?
Normal, temporary stress might include hiding for an hour or two after the clean. True problematic stress includes prolonged lethargy, loss of appetite for more than a day, frantic darting, clamped fins, or faded color. If these persist, test your water parameters immediately, as it’s often a sign of ammonia or nitrite spike from a cleaning error.
Do bettas really need a filter? Can I just do more water changes?
While bettas can survive in unfiltered water with very frequent (2-3x weekly) 50% water changes, a small, gentle filter is highly recommended. It provides mechanical filtration (traps debris) and, most importantly, a massive surface area for beneficial bacteria to grow, creating a much more stable and less labor-intensive environment. Choose a filter with a gentle flow you can baffle.
My tap water has a strong chlorine smell. Is conditioner enough?
Yes, a high-quality water conditioner like Seachem Prime is specifically designed to neutralize chlorine and chloramine instantly, even at high concentrations. The smell is just an indicator of its presence. Always follow the dosage instructions on the bottle for your water volume.
What’s the single biggest mistake people make when cleaning a betta tank?
The absolute most common and dangerous mistake is overcleaning—specifically, washing the gravel, decorations, and filter media with tap water or soap. This destroys the essential beneficial bacteria colony, leading to toxic ammonia and nitrite spikes that can kill your betta within days. Always clean in old tank water and never use soap.
My tank is getting green water (algae bloom). Is cleaning the answer?
Green water is usually caused by excess nutrients (nitrates, phosphates) and too much light. While cleaning the glass helps cosmetically, the solution is to reduce feeding, ensure you’re doing regular water changes to lower nitrates, and shorten the daily light cycle to 8-10 hours. Adding live plants can also outcompete the free-floating algae for nutrients.