When Do You Clean a Betta Fish’s Tank
Maintaining a clean betta fish tank is non-negotiable for your pet’s health and longevity. Unlike many fish, bettas are sensitive to poor water quality, which can lead to fatal illnesses. You should perform partial water changes weekly, with a more thorough clean every 2-4 weeks, depending on your tank’s size, filter, and plant load. Always use a dechlorinator and match water temperature. Consistent, proper cleaning prevents common diseases like fin rot and velvet.
Key Takeaways
- Clean Weekly: Perform a 25-50% partial water change every 7 days as a baseline, regardless of tank appearance.
- Test Your Water: Use a liquid test kit to monitor ammonia, nitrite, nitrate, and pH before and after cleanings.
- Never Do 100% Changes: Avoid full, 100% water changes as they remove beneficial bacteria and stress your betta.
- Condition is Key: Always treat tap water with a complete water conditioner to neutralize chlorine and heavy metals.
- Match Temperatures: New water must be within 1-2°F of the old tank water to prevent thermal shock.
- Clean Decor, Not Gravel: Gently rinse decor in old tank water; never use soap. Only vacuum the gravel surface during partial changes.
- Listen to Your Filter: A humming or rattling filter often means it’s clogged and needs cleaning in old tank water.
📑 Table of Contents
- Why a Clean Betta Tank is a Matter of Life and Death
- Understanding Your Betta’s Needs: The Science of Clean Water
- The Obvious and Not-So-Obvious Signs It’s Time to Clean
- Your Step-by-Step Guide to a Proper Partial Water Change
- How Tank Setup Dictates Your Cleaning Schedule
- Common Cleaning Mistakes That Harm Your Betta
- Creating Your Personalized Betta Tank Maintenance Schedule
- The Final Word: A Clean Tank is a Happy Home
Why a Clean Betta Tank is a Matter of Life and Death
Let’s be honest: cleaning a fish tank can feel like a chore. But for your betta fish, that routine chore is the single most important factor determining whether he lives a vibrant, year-plus life or succumbs to a preventable illness in just a few months. Bettas, with their famous labyrinth organ that allows them to breathe air, are often mistakenly thought to be able to live in dirty, tiny bowls. This is the most dangerous myth in the hobby. A clean betta tank is not a luxury; it’s a fundamental requirement.
In their natural Southeast Asian rice paddies and slow-moving streams, bettas live in vast, warm, plant-rich waters where waste is instantly diluted. Your glass box is the complete opposite—a closed system where every bit of uneaten food, fish waste (called ammonia), and decaying plant matter accumulates rapidly. Ammonia is a silent, colorless killer that burns gills and damages organs. Your filter’s beneficial bacteria help, but they can only process so much. Without your intervention via regular water changes, that toxic waste builds to lethal levels, compromising your betta’s immune system and inviting disease.
Understanding Your Betta’s Needs: The Science of Clean Water
To know when to clean, you must understand what you’re cleaning. The goal is to manage the nitrogen cycle, a natural process where toxic fish waste is converted by bacteria. Ammonia (from waste) -> Nitrite (still toxic) -> Nitrate (less toxic, but problematic in high amounts). In a cycled tank, your filter media houses bacteria that handle the first two steps. Your job is to remove the end product, nitrate, and dilute any spikes in ammonia or nitrite.
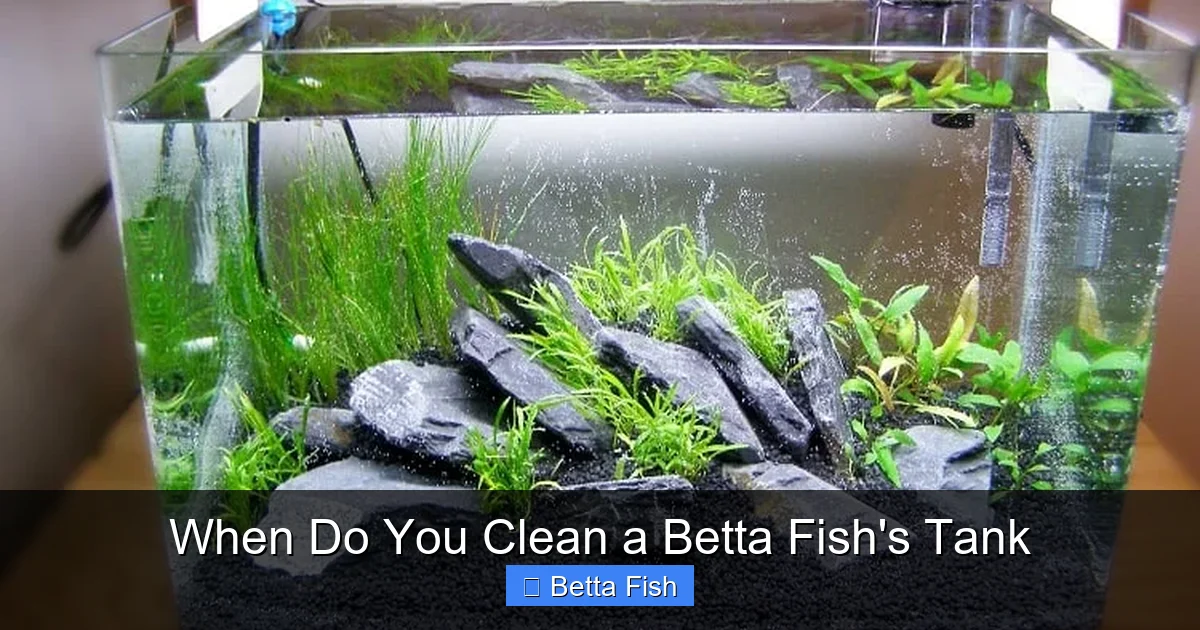
Visual guide about When Do You Clean a Betta Fish’s Tank
Image source: fishlab.com
The Critical Water Parameters
A clean betta tank is defined by safe water parameters. Here’s what you need to know:
- Ammonia & Nitrite: Should always be at 0 ppm. Any detectable amount means your tank is toxic and requires an immediate partial water change.
- Nitrate: Should be kept below 20 ppm for bettas. This is the primary reason for weekly water changes. As nitrate rises, it stresses your fish and lowers immunity.
- pH: Bettas prefer a stable pH between 6.5 and 7.5. Sudden swings from cleaning are more dangerous than a slightly “off” stable number.
- Temperature: A stable 78-80°F (25.5-26.5°C) is ideal. Cold water slows metabolism and digestion, making your betta prone to constipation and swim bladder issues.
The Obvious and Not-So-Obvious Signs It’s Time to Clean
While a strict weekly schedule is best, your betta’s environment will give you clear signals. Learning to read these signs is key to proactive care.
Visual guide about When Do You Clean a Betta Fish’s Tank
Image source: wikihow.com
Visual Cues You Can’t Ignore
Look at the water and surfaces. Is it developing a slight greenish tinge or a cloudy, milky appearance? That’s algae bloom or a bacterial bloom, indicating excess nutrients. Do you see a film or slime on the surface? That’s a mix of proteins and bacteria. Is the gravel visibly coated with brown or gray gunk? That’s decomposing waste. Even if the water looks clear, a strong, “old” smell when you put your nose near the water surface (not directly in!) is a red flag. A clean tank should have little to no odor beyond the faint smell of the substrate.
Behavioral Red Flags from Your Betta
Your fish is the best indicator. A healthy betta is curious, flares at you, and actively explores. In poor water, he becomes lethargic, hangs at the surface gasping for air (not just the normal betta “labyrinth breathing”), loses his vibrant colors, and may hide constantly. Clamped fins (held tightly to the body) and frequent scratching against objects (sign of itching from parasites that thrive in poor conditions) are late-stage, serious symptoms. If you see these, an immediate partial water change is the first step in treatment.
Your Step-by-Step Guide to a Proper Partial Water Change
This is the core of betta tank maintenance. The goal is to remove waste *without* destroying the beneficial bacterial colony. Never, ever do a 100% full tank clean. Here is the gold-standard method.
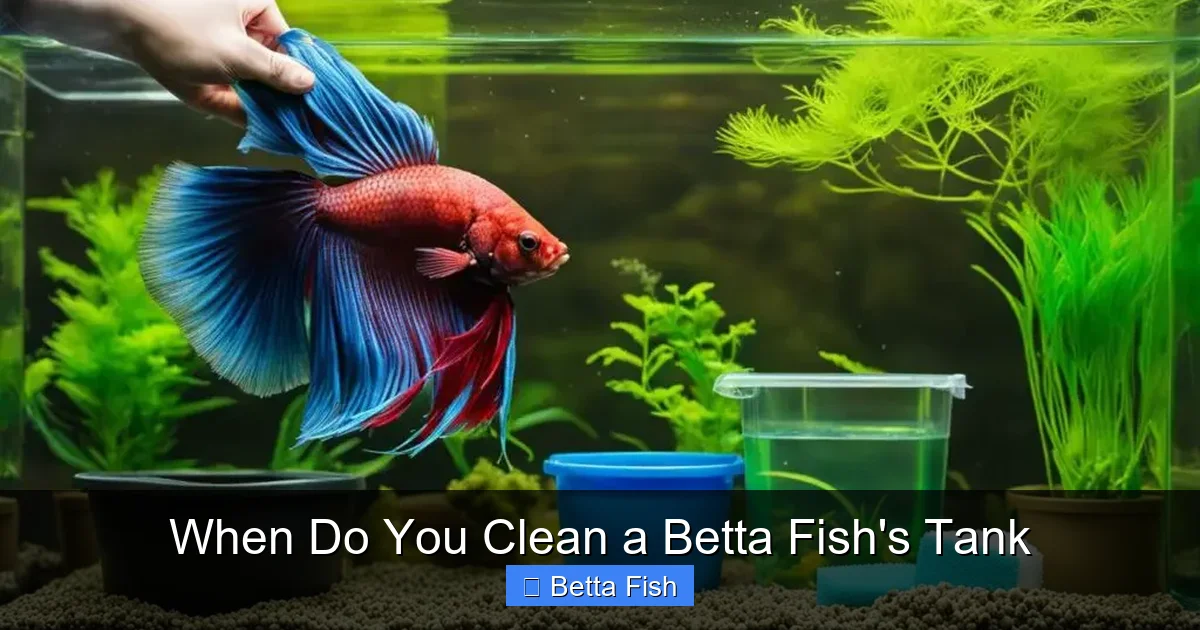
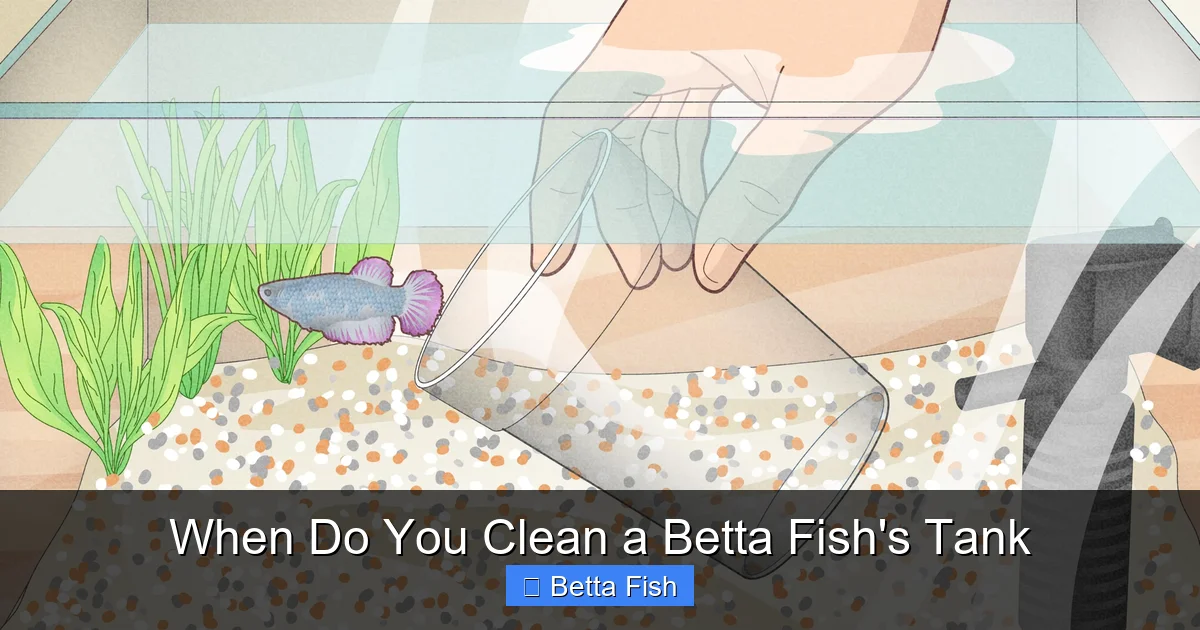
Visual guide about When Do You Clean a Betta Fish’s Tank
Image source: bettafishworld.com
Gather Your Tools (The “Cleaning Kit”)
You need a dedicated set of tools kept *only* for your aquarium. Never use household buckets or cleaning supplies.
- Aquarium Gravel Vacuum/Siphon: The most critical tool. It removes debris from the gravel without disturbing the substrate too much. Get a 6-12 inch one for small tanks.
- Two Clean Buckets: Designate one as “Tank Water” and one as “Fresh Water.” They must be clean of all soap and chemicals. A 5-gallon bucket is perfect for a 5-10 gallon tank.
- Water Conditioner: A high-quality dechlorinator like Seachem Prime is essential. It also detoxifies ammonia and nitrite for 24-48 hours.
- Algae Scraper/Pad: For glass or acrylic. Avoid metal scrapers on acrylic.
- Old, Clean Towels: Dedicated to aquarium use only.
- Optional but Helpful: A turkey baster for spot-cleaning debris in corners, long tweezers for removing dead leaves from plants.
The 15-Minute Weekly Process
Step 1: Prepare. Fill your “Fresh Water” bucket with tap water. Add the correct dosage of water conditioner. Let it sit for 15 minutes. If you have a heater, you can use a small aquarium heater in this bucket to bring it to exact tank temperature, or let it sit to reach room temp. Step 2: Disconnect. Unplug your filter and heater (if submerged) for safety. Do not clean these now. Step 3: Clean Decor & Glass. Use your algae pad to scrape the glass from top to bottom. Use your hands or tweezers to remove any dead plant matter. Gently rinse any decorations (rocks, resin castles) in the bucket of *old tank water* you are about to remove. Never use soap. Step 4: Vacuum the Gravel. Insert the gravel vacuum into the substrate. Push it down about 1-2 inches. Start a siphon by sucking on the tubing (or using a priming bulb). Gently move the vacuum in a grid pattern over the entire bottom, lifting it slightly and letting it refill with gravel each time. The goal is to lift out the debris sitting *on top* of the gravel, not churn up the entire bed. Remove 25-50% of the water volume. Step 5: Refill. Slowly pour the conditioned, temperature-matched fresh water back into the tank. Aim the stream against the glass or a decoration to avoid disturbing the substrate and kicking up settled debris. Step 6: Restart & Wipe. Reconnect your filter and heater. Wipe any water spots from the outside glass with your dedicated towel. Log the date and parameters in a simple notebook.
How Tank Setup Dictates Your Cleaning Schedule
Not all betta tanks are created equal. Your specific setup will fine-tune the “every 7 days” rule.
The Filter Factor: Sponge vs. Hang-On-Back vs. Canister
A good filter is your best ally. A sponge filter (ideal for bettas due to gentle flow) requires you to squeeze the sponge in old tank water during your weekly water change to remove solid debris. A Hang-On-Back (HOB) filter has replaceable cartridges. You should rinse the cartridge in old tank water during your monthly deep clean, never replace it all at once unless it’s disintegrating, as you’ll crash your bacterial colony. A canister filter is overkill for a single betta but if you have one, follow manufacturer guidelines for media rinsing, again using old tank water.
Live Plants: The Natural Cleaners
If you have live plants (highly recommended!), they absorb nitrates as fertilizer, naturally lowering your nitrate levels and potentially stretching the time between water changes. However, you still need to vacuum the gravel to remove solid waste that plants can’t use. Also, trim any dead or decaying leaves immediately, as they rot and spike ammonia. A tank with a good carpet of fast-growing plants like Java moss or Anubias might only need a 25% change weekly, while a tank with only plastic plants needs the full 50%.
Tank Size: Bigger is (Almost) Always Better
The “one gallon per betta” rule is a dangerous myth. A 5-gallon tank is the absolute minimum, and a 10-gallon is the true starting point for a happy, healthy betta. Why? Dilution. In a 10-gallon tank, the same amount of waste is diluted in twice the water volume compared to a 5-gallon. This means nitrate builds more slowly, giving you a larger safety margin. You could arguably stretch to a 10-day change in a heavily planted 10-gallon, but a 5-gallon with no plants needs its weekly change religiously.
Common Cleaning Mistakes That Harm Your Betta
Good intentions can lead to bad outcomes. Here are the pitfalls to avoid.
Mistake 1: Using Tap Water Directly
Chlorine and chloramines in tap water are fatal to fish and destroy your beneficial bacteria. Always, always use a complete water conditioner. Read the label—some only treat chlorine. You need one that handles both.
Mistake 2: Temperature Shock
Pouring cold tap water into a warm tank is a surefire way to shock your betta’s system, leading to stress and disease. Always match the temperature of the new water to the old. Use a thermometer. A 1-2°F difference is acceptable; a 10°F difference is an emergency.
Mistake 3: Over-cleaning the Filter
When your filter gets clogged, the instinct is to take it apart and scrub every piece with tap water. This is catastrophic. You are washing away the entire bacterial colony that processes ammonia. Instead, during your monthly deep clean, rinse the filter media (sponges, bio-balls) in a bucket of the old tank water you just siphoned out. Gently squeeze sponges until the water runs clear. Never replace all media at once.
Mistake 4: Using The Wrong Tools (Soap, Chemicals)
Residue from dish soap, glass cleaner, or even hand soap on your siphon, buckets, or decorations is lethal. Use only plain water and dedicated tools. For stubborn algae on decorations, a 1:10 vinegar soak followed by a thorough rinse in dechlorinated water is safe.
Creating Your Personalized Betta Tank Maintenance Schedule
Consistency is everything. Here is a sample schedule for a standard 5-10 gallon planted betta tank with a sponge filter. Adapt based on your observations.
Weekly (Non-Negotiable)
- Test water parameters (ammonia, nitrite, nitrate, pH).
- Perform 25-50% partial water change with vacuuming.
- Scrape algae from glass.
- Wipe down the outside of the tank.
- Clean the sponge filter by gently squeezing it in old tank water.
- Inspect betta for signs of illness or stress.
Bi-Weekly / Monthly
- Deep clean filter media more thoroughly (rinse in old tank water).
- Prune live plants and remove any dead matter.
- Clean the siphon and buckets thoroughly (with water only, no soap).
- Check and clean heater (unplug first, wipe off any mineral deposits with a cloth).
- Inspect all equipment for wear.
As-Needed
- Spot clean visible debris with a turkey baster between changes.
- Trim overgrown plants.
- Replace filter media only when it’s falling apart (do it in stages).
Remember: If your parameters show nitrate creeping above 20 ppm before your weekly change, increase the change percentage to 50% the following week. If ammonia or nitrite is ever present, do an immediate 50% change and investigate the cause (overfeeding? dead fish? new, uncycled item?).
The Final Word: A Clean Tank is a Happy Home
Caring for a betta is a profound responsibility, but it’s also incredibly rewarding. That stunning, flowing fin and interactive personality are direct results of a stable, clean environment. By establishing a simple, consistent routine based on the science of water chemistry—not just the look of the water—you are giving your betta the gift of health. You move from being a pet owner to a dedicated aquatic caretaker. Your betta doesn’t need a fancy castle; he needs clean water. Start your weekly timer today. Your silent, swimming companion depends on you.
Frequently Asked Questions
Can I use bottled spring water instead of tap water for my betta tank?
It’s not recommended. Spring water varies wildly in mineral content and pH, which can cause dangerous swings. It also lacks essential minerals bettas need. Treated tap water with a proper conditioner is more consistent and cost-effective. If your tap water is exceptionally poor, consider a reverse osmosis (RO) system with a remineralizer, but this is advanced.
How do I clean the tank if my betta is very stressed or aggressive?
Use a large cup or net to gently scoop your betta into a clean, conditioned, temperature-matched holding container (like a smallCritter Keeper) with a lid. Place this in a quiet, dark area. Perform your water change and tank cleaning quickly and efficiently. Then, acclimate your betta back to the main tank by slowly adding tank water to his holding cup for 15-20 minutes before releasing him.
My tank has a snail/shamrock/pygmy frog. Does the cleaning schedule change?
Yes, any living creature adds bioload (waste). With a snail, you might need to be slightly more vigilant about algae scraping, but they also help clean glass. The weekly water change percentage may need to increase to 40-50% to compensate for the extra waste. Always monitor nitrate levels closely when adding any new tankmate.
Is it ever okay to do a 100% water change in an emergency?
Only in a true, life-threatening emergency like a chemical spill or severe ammonia spike (>2 ppm). Even then, do 50% changes every few hours until parameters are safe, not one 100% change. A full change removes all beneficial bacteria and causes immense stress, often doing more harm than good. Always prioritize partial changes.
What’s the best way to clean algae off the tank walls without scratching acrylic?
Use a dedicated plastic or magnetic algae scraper for acrylic tanks. Never use metal razors or scrubbers. For stubborn spots, use a cloth or sponge dedicated only to the tank. A bit of white vinegar on the scraper pad can help, but rinse the area thoroughly with tank water afterward to remove any vinegar residue.
My betta tank has no filter. How often should I clean it?
A filterless (or “unfiltered”) betta tank requires much more frequent maintenance—often 30-50% water changes every 2-3 days. Without mechanical and biological filtration, waste accumulates incredibly fast. This setup is only suitable for very experienced keepers with heavily planted, large tanks (10+ gallons) and is not recommended for beginners. You must test water parameters daily.