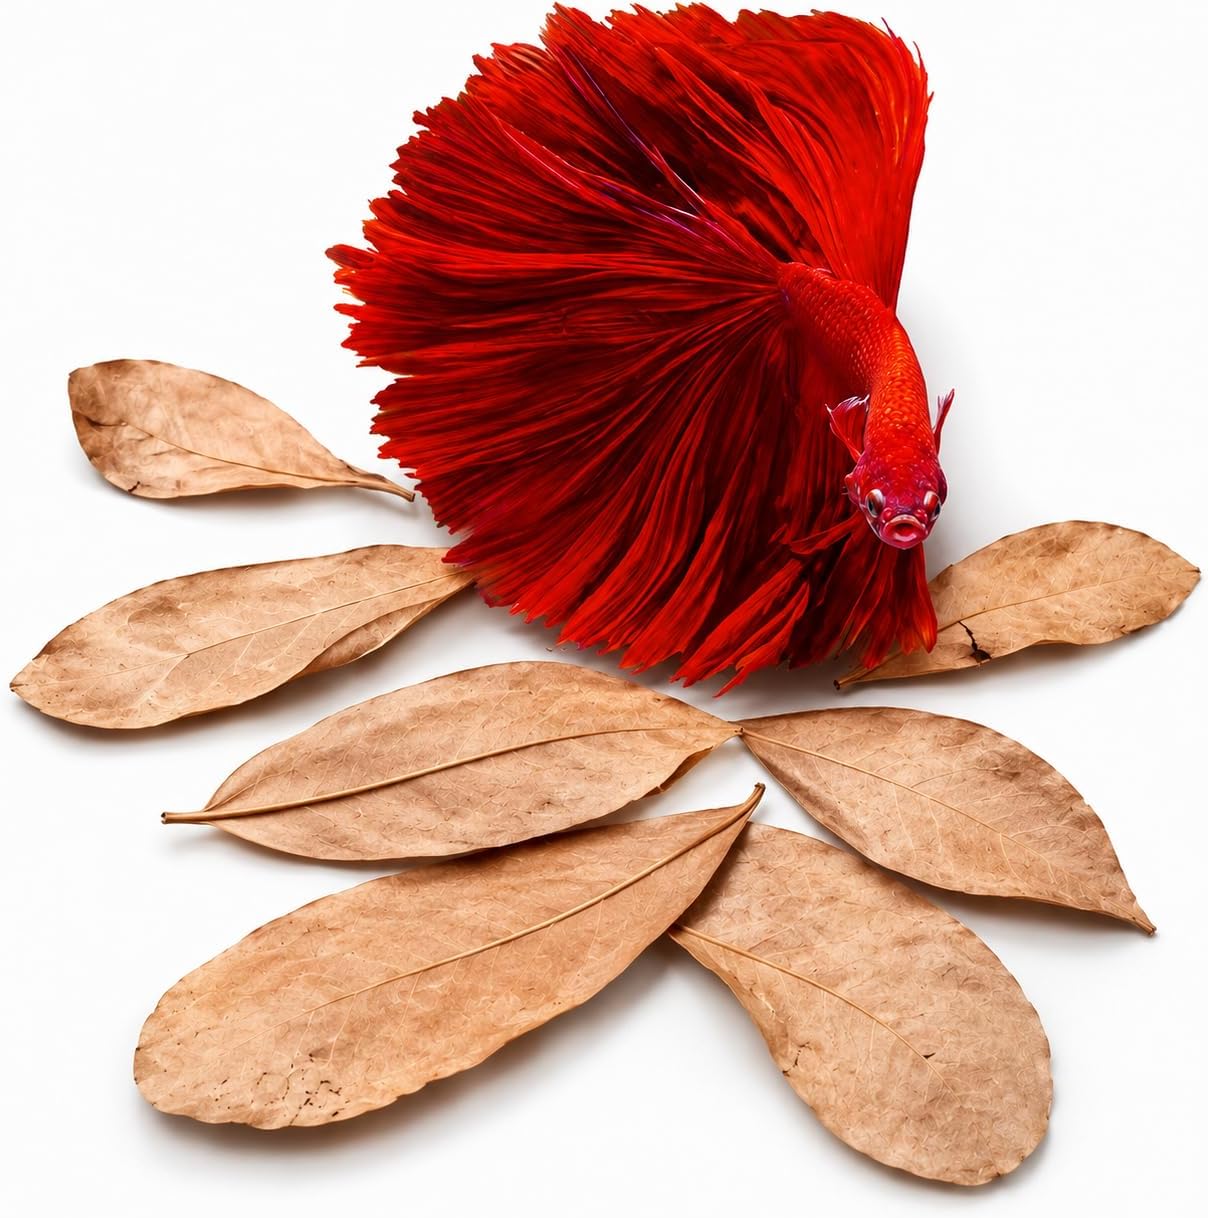
How Do You Draw a Betta Fish

Learning how do you draw a betta fish is easier than you think, even if you have zero drawing experience. With a few simple steps, you can create a stunning betta fish drawing that captures the beauty of its flowing fins and vibrant colors. This guide breaks down the process into easy-to-follow techniques that anyone can master, from sketching the basic shape to adding those signature dramatic fins that make bettas so mesmerizing.
Key Takeaways
- Begin with a basic oval body shape to establish the betta’s form.
- Draw flowing fins using smooth curves for that signature betta elegance.
- Add vibrant colors gradually to capture the fish’s shimmering scales.
- Sketch the tail fin first because it defines the betta’s dramatic shape.
- Use reference photos to study fin details and improve accuracy.
- Layer shading softly to give the betta a realistic, three-dimensional look.
- Practice patience and repeat sketches to master the betta’s graceful movements.
📑 Table of Contents
Why Betta Fish Are a Favorite Subject for Artists
Have you ever looked at a betta fish and thought, “I wish I could capture that beauty on paper”? You’re not alone. These colorful creatures have inspired artists for decades. Their flowing fins and bold colors make them one of the most popular subjects in betta fish art.
So, how do you draw a betta fish? It’s easier than you might think. With a few simple steps and some practice, you can create a stunning betta fish illustration that you’ll be proud to display. Whether you’re a complete beginner or have some drawing experience, this guide will walk you through everything you need to know.
Betta fish are naturally dramatic. Their betta fish fins and tails flow like silk in the water. That makes them both exciting and challenging to draw. In this article, we’ll break the process down into easy-to-follow steps. You’ll learn about betta fish anatomy, what supplies to use, and how to add those special details that bring your betta fish sketch to life.
What You’ll Need to Draw a Betta Fish
Before you start, grab the right supplies. Having the proper tools makes a big difference in how your betta fish drawing turns out. You don’t need a lot of fancy gear. Here’s a simple list to get you started:
- Pencils — A basic set ranging from HB to 4B works great for sketching and shading.
- Eraser — A kneaded eraser is best for lifting graphite without smudging your work.
- Drawing paper — Choose smooth, thicker paper that handles shading well.
- Reference images — Photos of betta fish help you study their shapes and colors.
- Coloring tools — Colored pencils, markers, or watercolors bring your betta fish illustration to life.
- Reference chart — A quick look at your reference sheet helps you compare proportions as you work.
Choosing Your Medium
The medium you pick shapes the entire feel of your betta fish art. Here’s a quick comparison to help you decide:
| Medium | Best For | Difficulty Level | Color Quality |
|---|---|---|---|
| Pencil sketch | Learning proportions and shapes | Beginner | Black and white only |
| Colored pencils | Layered, vibrant colors | Intermediate | Excellent and blendable |
| Watercolor | Soft, flowing effects | Advanced | Beautiful but unpredictable |
| Markers | Bold, quick color | Beginner to Intermediate | Bright but less blendable |
If you’re just starting out, a pencil sketch is your best bet. You can always add color later. For a betta fish portrait with rich tones, colored pencils give you the most control. Want to skip the hard parts? Check out our guide on how to draw a betta fish easy for simplified approaches that still look amazing.
Step-by-Step Guide: How to Draw a Betta Fish
Now let’s get into the fun part. Follow these steps to create your own how to draw a betta fish masterpiece. Take it slow and don’t worry about perfection right away. Every artist starts with rough sketches.
Step 1: Draw the Body Shape
Start with a simple oval for the body. Betta fish have slender, curved bodies that taper toward the tail. Don’t make the oval too perfect. A slightly irregular shape looks more natural. Think of it as a teardrop pointing to the right.
Pay attention to betta fish anatomy. The head is smaller than the body. The mouth points slightly upward. A small circle for the eye goes near the front of the head. These early shapes set the foundation for your entire betta fish sketch.
Step 2: Add the Fins and Tail
This is where your betta fish drawing starts to look like a betta. The fins are large, flowing, and dramatic. Here’s how to approach them:
- Caudal fin (tail): Draw a wide, fan-like shape behind the body. It should flow naturally from the body’s curve.
- Dorsal fin (top): This fin runs along the back. It’s usually shorter but still elegant.
- Anal fin (bottom): Located on the underside, this fin mirrors the dorsal fin in shape.
- Pectoral fins: These small fins sit near the gills. They look like little fans.
Keep your lines flowing and smooth. Avoid stiff, straight edges. Real betta fins ripple and curl. If you want more detailed guidance on shaping these fins, our step-by-step tutorial on drawing a betta fish walks you through fin placement with pictures.
Step 3: Refine the Shape and Add Details
Once your basic outline is in place, refine the edges. Smooth out any rough lines. Add the gill plate near the head. Draw the pectoral fins with gentle curves. Start defining the betta fish body by adding subtle shadows and contours.
At this stage, your sketch should look like a fish taking shape. Don’t stress about fine details yet. Focus on getting the overall form right. A good betta fish illustration depends on strong underlying structure.
Step 4: Add the Face Features
The face brings personality to your drawing. Here’s what to include:
- Eye: Draw a small circle with a smaller filled circle inside for the pupil. Add a tiny highlight dot for shine.
- Mouth: A small, slightly curved line works best.
- Gill lines: Add two or three soft curves behind the eye to show the gill plate.
These small details make your betta fish art feel alive. Don’t make the eyes too big. Betta fish have relatively small eyes compared to their head size. Keep it realistic.
Step 5: Shade and Color Your Betta Fish
Shading adds depth. Use light pressure for base layers and heavier pressure for shadows. Focus on the areas under the fins and along the belly. These spots naturally collect shadow.
Now it’s time for color. Betta fish come in stunning betta fish colors. Here are some popular combinations:
- Royal blue with deep indigo shadows
- Crowntail red with dark maroon accents
- Halfmoon multicolor mixing blues, purples, and golds
- Dragon scale using metallic silvers and bold bases
Layer your colors slowly. Build up from light to dark. If you’re using watercolors, wet the paper first and let the colors blend organically. Check out our tutorial on drawing a realistic betta fish for advanced coloring techniques that make scales shimmer.
Tips for Drawing Realistic Betta Fish Details
Realism separates a good drawing from a great one. Here are expert tips to elevate your how do you draw a betta fish results:
Study the Scales
Betta fish have overlapping scales that create a textured pattern. Don’t try to draw every single scale. Instead, suggest the pattern with small, curved lines. Use a fine-tip pencil for this work. Each scale catches light differently, so leave tiny highlights unshaded.
Capture the Flow of the Fins
The fins are the star of any betta fish sketch. Study how they move in water. They ripple, sway, and fan out. Use long, curved lines instead of short, choppy ones. This creates that graceful, underwater movement look. Think of the fins like silk ribbons caught in a breeze.
Use Reference Photos
Never underestimate the power of a good photo. Pull up images of real betta fish while you draw. Notice how the light hits the body. Notice where the darkest shadows fall. Reference images help you nail betta fish anatomy without guesswork.
Layer Your Colors
Avoid applying color all at once. Build up thin layers for a richer look. Start with a base color, add a darker shade for shadows, and finish with a lighter highlight. This layering technique gives your betta fish illustration a three-dimensional feel.
Common Mistakes to Avoid When Drawing Betta Fish
Even experienced artists stumble into these traps. Knowing what to avoid saves you time and frustration.
- Making the fins too stiff: Real betta fins are soft and flowing. Stiff lines kill the natural look. Keep your pencil loose.
- Ignoring proportions: The body should be small compared to the fins. Many beginners make the body too large. Remember, it’s all about those dramatic fins.
- Over-detailing too early: Start broad and work inward. Adding scales and fin details before the basic shape is right leads to redrawing.
- Using too much pressure: Heavy pencil marks are hard to fix. Use a light hand, especially in the beginning stages.
- Skipping the reference: Drawing from memory alone often leads to inaccurate shapes. Always keep a reference image nearby.
Fixing Mistakes
Mistakes happen. Here’s how to handle them:
- Use a kneaded eraser to lift unwanted graphite gently.
- If you smudge a section, let it dry and work around it. Sometimes mistakes become happy accidents.
- For coloring errors, try layering a correction color over the mistake. This works especially well with colored pencils.
Patience is your best tool. Every mistake teaches you something. That’s part of the journey of betta fish drawing.
Bringing Your Betta Fish Drawing to Life
Now that you’ve got the basics down, let’s talk about taking your work to the next level. The difference between a flat drawing and a stunning piece of betta fish art comes down to a few finishing touches.
Add Background Elements
A plain fish on white paper looks nice. But adding a background creates context. Consider drawing:
- Subtle aquatic plants like seaweed or java fern
- Soft water ripple lines around the fish
- Small pebbles or gravel at the bottom
- Bubbles rising from the surface
Keep background elements light and simple. They should support your betta fish portrait, not compete with it. A few well-placed lines go a long way.
Experiment with Styles
Don’t limit yourself to realism. Try different styles to find what suits you:
- Realistic: Focus on accurate proportions, detailed scales, and natural colors.
- Abstract: Use bold shapes and colors to capture the fish’s energy rather than its exact look.
- Cartoon: Simplify the features and exaggerate the fins for a playful effect.
- Minimalist: Use clean lines and minimal shading for an elegant, modern look.
Each style has its charm. If you want to explore more creative approaches, our article on how to draw a betta fish realistic offers advanced tips for hyper-detailed work. But don’t feel pressured to go hyper-realistic. A simple betta fish sketch can be just as powerful when done with care.
Create a Series
Try drawing the same betta fish in different poses. Show it swimming left, then right. Capture different fin positions. This builds your skills and helps you understand betta fish anatomy much deeper. Before you know it, you’ll have a full portfolio of beautiful fish art.
Quick Tips for Beginners
Here are some bite-sized tips to keep in mind as you practice:
- Practice the body shape daily until it feels natural.
- Draw the same fin shapes over and over to build muscle memory.
- Set a timer for 10-minute quick sketches to build confidence.
- Share your work online for feedback. Communities like Reddit’s r/learnart are welcoming.
- Don’t compare your Day 1 to someone else’s Day 100. Progress takes time.
Conclusion
Learning how do you draw a betta fish is a rewarding journey. These beautiful creatures offer endless inspiration with their vivid colors and flowing fins. Whether you start with a simple pencil sketch or jump straight into watercolor, the key is practice and patience.
We covered everything from supplies and basic shapes to advanced shading and common mistakes. Remember to study real betta fish, use reference photos, and build your skills gradually. Every drawing teaches you something new about betta fish art.
Grab your pencils, pick up your colored pencils, and start drawing. Your first betta fish drawing might not be perfect, and that’s completely okay. What matters is that you started. Keep going, keep experimenting, and soon you’ll create betta fish illustrations you’ll be truly proud of. The underwater world of betta fish is waiting for you to capture it on paper.
Frequently Asked Questions
How Do You Draw a Betta Fish Step by Step?
Start by sketching a simple oval shape for the body, then add a curved line for the spine. Next, draw the flowing fins and tail, followed by the eye and mouth. Finally, add scales and details, then erase your guide lines and color your drawing.
What Materials Do You Need to Draw a Betta Fish?
You only need a pencil, eraser, and a sheet of paper to get started. Colored pencils, markers, or watercolor paints work great for adding vibrant betta colors like blue, red, and purple. A fine-tip pen can also help you add intricate fin details.
How Do You Draw a Betta Fish Tail?
Start with two curved lines extending from the back of the body, then shape them into a flowing, fan-like form. The tail should be wide at the top and narrow to a point at the bottom. Add a center line to show the fin’s structure and make it look more realistic.
What Colors Should I Use for a Betta Fish Drawing?
Classic betta colors include deep blue, vibrant red, bright purple, and green. You can also use metallic shades or combine colors for a stunning effect. Start with light layers and build up the intensity gradually for a rich, dimensional look.
Is Drawing a Betta Fish Hard for Beginners?
Not at all — betta fish have simple body shapes that are easy to replicate. Focus on getting the oval body and flowing fins right, and the rest will follow naturally. Practice a few basic shapes first, and you will be drawing beautiful bettas in no time.
How Do You Add Details to a Betta Fish Drawing?
Start by adding small scale patterns across the body and delicate lines along the fins. Draw a small black dot for the eye with a tiny white highlight to give it life. You can also add subtle shading around the fins to create depth and dimension.