How to Transport Betta Fish
Transporting betta fish requires meticulous planning to ensure their survival and well-being. Critical factors include proper fasting, using a clean and insulated transport container, maintaining water temperature, and a gradual acclimation process at the destination. This guide covers everything from preparation to arrival, helping you avoid common mistakes that could harm your fish.
So, you need to move your betta fish. Maybe it’s a short trip to a friend’s house, a cross-country relocation, or even a flight to a new home. Whatever the reason, the moment you start thinking about how to transport betta fish, a knot of worry forms in your stomach. And you’re right to be concerned. Betta fish, with their flowing fins and vibrant personalities, are notoriously delicate. They’re sensitive to water quality, temperature swings, and stress. A rushed or poorly planned journey can lead to a shocked, sick, or worse, deceased fish. But here’s the good news: transporting a betta doesn’t have to be a terrifying ordeal. With the right knowledge, preparation, and a calm hand, you can safely move your aquatic friend from point A to point B. This guide will walk you through every single step, from the night before to the moment your betta is happily swimming in its new tank. Think of it as your friendly, detailed playbook for betta transport success.
The golden rule to remember is this: your goal is to replicate, as closely as possible, the stable, clean environment your betta is used to, but in a portable form. Everything we do—from fasting to container choice to acclimation—serves that goal. We’re not just moving water with a fish in it; we’re preserving a tiny, fragile ecosystem for a short period. Let’s break it down.
Key Takeaways
- Fast Your Betta: Withhold food for 24 hours before transport to prevent waste and ammonia spikes in the small container.
- Use Proper Water: Always fill the transport container with conditioned, dechlorinated water at the correct temperature (76-82°F).
- Choose the Right Container: Opt for a clean, secure plastic bag or rigid container with a lid; never use glass or house multiple bettas together.
- Control Temperature: Insulate the container with towels or a cooler to maintain stable water temperature during transit.
- Acclimate Slowly: Upon arrival, use the drip acclimation method to gradually introduce your betta to its new tank water.
- Minimize Stress: Keep the container upright, in a dark, quiet place, and avoid unnecessary handling or vibrations.
📑 Table of Contents
Essential Preparation Steps Before Transport
The 24 hours leading up to the actual move are arguably the most important. Rushing into the transport phase without proper prep is the single biggest mistake new betta owners make. This phase is about getting your betta and its future transport environment ready. It’s the foundation everything else is built on.
Fasting: The Non-Negotiable First Step
The very first thing you should do is stop feeding your betta. Withhold all food for at least 24 hours, but no more than 48 hours, before you plan to place it in the transport container. Why is this so critical? In the small, confined space of a transport bag or container, a betta cannot produce much waste without rapidly fouling its own water. A single pea-sized meal can lead to a significant spike in ammonia within a few hours. Ammonia is highly toxic and can burn a betta’s gills, causing extreme stress or death. Fasting ensures your betta’s digestive system is empty, drastically reducing waste production during transit. For younger bettas or those with health concerns, stick to the 24-hour mark. A healthy adult can comfortably go 48 hours without food. Do not fast for longer than 48 hours, as this can weaken the fish.
Water Conditioning: You Cannot Skip This
This seems obvious, but it’s a fatal error if overlooked. You must use a water conditioner/dechlorinator in the transport water. Tap water contains chlorine and chloramines, which are deadly to fish. Even if you have a water filter at home, those chemicals are added at the municipal level and must be neutralized. Use a reliable water conditioner like Seachem Prime or API Stress Coat. Follow the dosage instructions on the bottle for the volume of water you’ll be using. It’s a good practice to mix the conditioned water the day before and let it sit, ensuring it’s free of any chemical residues and at room temperature. Never use untreated tap water, bottled spring water (which can have inconsistent mineral content), or water from your main aquarium without conditioning it first.
Gathering Your Supplies: The Transport Kit
Don’t wait until the last minute. A day before, assemble a dedicated “betta transport kit.” This eliminates panic and ensures you have everything within reach. Your kit should include:
- The Primary Container: This is your most important decision. We’ll cover options in the next section, but have it clean and ready.
- Conditioned Water: Enough to fill the container 1/3 to 1/2 full. Bettas need air at the surface, so don’t fill it completely.
- A Secure Lid or Closure: For bags, this means strong rubber bands. For rigid containers, a screw-top lid with ventilation holes (covered with mesh or filter floss to prevent escape).
- Insulation Materials: Towels, small blankets, foam sheets, or a small cooler. This is for temperature control.
- Hand Warmers (for cold weather): Disposable, non-toxic hand warmers can be wrapped in a cloth and placed *outside* the container to provide gentle heat. Never place them directly against the plastic, as they can get too hot.
- Cooling Elements (for hot weather): A small, sealed ice pack wrapped in a t-shirt can be placed in the insulation layer to cool the environment. Again, never put it directly in the water or against the container wall.
- A Small Net: For gently moving the betta.
- A Small Cup or Bowl: To temporarily hold the betta while you prepare the main container.
- Paper Towels or Cloth: For cleanup and extra padding.
- Water Tester (Optional but Helpful): A small test strip kit to check pH and temperature of your conditioned water.
Having this kit assembled means when it’s go-time, your focus is solely on your betta’s safe transfer, not on hunting for supplies.
Choosing the Right Container for Your Betta
The container is your betta’s lifeline during the journey. The wrong choice can lead to escape, injury, or fatal water parameter crashes. The right choice provides security, adequate gas exchange, and stability. Let’s evaluate the common options.
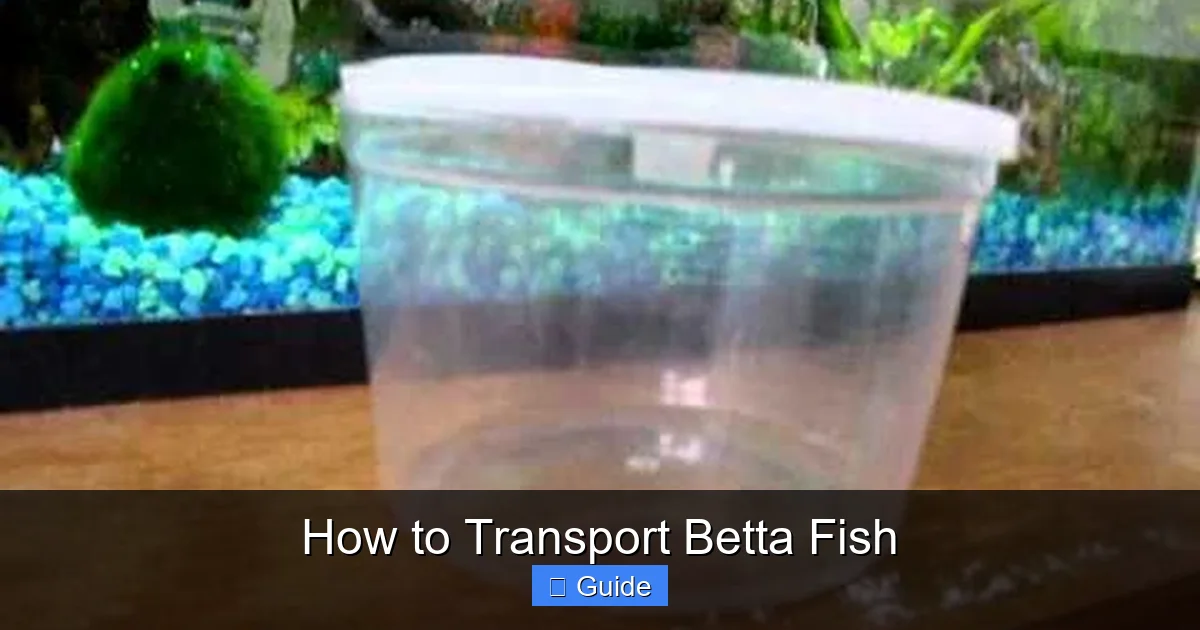
Visual guide about How to Transport Betta Fish
Image source: i.ytimg.com
Plastic Bags: The Classic Short-Haul Choice
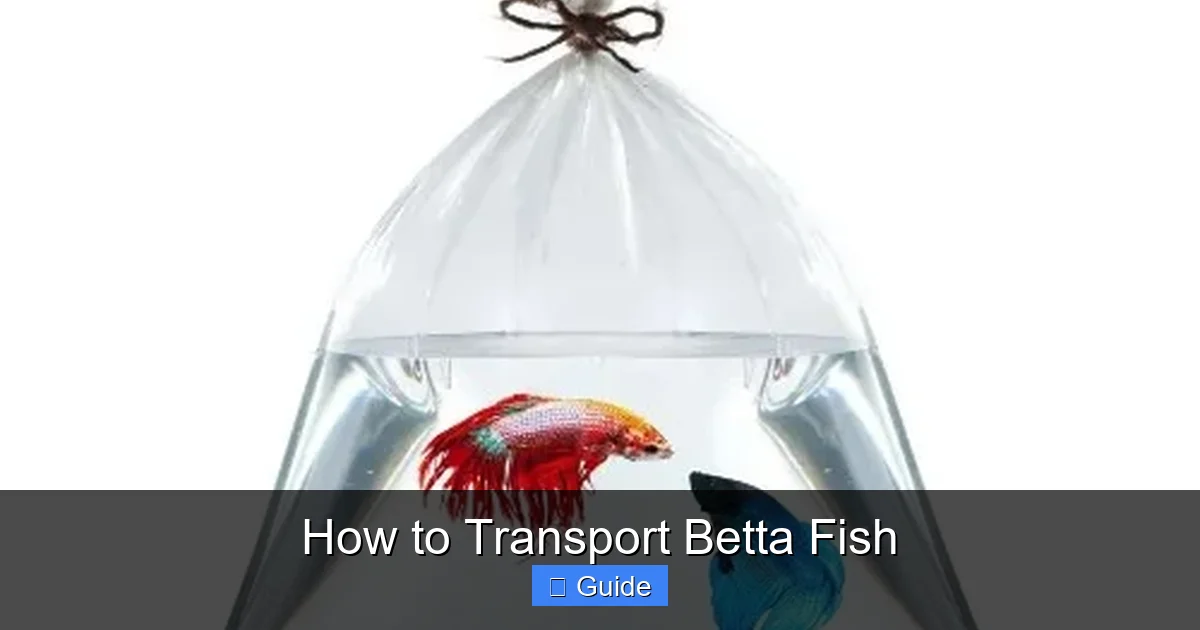
The quintessential image of fish transport is a betta in a plastic bag. This is perfectly suitable for trips under 2 hours, like a move across town or a visit to the vet.
- Pros: Lightweight, readily available (from pet stores), and the air at the top provides oxygen. Double-bagging offers a failsafe against leaks.
- Cons: Extremely fragile. Easy to puncture or tear. Prone to rolling and sloshing, which stresses the fish. Offers no insulation from temperature. The small water volume can heat up or cool down very quickly.
- Best Practice: Always use the heaviest-duty bags available (pet stores sell “fish bags”). Fill with 1/3 to 1/2 conditioned water, push out as much air as possible (but don’t crush the fish), and seal with a strong rubber band. Then, place this bag inside a second, identical bag and seal it. This double-bagging is a crucial safety step. Place the double-bagged fish inside a small cardboard box or a rigid container (like a Tupperware) to prevent rolling and provide a dark, stable environment. Never just carry a floppy bag by hand.
Rigid Containers: The Safer, More Versatile Option
For any trip over 2 hours, or for any journey where you want maximum peace of mind, a rigid plastic container is the superior choice. Think small, clean food storage containers, dedicated fish transport pots, or even a clean, empty margarine tub.
- Pros: Unbreakable, provides physical protection. Easy to secure with a lid. Can be easily insulated by placing it in a box or wrapping it in towels. The walls prevent excessive water movement. You can drill or melt small ventilation holes in the lid if needed.
- Cons: Heavier and bulkier than bags. Must be impeccably clean (no soap residue!).
- Best Practice: Choose a container with a secure, screw-on lid. The container should be just large enough for your betta to turn around comfortably—too much water volume can cause sloshing, too little is stressful. A 16-32 oz (500ml-1L) container is often perfect for a single adult betta. Drill 4-6 tiny holes (about 1/8 inch) in the lid for air exchange, and cover the inside of the lid with a piece of nylon mesh or filter floss to prevent the betta from jumping through. Fill 1/3 to 1/2 full with conditioned water.
Insulation and Temperature Control: The Invisible Lifeline
No matter which container you choose, you must insulate it. Bettas are tropical fish. Their ideal water temperature is 76-82°F (24-28°C). A car interior can swing from freezing cold to oven-hot in a matter of hours. Your transport container is a tiny thermal mass; it will quickly equalize to the ambient temperature. Insulation slows this process dramatically.
Wrap your chosen container (bag inside its box, or rigid container) in towels, small blankets, or foam sheets. Place this wrapped bundle inside a small cooler or a sturdy cardboard box. The goal is to create a stable, dark, padded cocoon. In winter, you can add a chemical hand warmer (wrapped in a thin cloth) to the *outside* of the insulation layer. In summer, a frozen gel pack (also wrapped) can be placed in the same location. Never place heating or cooling elements directly against the container wall or in the water. Check the water temperature with your hand before placing the betta inside; it should feel lukewarm, not cool or hot.
Safe Transport Practices: From Start to Finish
With your prepared container in hand and your betta fasted, it’s time for the actual move. The process of getting your betta into the container and securing it for transit must be calm and swift.
Visual guide about How to Transport Betta Fish
Image source: bettafishworld.com
The Transfer: A Gentle Touch
When it’s time, dim the lights and move slowly. Bettas are easily spooked. Using your small net, gently herd your betta into the temporary cup. Avoid chasing it around the tank, as this causes immense stress. Once in the cup, carefully lower it over the open transport container and allow the betta to swim down in. Alternatively, you can use the cup to scoop a small amount of tank water with the betta and then pour it gently into the transport container. Never lift a betta out of water with your net and drop it. The goal is zero impact. Once the betta is in, add the rubber band or secure the lid immediately. For a bag, expel excess air and seal it. For a rigid container, screw the lid on tightly.
Securing the Container for the Journey
Place the sealed, insulated container in a location where it will not slide, tip, or be crushed. The floor of a car, behind the front seats, is often the most stable. If you must place it on a seat, wedge it between cushions or use a seatbelt to strap the outer box/cooler in place. The container must remain upright at all times. Water should not be sloshing onto the betta. Keep it out of direct sunlight (never on a sunny dashboard) and away from heating or cooling vents. If traveling by plane, under-seat storage is ideal as it remains at cabin pressure and temperature. Inform flight attendants that you have a live animal in the carrier.
During Transit: The Golden Rules
Once the journey begins, your job is to be a passive guardian.
- Keep it Dark and Quiet: Cover the container or box with a towel. Darkness calms fish. Minimize noise and sudden movements around it.
- Do Not Feed: Remember, your betta is fasting. Do not be tempted to add a crumb of food. It will only pollute the water.
- Do Not Open: Resist the urge to “check on” your betta by opening the container. Every opening introduces stress and potential temperature changes. Leave it sealed until you reach your destination.
- Monitor for Extreme Temperatures: If the car gets unbearably hot or cold, you may need to adjust your route or use climate control more aggressively. The insulation buys you time, but it’s not a magic shield for hours in a hot trunk.
- For Long Trips (4+ hours): You may need to plan a stop to refresh the water. At a rest stop, set up a clean bucket with conditioned water at the correct temperature. Gently net the betta from the transport container into the bucket (with some of its old water), quickly dump the old transport water, rinse the container with fresh conditioned water, refill, and reintroduce the betta. This is an advanced maneuver; for most moves, a single 4-6 hour trip with a properly sized rigid container and insulation is fine.
Arrival and Acclimation: Easing Your Betta Into Its New Home
You’ve arrived! The transport container is sealed and intact. Don’t celebrate just yet—the final, most critical phase is acclimation. This is the process of slowly introducing your betta to its new, permanent tank water. Jumping from transport water to tank water is a shock to its system due to differences in temperature, pH, and mineral content (hardness/softness). The drip acclimation method is the gold standard for bettas and other sensitive fish.

Visual guide about How to Transport Betta Fish
Image source: animalslog.com
Setting the Stage for a Smooth Transition
Before you even touch the transport container, your new tank must be fully set up, cycled, and ready. This means the filter is running, the heater is set to the correct temperature (76-82°F), and the water parameters (ammonia, nitrite) are at zero. If you’re moving into an established tank, ensure it’s been running and stable for weeks. Have a clean towel ready for spills. Have your net handy. The goal is to move from transport container to tank with minimal handling and maximum parameter matching.
The Drip Acclimation Method: A Step-by-Step Guide
This method uses gravity to slowly add new tank water to the transport water, allowing your betta to gradually adjust. It takes patience (20-40 minutes) but is the safest approach.
- Step 1: Gently place the entire open transport container (bag or rigid container with lid off) into the new tank. It should float on the surface. If using a bag, roll the top edges down to create a floating ring so it doesn’t tip. The water levels inside and outside should be roughly equal.
- Step 2: Using a clean airline tubing (a siphon starter from an aquarium store works perfectly), start a very slow drip of new tank water into the transport container. The drip should be about 1-2 drops per second. You can control the flow by tying a knot in the tubing or using a flow control valve.
- Step 3: Allow the drip to continue until the water volume in the transport container has roughly doubled. This process will take 20-40 minutes. During this time, your betta is slowly experiencing the new water chemistry while still having a majority of its familiar water.
- Step 4: Once the volume has doubled, carefully use a cup to remove about half of the water from the transport container (the old, now-diluted water). Discard it.
- Step 5: Repeat the drip process until the volume in the transport container has doubled again. This second doubling ensures the water is now nearly 75-80% new tank water.
- Step 6: At this point, you can use your net to gently transfer your betta from the transport container into the new tank. Discard the remaining transport water. Do not pour the betta in.
- Step 7: Immediately turn off or dim the tank lights and give your betta complete peace and quiet for several hours. Do not feed for at least 24 hours after arrival, as its digestive system is still adjusting and it may be too stressed to eat.
Why not just float the bag? The floating bag method (floating the sealed bag in the tank to equalize temperature) only addresses temperature, not water chemistry. The drip method addresses both, making it vastly superior for bettas, which are sensitive to pH and hardness swings.
Special Considerations for Long-Distance or Air Travel
Most of this guide focuses on car trips. But what if you’re moving across the country or flying? The principles remain the same, but the execution requires more forethought and specific gear.
Cross-Country Moves (Car or Van)
For trips lasting 8+ hours, you are essentially creating a temporary, mobile aquarium. You cannot simply bag the betta and drive for two days.
- Container: You must use a rigid, lidded container. A 1-2 gallon plastic storage tub with a secure lid is a good option. Drill multiple small holes in the lid for air exchange, covered with mesh.
- Water Volume: Use more water than for a short trip (1/2 to 2/3 full). This provides a greater thermal buffer and dilutes waste if the trip is extended.
- Aeration: For trips over 6 hours, consider a battery-powered air pump with a small air stone. This provides crucial oxygen. Ensure the pump and airline tubing are clean and new.
- Water Changes: If the trip exceeds 12 hours, you will likely need to perform a partial water change at a rest stop. Have a separate, clean container with conditioned, temperature-matched water ready. The process is similar to the long-trip stop mentioned earlier: net the betta into the clean water, swap out the old transport water, and re-secure.
- Temperature: Insulation is even more critical. Place the transport tub inside a large cooler. Use hand warmers or ice packs as needed, monitoring the water temperature with a sticker thermometer.
- Plan Stops: Choose rest stops where you can park in shade, take your time, and have a clean surface to work on. Never leave the betta unattended in a hot or cold car.
Air Travel with a Betta
Flying with a betta is complex and highly regulated. Always contact the airline well in advance. Policies vary wildly.
- Cabin vs. Cargo: Most airlines allow small, compliant live animals in the cabin as carry-on if the carrier fits under the seat. This is always preferable to cargo hold, which experiences extreme temperatures and pressures. Never check a betta as luggage.
- Carrier Requirements: Airlines often require an IATA-compliant pet carrier. These are hard-sided, well-ventilated, and leak-proof. A small, rigid plastic container with a secure, ventilated lid that fits under the seat is usually acceptable. Call to confirm your specific container.
- Documentation: You may need a health certificate from a veterinarian, especially for international travel. For domestic US travel, this is less common but still possible.
- Process: Arrive early. You’ll likely have to remove the betta from its carrier for X-ray screening. Have a small, clear plastic bag ready to hold the container during screening. Inform the TSA officer it’s a live animal. Be prepared to explain your setup.
- During Flight: Keep the carrier under the seat in front of you. Do not stow it in the overhead bin. Talk to the flight attendants and let them know you have a live animal. They may allow you to keep the carrier on your lap during takeoff and landing if it’s small enough.
- After Landing: Go directly to your final destination to acclimate. Do not stop for errands.
Pitfalls to Avoid: Common Transport Errors
Even with the best intentions, it’s easy to make a critical error. Here are the most common mistakes that jeopardize betta transport success.
Mistake: Skipping the Fast
This is the #1 error. “He looks hungry,” you think, and you toss in a pellet. That pellet will dissolve and foul the small water volume within hours, creating a toxic ammonia spike. Stick to the 24-48 hour fast. A hungry betta is a stressed betta, but a poisoned betta is a dead betta. The fast is for its own good.
Mistake: Using Untreated or Incorrect Water
Grab a bottle of distilled water from the store? Use last night’s leftover water from the main tank? Both are bad ideas. Distilled water lacks essential minerals and can cause osmoregulatory shock. Old tank water has already been filtered and may have built-up nitrate. Always use freshly conditioned tap water at the correct temperature. Test it if you’re unsure about your tap water’s parameters.
Mistake: Rushing or Skipping Acclimation
You’re tired from the move. The new tank is full of pretty plants. You just want to get the betta in there. So you dump him in. This is a recipe for shock. The drip method, while tedious, is non-negotiable for a safe transition. Rushing this step can cause your betta to clamp its fins, gasp at the surface, become lethargic, or even die within 24 hours from osmotic shock.
Mistake: Poor Temperature Management
You put the bag on the car seat. The sun comes through the window. Within 30 minutes, the water is scalding hot. Or, you leave the container in the car while you run into a store on a freezing day. Temperature shock is as deadly as water chemistry shock. Always insulate, always monitor, and never leave the container unattended in an uncontrolled environment.
Mistake: Attempting to Transport Multiple Bettas Together
This cannot be stressed enough: Never, under any circumstances, place two male bettas in the same transport container. They will fight to the death, even in a small bag. Female bettas (sororities) are also best transported alone, as stress from the journey can trigger aggression. Each betta gets its own, separate, secure container. Period.
Mistake: Overcomplicating and Overpacking
You want to bring the whole tank: filter, heater, decorations, substrate. Don’t. This adds bulk, weight, and complexity. The transport container should contain only the betta and a small volume of clean, conditioned water. The destination tank should be set up and ready to receive the fish. Bring only the essentials: the betta, its transport container, conditioner, a towel, and maybe a net. Keep it simple.
Frequently Asked Questions
How long can a betta fish survive in a transport bag?
In a properly prepared bag (1/3 full of conditioned water, double-bagged, insulated), a healthy betta can comfortably survive 4-6 hours. With a rigid, insulated container and stable temperatures, survival time extends to 12-24 hours. Always aim to minimize transit time and acclimate as soon as possible upon arrival.
Should I use the water from my main aquarium in the transport container?
No. While it’s conditioned, tank water has already processed your betta’s waste and may have elevated nitrate levels. In the confined space of a transport container, even a small amount of waste can quickly become toxic. Always use freshly conditioned tap water for the transport container.
My betta is very active and seems stressed during transport. Is that normal?
Some activity is normal, but frantic darting, frantic swimming, or repeated jumping against the container walls indicates severe stress. This is often caused by excessive movement, vibrations, temperature extremes, or poor water quality. Ensure the container is insulated, secure, and in a dark, quiet place. If the behavior is extreme, check the water temperature and consider a longer acclimation period.
Can I transport a betta in a regular glass bottle or vase?
No. Glass is heavy, fragile, and offers no protection from impacts. It also provides no ventilation if sealed. Always use a clean, plastic, food-grade container or a heavy-duty plastic bag. The container must be shatterproof and have a secure closure.
What is the absolute minimum preparation I can do if I’m in a rush?
If you have absolutely no time, the bare minimum is: 1) Double-bag your betta in clean plastic bags with 1/3 conditioned water, 2) Seal bags with rubber bands, 3) Place the double-bag inside a rigid cardboard box or plastic tub to prevent rolling, 4) Wrap the box in towels for insulation, 5) Keep it out of sun and extreme temps. However, this is high-risk. You should always aim for the full preparation protocol when possible.
My betta is lethargic and not eating after transport. What should I do?
This is common post-transport stress. Do not panic. Ensure the tank parameters are perfect (ammonia/nitrite zero, temperature correct). Continue the drip acclimation if you haven’t finished. Then, give your betta complete darkness and silence for 24 hours. Do not feed during this time. After 24 hours, offer a tiny amount of high-quality food. If lethargy persists beyond 48 hours or you see signs of disease (spots, frayed fins, bloating), consult a vet or experienced aquarist.