How to Put Betta Fish in Tank
Successfully introducing a betta fish to its new home requires patience and precision, not just dumping it in. The core process involves preparing a fully cycled, temperature-matched tank, slowly acclimating the fish to your water parameters via the floating bag or drip method, and providing a calm, stress-free environment for the first 24 hours. Rushing this critical transition is the leading cause of betta illness and death.
Key Takeaways
- Never skip tank cycling: A new tank must be fully cycled (2-6 weeks) to establish beneficial bacteria that process toxic ammonia and nitrites. Adding a betta to an uncycled tank is a death sentence.
- Temperature matching is non-negotiable: The water in your betta’s shipping bag or cup must be floated in the new tank to slowly equalize temperature (within 1°F) before any tank water is introduced to it.
- Acclimate slowly to water chemistry: After temperature equalization, slowly add small amounts of your tank water to the betta’s container over 30-60 minutes to help it adjust to pH, hardness, and mineral differences.
- No feeding for 24 hours: Withhold food for the first full day to prevent water pollution from uneaten food and allow the betta’s digestive system to settle from the stress of transport.
- Dim lights and no tank mates initially: Keep lights off or very low for the first 24 hours. Do not introduce other fish or invertebrates for at least a week to reduce stress.
- Use a cup, not a net, for transfer: Once acclimated, gently scoop the betta out of its old water with a soft cup, avoiding any contact with the shipping bag water, which may contain contaminants.
- Observe, don’t interact: For the first 24-48 hours, simply watch your betta from a distance. Turning on bright lights, tapping the glass, or trying to feed it immediately will cause severe stress.
📑 Table of Contents
- Why the “How to Put Betta Fish in Tank” Process Matters More Than You Think
- Phase One: The Non-Negotiable Preparation Before Your Betta Even Arrives
- Phase Two: The Journey Home and Initial Setup
- Phase Three: The Critical First 24 Hours – A Period of Quiet Observation
- Common and Deadly Mistakes: What NOT To Do When Introducing Your Betta
- Phase Four: Designing the Perfect Betta Tank for a Smooth Transition
- Phase Five: The Long-Term Care – From Survival to Thriving
- Conclusion: Patience is the Ultimate Expression of Care
Why the “How to Put Betta Fish in Tank” Process Matters More Than You Think
You’ve spent hours researching, setting up the perfect aquarium with vibrant plants, a gentle filter, and a reliable heater. The crystal-clear water is at the ideal 78-80°F. You’ve chosen a stunning betta with flowing, jewel-toned fins. The moment of truth arrives. But how you actually get that fish from its temporary bag or cup into its permanent home is arguably the single most critical step in ensuring its long-term health and survival. Most new betta owners, driven by excitement, make a fatal error: they simply pour the fish in. This shocking, sudden change in water temperature, chemistry, and environment triggers immense stress, cripples the immune system, and often leads to “new tank syndrome” or immediate shock death within days. Learning the proper, gentle method for how to put a betta fish in a tank isn’t just a good practice—it’s an essential act of care that gives your new companion the best possible start.
Betta fish, or Siamese fighting fish, are famously resilient, but that reputation is misleading. They are labyrinth fish, meaning they breathe atmospheric air, but they are exquisitely sensitive to water quality and sudden changes. The water they were shipped in or held in at the pet store is chemically different from your prepared tap water. The temperature difference can be several degrees. Dumping them in is like dropping a person into a freezing lake after they’ve been in a warm room—it’s a physiological trauma. The goal is a slow, patient introduction that allows the betta’s body to adjust without panic. This guide will walk you through every single step, from the absolute prerequisites before you even bring your betta home to the quiet, watchful hours after it finally swims into its new world. We’ll cover the science behind acclimation, the two primary methods (floating bag and drip), and the crucial post-release care that sets the stage for a thriving, active pet.
Phase One: The Non-Negotiable Preparation Before Your Betta Even Arrives
Attempting to figure out how to put a betta fish in a tank is useless if the tank itself isn’t ready. Rushing this phase is the #1 mistake. Your focus must be on creating a stable, safe aquatic environment first.
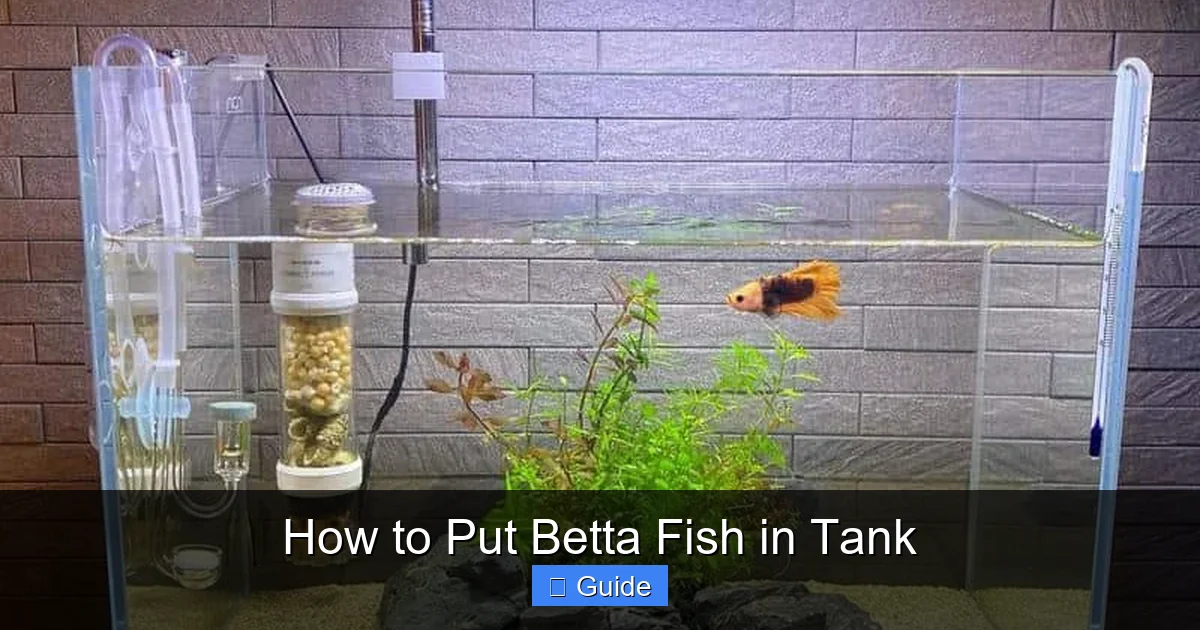
Visual guide about How to Put Betta Fish in Tank
Image source: acaquarium.com
The Unseen Guardian: The Nitrogen Cycle
Before any living creature enters the water, you must cycle the tank. This 2-6 week process establishes colonies of beneficial bacteria that convert toxic fish waste (ammonia) into less harmful nitrites, and then into relatively safe nitrates. An uncycled tank has zero biological filtration. The moment a betta produces waste, ammonia spikes, poisoning it. You cannot shortcut this. Use a liquid test kit (not strips) to monitor ammonia, nitrite, and nitrate. The cycle is complete when you can add a small amount of ammonia (like fish food) and see it convert to nitrite, then to nitrate, within 24 hours, with ammonia and nitrite reading 0 ppm. Only then is the tank safe.
Water Parameters: Getting the Chemistry Right
Betta thrive in soft, slightly acidic water. Ideal parameters are: Temperature 78-80°F (25.5-26.5°C), pH 6.5-7.5, and low hardness. Use a reliable thermometer and test kit. Adjust pH slowly using natural methods like driftwood or almond leaves if your tap water is very alkaline. Never use chemical pH adjusters—they cause dangerous swings. Ensure your tap water is dechlorinated with a proper water conditioner that also detoxifies ammonia and heavy metals, as some brands do.
Essential Supplies for the Acclimation Process
Gather these items before you pick up your betta:
- A clean, dedicated bucket or container: A 1-2 gallon bucket used only for your aquarium, never for cleaning chemicals. This is for the drip acclimation method.
- A soft net or, preferably, a small plastic cup: For the final transfer. A soft net can damage delicate fins and scrape away the betta’s protective slime coat. A smooth-sided cup is gentler.
- Airline tubing: If doing the drip method, you’ll need a length of airline tubing to control the water flow.
- A towel or cloth: To place under the bag/container during floating to prevent slipping.
- Timer or clock: To accurately track acclimation times.
- Patience and a quiet room: The most important supplies of all.
Phase Two: The Journey Home and Initial Setup
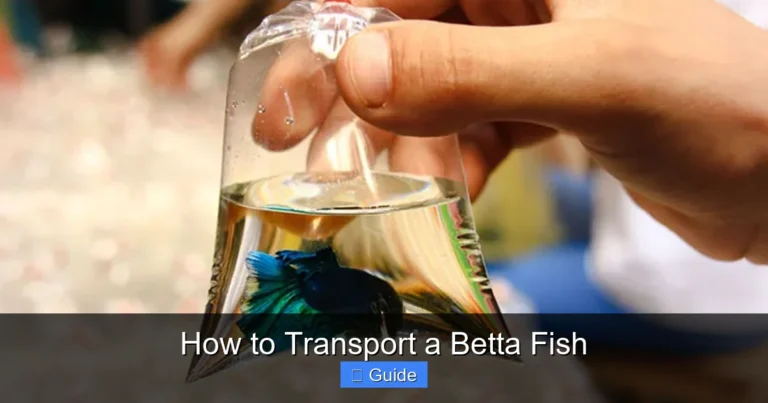
You’ve picked up your betta. It’s likely in a small plastic bag with a little water, or a small cup. The environment is cramped, possibly dirty, and stressful. Your actions now are critical.
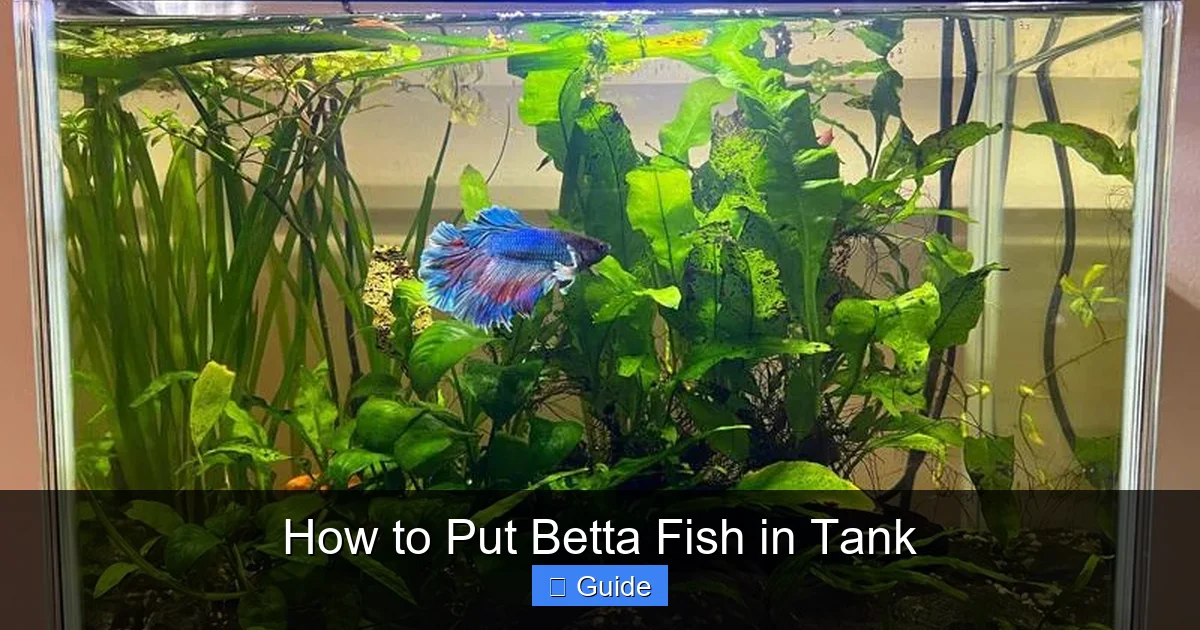
Visual guide about How to Put Betta Fish in Tank
Image source: acaquarium.com
Immediate Steps Upon Arrival
Do not open the bag or cup in your car or a drafty area. Take it directly to the room with the prepared, stable aquarium. Place the unopened bag or cup on the towel next to the tank. This starts the temperature acclimation process. Do not dump the fish into a sink or bowl for a “quick rinse.” The bag water may contain waste or pathogens, but your betta is also used to its chemistry. A sudden, complete water change is as shocking as temperature shock.
The Floating Bag Method: The Simplest, Most Common Technique
This method addresses temperature difference first. It’s best for most beginners.
- Float the sealed bag: Place the unopened bag (or cup, if it’s a cup, carefully set it so it won’t tip) on the surface of the aquarium water. Let it float for 15-20 minutes. This allows the water inside the bag to gradually reach the same temperature as the tank water through the plastic barrier.
- Open the bag: After floating, carefully open the bag or cup, rolling the top down to create an air pocket so it floats upright. If using a cup, you can place it inside a larger bowl for stability.
- Begin water mixing: This is the crucial second step for chemical acclimation. Using a clean cup or pitcher, take a small cup (about 4 oz / 120ml) of your prepared tank water and gently pour it into the bag/cup containing your betta. Do this every 10-15 minutes for the next 60-90 minutes. Add about 4-5 cups total, depending on the original volume (e.g., if the bag had 8oz of water, you’re doubling or tripling the volume). This slow drip-like dilution helps the betta’s body adjust to the new pH, GH, and KH without shock.
- Final transfer: After 60-90 minutes, use your soft cup to gently scoop the betta out of the bag water. Do not net it if you can avoid it. Swirl the cup gently in the tank water to encourage the betta to swim out. Do not pour the bag water into your tank. It contains waste from the transport and possibly medications from the store. Discard it down the sink.
The Drip Acclimation Method: The Gold Standard for Sensitive Fish
This is a slower, more controlled version of the above and is ideal for bettas that seem particularly stressed, shipped long distances, or if your water parameters differ significantly from the store’s (e.g., very soft vs. very hard).
- Set up the siphon: Place your clean bucket or container on a stable surface next to the tank. Use airline tubing to create a very slow siphon from your main tank into the bucket. You can control the drip rate by tying a loose knot in the tubing or using a valve. Aim for 1-2 drops per second.
- Add the betta: Gently pour the betta (with its original water) into the clean bucket. Do not add any tank water yet.
- Start the drip: Submerge the end of the airline tubing in the tank water and start the siphon. Place the other end in the bucket with the betta. Let the tank water drip slowly into the bucket.
- Monitor and wait: The goal is to double or triple the volume of water in the bucket over 60-90 minutes. Once the volume has increased sufficiently, carefully net or cup the betta from the bucket and transfer it to the main tank. Discard the bucket water.
Pro Tip: If your betta is in a tiny bag that’s difficult to float, you can place the entire bag inside a clean, clear plastic cup or small bowl first, then float that assembly in the tank.
Phase Three: The Critical First 24 Hours – A Period of Quiet Observation
The moment your betta enters its new tank is not the end of the process; it’s the beginning of a delicate recovery period. What you do—and don’t do—in the next day will determine its stress level.
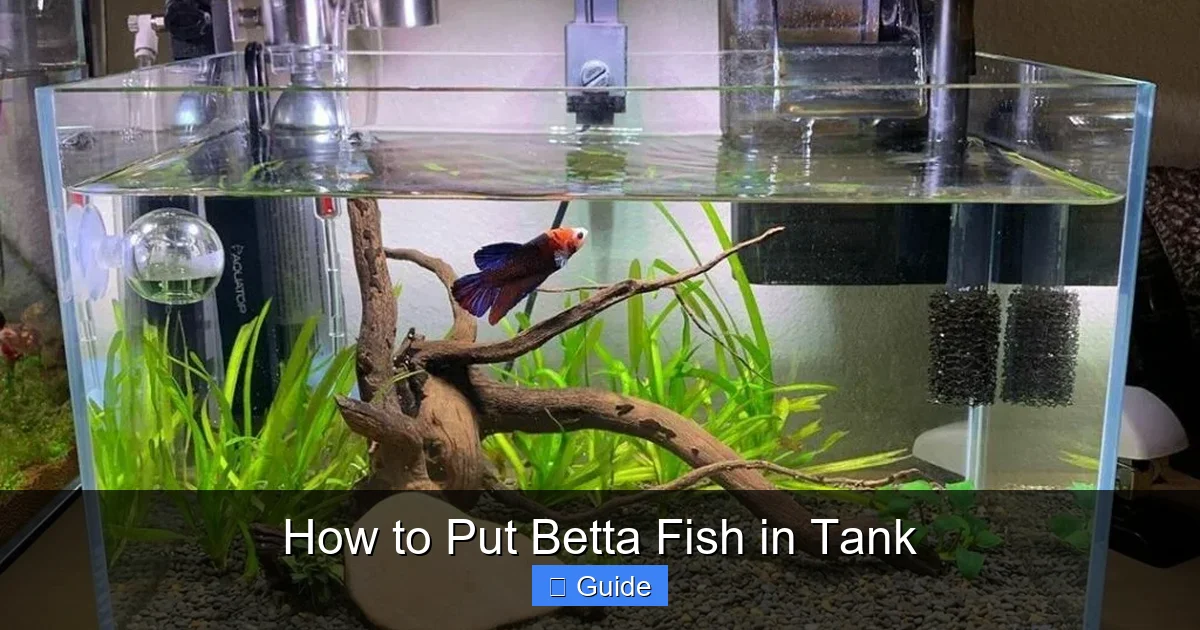
Visual guide about How to Put Betta Fish in Tank
Image source: fishlab.com
Lighting and Environment: Create a Sanctuary
Your betta’s world has just been turned upside down. Its eyes are adjusting to a new space, its lateral line (a sensory organ) is overwhelmed by new water movements, and it’s disoriented. Immediately after release:
- Turn off all tank lights. Bright light is intensely stressful. Keep the room lighting low and calm.
- Cover the tank with a towel or dark cloth if it gets a lot of ambient light from windows. This provides a sense of security and mimics the shaded, vegetated waters bettas come from.
- Minimize movement and noise around the tank. Avoid tapping the glass, crowding the tank to look, or making sudden loud noises.
Feeding: The #1 Temptation to Resist
Do not feed your betta for a full 24 hours after it has been acclimated and released. Here’s why:
- The stress of transport and acclimation shuts down its digestive system. Food will sit in its gut undigested, potentially leading to constipation or swim bladder issues.
- Any uneaten food will immediately decay in the new, potentially fragile tank environment, causing a mini ammonia spike that the young cycle may not handle.
- The betta is likely too stressed and disoriented to even recognize food. Forcing it is pointless.
After 24 hours, offer a tiny amount of high-quality food—a couple of pellets or a few frozen or live foods like daphnia. Watch closely. If it doesn’t eat within a few minutes, remove the food. Try again in 12 hours. Appetite is the first sign of recovery.
Behavior to Expect (and What’s Normal)
In the first 24 hours, your betta will likely:
- Hide behind plants, in a cave, or in a corner, often resting on the substrate or a leaf. This is normal. They are conserving energy and feeling vulnerable.
- Have faded or pale colors. Stress causes color loss. This should return within a few days as it settles.
- Show minimal movement, perhaps just occasional slow swims to investigate.
- Have clamped fins (held tightly to the body). This is a classic sign of stress and should relax in a day or two.
What’s NOT normal in the first 24 hours: frantic darting, glass surfing (repeatedly swimming up and down the glass), lying on its side unable to swim, or rapid gill movement. These could indicate severe shock, poor water quality, or an underlying illness from the store. If you see these, immediately re-test your water parameters (ammonia, nitrite, temperature) and consider a mild salt bath or water change, but consult a vet or experienced forum first.
Common and Deadly Mistakes: What NOT To Do When Introducing Your Betta
Even with the best intentions, many new betta owners sabotage the acclimation process. Recognizing these pitfalls is as important as knowing the correct steps.
Mistake 1: The “Quick Dump”
This is the cardinal sin. Pouring the betta directly from the bag into the tank causes simultaneous thermal and chemical shock. The fish’s internal systems go into crisis mode. Its gills can spasm, it can lose equilibrium, and its immune system collapses. Always, always use a gradual acclimation method. There is no exception.
Mistake 2: Pouring the Shipping Water into Your Tank
The water your betta was shipped in is a cocktail of waste, stress hormones, and possibly pathogens from the store environment. Dumping it into your pristine, cycled tank introduces a pollutant load and potential disease. It’s like adding sewage to a clean pool. The final transfer with a cup is specifically designed to avoid this.
Mistake 3: Acclimating for Too Short a Time
Rushing the 30-60 minute water mixing period because you’re excited or the fish “seems fine” is dangerous. The betta’s internal organs need that slow, steady dilution to adjust electrolyte balances. A 10-minute acclimation is barely better than a dump. Commit to the full hour.
Mistake 4: Adding Tank Water to a Tiny, Overheated Bag
If your betta arrived in a small, sealed bag that was left in a hot car or near a window, the water inside could be dangerously warm and low in oxygen. Floating such a bag is fine for temp matching, but be extra vigilant. If the bag water looks very murky or the fish is clearly in distress, you may need to prioritize getting it into clean water more quickly, but still, do a very gentle, rapid drip or direct transfer with minimal bag water if its life is in immediate danger.
Mistake 5: Introducing Tank Mates Too Soon
Even if you have a community tank planned, the first week is for your betta alone. It needs to claim its territory, find its hiding spots, and recover from transport stress without the added harassment from curious or aggressive tank mates. A stressed betta is an aggressive or sick betta. Wait at least 2 weeks, and observe your betta’s behavior is calm and established before adding any other fish.
Phase Four: Designing the Perfect Betta Tank for a Smooth Transition
The tank setup itself plays a huge role in how easily your betta settles. A poorly designed tank creates constant low-grade stress, even after a perfect acclimation.
Tank Size and Shape: More Space, Less Stress
The myth that bettas live in puddles and need tiny tanks is false and cruel. A single betta should have a minimum of 5 gallons (19 liters). A 10-gallon (38 liters) tank is even better. More space dilutes waste, provides more stable water parameters, and allows for proper heating and filtration without creating strong currents. Long, shallow tanks are preferable to tall, deep ones, as bettas are surface-dwellers and need easy access to the air.
Filtration: Gentle but Effective
Bettas hate strong currents. Their long fins make swimming exhausting. You need a filter that cleans the water without creating a torrent. Options include:
- Sponge filter: The gold standard. Provides gentle biological and mechanical filtration via air bubbles. Creates zero current. Perfect for bettas.
- Hang-on-back (HOB) filter with a spray bar or baffle: Can be modified with sponges over the intake and a spray bar to diffuse the flow.
- Internal power filter with adjustable flow: Set to the lowest setting and point the output towards a wall or plant.
Always use filter media that houses beneficial bacteria (ceramic rings, bio-balls). Never change all media at once; rinse it in old tank water during water changes.
Heating and Temperature Stability
A reliable, adjustable aquarium heater is mandatory. Use one rated for your tank size (e.g., 50W for a 5-10 gallon). Place it near a water flow (like the filter output) to distribute heat evenly. Use a separate, accurate thermometer to verify the temperature. Fluctuations of more than 1-2 degrees in a day are stressful. In winter, ensure the room isn’t drafty; in summer, monitor for overheating.
Substrate, Plants, and Hiding Spots
Use smooth gravel or sand. Avoid sharp edges that can tear fins. Live plants (like Anubias, Java Fern, Marimo moss balls) are fantastic—they oxygenate the water, absorb nitrates, and provide natural shelter. If using silk or plastic plants, ensure they have soft, flowing leaves, not stiff plastic that can snag fins. Provide at least one solid hiding spot: a betta log, a cave, or a large leaf pot. This gives the fish a place to retreat and feel secure, which is essential for reducing stress post-acclimation.
Phase Five: The Long-Term Care – From Survival to Thriving
Getting your betta in the tank is step one. Keeping it healthy for 3-5 years requires consistent, informed care.
Water Changes: The Foundation of Health
Even with a cycled filter, you must perform regular partial water changes to remove nitrates and other dissolved organics. In a properly cycled 5+ gallon tank with a single betta, change 25-30% of the water weekly. Use a gravel vacuum to clean the substrate, removing debris from the surface without disturbing the beneficial bacteria deep in the gravel. Always match the temperature of the new water to the tank (within 1°F) and use a dechlorinator. Never change more than 50% at once, as this can shock the fish and disrupt the cycle.
Feeding for Vibrant Health
Overfeeding is the fastest way to foul your tank and constipate your betta. Feed only what it can eat in 2-3 minutes, once or twice a day. A high-quality pellet should be the staple, supplemented 2-3 times a week with frozen or live foods (bloodworms, brine shrimp, daphnia) for variety and protein. Fasting one day a week is beneficial for digestion. Remove all uneaten food immediately.
Monitoring Health and Behavior Daily
The key to early disease detection is knowing your betta’s normal baseline. Each day, spend a few quiet moments observing:
- Activity Level: Is it swimming actively, flaring at its reflection (normal), or resting peacefully? Lethargy is a red flag.
- Appetite: Does it eagerly come to the top for food? Loss of appetite is often the first sign of illness.
- Fins: Are they full, flowing, and held open? Clamped, torn, or ragged fins indicate stress or disease (like fin rot).
- Body: Is it smooth and streamlined? Look for lumps, sores, white spots (ich), fuzzy growths (fungus), or raised scales (dropsy).
- Gills and Eyes: Gills should move rhythmically, not rapidly. Eyes should be clear, not cloudy or protruding.
Catching issues early—like the first sign of fin rot or velvet—allows for much simpler, more effective treatment.
Enrichment: Keeping a Smart Fish Mentally Stimulated
Bettas are intelligent and curious. A bare tank is psychological torture. Provide enrichment:
- Live plants: They offer dynamic complexity.
- Floating logs or leaves: Bettas love to rest near the surface under cover.
- Mirrors (used sparingly): A few minutes a day with a mirror outside the tank can provide exercise and mental stimulation through flaring. Don’t overdo it, as constant flaring is stressful.
- Training: Bettas can be trained to jump for food, follow a target, or even swim through hoops using positive reinforcement with food.
A stimulated, engaged betta is a healthier, more colorful betta.
Conclusion: Patience is the Ultimate Expression of Care
Learning how to properly put a betta fish in a tank is a lesson in slowing down. In a world of instant gratification, caring for a living creature demands we prioritize its needs over our eagerness. The meticulous steps of tank cycling, temperature floating, slow water dripping, and enforced quiet observation are not bureaucratic hurdles; they are acts of respect for a fragile life. You are not just transferring a fish from one container to another. You are guiding it through a profound physiological and psychological transition. The investment of time and patience in those first few hours pays dividends in the form of a vibrant, interactive, and long-lived companion. You will be rewarded with a fish that recognizes you, flares with excitement at feeding time, and displays its magnificent fins in a tank it truly knows as home. By following this guide, you move from being a new owner to a responsible caretaker, ensuring your betta’s first swim into its new world is the beginning of a beautiful, stress-free life.
Frequently Asked Questions
How long should I float the betta bag in the tank before starting to add water?
Float the sealed bag for 15-20 minutes to equalize the temperature. After opening the bag, begin adding tank water slowly every 10-15 minutes for a total acclimation time of 60-90 minutes. The exact time depends on the original water volume in the bag.
Can I use the water from the betta’s shipping bag in my aquarium?
No, you should never add the shipping water to your tank. It contains fish waste, stress hormones, and potential pathogens from the store or shipping process. The final step of acclimation is to gently net or cup the betta out of this old water and discard it.
My betta is hiding and not eating after I put it in the tank. Is this normal?
Yes, this is completely normal for the first 24-48 hours. The fish is recovering from immense stress and adjusting to a new environment. Keep lights off, minimize disturbances, and do not force food. Offer a tiny amount of food after the first 24 hours. Appetite and activity should return gradually over a few days.
What is the minimum tank size for a single betta fish?
The absolute minimum is 5 gallons (19 liters). However, a 10-gallon (38 liters) tank is significantly better. It provides more stable water parameters, more space for swimming and exploration, and makes it easier to maintain water quality. Tanks smaller than 5 gallons are not recommended and lead to poor health.
Can I put other fish or shrimp with my new betta right away?
No. You must wait at least 2-4 weeks after your betta has fully settled in and established its territory before considering any tank mates. Introducing other animals during this vulnerable recovery period will cause severe stress and likely lead to aggression or illness. Research compatible tank mates thoroughly.
What are the signs that my betta is sick from the acclimation process?
Signs of acute stress or shock include frantic darting, rapid gill movement, lying on its side at the bottom, or glass surfing. Signs of developing illness due to stress include faded colors, clamped fins, loss of appetite, white spots (ich), fraying fins (fin rot), or a fuzzy growth (fungus). If you see these, immediately test water for ammonia/nitrite and perform a partial water change.